If you want a cozy, meaningful craft this season, jean pocket angel ornaments are the perfect pick. They’re charming, simple to make, and use up old jeans you might already have at home.
These little angels add a personal, heartfelt touch to your holiday decorations or gift wrapping.
Even if you’re new to crafting, you’ll find this project approachable and fun. Each angel can be unique, let your creativity shine with different fabrics, trims, and decorations. Gather your supplies and let’s get started!

Materials You’ll Need
- Old denim jeans (preferably back pockets)
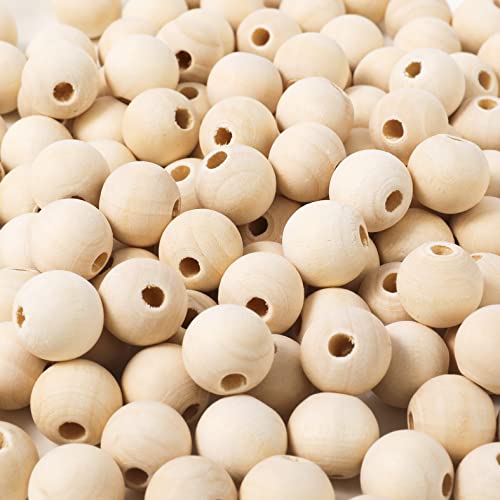
- Wooden beads (for the heads)
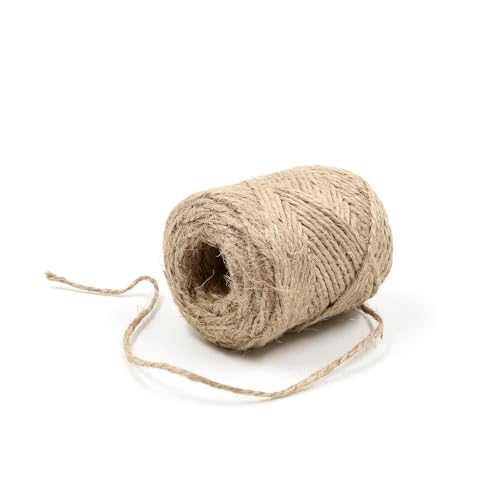
- Twine or jute string
- Small piece of burlap or brown fabric (for the hat)
- White lace, doilies, or fabric trim (for the wings and collar)
- Hot glue gun and glue sticks
- Scissors
- Cotton or fabric scraps (optional, for stuffing)
- Black fine-tip marker or paint pen (for the face)
- Small buttons or decorative embellishments
How to Turn Jean Pocket Into Cute Angel Ornaments
Step 1: Cut the Pocket
Start by carefully cutting out a back pocket from an old pair of jeans. Leave about half an inch of fabric around the edges so you have room to glue or sew later.
This will be the angel’s body, and the denim gives it a unique, rustic look.
Step 2: Shape the Body
You can use the pocket without the filling. However, if you want a plush look, gently stuff it with a bit of cotton, fiber fill, or leftover fabric scraps.

Don’t overstuff. Fill the pocket with just enough so the pocket feels softly padded and keeps its shape.
Optional: add the tiny pockets and buttons before stuffing the pocket and give the pocket the desired shape by tightening the opening like in the image below.

Seal the pocket’s opening by running a line of hot glue along the edge, then press it closed.
Step 3: Create the Wings
Cut two pieces of lace or doily into simple wing shapes, like little ovals or teardrops. Glue or simply stitch them to the back of the pocket, angled slightly outward for a gentle, floating look.
The lacy wings contrast beautifully with the sturdy denim.
Wrap a piece of lace trim or fabric strip around the base of the wooden bead, right where it meets the denim. Glue it in place to create a soft, decorative collar.
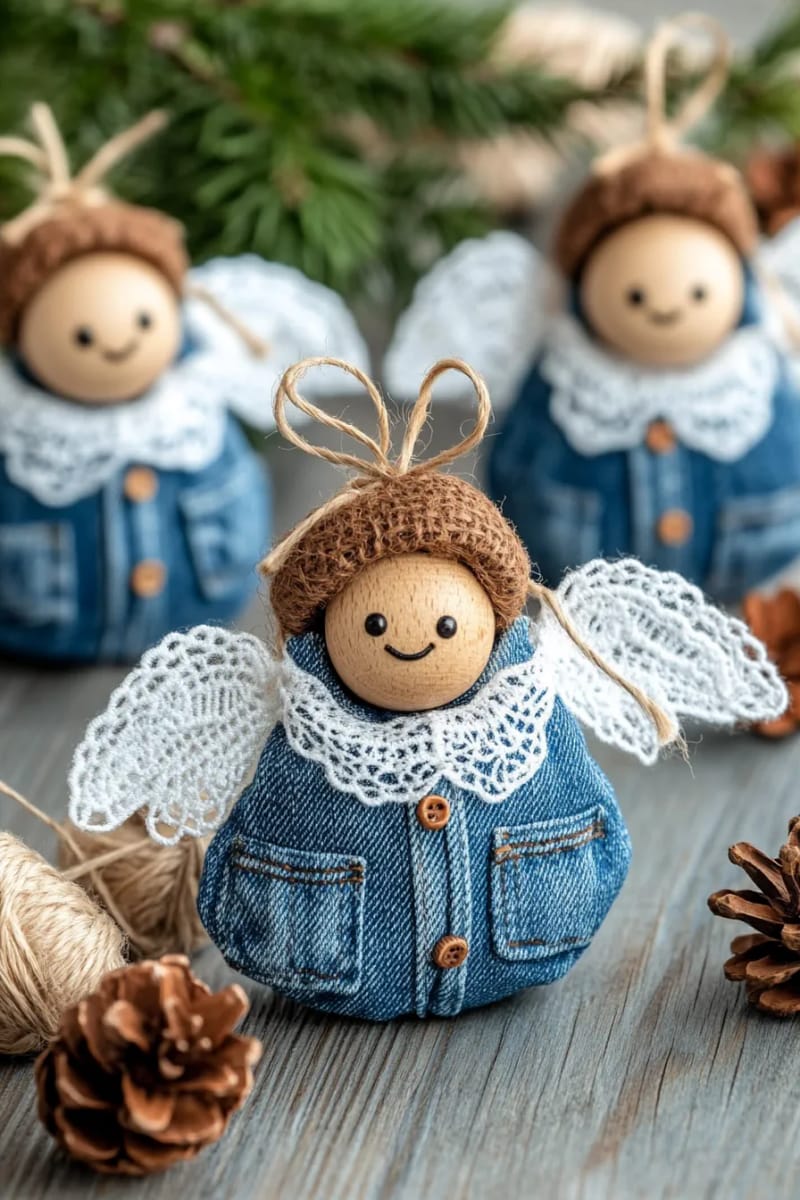
Those angles can have different styles and also be more simple like the ones below. Just unleash your creativity!

Step 4: Add the Hat and Halo
Cut a narrow strip of burlap or brown fabric and wrap it around the top of the bead to make a tiny hat. Secure it with a little glue.

For the halo, make a small loop with twine and glue it just above or behind the hat. Leave a tail of twine if you plan to hang your ornament from it.
Step 5: Attach the Head
Glue a wooden bead to the top center of the pocket, right above where you sealed it. Hold the bead in place for a few seconds until the glue sets.
Optional but recommended: glue a dowel pin under the head before gluing it to the jeans pouch. This will make the decoration much stronger and stable.
Optional but recommended: glue a dowel pin under the head before gluing it to the jeans pouch. This will make the decoration much stronger and stable.
Make sure the bead is centered so your angel stands or hangs straight.
You can do this step before or after attaching the head depending on your preference.
Step 6: Add Facial Features
Draw two small eyes and a smiling mouth on the wooden bead using a fine-tip black marker or paint pen.
For rosy cheeks, dab on a bit of pink paint or even some blush from your makeup kit. Each face will have its own personality!
You can either draw the faces before or after gluing the beads to the stuff pockets.
Step 7: Decorate the Body
Get creative by gluing buttons, bows, or small decorations onto the denim pocket. You can use metallic buttons, bits of ribbon, or a sprinkle of glitter glue to match your holiday colors.
This is your chance to make each angel unique.
Step 8: Finish and Hang
Let all the glue dry completely so nothing shifts or falls off.
If you made a twine halo with a tail, use it to hang your angel on the Christmas tree, a wreath, or even tie it to a wrapped gift.
Your handmade angel is now ready to spread cheer!
Tips for Success
- Use sharp fabric scissors for clean cuts through thick denim.
- Choose smaller pockets from kids’ jeans for petite ornaments.
- Try different lace patterns or textures for each angel’s wings.
- Create a set in various denim shades for a layered, eye-catching display.
- If kids are helping, use a low-temperature glue gun for safety.
Helpful Reminders
- Too much glue can soak through fabric and leave stains. Use it sparingly.
- Don’t rush the drying time. Waiting can prevent parts from shifting or coming loose.
- Overstuffing the pocket makes the angel bulky and harder to hang.
- Test your marker on a scrap before drawing faces to avoid ink bleeding.
- If you want to prevent fraying, lightly seal raw denim edges with glue.
Enjoy Your Denim Angel Ornaments
Making jean pocket angel ornaments is all about creativity and heart, not perfection. With just a few supplies and a little time, you can create keepsakes that are packed with character and memories.
Give it a try! Your own angels will be as unique and warm as the hands that made them. Dont forget to tag us when you post your finished project on your social media accounts. We’d love to see your fantastic work!
Related Posts
- Upcycled Jeans Christmas Crafts
- Upcycled Christmas Crafts
- Upcycled DIY Christmas Decorations
- Upcycled Jeans Ideas
- Eco-Friendly Handmade Christmas Decorations


