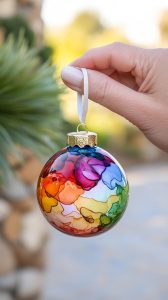
There’s a reason alcohol ink Christmas ornaments have become a favorite among crafters: they deliver professional, glossy results with very little equipment.
Alcohol inks flow and blend unpredictably, creating dreamy swirls and ribbons of color that look almost alive.
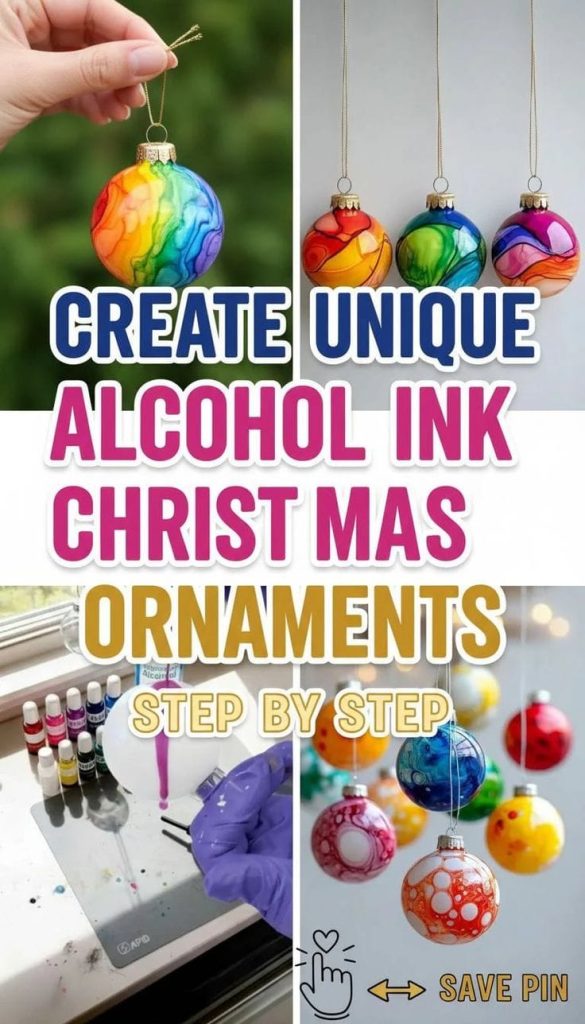
This guide takes you from setup to sealing with a focus on experience-based techniques that make the process smoother, cleaner, and more reliable.
Materials and Preparation

Before opening a single bottle of ink, set up your workspace. Alcohol ink moves fast and stains everything it touches, so a few minutes of prep will save a lot of regret later.
What You’ll Need
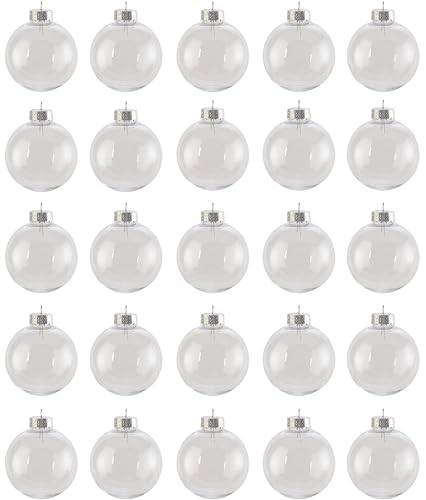
- Clear glass or plastic ornaments with a smooth finish. Choose light or white ornaments if possible; bright bases make the colors glow.
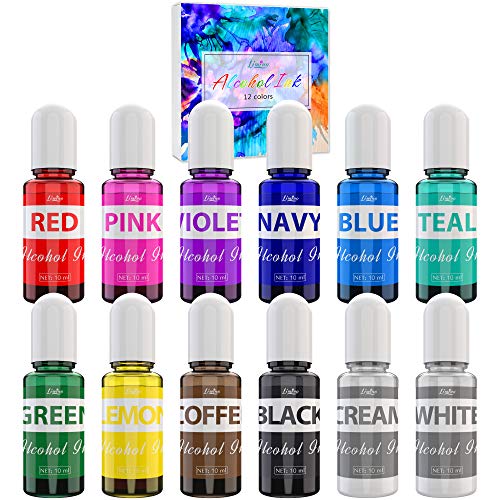
- Alcohol inks in two or three colors. Brands such as Piñata or Ranger are excellent.
- 91% or higher isopropyl alcohol for thinning, blending, and cleaning.
- A small squeeze bottle or pipette for controlled alcohol application.
- Disposable gloves, paper towels, and a protected workspace.
- Compressed air, a bulb air blower, or a straw for moving the ink.
- A clear gloss varnish or spray sealer safe for alcohol inks, such as Piñata High Gloss or Kamar Varnish.
- Optional extras: white alcohol ink for a base coat, metallic inks for highlights, sponge brushes for gentle blending, or plastic wrap for texture.
You can simply purchase everything you need here:
Preparing the Ornaments
Remove the metal caps and clean each ornament thoroughly with isopropyl alcohol. Oils and dust can make the ink bead up or refuse to stick, so this step is non-negotiable.

Once cleaned, place each ornament on a small cup or skewer to keep it steady and fingerprint-free while working.

Creating a White Base
There are two main methods: coloring the inside or the outside of the ornament. Both create striking effects, but the technique differs slightly.
If you plan to color only the inside, then skip this step.
If instead you will color the outside and your ornaments are clear, then add a reflective base to make the colors vibrant.
Pour a small amount of white alcohol ink inside the ornament, swirl to coat, and drain the excess. Allow several hours of drying upside down in a cup or carton.

I strongly recommend using white alcohol ink instead of acrylic paint. Acrylic takes much longer to dry, often overnight, and may require multiple coats.
Alcohol ink dries quickly and creates an even surface for color.

Choosing and Preparing Colors
Limiting your color palette is the secret to professional-looking results. Two or three inks are enough to create depth without muddiness.
Shake each bottle before use, particularly metallics and whites, which contain pigments that settle fast.
Open all bottles before putting on gloves; once the ink starts flowing, the last thing you want is to wrestle with a stuck cap. Keep a straight pin and a pair of pliers nearby in case a nozzle clogs.
Applying the Alcohol Ink
There are two main methods: coloring the inside or the outside of the ornament. Both create striking effects, but the technique differs slightly.
Coloring the Inside
- Add a few drops of ink inside the ornament, followed by one or two drops of isopropyl alcohol.
- Swirl slowly to let the color move around the interior.
- Add more color in thin layers, letting gravity do most of the work.
- Drain the excess and let the ornament dry completely.
This technique gives the color a soft, translucent glow as if it’s suspended in glass.
Coloring the Outside

Drip ink directly onto the surface and add a few drops of alcohol to help it bloom. Move the color gently with canned air or a small air blower. The goal is to nudge the ink rather than blast it.
A little air movement creates organic, fluid transitions; too much sends the ink flying. Keep layering color until you like the pattern, and then let it dry before sealing.
If you want to keep things simple, you can even just use your finger to spread the paint.
Fixing Imperfections and Adding Details
Occasionally, a spot will resist color. This usually happens when an area wasn’t completely clean. Try massaging the ink with a gloved finger or using a Q-tip to spread it.
If that doesn’t work, add a touch of metallic ink such as gold or brass, these cover imperfections beautifully and add a luminous accent.
To lighten areas, add a drop of isopropyl alcohol or white ink. To deepen them, add another thin layer of color after the first one has dried.
Working in layers rather than all at once gives richer tones and smoother gradients.
If you still have any doubts, I’m sure that this helpful video will help you to better understand alcohol painting methods:
Creative Techniques for Texture
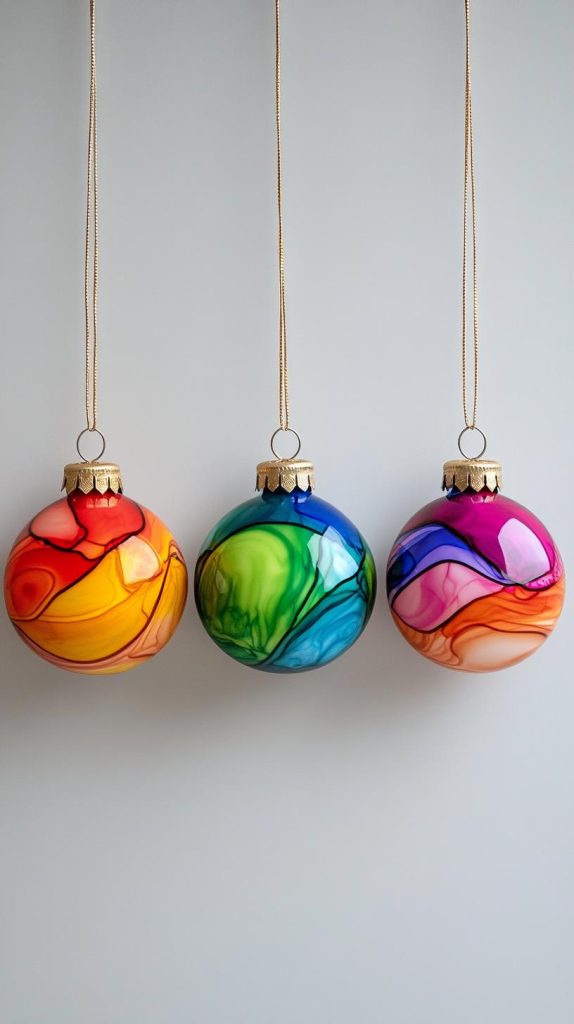
Plastic Wrap Method
Place plastic wrap on your table and drip a few colors of ink onto it. Set the ornament on the wrap, fold the plastic around it, and press lightly.
Leave it wrapped for five to thirty minutes. Shorter times create soft, cloudy patterns; longer ones form sharper, more defined lines.
Sponge Brush Wash
For a diffused, misty look, use a sponge brush to apply ink in thin layers. If the color gets too strong, add a little alcohol to soften it. This technique works especially well for pale or frosted effects.
Minimalist Style
A small burst of color concentrated on one area can be more striking than full coverage. Add one or two colors and finish with a touch of metallic ink for a sophisticated, modern look.
Drying and Sealing
Allow ornaments to dry for at least one to two hours before sealing. Rushing this step risks smudges or uneven shine.
Brush-On Varnish
A varnish designed for alcohol inks, is ideal. It won’t reactivate or smear the inks. Apply in thin, even coats with a soft brush, letting each layer dry completely.
Spray Sealer
If you prefer spraying, use a sealer compatible with alcohol inks. Hold the can eight to ten inches from the ornament and apply light, even coats. Allow drying between layers to preserve the design.
Insights from Experience
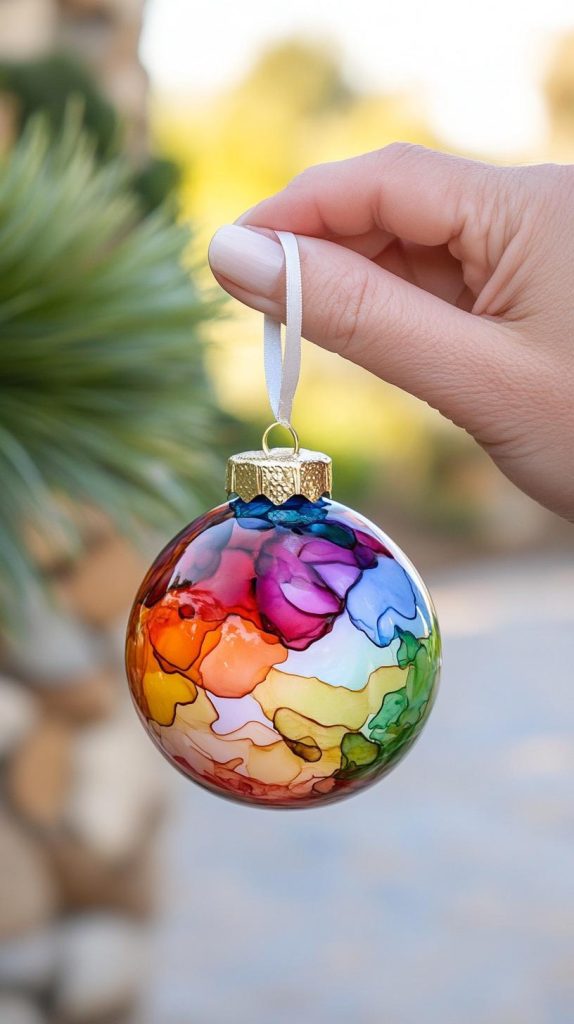
- Work in small, deliberate layers; it’s easier to add color than to correct overworked areas.
- Keep a small squeeze bottle of isopropyl alcohol at hand for quick adjustments.
- Rotate ornaments during drying to prevent uneven pooling.
- Add metallic inks at the very end, they move more slowly and tend to dominate other colors if added too early.
- Ventilation matters. Alcohol fumes are strong and best handled with a fan or open window.
- If colors begin turning muddy, stop and let the surface dry. More ink won’t fix it, but patience will.
Troubleshooting
| Issue | Cause | Solution |
|---|---|---|
| Ink beads up or avoids areas | Surface not properly cleaned | Wipe with isopropyl alcohol and reapply ink |
| Colors appear dull or muddy | Too many inks or excessive blending | Limit palette and let each layer dry before adding more |
| White base looks streaky | Uneven coating or incomplete drying | Add more white ink, swirl again, and allow proper drying |
| Sealer smudges design | Incompatible varnish or too heavy a coat | Use an alcohol-ink-safe varnish and apply thin layers |
Finishing Touches
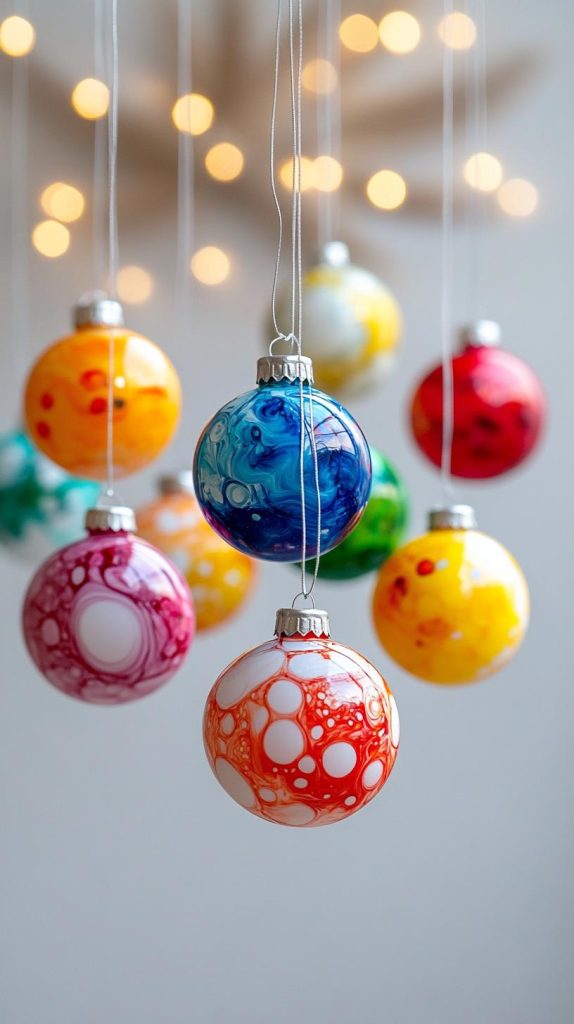
Once sealed, reattach the metal caps and let the ornaments cure for several hours before handling. The result is a collection of glossy, luminous decorations that shimmer under holiday lights.
Each piece will have its own personality, some bold, some soft, all entirely unique. Alcohol ink is unpredictable, but that’s its charm: every ornament becomes an unrepeatable moment captured in color.

