
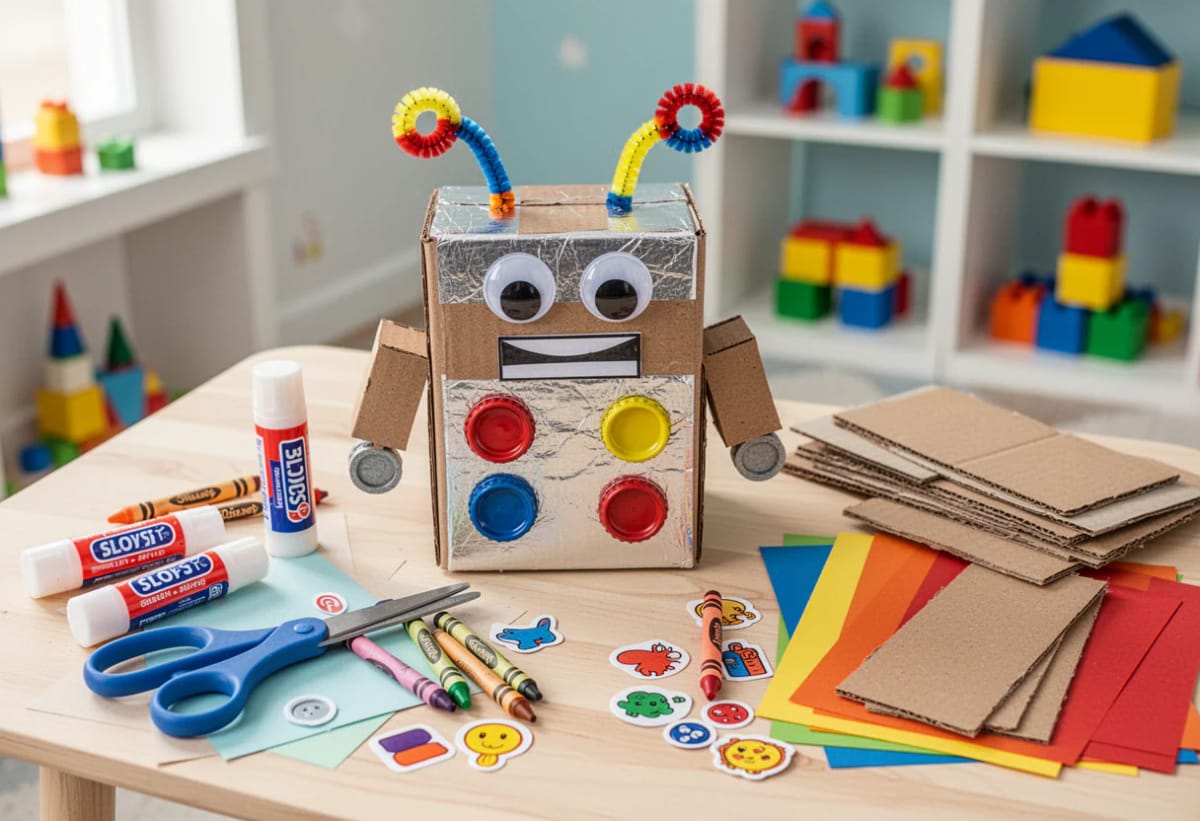
The bin by the door of most preschool rooms holds the same thing: a cereal box, a paper towel tube, a milk jug, and a takeout container of bottle caps that some parent rinsed and saved. That is already a robot kit. It costs nothing, it fits a four-year-old’s hands, and it comes apart and goes back together before snack.
Ten builds below, sorted by how much of the work a preschooler can do without you hovering. The first five need a glue stick, a glue bottle, and a grown-up holding the scissors. Two more need a glue gun and a free afternoon. The last three do something back.
One constraint shaped all ten. Nothing here hangs on a joint you can see, because a preschooler's first move with anything new is to pick it up by the head.
Save these from the bin
- Flat cereal and cracker boxes, the wide ones, for torsos and heads
- Paper towel tubes and toilet roll cores, both sizes, at least six
- A milk jug or two, rinsed and dried, for legs and shoulders
- Bottle caps and jar lids, twenty or more, washed and dried (juice residue stays tacky and glue will not hold on it)
- One pressed-pulp egg carton, not the clear plastic kind
- Clean foil saved from a takeout tray
From the drawer
- Masking tape, plus one roll of kraft paper tape
- A glue stick, a bottle of white school glue, and a low-temperature glue gun
- Blunt-nosed scissors for small hands, and a craft knife that stays with you
- Washable markers, one black permanent marker, a pack of self-adhesive googly eyes
- Brass split pins and a ball of cotton string, for the builds that move
Robots Preschoolers Can Mostly Build Themselves
1. The Cereal-Box Stack Robot
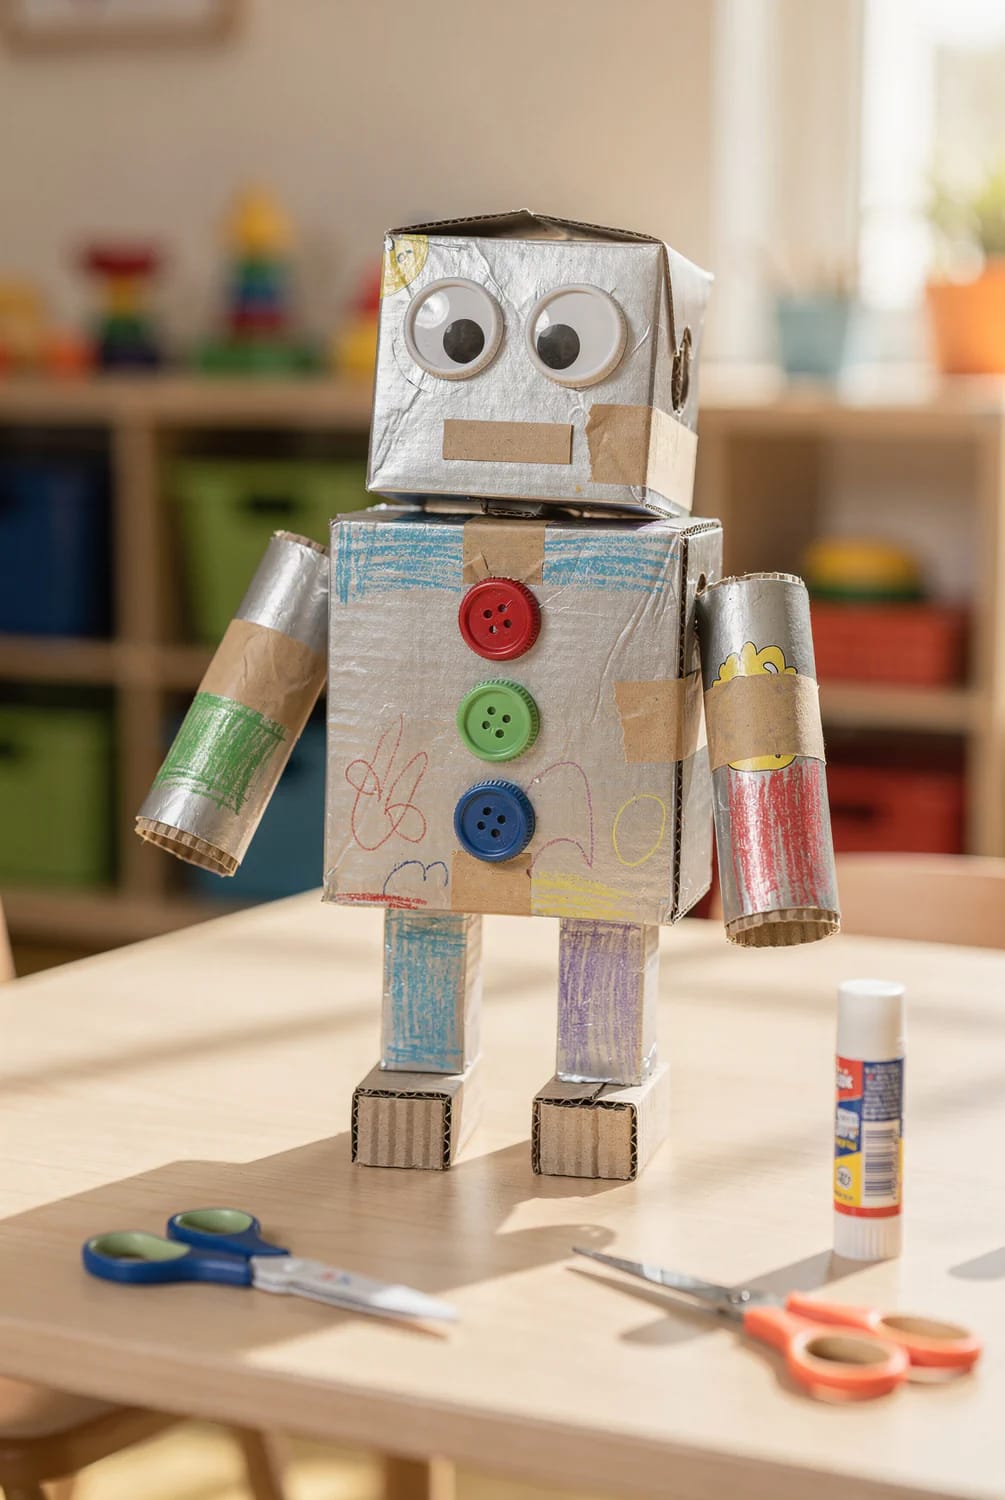
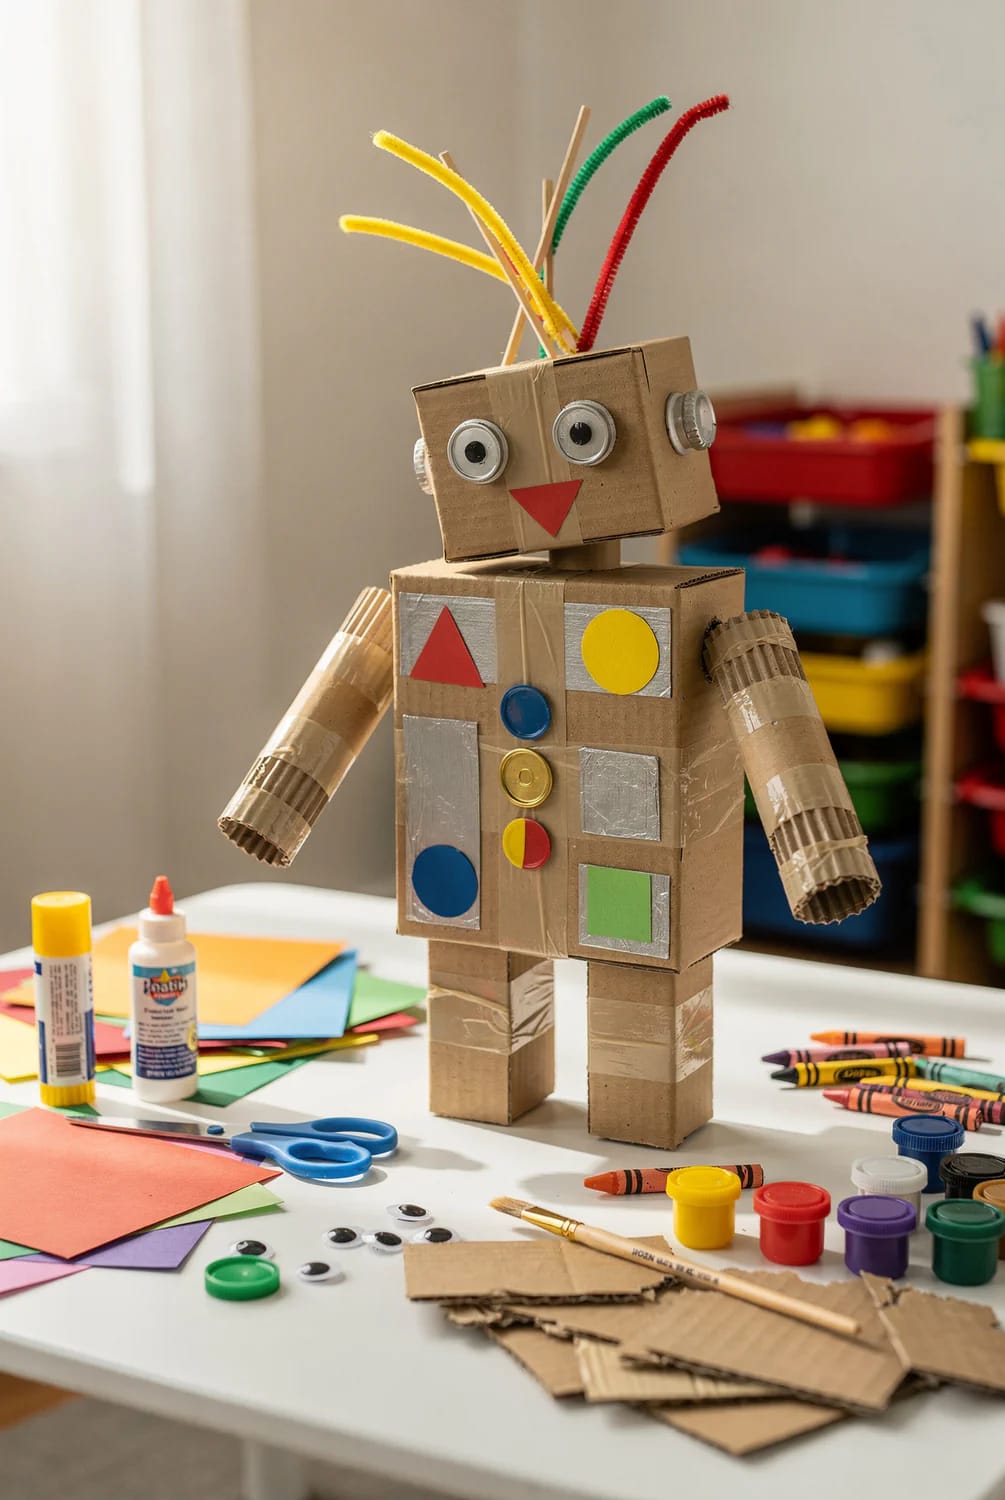
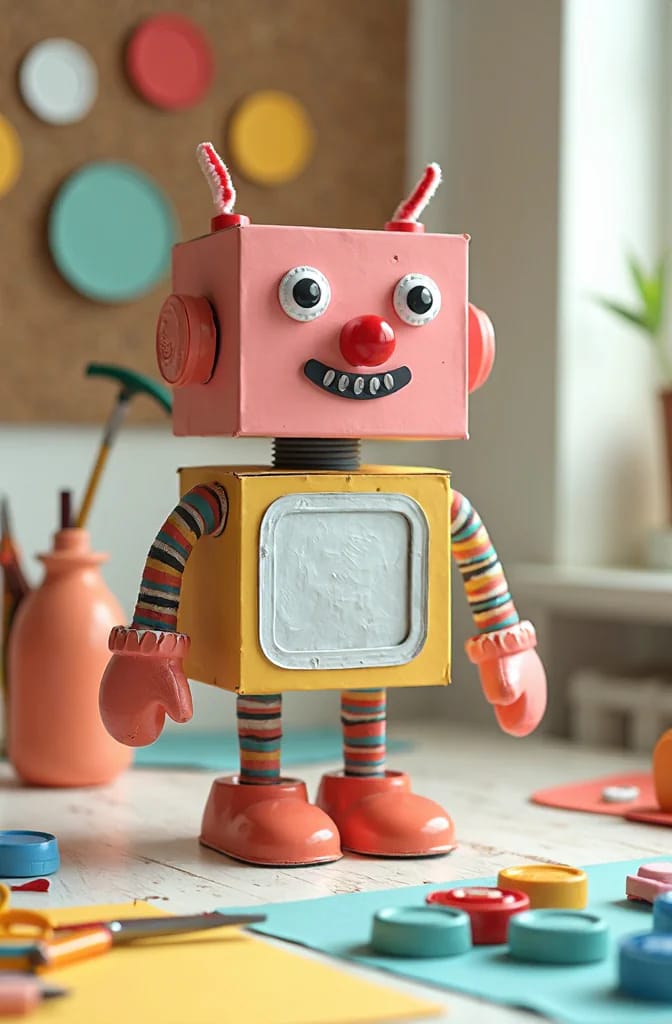
Build it as three stacked boxes: a wide cereal box for the chest, a narrower snack box for the hips, and a small square box for the head, with two paper towel tubes taped flat along the sides as arms. Stack it dry and standing before a single strip of tape goes on, and let the child tell you whether it looks like a robot. They will move the head, and they will be right.
The step that decides whether this reads as a robot or as a pile of recycling is where the tape goes. Run two strips down the inside of each join, which means opening the boxes out flat, taping the seam, then folding them back into shape. From the front you see corrugated grain and nothing else. Then cock the head four or five degrees off vertical and tape it there. A level head on a cardboard box looks like a parcel. A tilted one looks like it is thinking.
Plastic screws that punch through two layers of board and hold without glue, then unscrew when the head goes missing.
Makedo Explore cardboard construction toolkit, 50 piecesGlue is the weak point on any box robot. The board flexes, the glue line cracks along the fold, and the arm drops off on day two. The Makedo driver punches a hole through both layers and winds a screw in, so the joint holds and can be taken apart again. It is rated 5 and up, which for a three-year-old means you hold the driver and they do the turning.
2. The Foil-Wrapped Robot That Skips the Spray Paint
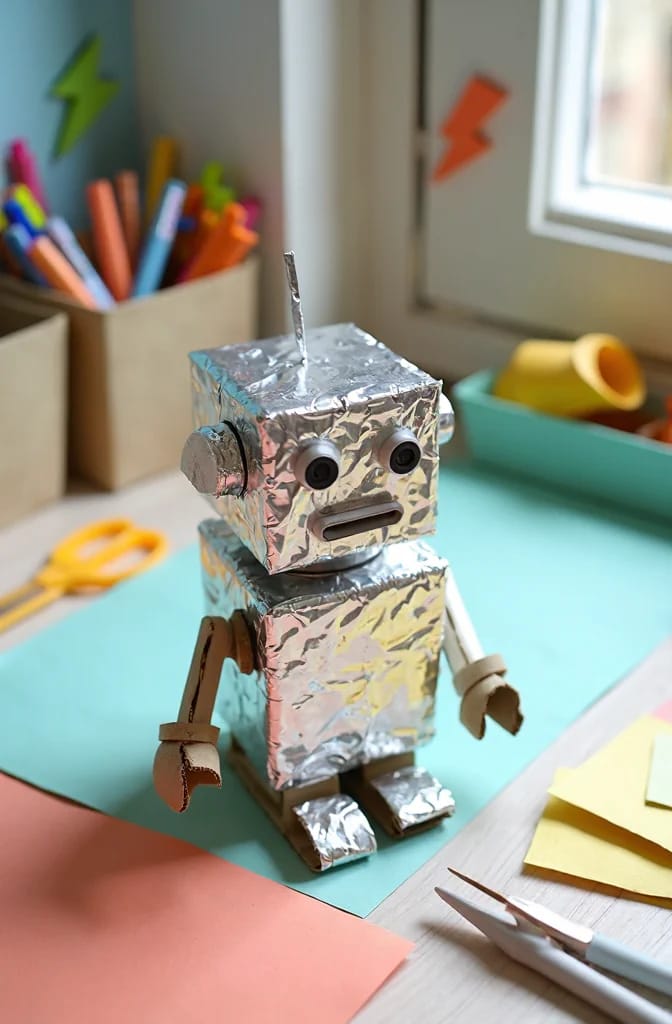
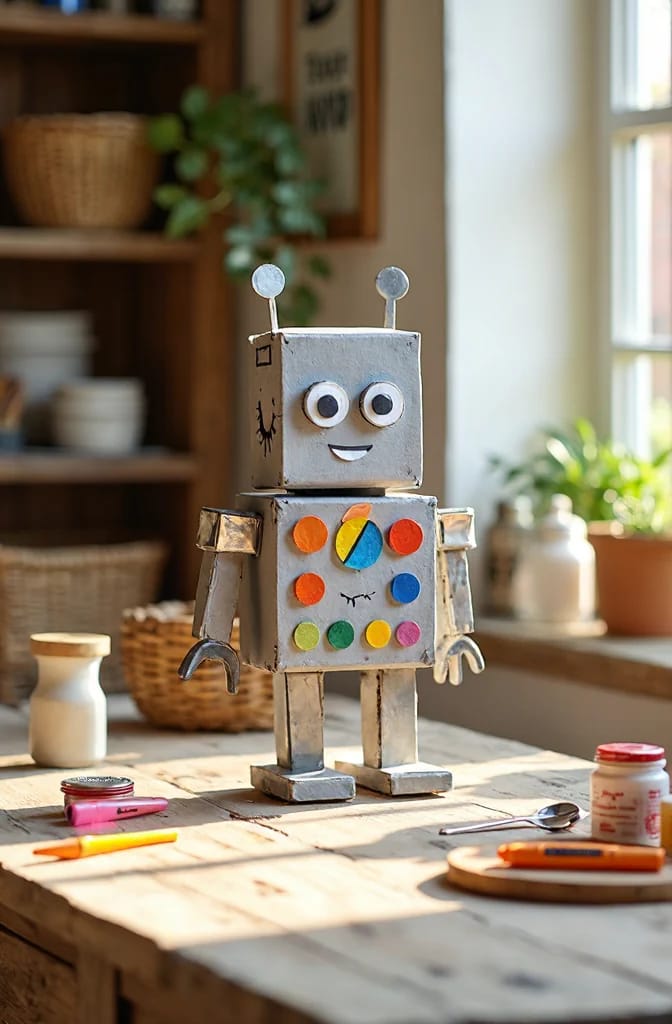
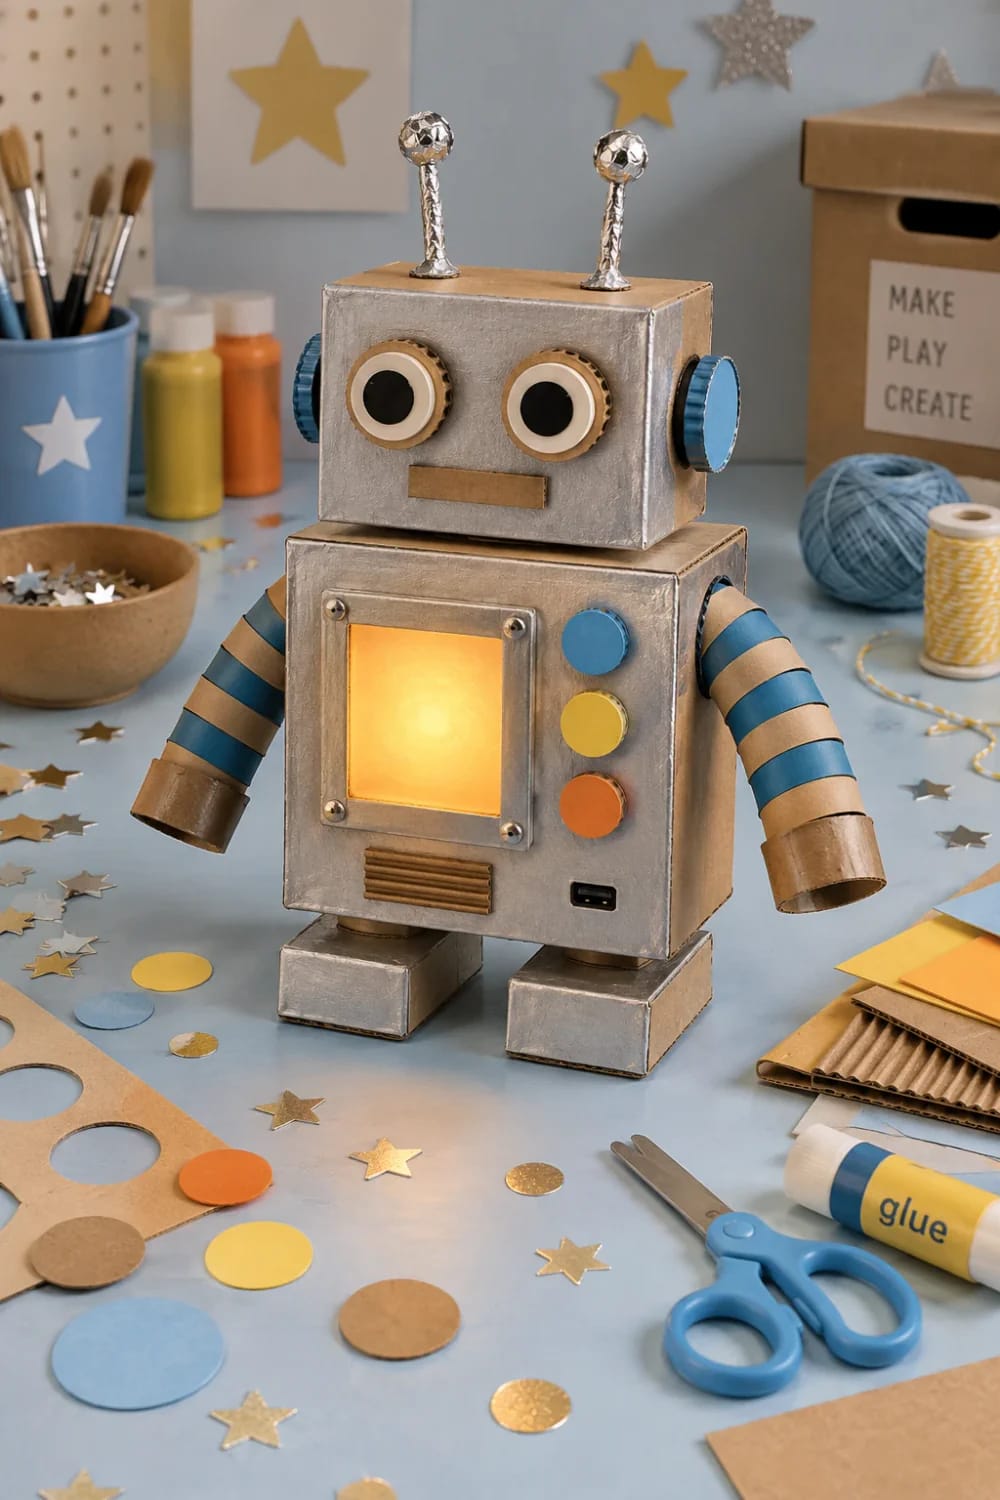
Kitchen foil does what a can of silver spray paint promises and then fails to deliver. Wrap each box separately before assembly, pressing the foil into the corners and letting it crease wherever it wants to; the crumpled surface throws light in every direction, so the finished robot reads as metal from across a room and as a robot from up close. Spray paint on corrugated board sinks into the flute, dries patchy, and needs two days and a garage you do not have.
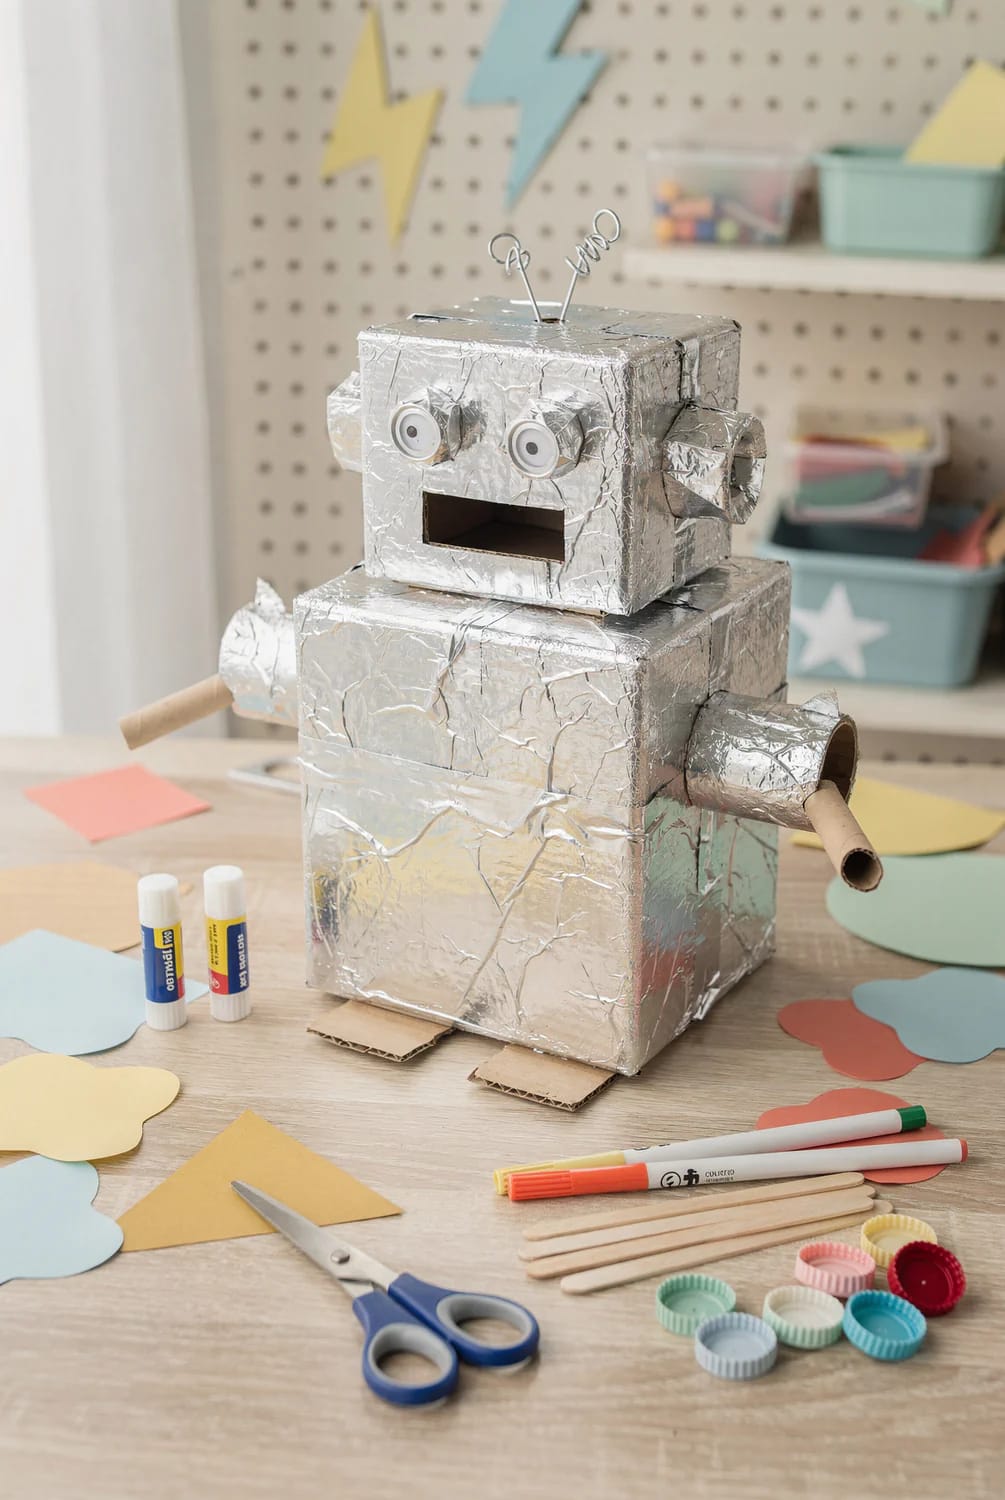
Granted, foil tears at the corners, and a four-year-old will pick at it. Fix that before it starts by folding a strip of clear tape over every foil seam, which is also the one step small hands can manage entirely alone. If the finished thing still reads as a cereal box wearing foil, the problem is proportion rather than material. The same failure shows up in upcycled gifts that still look like the object they used to be, and the diagnosis there works here: change the silhouette, not the surface.
3. The Paper-Towel Tube Robot
Four tube cores taped into a column make a robot as tall as a milk carton, and it costs nothing at all. Tape two pairs side by side, stack the pairs, then tape the whole column and stand it up. Cut a slot across the top core with a craft knife (your step, not theirs) and push a bottle cap in as a face. This is the build for the fifteen minutes before dinner, and it is the one preschoolers rebuild most often, because a tube that has been flattened can be pushed back into shape by hand.
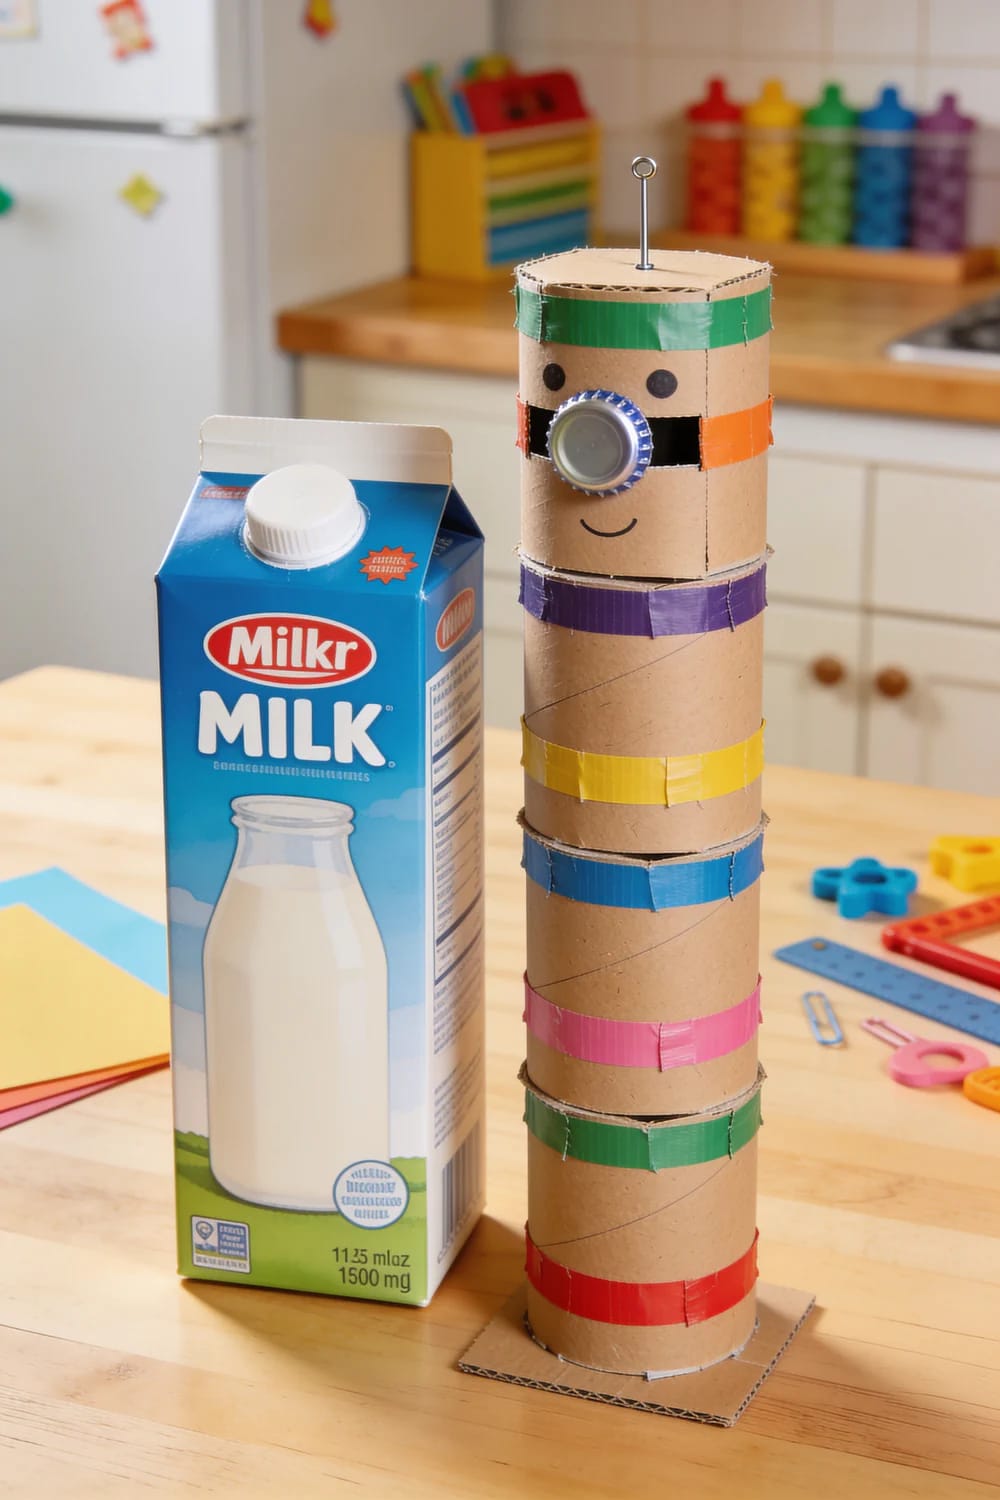
Tubes and caps carry a surprising amount of weight in a craft cupboard, and this collection of spring crafts made from recycled materials is where the leftovers go once the robot phase passes. One caution, though: a tube tower has no base. Slide it onto a circle of card cut from a cereal box, or it will spend its whole life falling over.
4. The Bottle-Cap Control Panel Robot
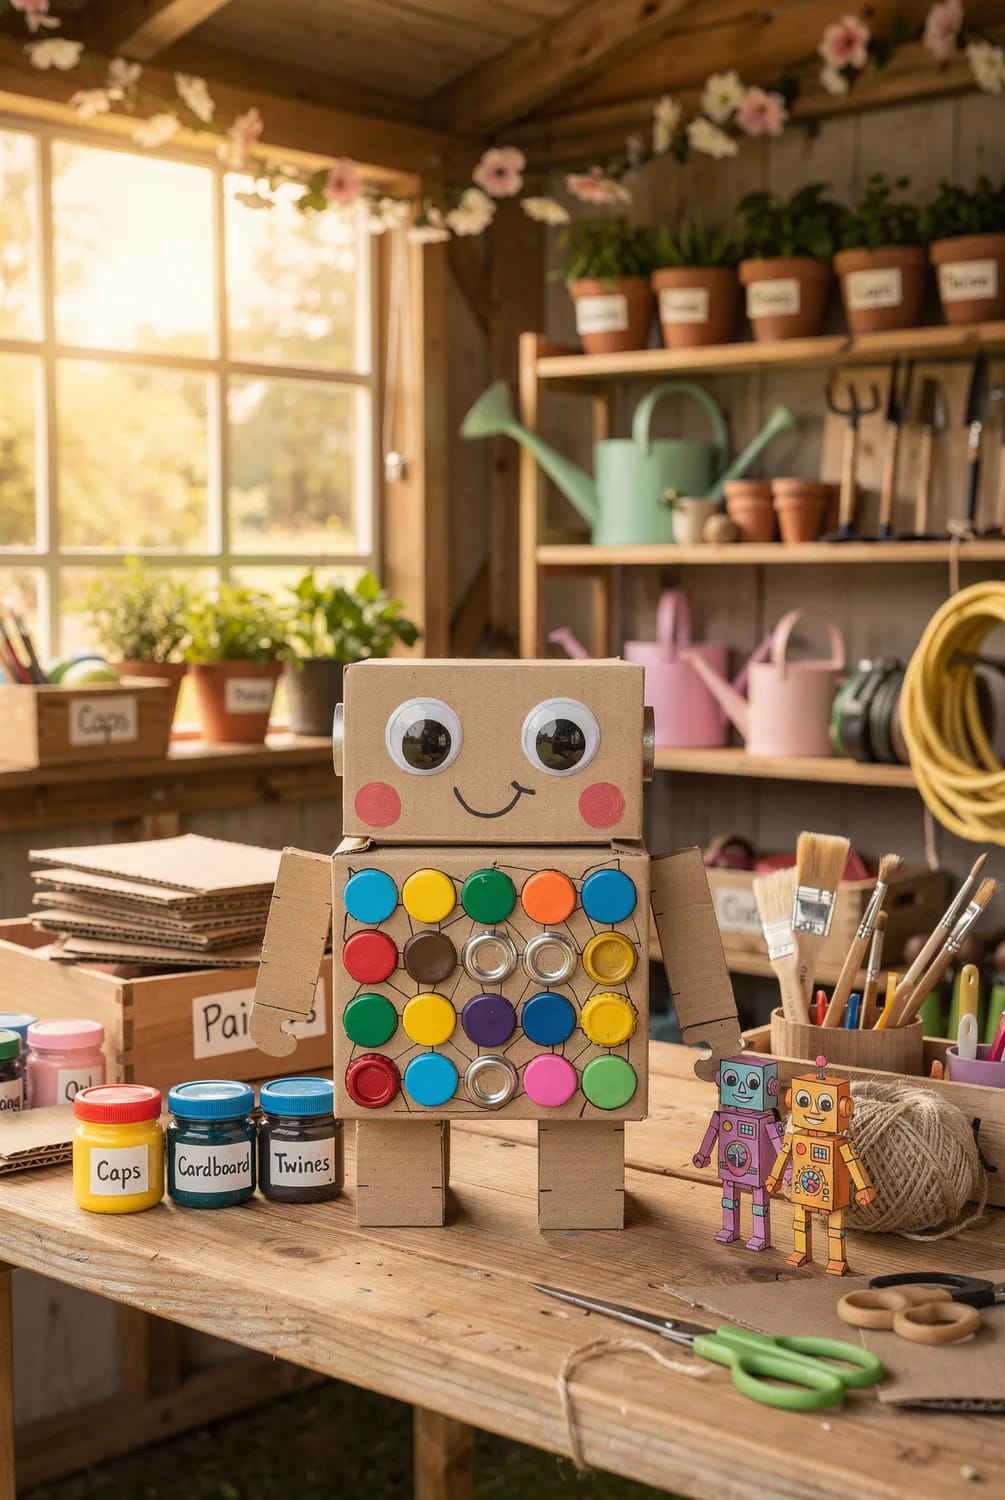
A flat build rather than a standing one: one wide box on its side, with a control panel of caps and lids glued across the front. Sort the caps by size before anything gets glued, because a four-year-old will want to lay out twenty of them and rearrange for a while, and that sorting is as much the activity as the gluing. A glue stick will not hold a cap. White school glue will, if the cap is pressed down and left alone for a full day. A low-temperature glue gun holds immediately, which matters when the maker is four and wants to wear the thing right now.
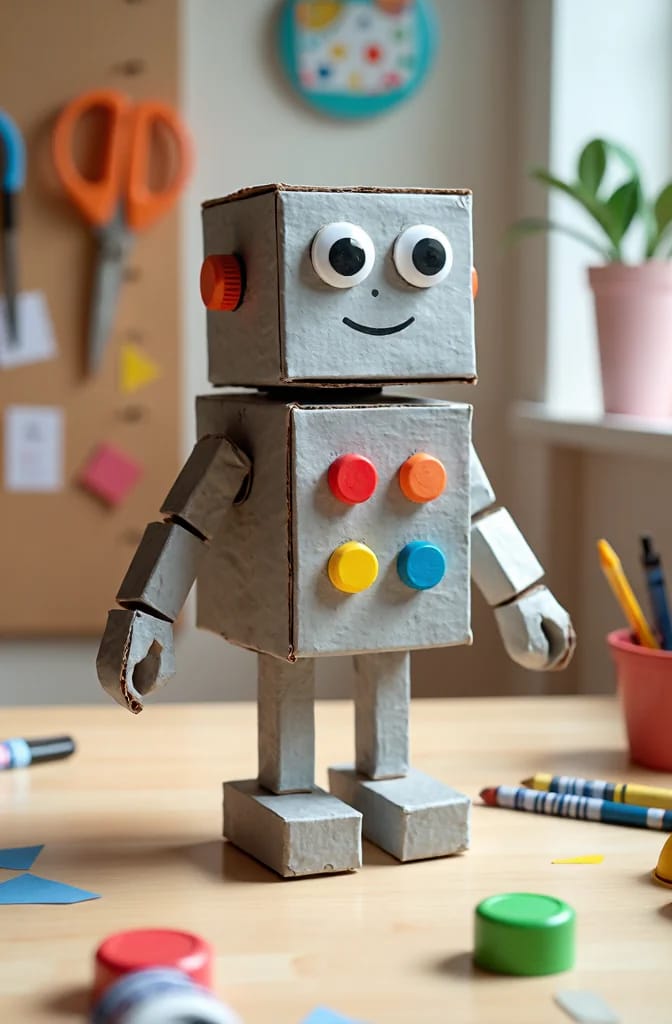
Caps, googly eyes and beads are the reason most of these builds carry a three-and-up floor. A two-year-old in the same room will put a cap in their mouth, so sort small parts on a tray at the far end of the table and count them back in at the end. A low-temperature glue gun still runs about 250 degrees at the tip, hot enough to raise a blister on a preschooler and to make you swear, so keep it on your side and pass finished pieces across. And a stacked box robot is taller than the child carrying it: tape the base to a heavier box, or stand it against a wall between play sessions.
5. The Egg-Carton Robot
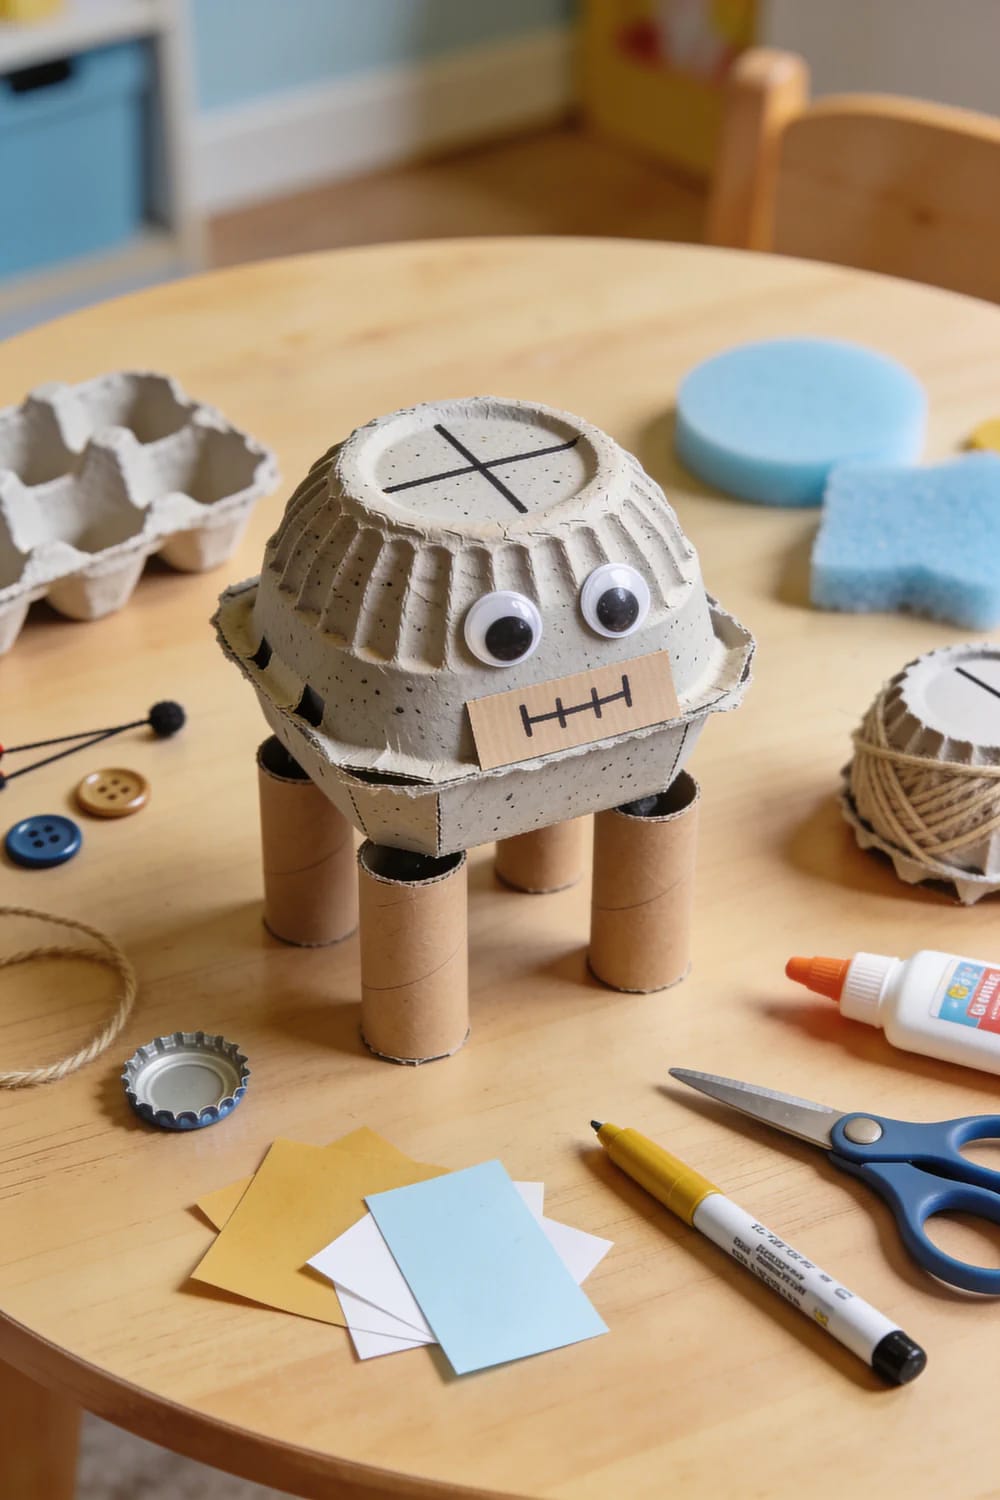
Cut the lid off a pressed-pulp carton (your step) and you are left with a shell carrying twelve bumps, which is more surface than any box will give you. Turn it dome side up, glue a short tube under each corner as a leg, and let the cups be the shoulders. Markers beat paint here for the same reason foil beats spray: a wash of colour over pulp blurs every bump you cut the carton for. The ink settles into the speckle and dries chalky, and a black line drawn along each ridge reads as machinery from two feet away.
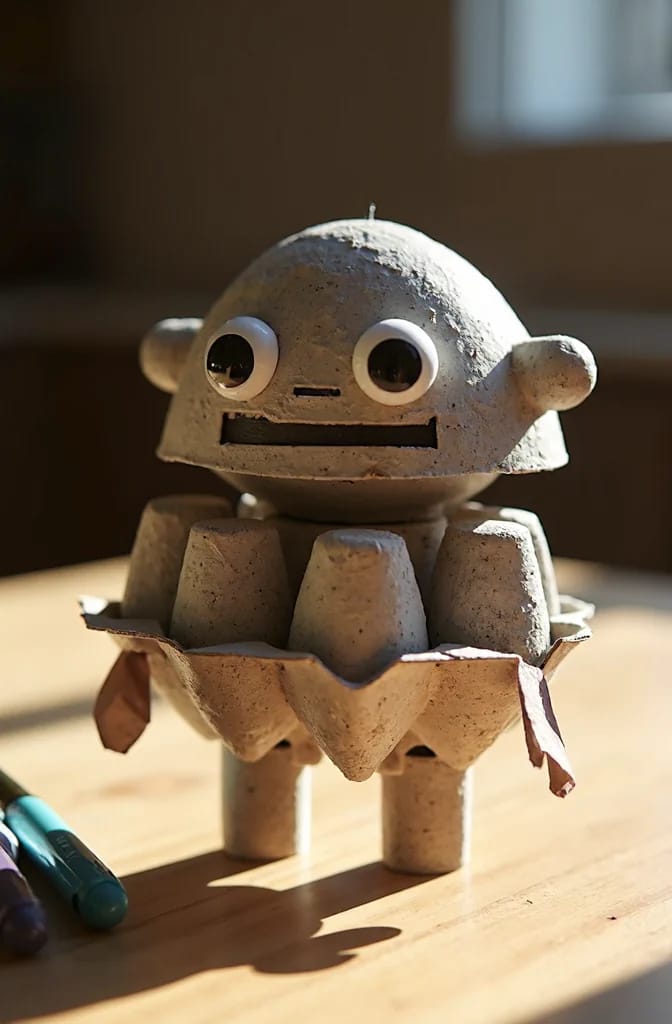
The one bought item this build wants is a pack of self-adhesive googly eyes, because peeling the backing off a ten-millimetre eye is the best fine-motor exercise in the whole list, and it is the step a three-year-old will repeat twenty times without being asked. Upins self-adhesive googly eyes, 1000 pieces in mixed sizes costs less than a coffee and lasts several years of classroom use. Expect the smallest sizes to fight back; a fingernail under the edge does it.
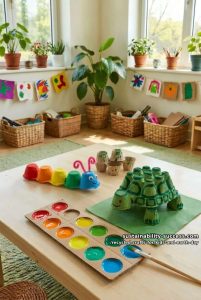 12 Recycled Crafts for Kids That Earn a Real “Whoa” on Earth Day A dozen bin-sourced projects written for the adult running the table, with the one careful grown-up step flagged on each.
Big Box Robots for a Grown-Up With the Glue Gun
6. The Wearable Robot Costume
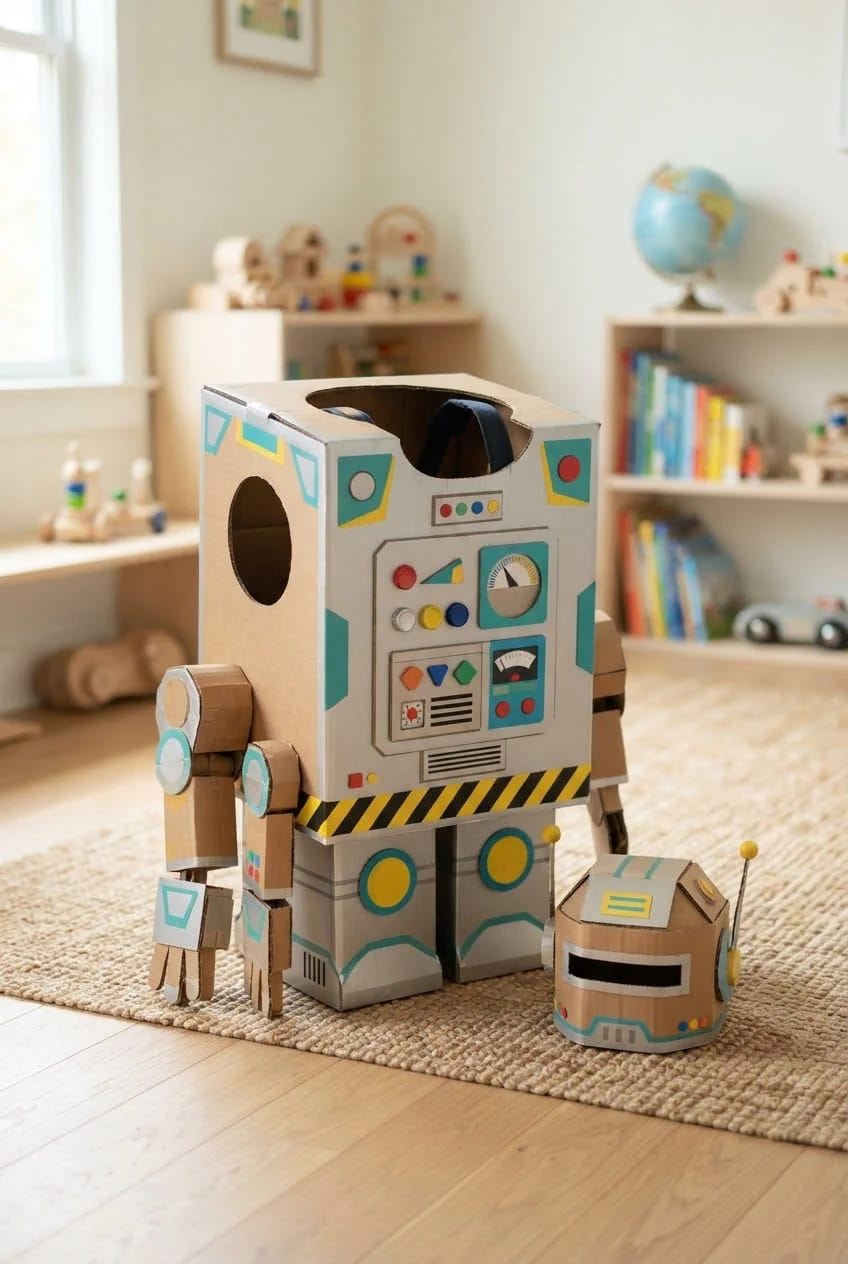
Two boxes, one strap, and about ninety minutes of your time. Cut the head hole in the base of the big box rather than the top, so the weight of the box rests on the shoulders instead of hanging from the neck. The opening needs to clear the child's head by a fist in every direction, and if it does not, the costume gets worn once and then abandoned mid-hallway. Chest holes go low and wide, because a preschooler looks down, not forward.
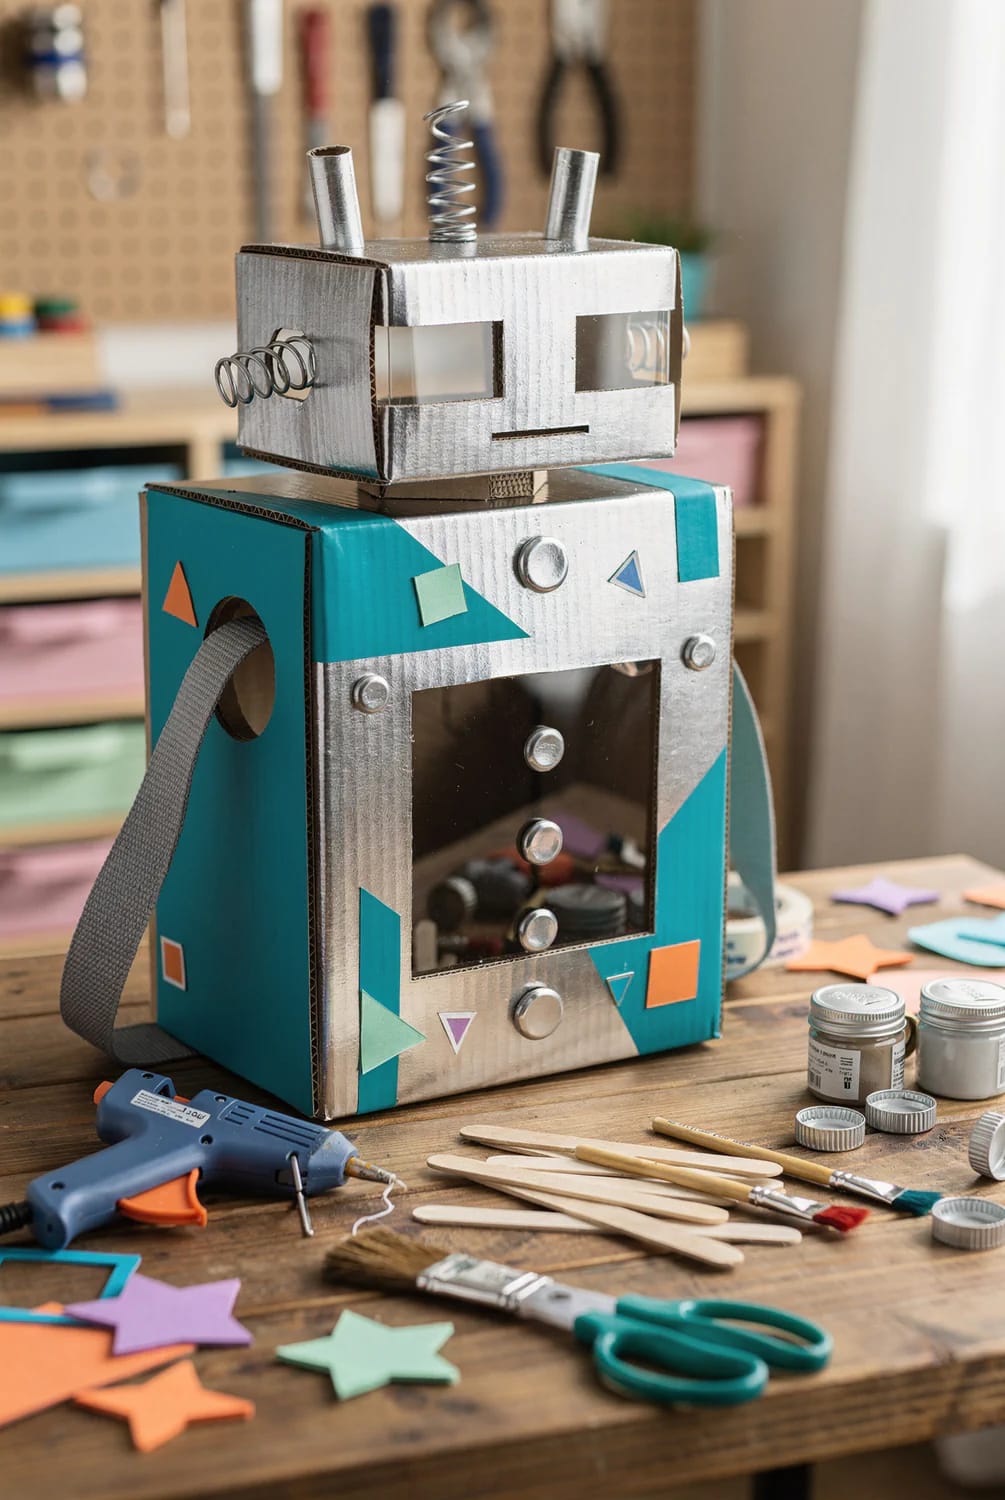
The strap is where most of these fail. Tape alone will not survive a child running, so thread a length of webbing or two strips of wide ribbon through slits at the shoulders and knot them inside the box where nobody can see the knot. Test it by lifting the box by the strap with a full jug of water inside, which is roughly what it weighs once a four-year-old is wearing it.
Runs about 75 degrees cooler than a standard glue gun, so the box-to-box joins set fast without the burn risk on small hands nearby.
AdTech Cool Tool low-temperature mini glue gun kitDo this
- Run kraft paper tape over every cut edge so the raw flute stops shedding
- Reinforce strap slits with a square of card on the inside before knotting
- Sand the corrugation flat anywhere a child’s hand will grip
- Prime with a coat of white acrylic if paint is non-negotiable
- Let one box be the wrong colour on purpose
Avoid
- Spray paint, indoors particularly, and not with a child in the room
- Glitter glue over wet paint, which lifts the paint rather than sitting on it
- Pipe cleaners as any load-bearing joint
7. The Robot You Can Sit Inside
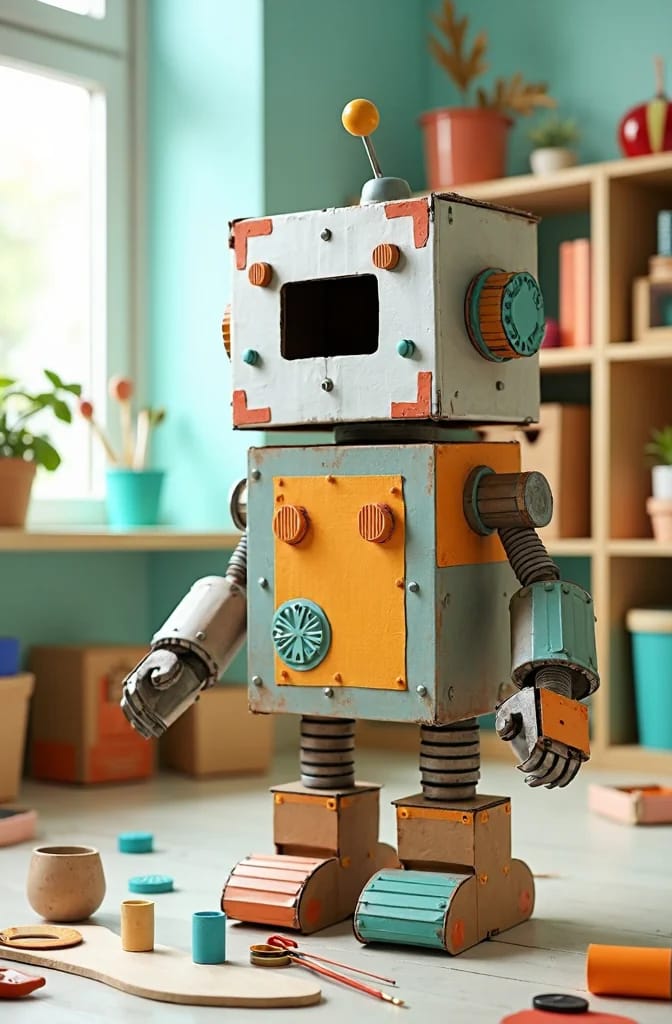
The one that is barely a craft. Take the largest box you can get: the one a wardrobe or a small fridge arrives in, at least four feet tall. Cut a door in one side and two windows above it, tape a small box to the outside as a control panel, and stop. Everything the child does after that is the project, and most of it is not visible from outside.
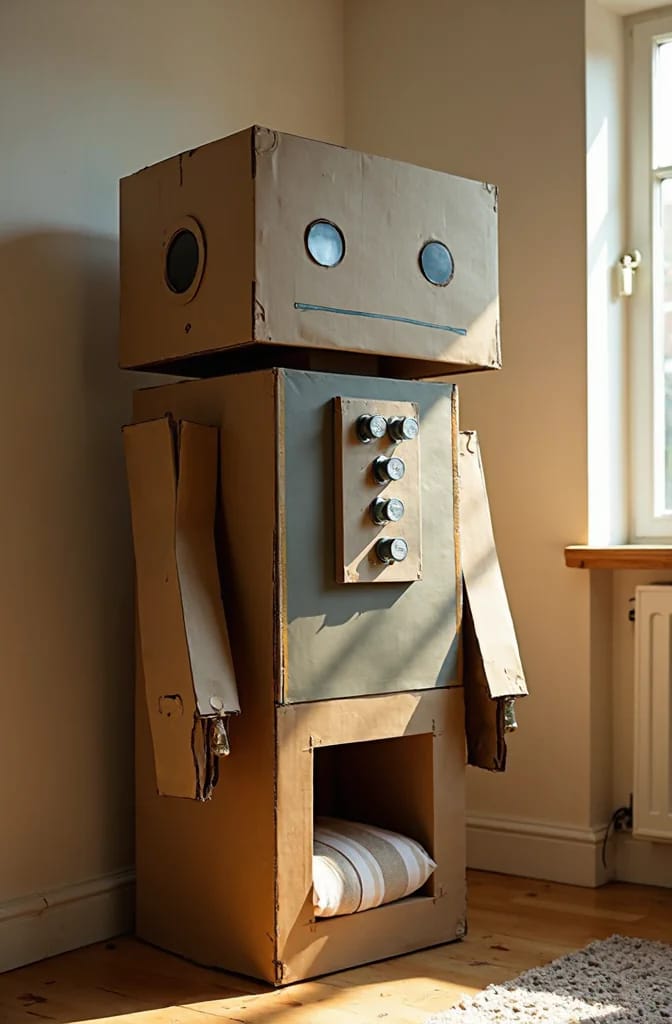
The trade is space. A box this size will occupy a corner of a room for a month, and it will be the first thing a visitor sees when they come through the door. If that is not a deal you want to make, this is the build to skip, and the tube robot in section 3 is the one to make instead. If it is, tape the cut flaps outward rather than removing them: the windows then have shutters, which buys you another fortnight before the box loses its appeal.
8. The Robot Arm That Lifts by Itself
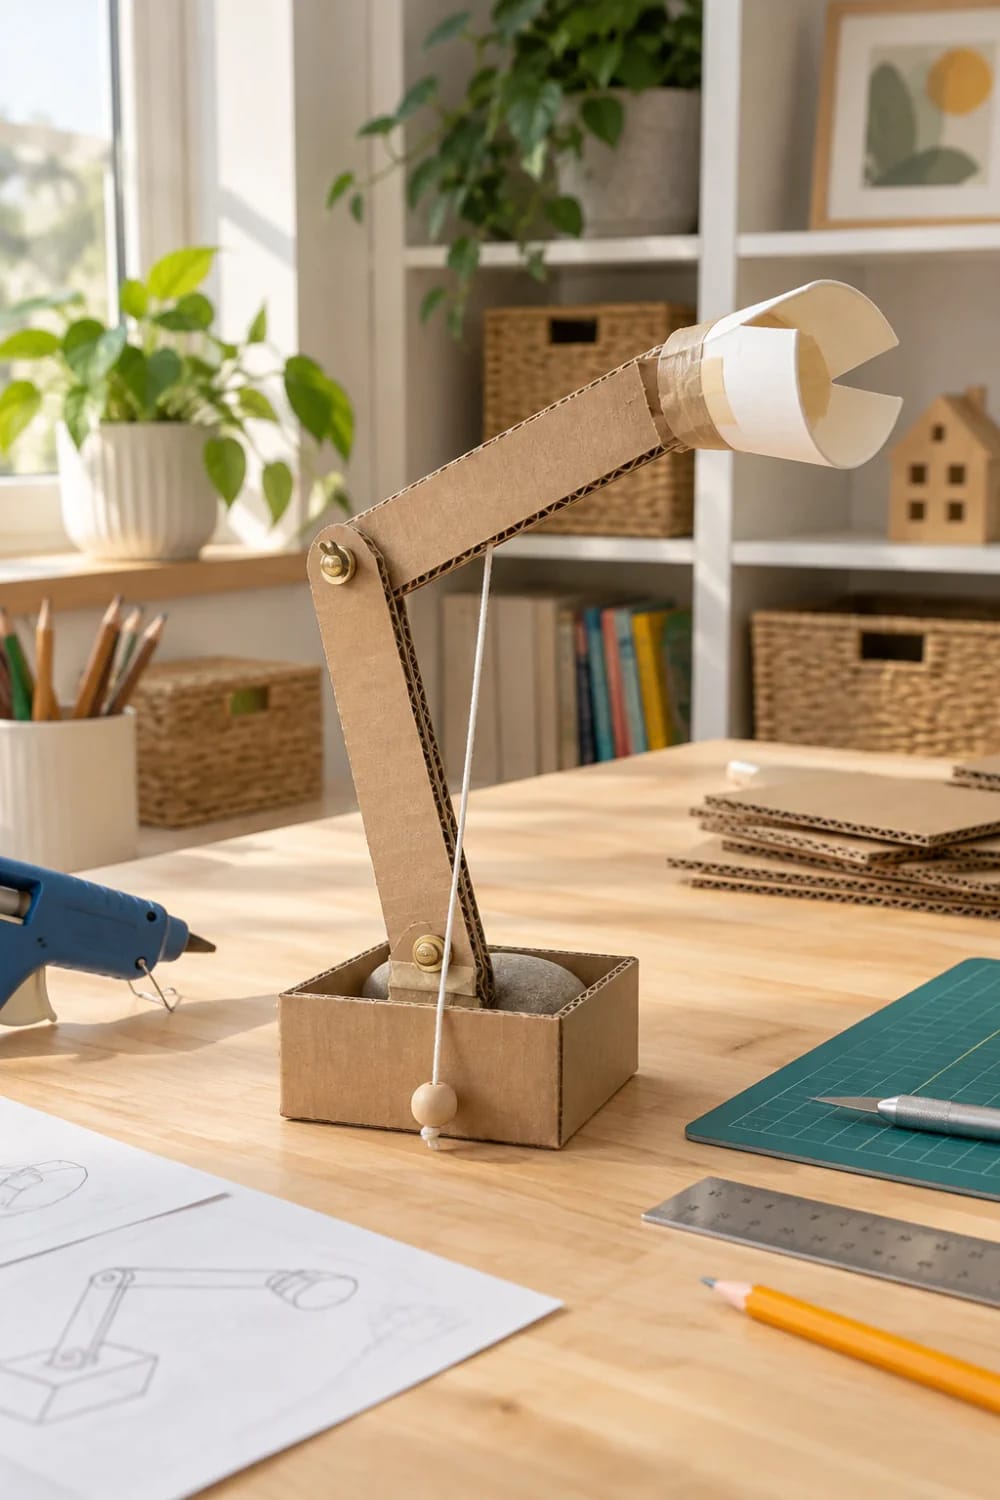
One brass split pin, one length of string, three strips of board. The bottom strip is the base, the middle strip pivots on a pin through the base, and the top strip pivots on a second pin through the middle one. Tie the string to the far tip, run it down through a third hole at the base, and tie a bead on the loose end. Pull the bead, and the whole arm folds upward.
The trick that keeps it working is that the string must run on the same side of both pivots. Run it outside one pin and inside the other and the arm folds in the wrong direction, which is not obvious until the child pulls and the arm goes limp. Set the joint tension with the splay of the pin: tighter splay, stiffer arm, less collapse.
 31 Creative Art Projects Using Recycled Materials: Eco-Friendly Creations for Artists Where to take the same materials once a child has stopped wanting a robot and started wanting a machine.
Robots That Do Something Back
| Build | What makes it move | Bench time | What ends it |
|---|---|---|---|
| The arm that lifts | String through a split pin, pulled by hand | 40 minutes | The string frays at the tip |
| The chest that lights | A battery tea light taped behind a cut panel | 20 minutes | The battery, in about 100 hours |
| The face that changes | Magnetic tape and cardstock expressions | 30 minutes | Somebody loses the faces |
9. The Robot With a Light Inside
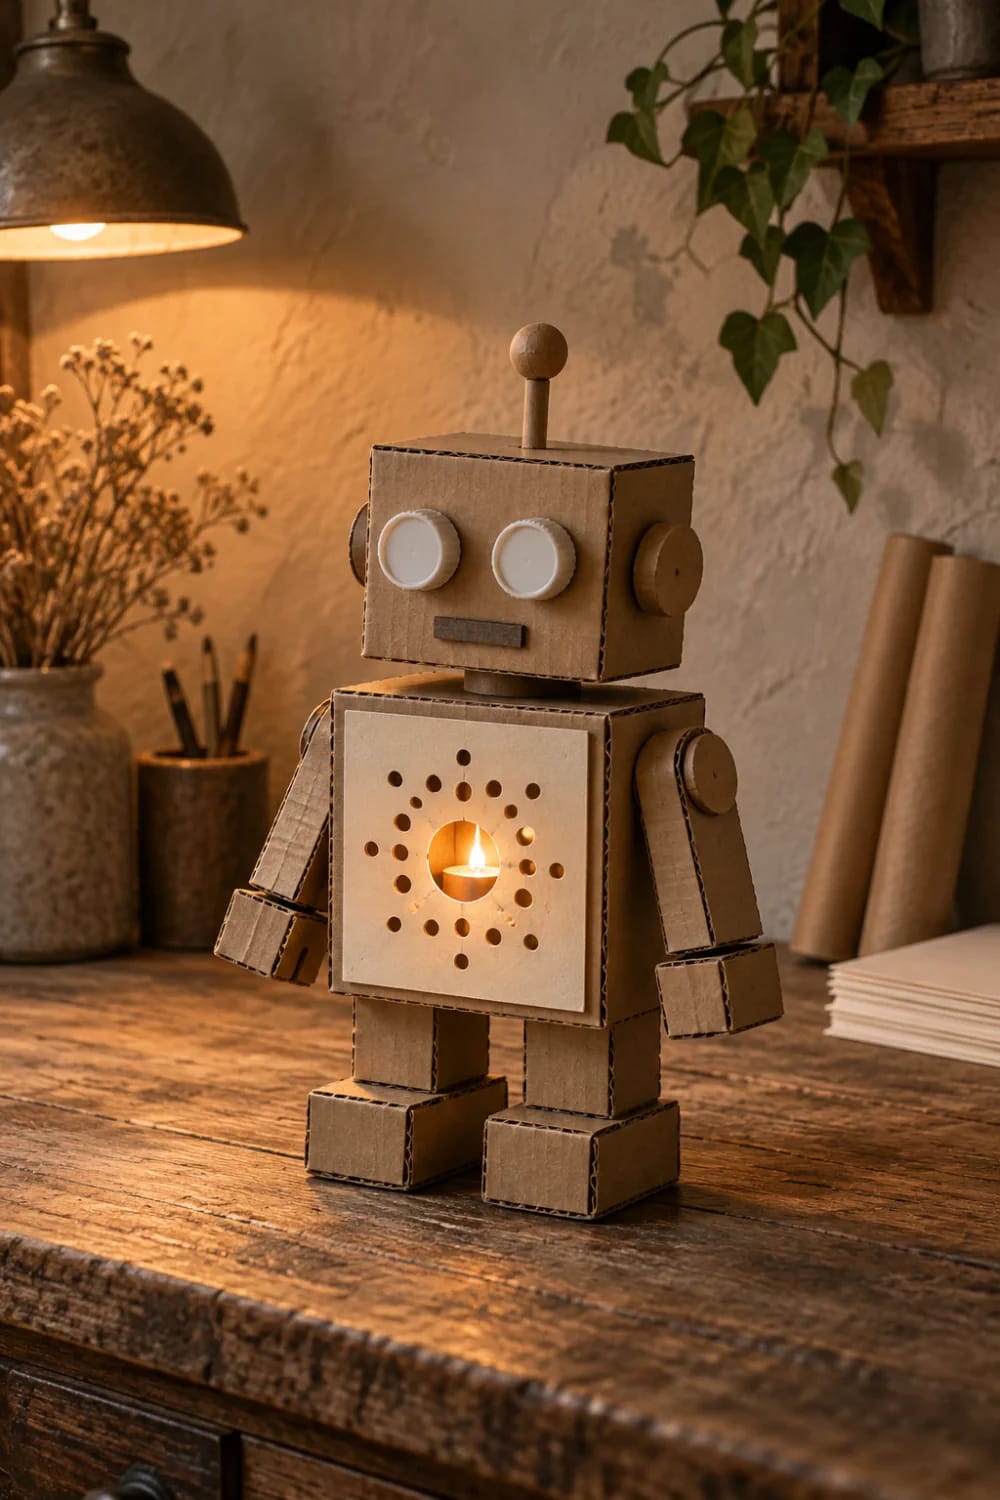
A battery tea light taped inside the chest, and a panel cut out of the front so the light has somewhere to go. Punch the holes in a sheet of cardstock with a hole punch and tape that behind the opening; the paper spreads the light into an even glow and keeps the flame-shaped bulb out of sight, which is most of the effect. Cut the opening smaller than you think you need. A four-inch square of light on a robot chest looks like a power source. An eight-inch square looks like a hole.
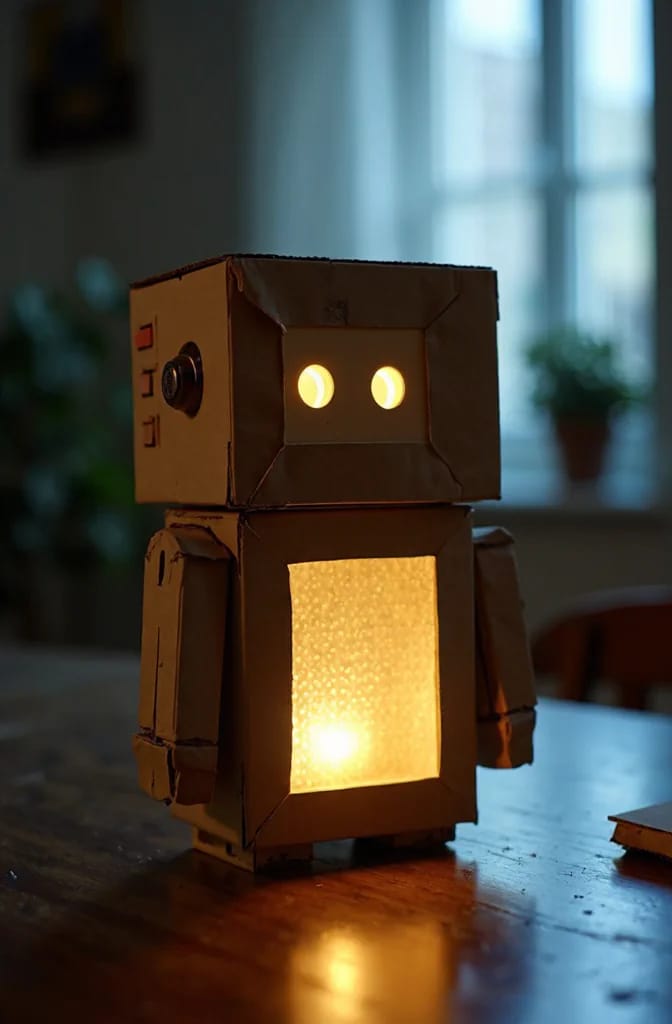
Use the battery kind, never a real tea light, even for a moment. Flip the switch and tape over it before the box closes, since a preschooler who can reach the switch will leave it on permanently. AGPTEK timer tea lights, 24-pack of flameless LED candles runs long enough for a classroom and gives you spares for the next three robots.
10. The Robot Whose Face Changes
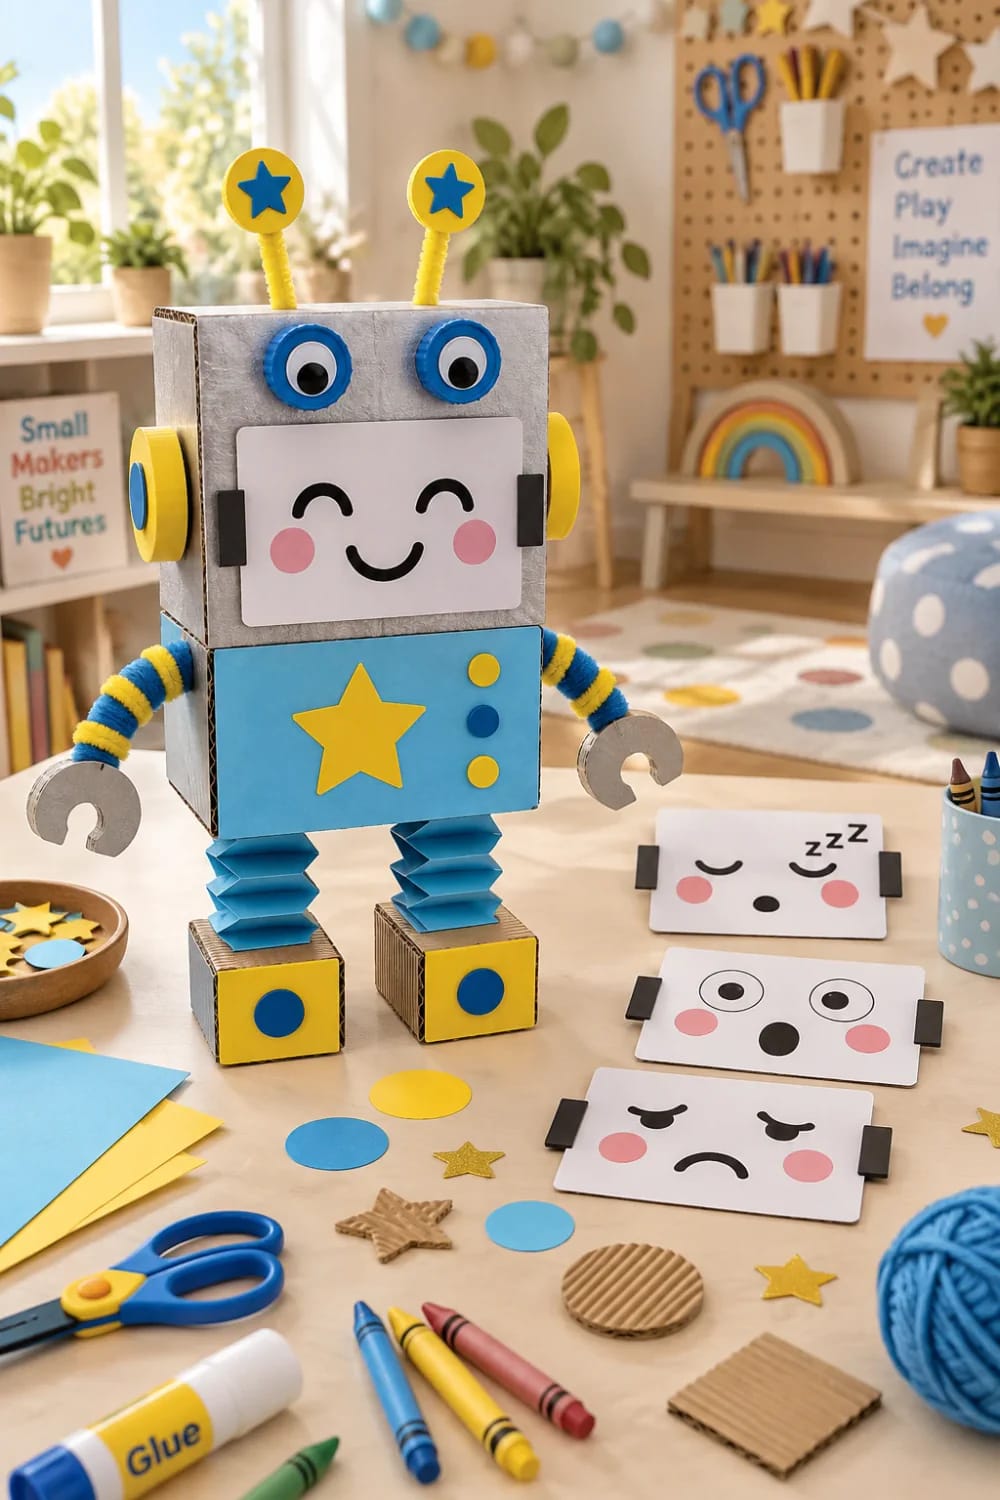
Magnetic tape on the front of a small box, matching tape on the back of four cardstock faces, and the robot has whatever expression the child is feeling at that moment. Draw the faces yourself in thick marker, one sheet each: happy, cross, surprised, tired. Preschoolers name the feelings out loud while they swap them, which is the whole reason this build earns its slot.
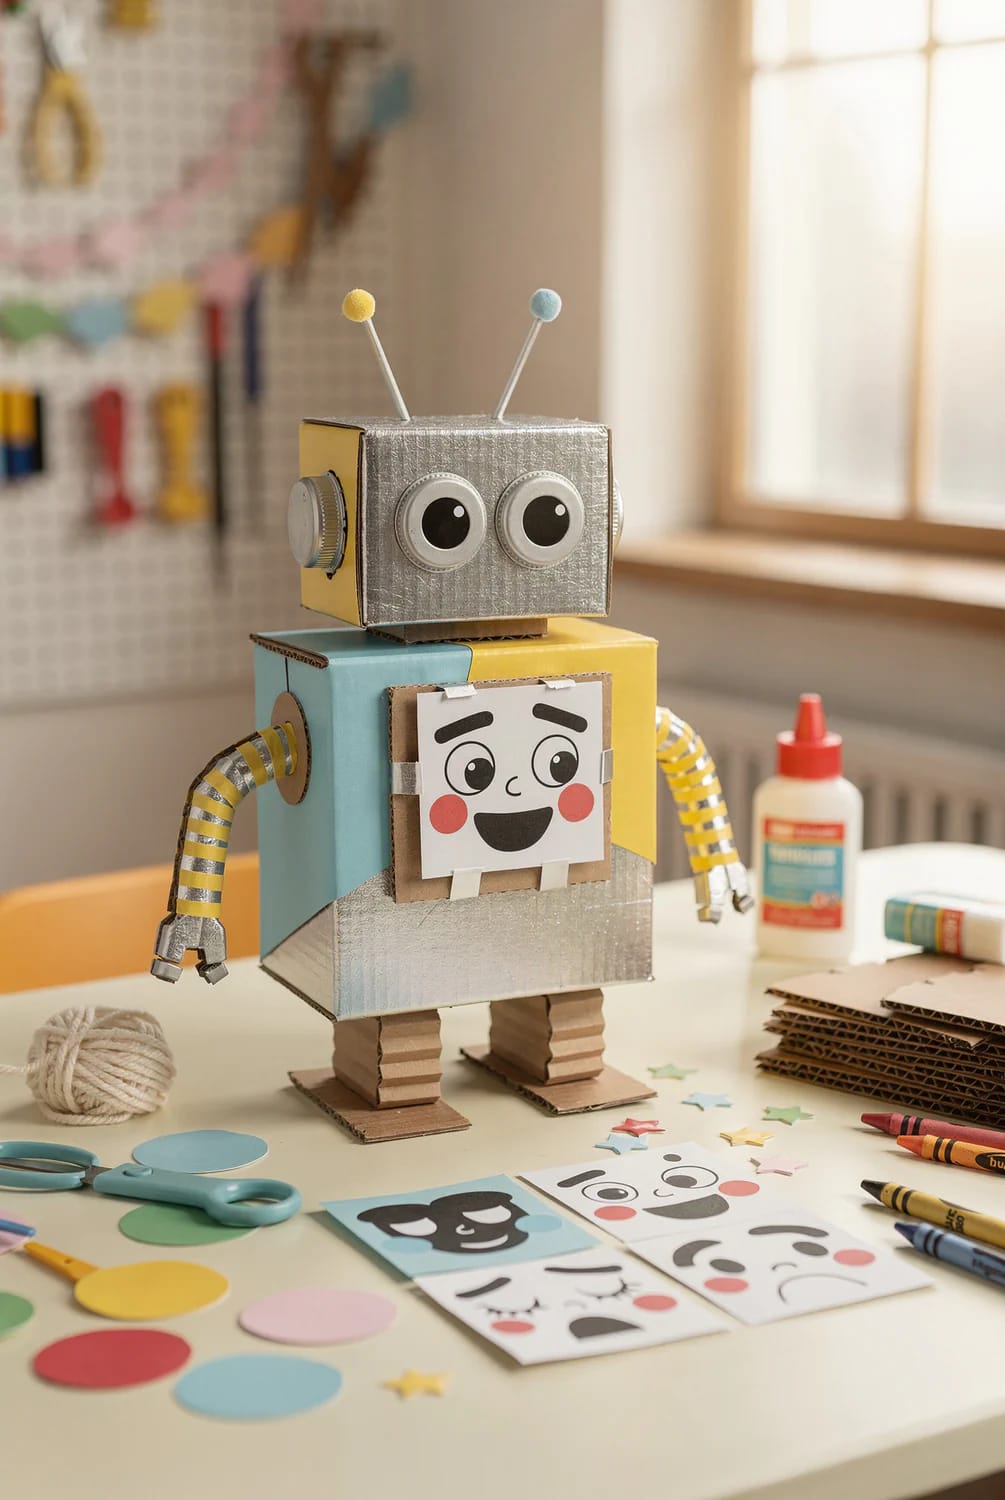
Buy the magnetic tape in a roll rather than the pre-cut squares, because you will want long strips on the box and short ones on the cards, and the adhesive on the cheap pre-cut squares gives up after about twenty swaps. Press each strip flat for a slow count of ten before letting go, and keep the faces in a small tin or a zip bag between sessions. Cards that live loose in a toy box come back bent, and a bent card will not sit flat enough to read. The googly eyes from section 5 work here too, stuck on the cards rather than the box, so each face gets its own pair. If the crafting habit outlives the robot phase, 37 upcycled craft projects picks the same materials up again at a larger scale.
Related Posts
- 15 Unique Spring Crafts Made from Recycled Materials
- 12 Recycled Crafts for Kids That Earn a Real “Whoa” on Earth Day
- 15 Super Easy Spring Craft Ideas Made with Natural Materials
- 15 Creative Upcycled Valentine’s Day Crafts
- Button Crafts: 11 Colorful Projects for a Jar You Can’t Stop Filling
- 15 Unique Nature Inspired Spring Crafts