Staring at a blank fence or plain flowerbed can zap your gardening spirit.
Ever thought a few simple and easy garden art craft DIY projects could add fun and flair? You don’t need a big budget, just some everyday items and a sprinkle of creativity.

Tin can lanterns, painted rocks, and recycled wind chimes turn old scraps into backyard wonders.
Gather the family, dig through that junk drawer, and start making your garden as welcoming as your living room. Even two left thumbs can manage these ideas!
1. Painted rock flowers arranged in colorful clusters
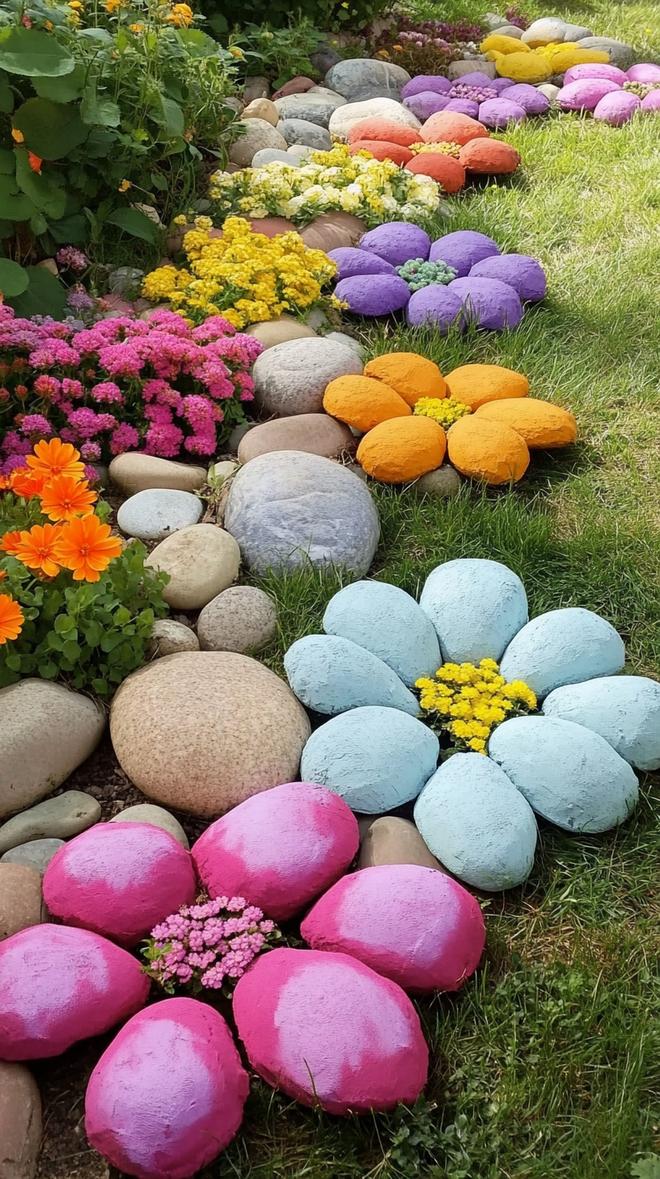
A handful of smooth rocks, some simple paint, and a sunny afternoon can turn your garden into a burst of color. Painted rock flowers, scattered in patches, brighten dull corners without constant upkeep.
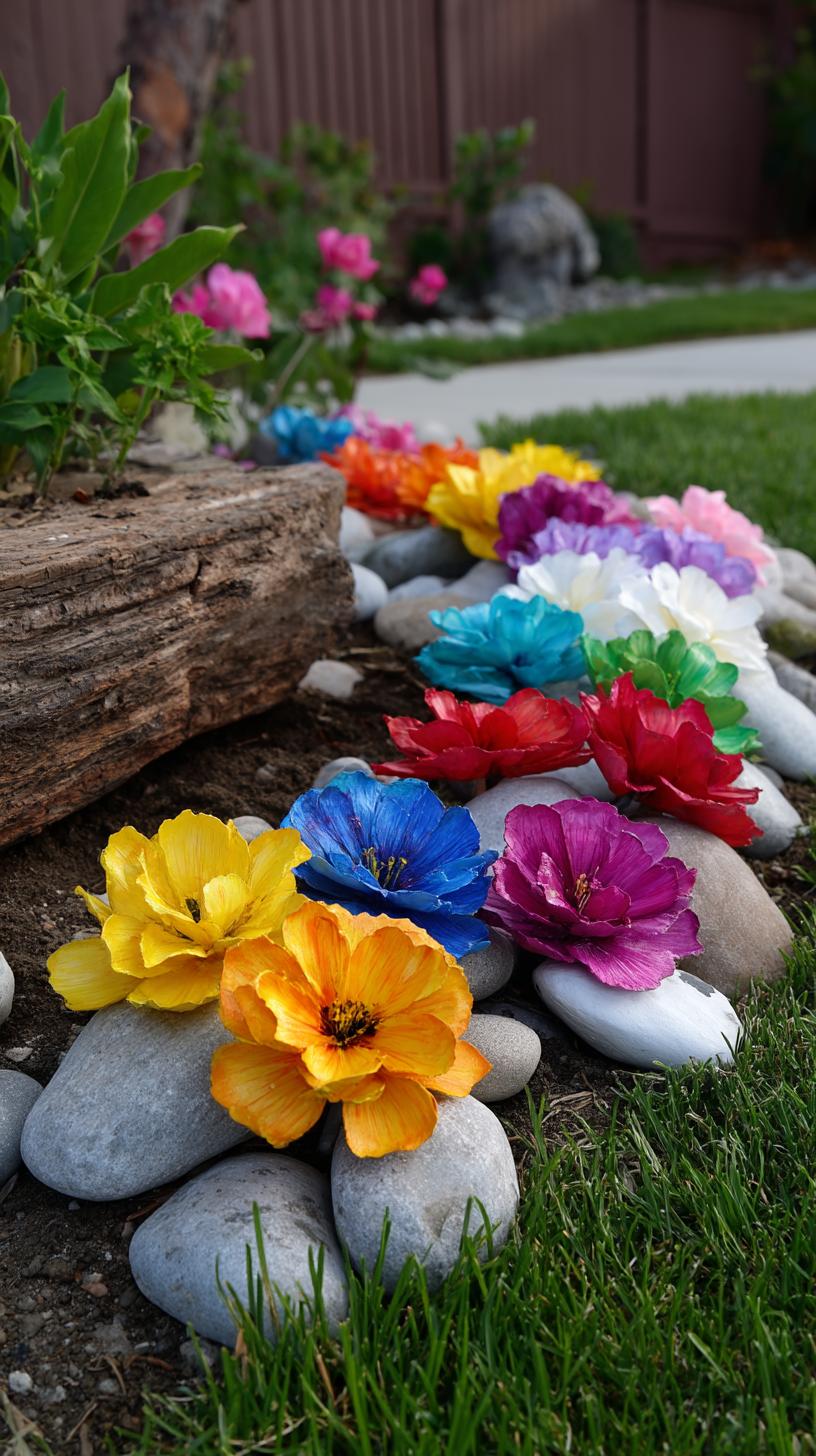
Kids and adults both enjoy the creative process, mixing shapes, experimenting with patterns, and swapping floral designs.
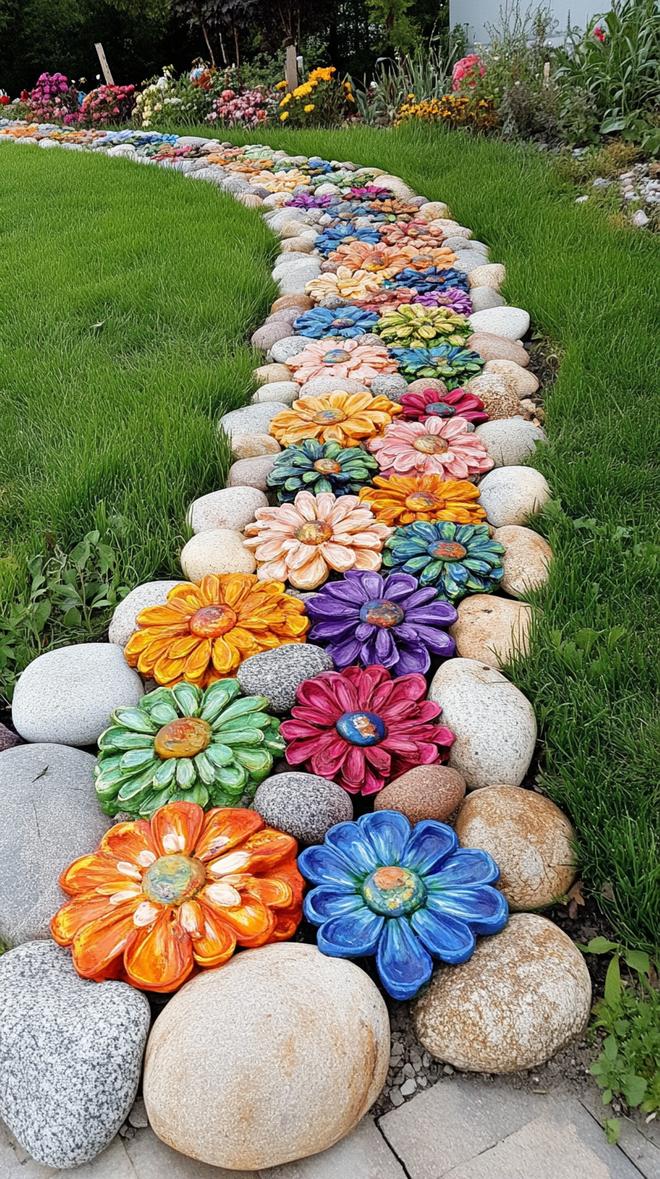
However, these painted stones can fade from sun and rain. To help them last, use outdoor acrylics and a spray sealant.
Scatter clusters at the base of shrubs or along footpaths for surprise pops of brightness. Why settle for plain mulch when a patch of painted “petals” can put genuine smiles on faces?
2. Bright flower pots made from upcycled tin cans
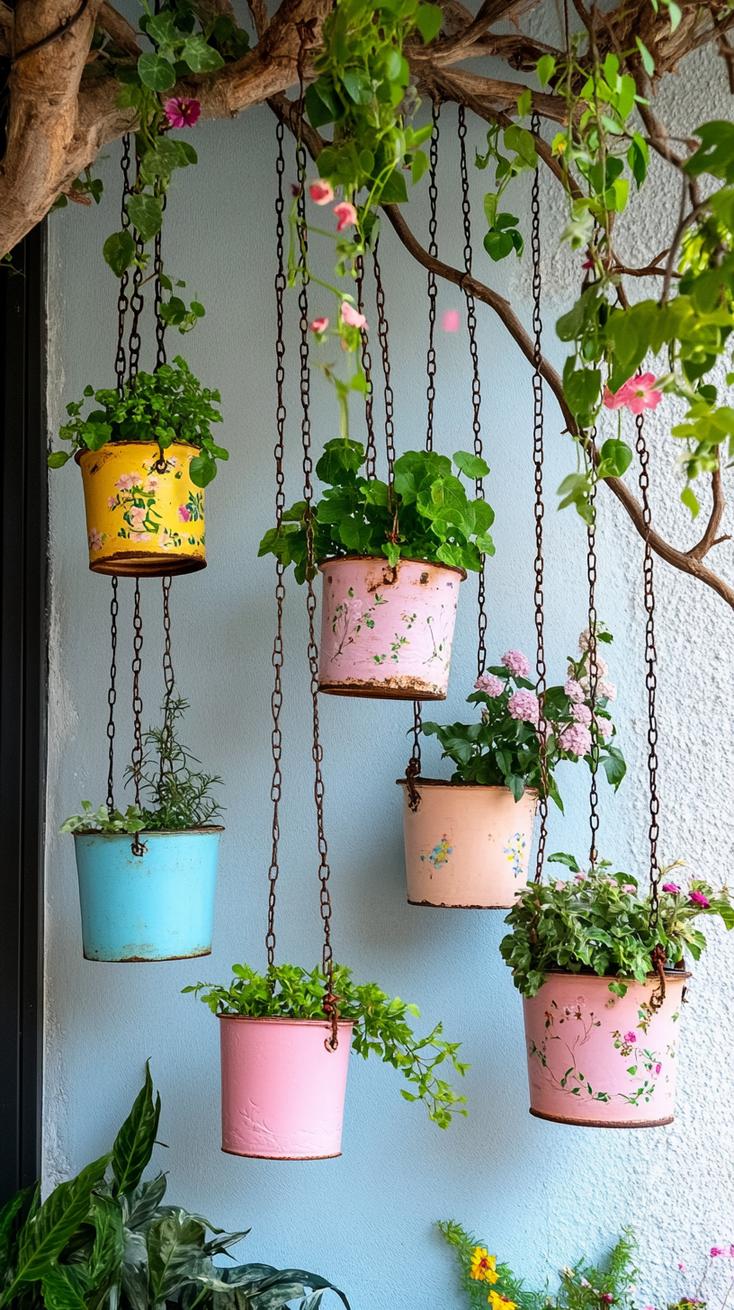
Old tin cans don’t need to go to landfill, give them new life as cheerful flower pots.
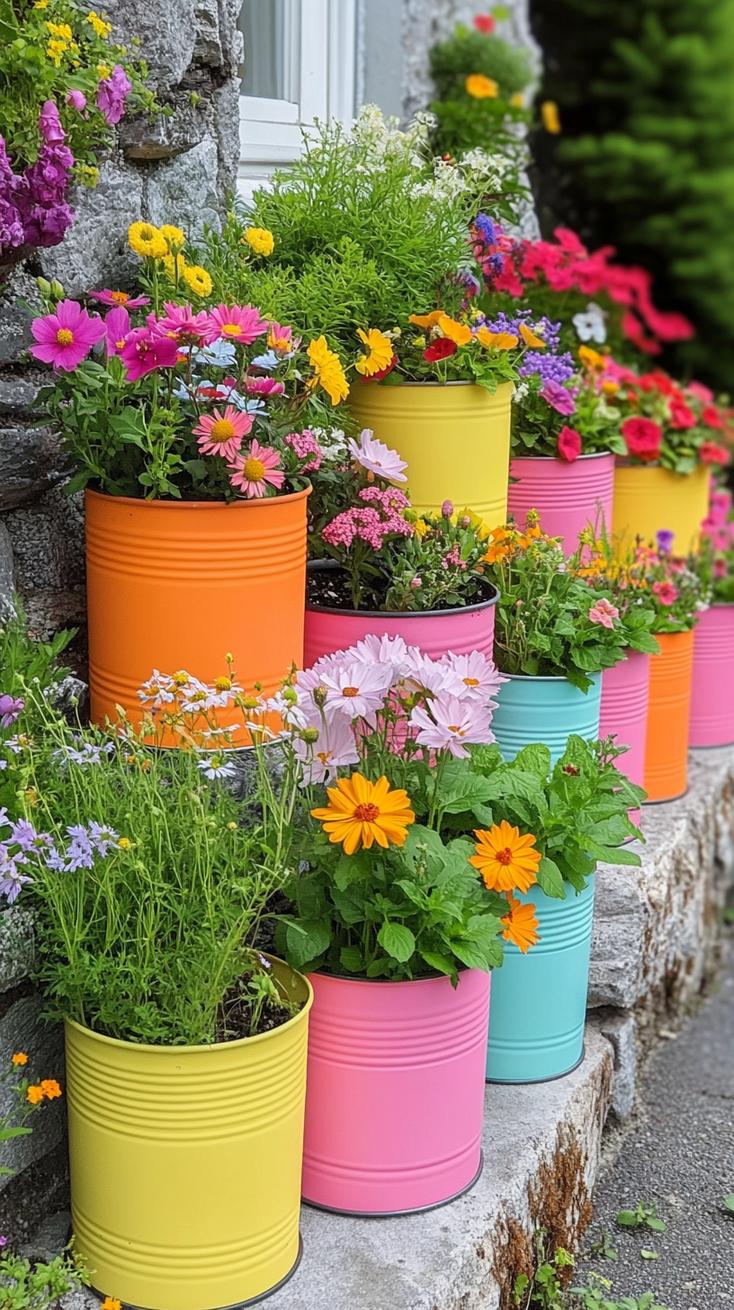
Clean them thoroughly, poke a few drainage holes in the bottom, and use leftover house paint or markers for decoration.
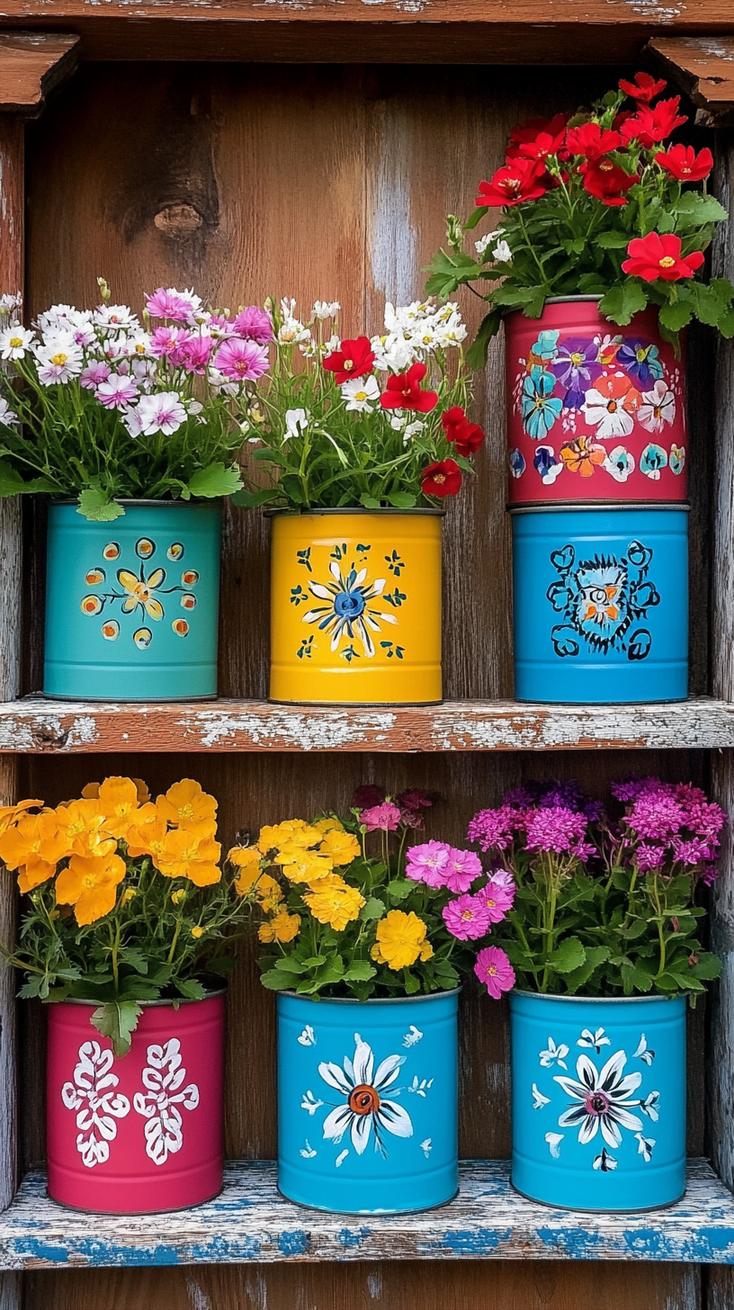
Bold stripes, colorful dots, or quick swirls can turn dull metal into eye-catching garden decor.
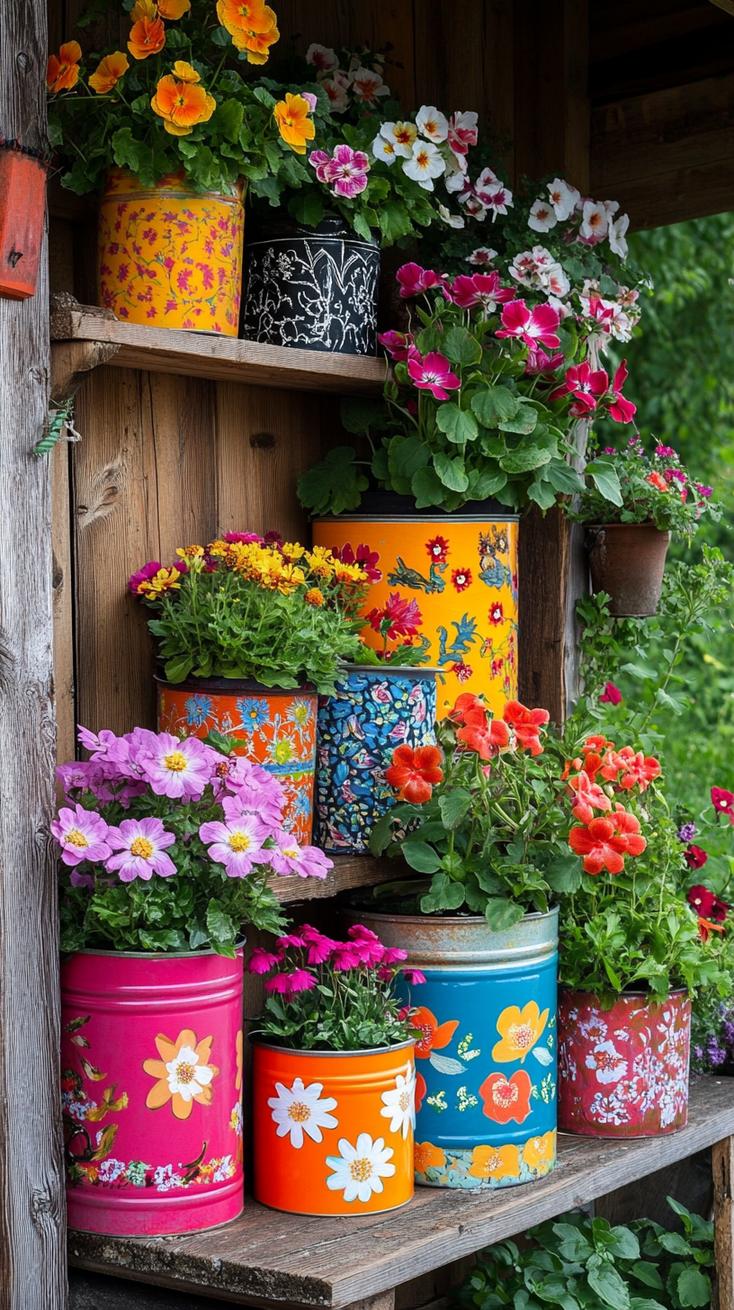
Even children can help, and their wild designs often steal the show. These pots cost next to nothing, but bright colors add instant curb appeal.
One catch? They can rust after a rainy week. Coat them with clear sealant, or move them under cover during storms for longer-lasting shine.
3. Mosaic stepping stones with floral patterns
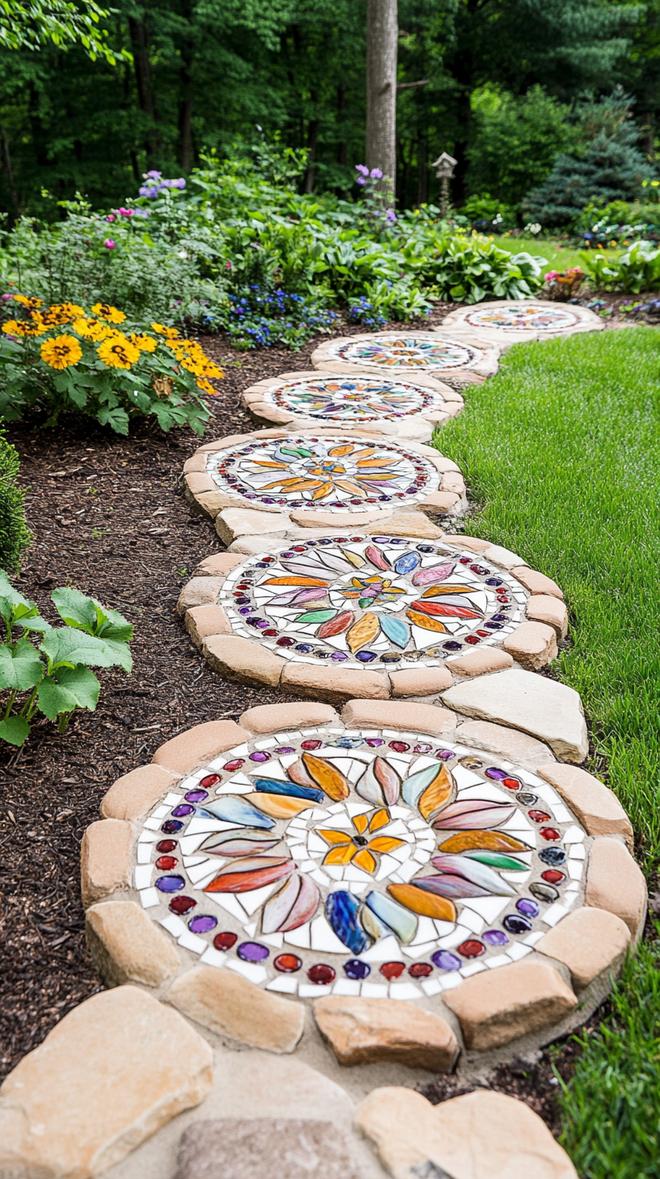
Making mosaic stepping stones is a simple way to add personality to your garden. Use broken tiles, bottle caps, or old china. Arrange pieces into floral shapes. Don’t worry about perfection.
As they say, every crack tells a story! Kids, neighbors, or anyone can join, creating memories alongside the stones.
These stones are tough, rain and sun usually can’t faze them. However, slippery surfaces may form if you use glass pieces, so stick to textured materials when possible.
With everyday items and a splash of creativity, you can instantly make paths as cheerful as a spring morning.
4. Vertical garden from painted wooden pallet
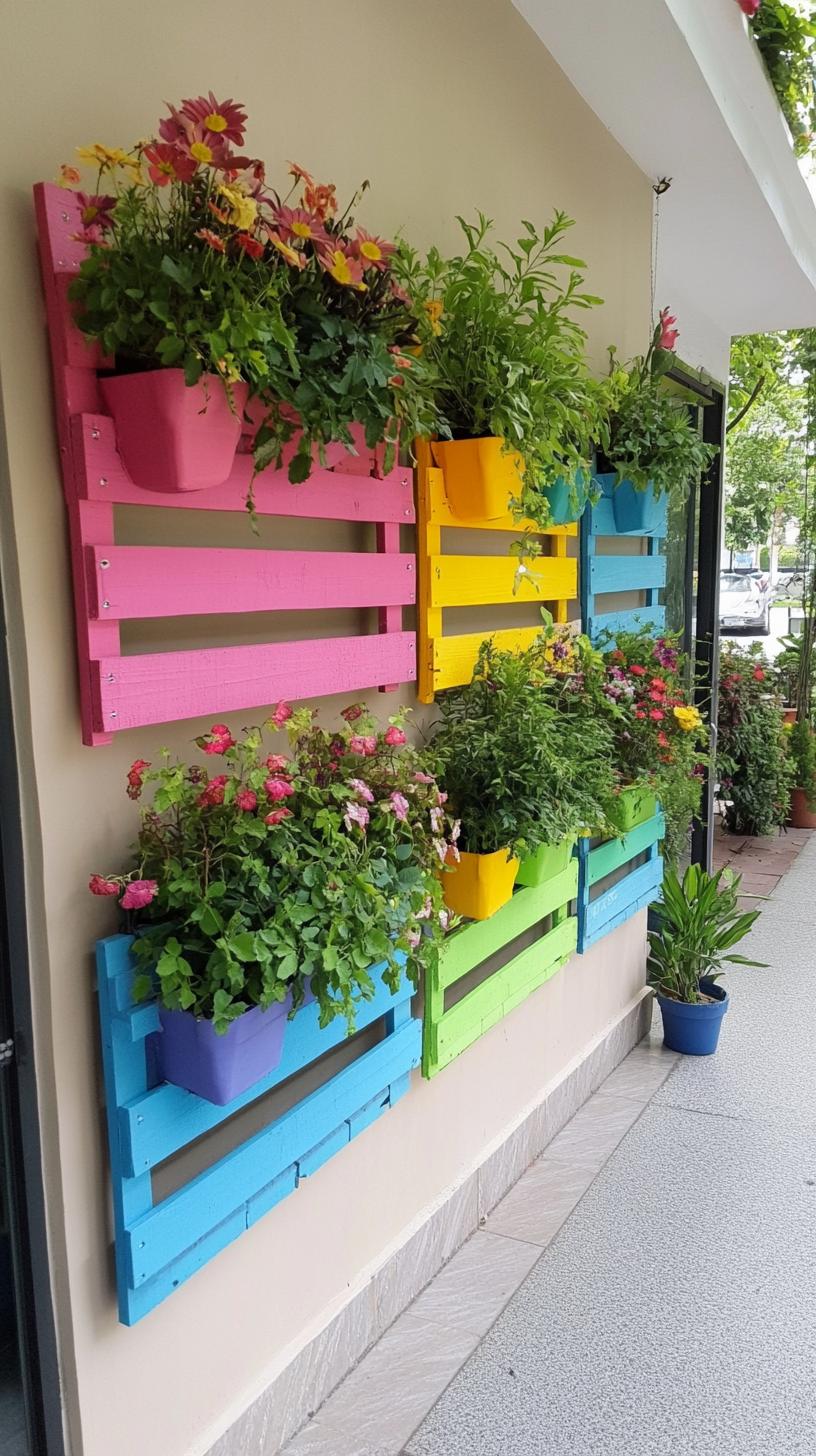
Many people throw away old wooden pallets, yet with a bit of paint and creativity, these can become living canvases.
Lean one against a wall, add colorful pots, and you’ve built a vertical garden. It’s cheap, beautiful, and makes cramped patios look cheerful.
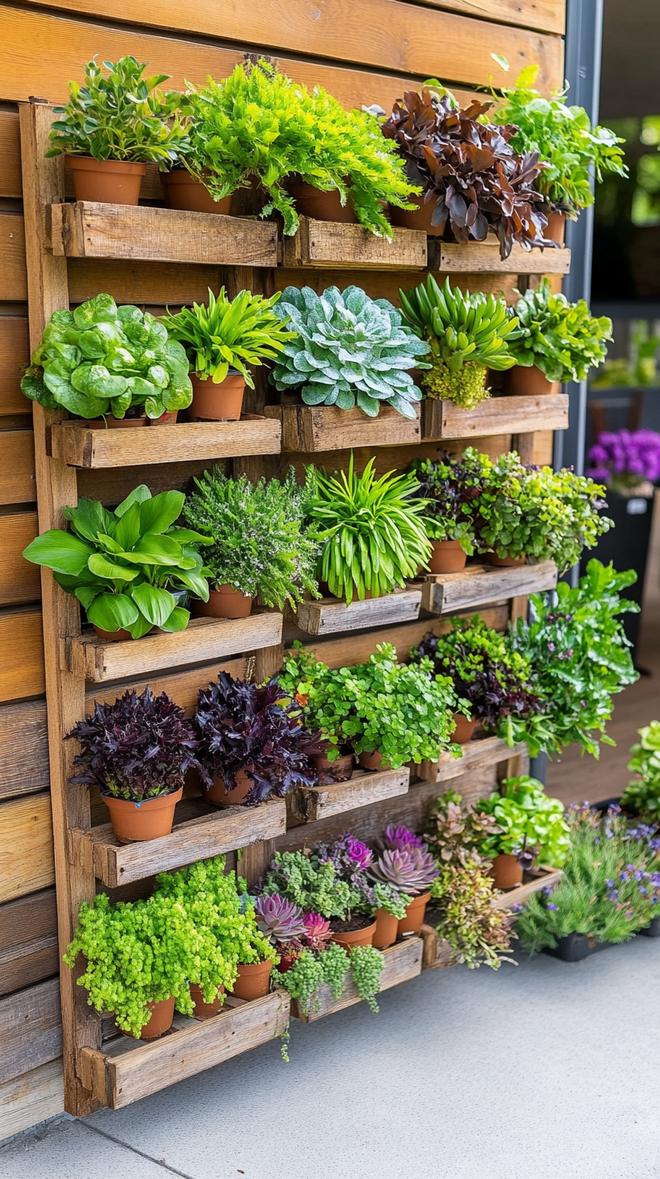
Worried about stability or watering? Choose lightweight pots and drill drainage holes first. Use bright weatherproof paints for personality and durability.
This isn’t Martha Stewart-level carpentry, if you can hold a paintbrush, you’re halfway there. Experiment with herbs or succulents for less mess and easy care.
5. Tire planters stacked and spray-painted rainbow
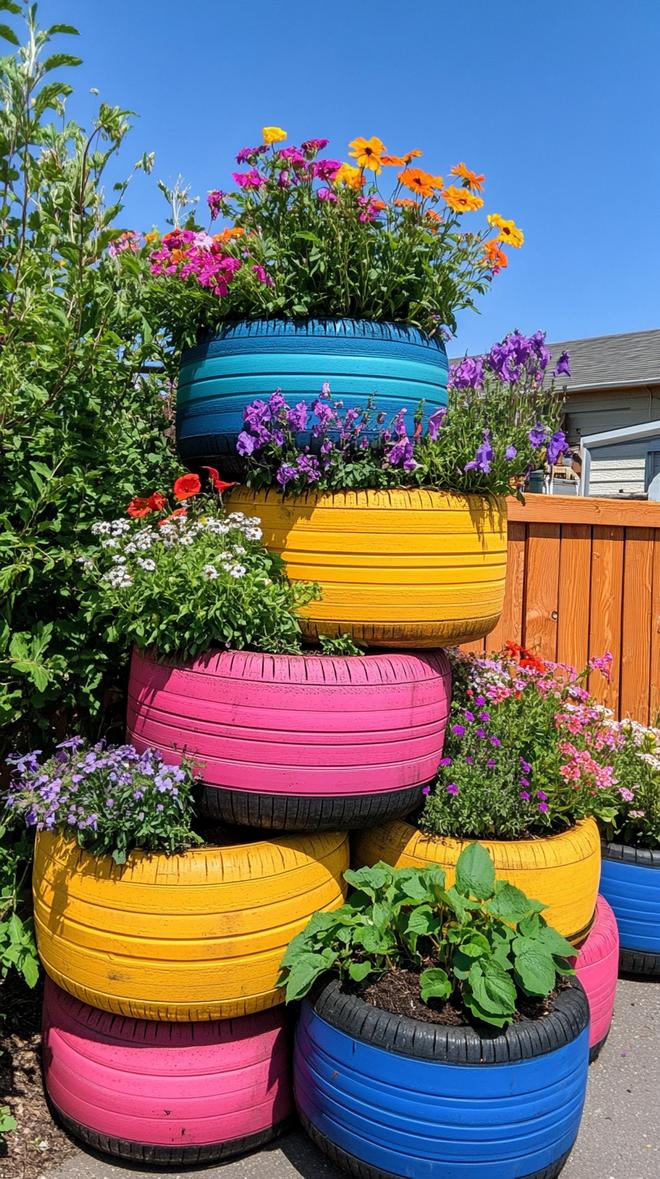
Tire planters are a clever fix for drab corners. Stack a few old tires, give them a thorough wash, then spray-paint each one a splashy rainbow shade.
You’ll suddenly have an eye-catching planter tower fit for edible herbs or bright petunias. Kids love picking colors and helping arrange tires, too.
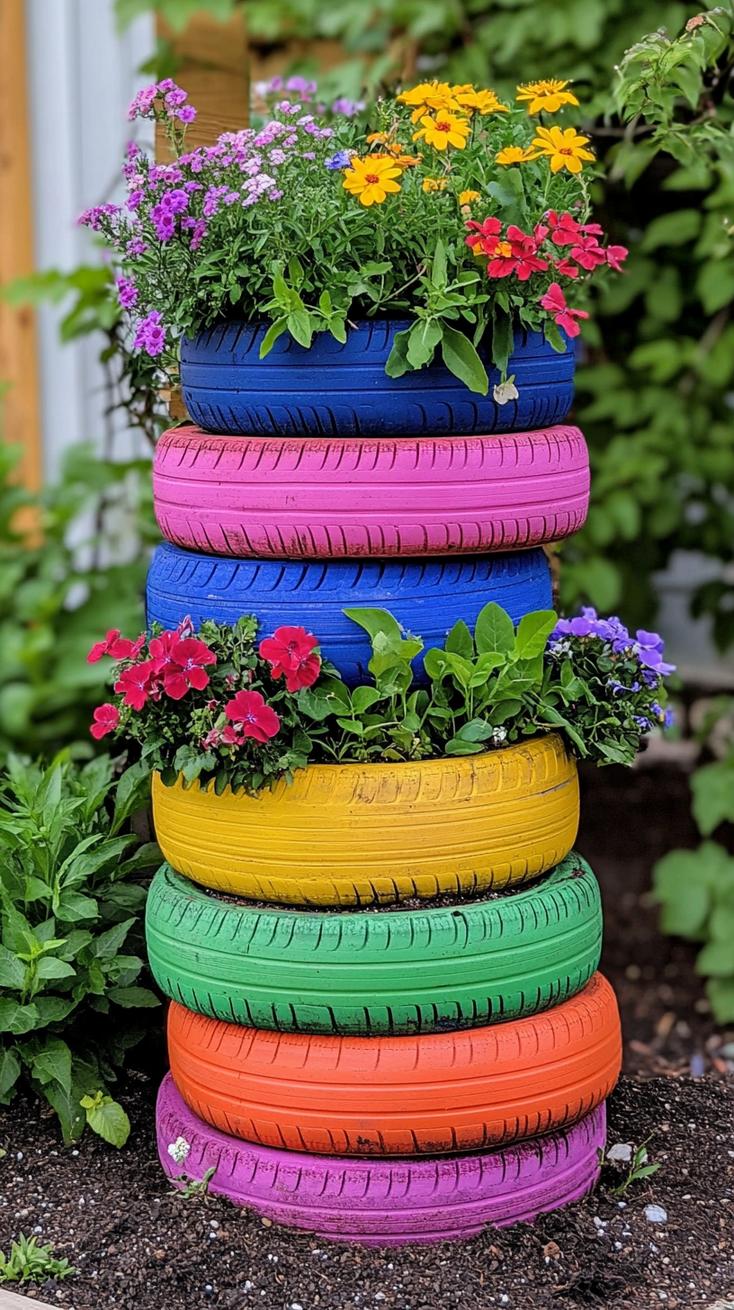
However, tires get hot in summer, which may dry soil quickly. Water regularly and place the stack somewhere with a bit of shade.
Many gardeners swear by drilling drainage holes in the bottom tire before planting, the difference is like night and day. Don’t forget: always use non-toxic paint.
6. Colorful bottle cap flowers on wooden fences
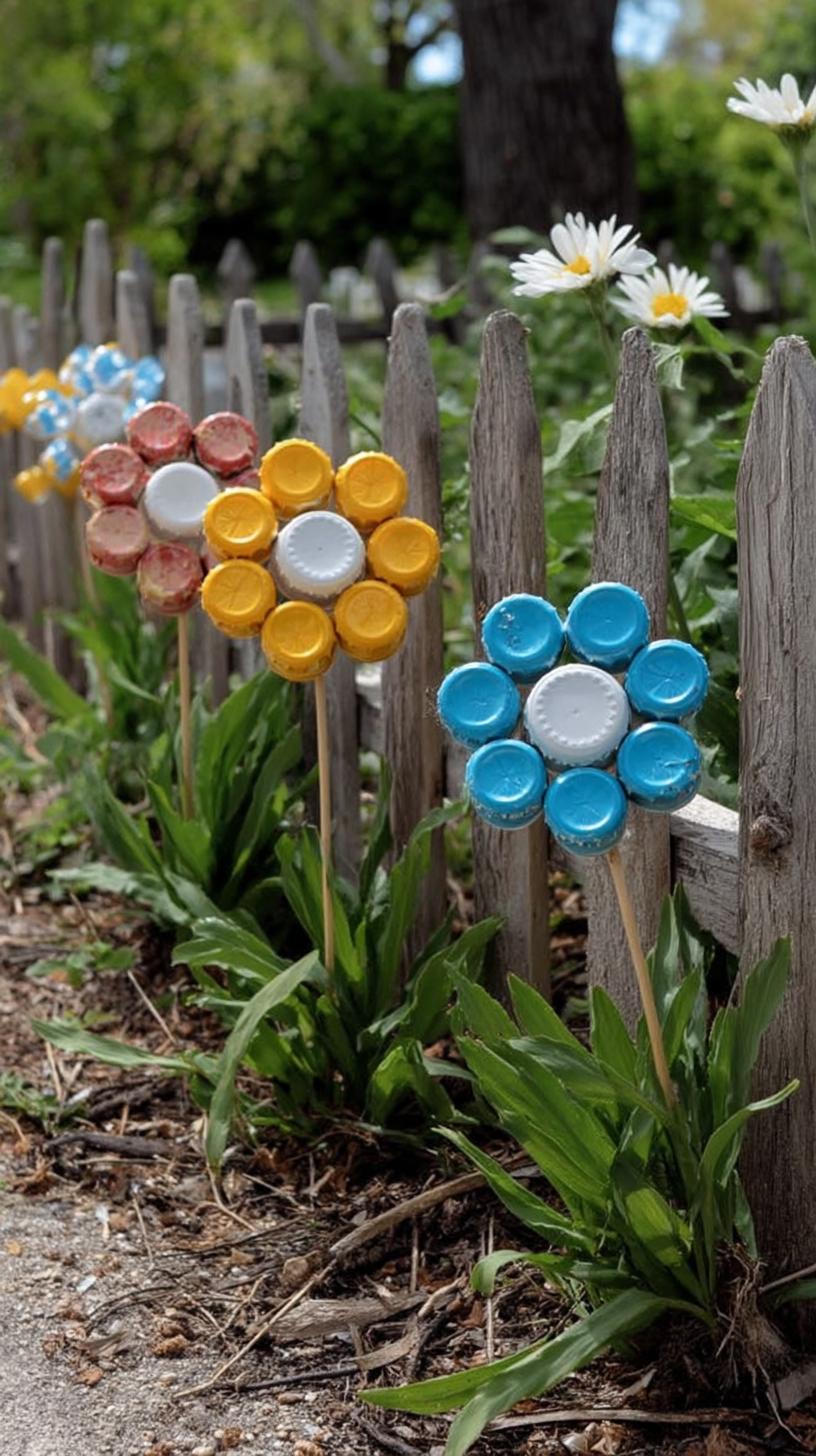
Try gathering old bottle caps in bright shades, red, yellow, blue. Arrange them into flower shapes and attach them to your backyard wooden fence using nails or strong glue.
Kids can help choose colors, and guests will notice the playful touch. Cheap, cheerful, and a smart way to recycle.
Bottlecaps rust over time, so check them every few months. Maybe swap out faded ones for new finds. Wondering where to get enough caps? Ask friends or local cafes.
This project brings instant whimsy, but keeping it fresh takes a tiny bit of upkeep, worth it for such a fun impact!
7. Hanging garden made from old kitchen colanders
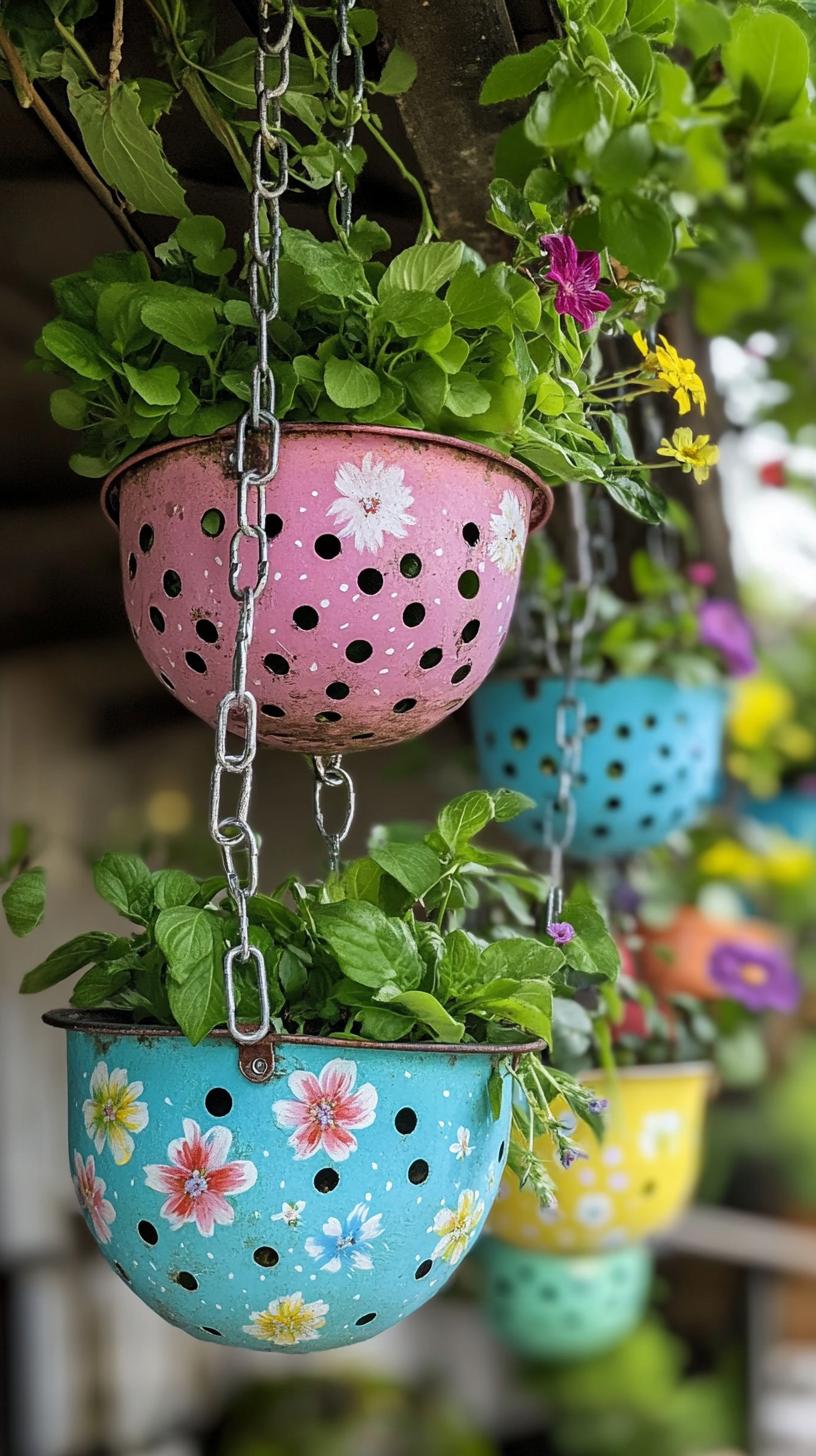
Old kitchen colanders make quirky hanging planters. You get ready-made drainage, and the handles help hang them easily. Just add potting soil, pop in some cheerful plants, and use sturdy rope or chain.
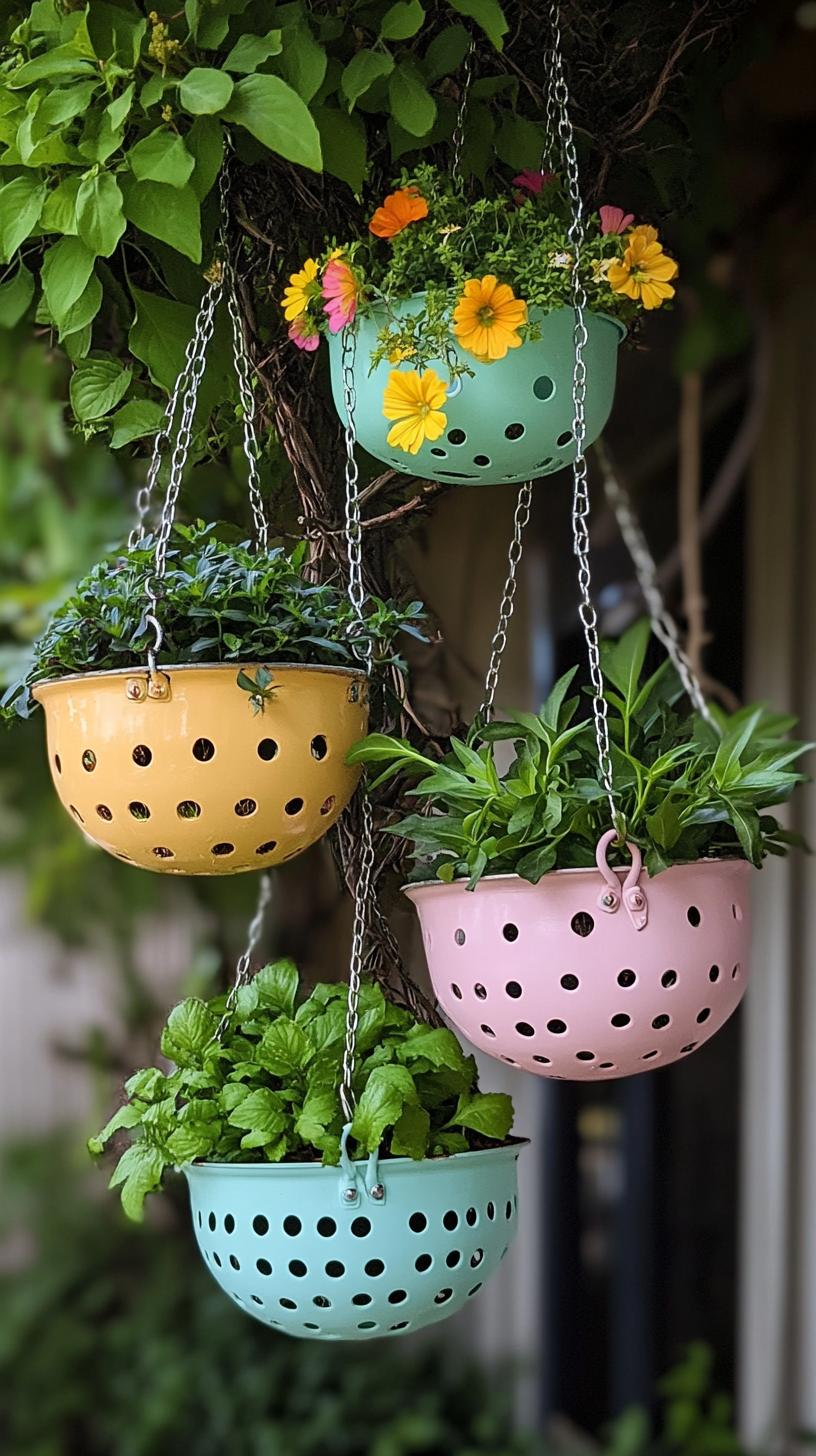
Why throw away chipped colanders? With a quick clean, they can house flowers, strawberries, or herbs.
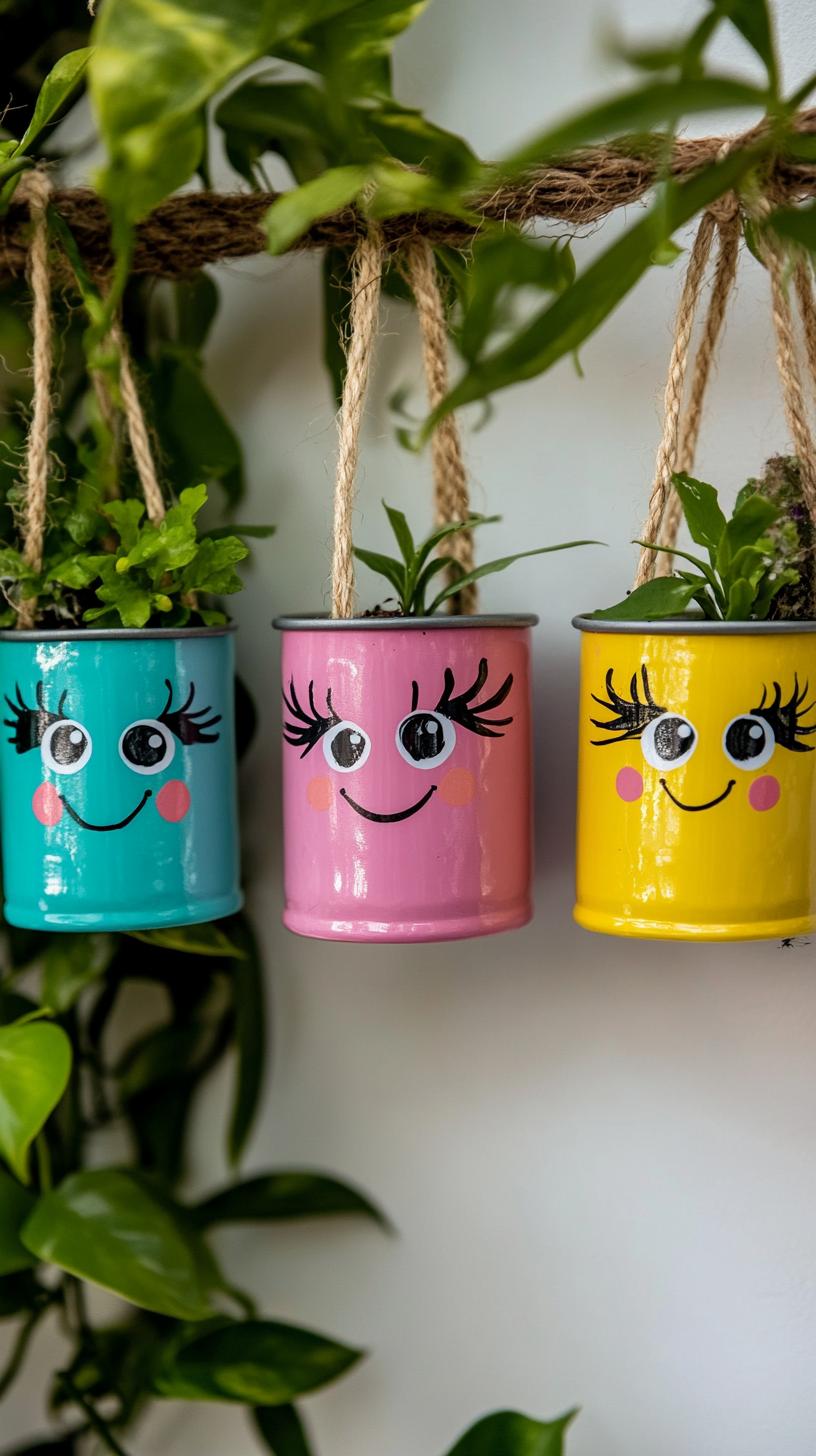
There’s a small drawback, smaller colanders limit plant size, and harsh weather may rust metal ones. Still, these recycled planters add charm and color to any garden or balcony.
Gather a few oddballs from thrift shops. It’s budget-friendly, and frankly, who needs matching pots anyway?
8. Whimsical mushrooms crafted from clay pots
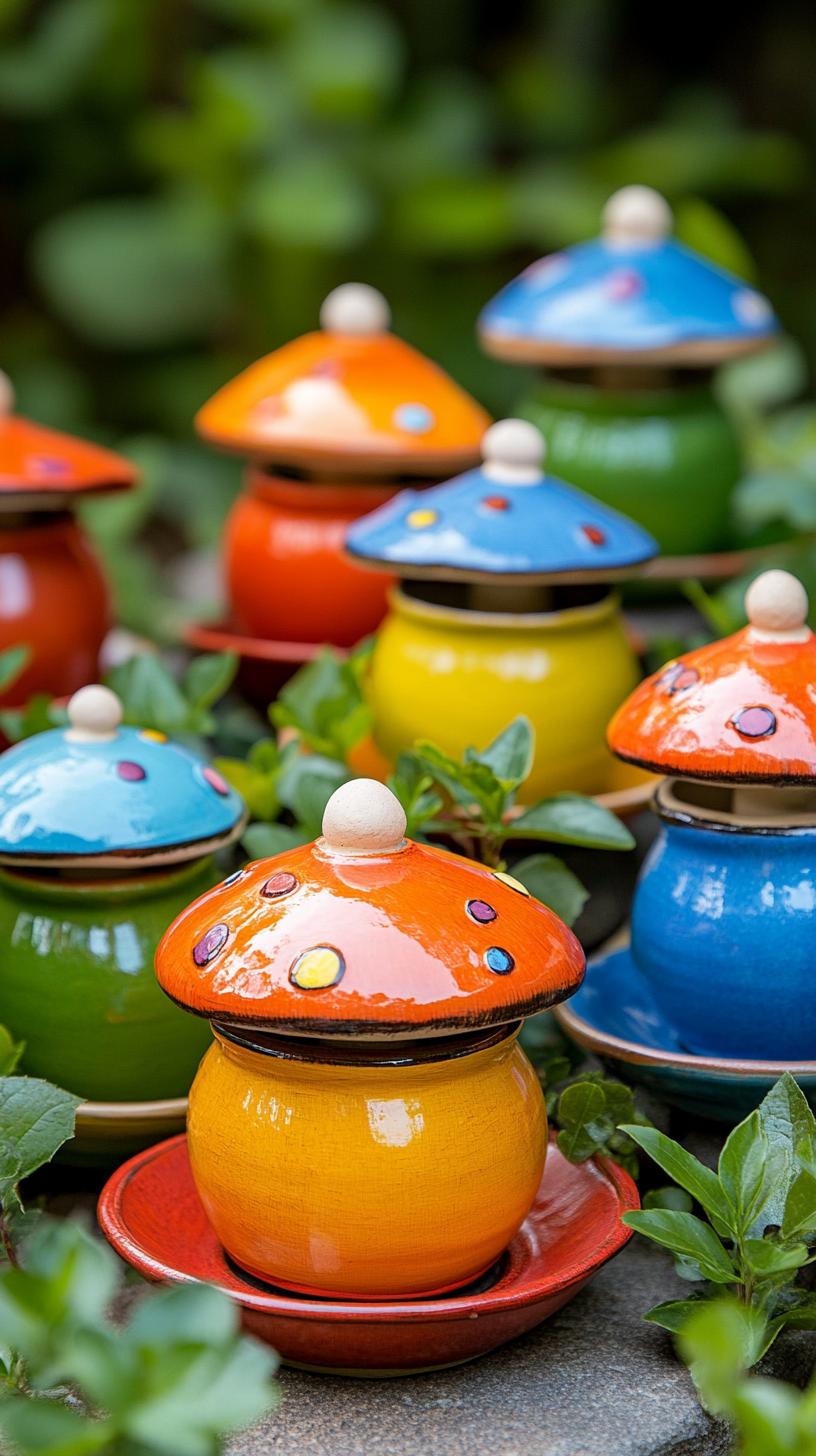
Ever glanced at your garden and thought it could use a sprinkle of fairytale magic? Clay pots flipped and painted into bright mushroom caps do the trick.
All you need is a handful of terra cotta pots, a splash of red and white paint, and your sense of humor.
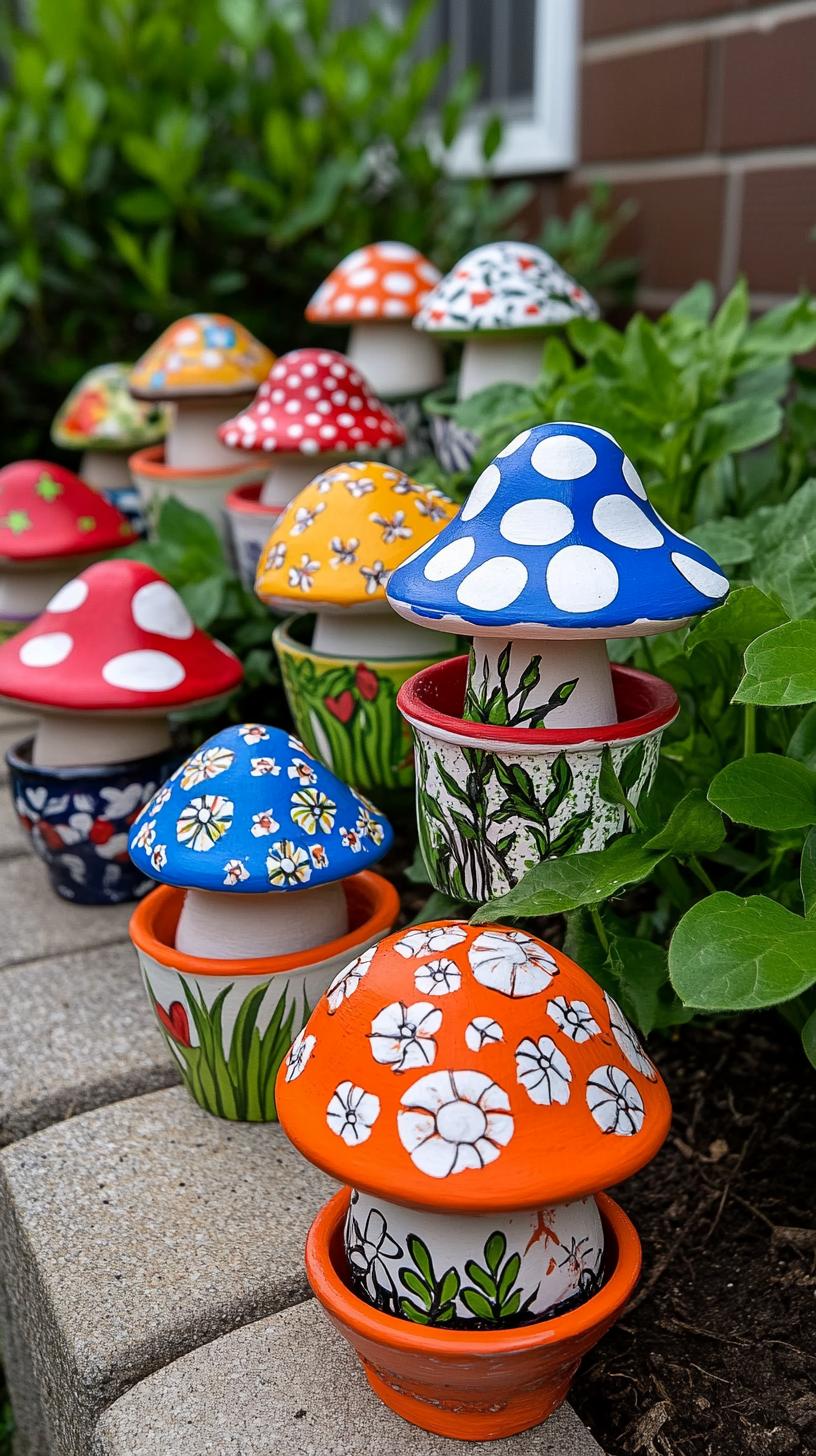
Kids and adults both enjoy this quick activity. Placing these cheerful mushrooms near flower beds invites a sense of wonder. They’re weather-resistant and can be moved about with ease.
Imperfect paint jobs actually add character, perfection is overrated, anyway! Just remember, real fungi might get jealous.
9. Watering can sculpture pouring crystal beads
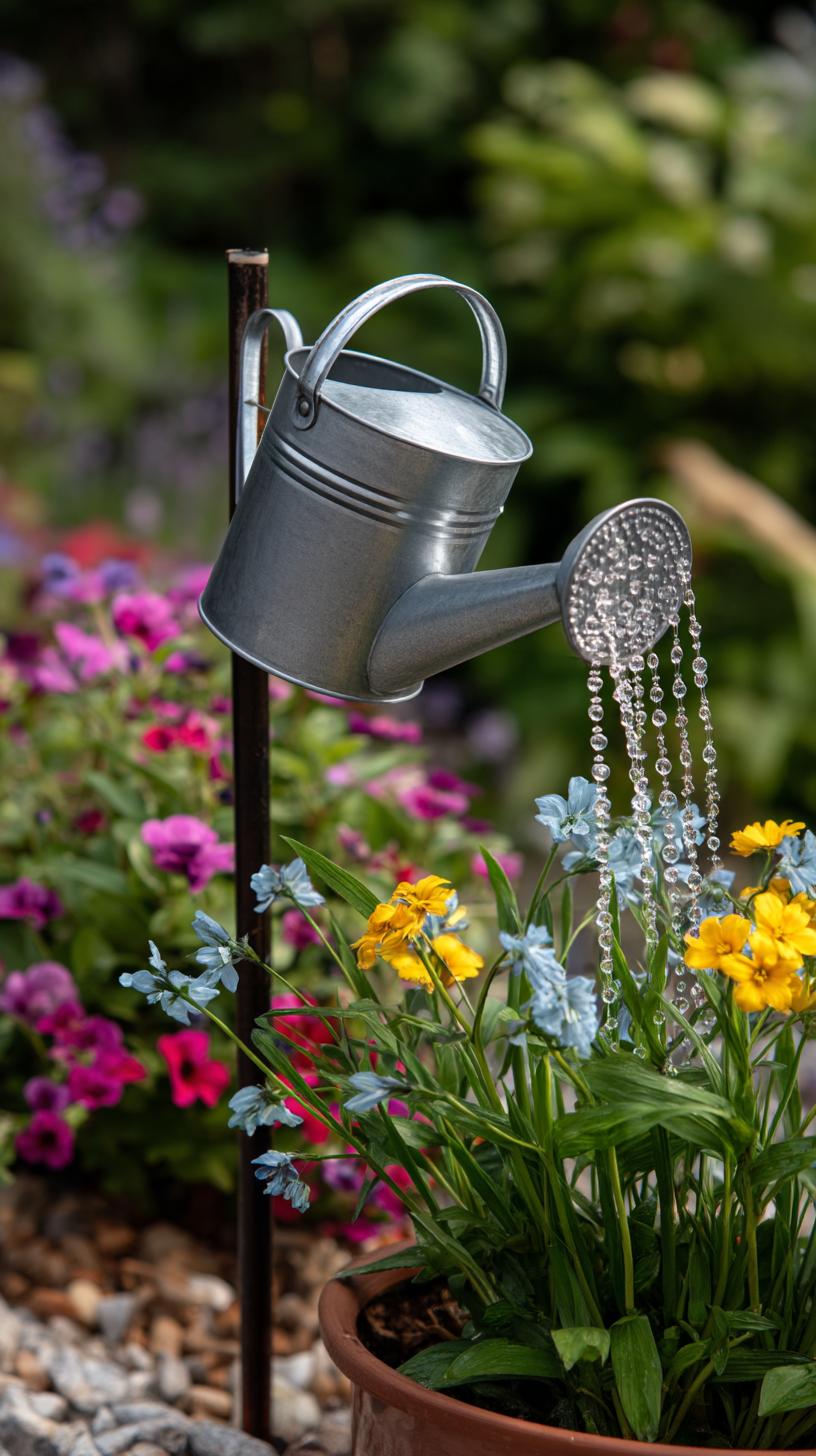
Fancy a whimsical touch for your garden? Repurpose an old watering can by stringing clear beads from its spout, imitating a stream of sparkling water.
This project takes little effort and makes a striking statement among your flowers. Clear fishing line, shiny beads, and a sturdy tree branch, mission accomplished.
Such sculptures look delightful on sunny days as beads catch the light. However, wind might tangle the strands, so secure each line well. Try different bead shapes for extra charm.
This art brings instant character and a bit of magic without costing much, just a few household odds and ends.
10. Wind chimes from painted spoons and forks
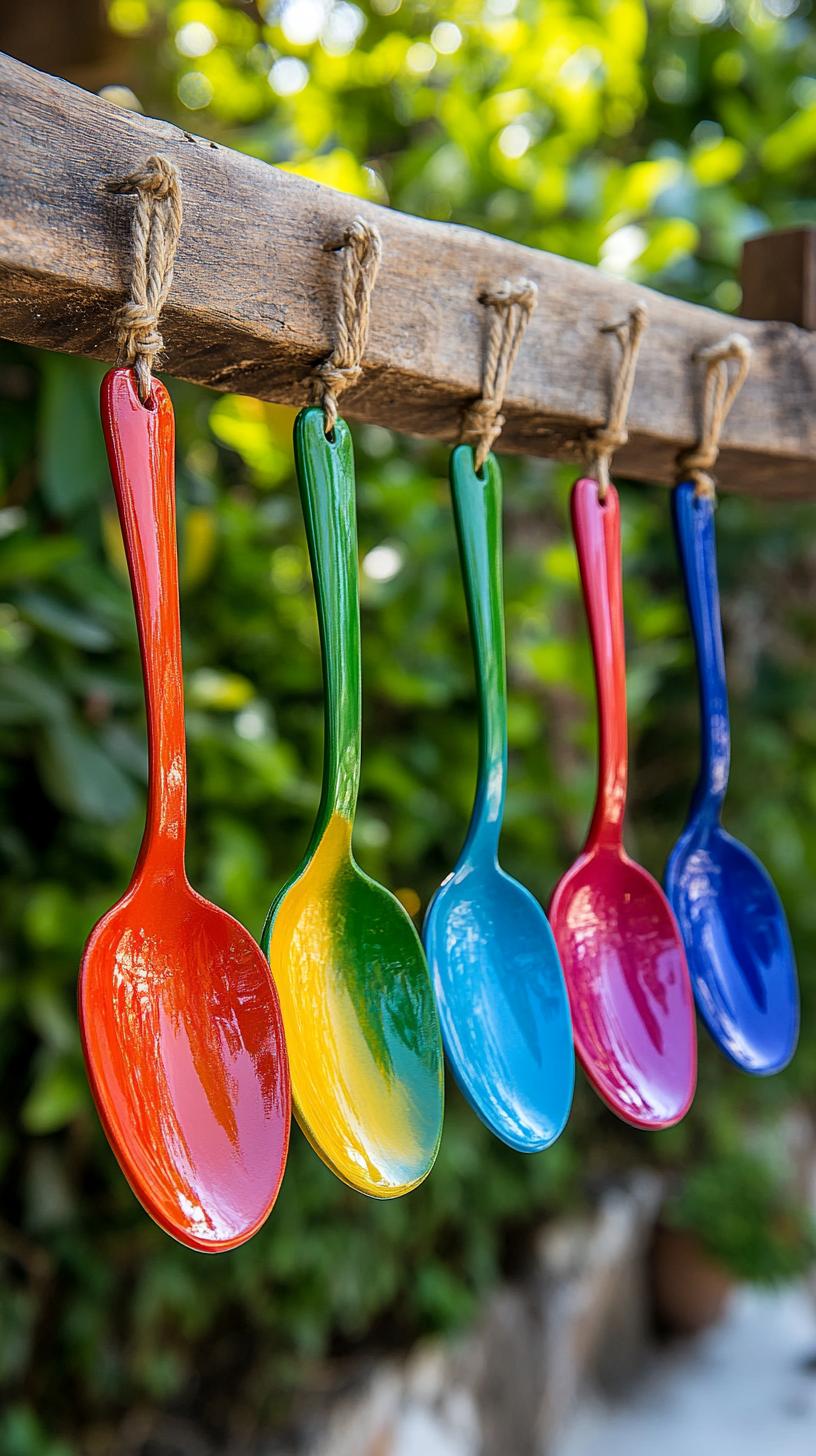
Old cutlery sitting unused? Try turning them into whimsical wind chimes. A quick wash, a splash of colorful paint, and a sturdy string is all it takes.
Hang them from a branch or porch beam. When the wind blows, expect a cheerful symphony, cheap, cheerful, and unmistakably handmade.
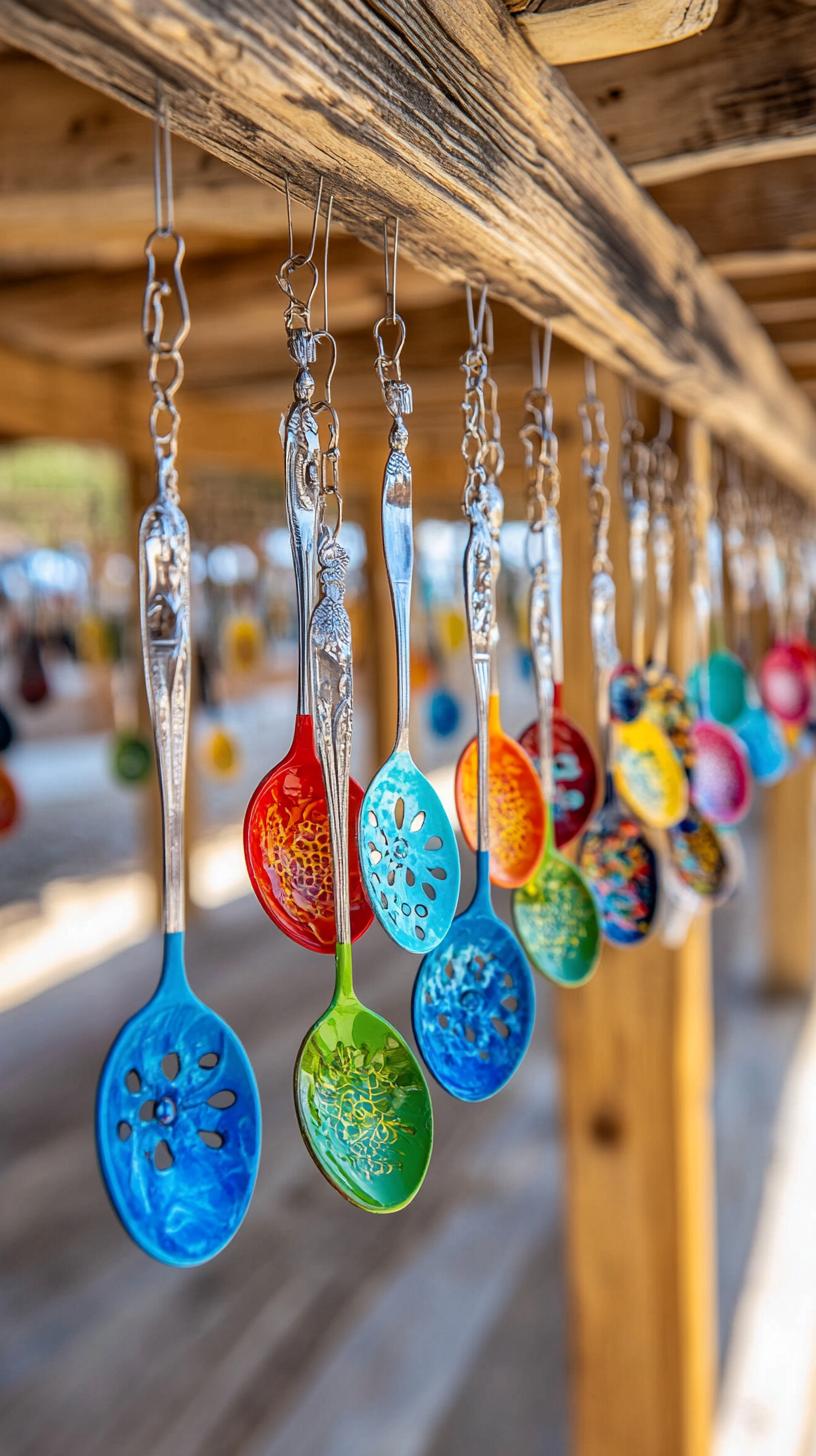
Sure, these wind chimes won’t win any high art contests, but that’s the beauty. Kids can help paint, and no design is wrong.
You might need pliers for bending tines but that’s half the fun. Plus, isn’t it satisfying giving stray forks a second life noisy enough to make your neighbor curious?
11. DIY suncatchers made with flower-pressed lids
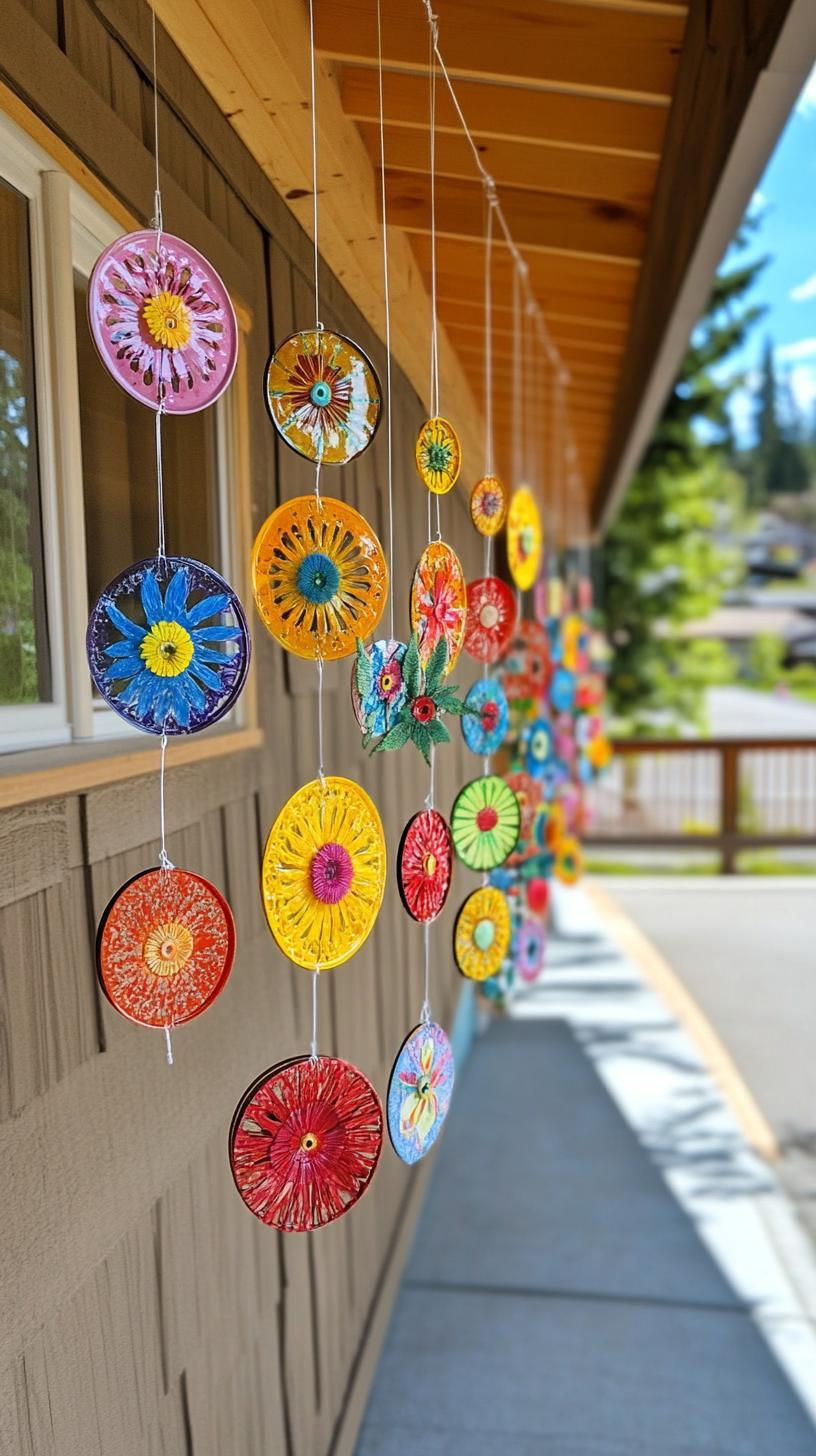
Try making suncatchers using clear jar lids and pressed flowers, they’re like stained glass, but you don’t have to be an artist.
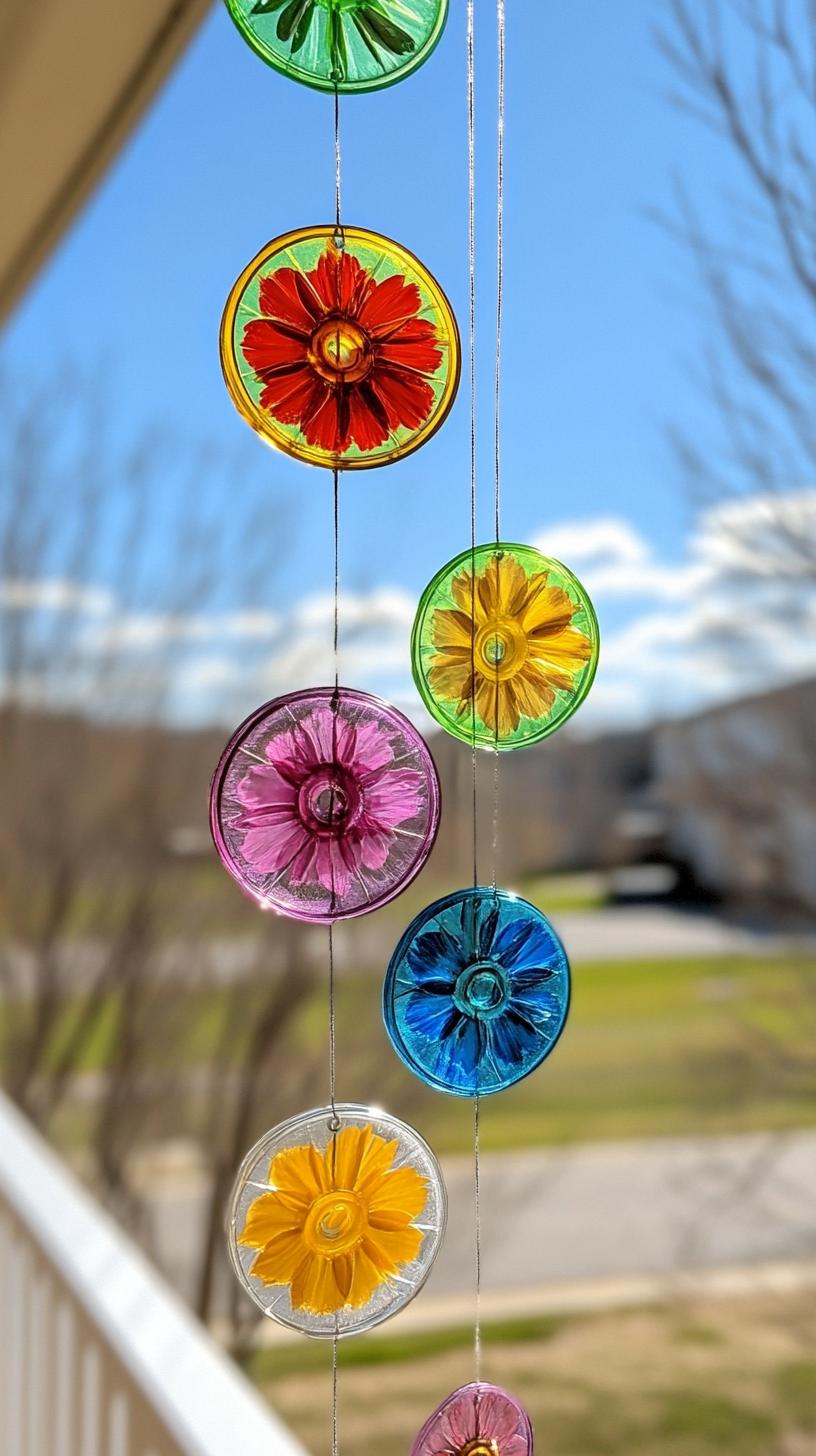
Arrange your favorite blossoms between two lids, add a bit of clear-drying glue, and hang with string. They light up any window or tree on a sunny afternoon.
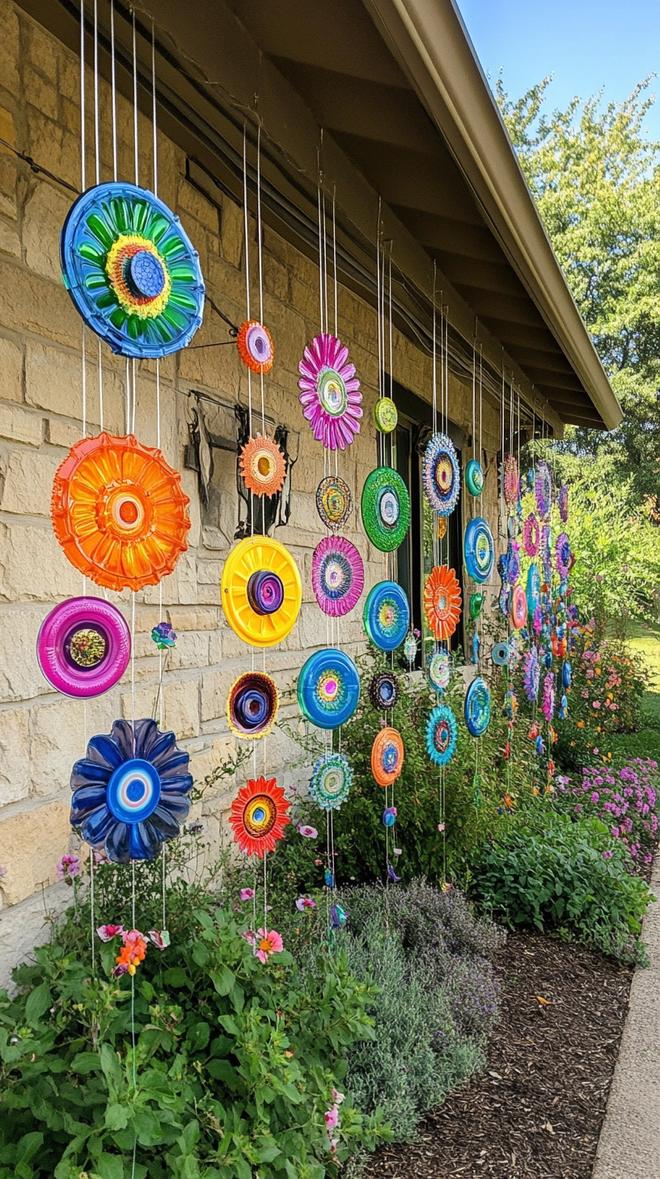
Cleanup is simple, though patience is needed to dry the flowers flat before assembly. Some flowers keep their color better than others, pansies and violets work well, but roses tend to fade.
Don’t sweat imperfections; kids love the process, and adults appreciate the low cost and personal flair.
12. Vibrant garden totems using stacked bowls
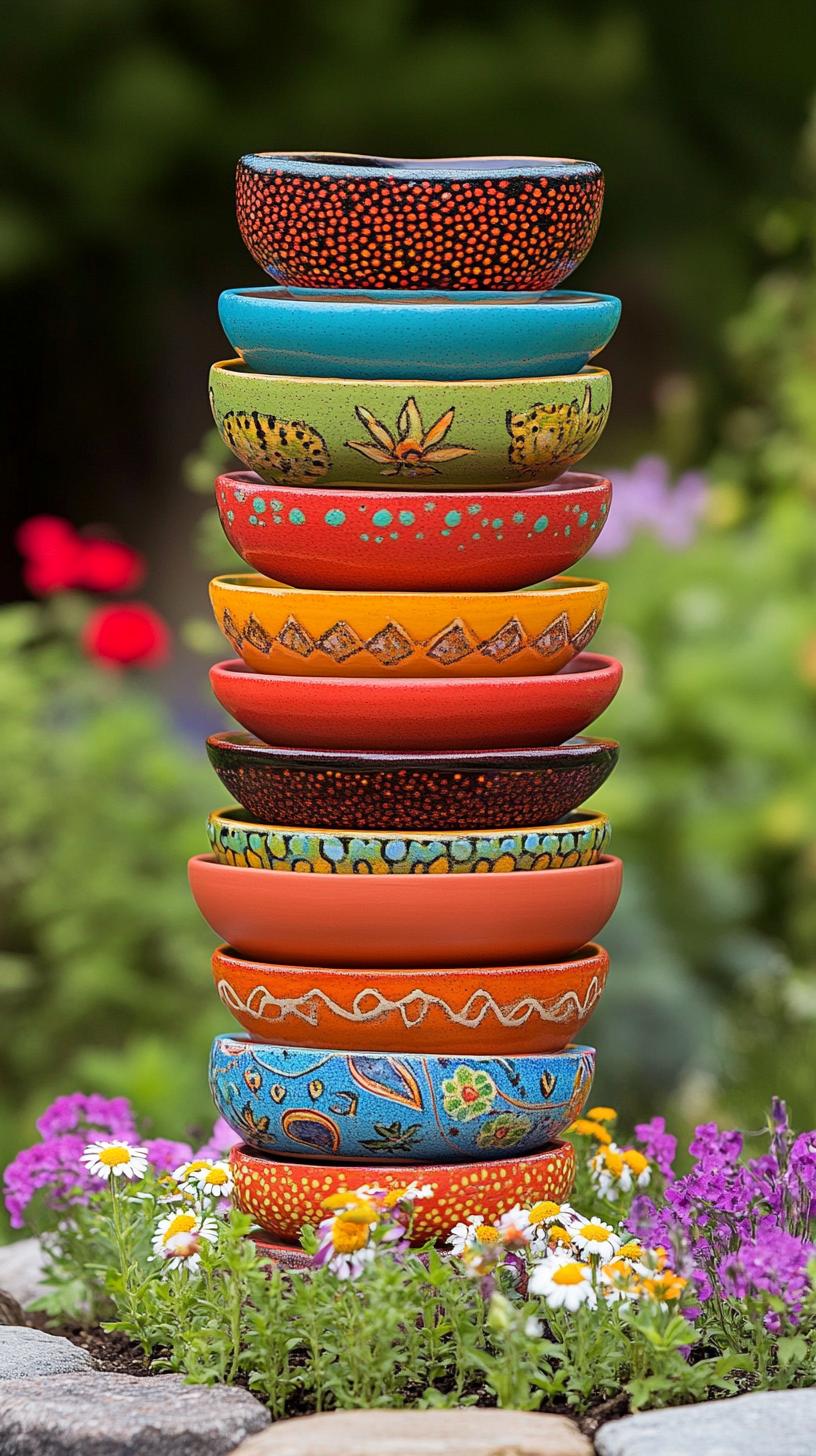
Why let your old bowls gather dust in cupboards? Grab a few sturdy mismatched ones and stack them for an instant garden totem.
Paint each bowl with weatherproof colors, let them dry, then glue them together. Pop them into a flowerbed for a lively twist, your hydrangeas may get jealous.
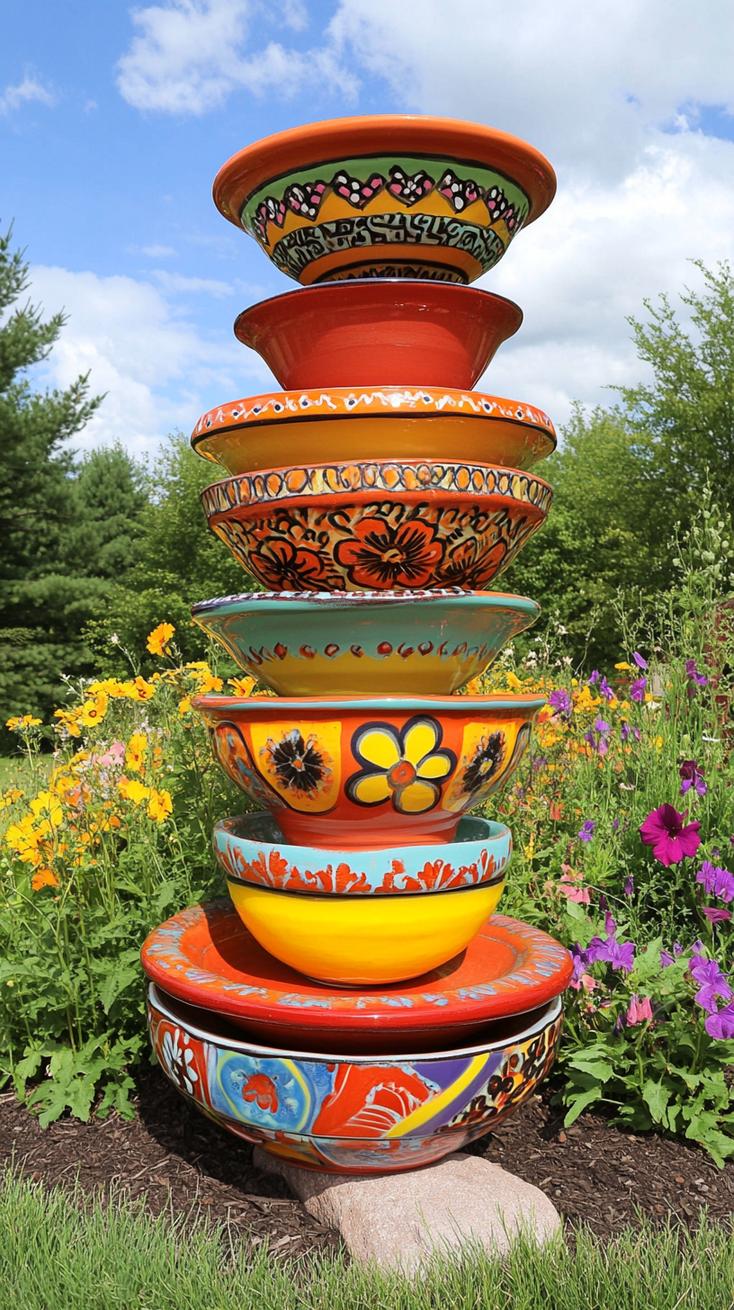
Garden totems aren’t just eye candy. They attract conversation, provide a vertical focal point, and recycle unwanted dishes. However, lightweight bowls might tip in the wind.
Secure with rebar or epoxy for peace of mind. With just an hour’s effort, you’ll have a patch brimming with personality and a story.
13. Flower-shaped stepping stones from cement molds
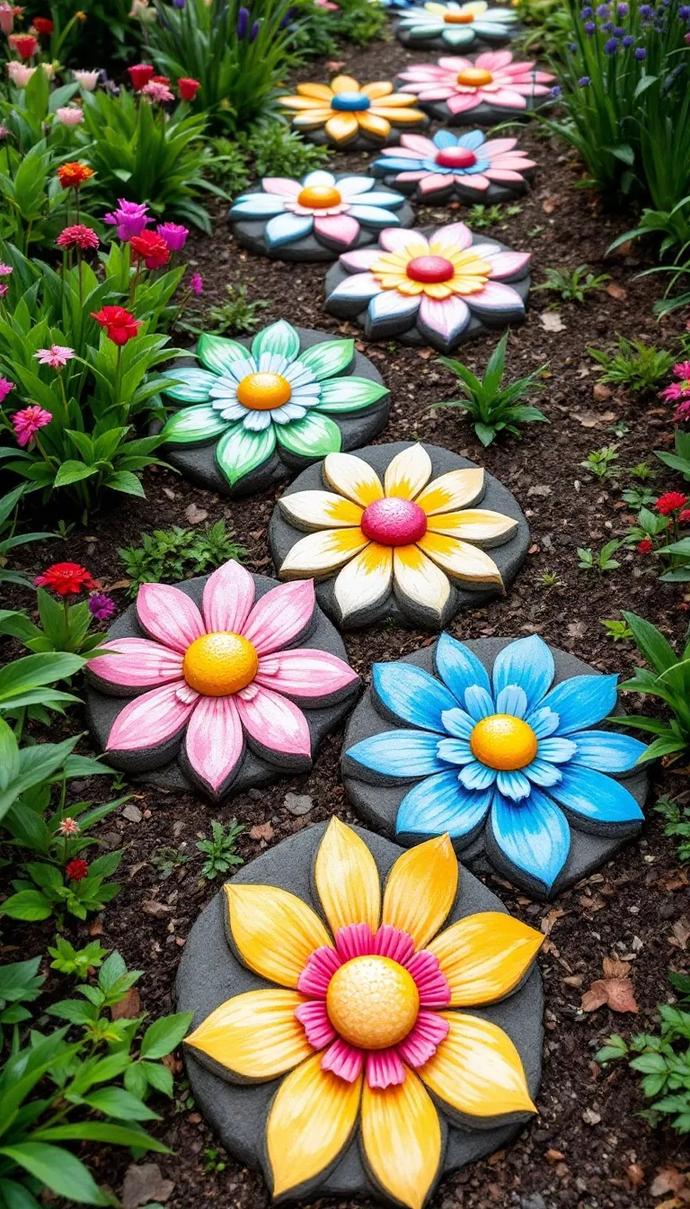
Creating flower-shaped stepping stones gives your garden a splash of personality for minimal effort. Mix cement, pour it into flower-shaped molds, and let it set.
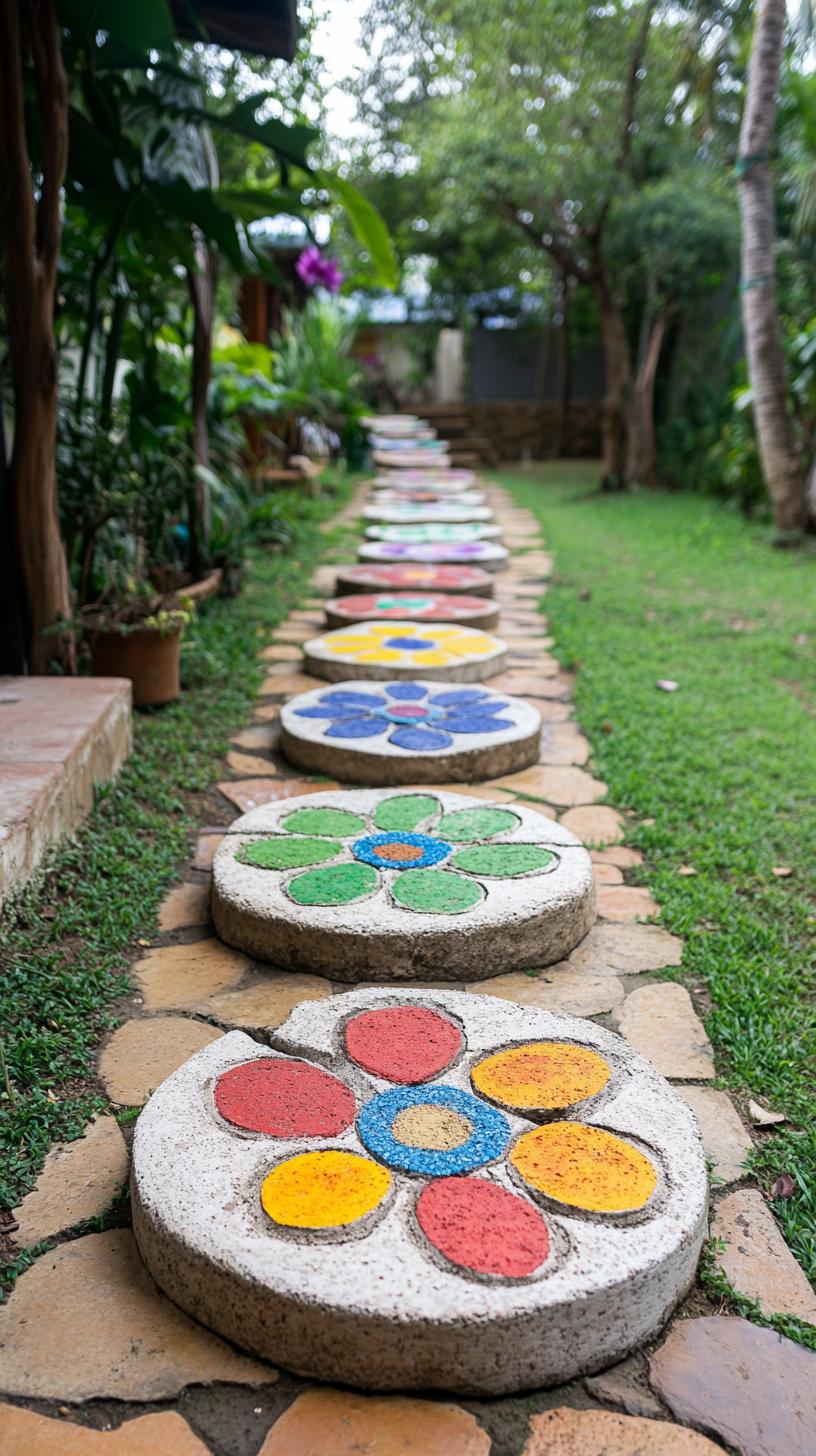
Even kids can help decorate the tops with colored stones or marbles. These stones are sturdy, and last through all seasons.
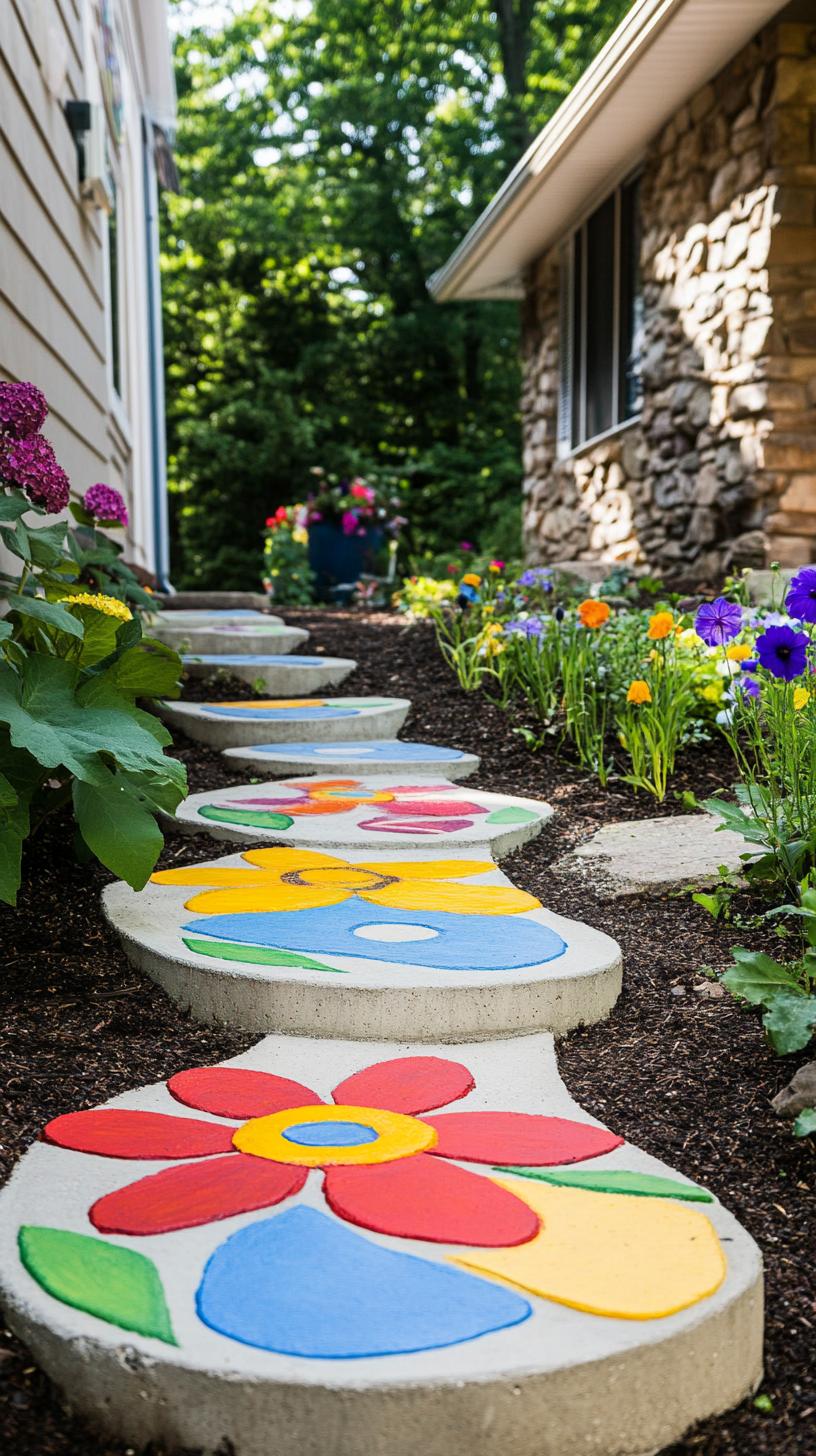
On the downside, cement can be messy, so plan ahead. Wear old clothes, lay down newspaper, and have water ready for cleanup. Don’t overcomplicate designs at first, start simple.
Stepping stones like these not only guide feet but also create cheerful conversation starters right under your nose.
14. Recycled shovel handles used as vertical planters
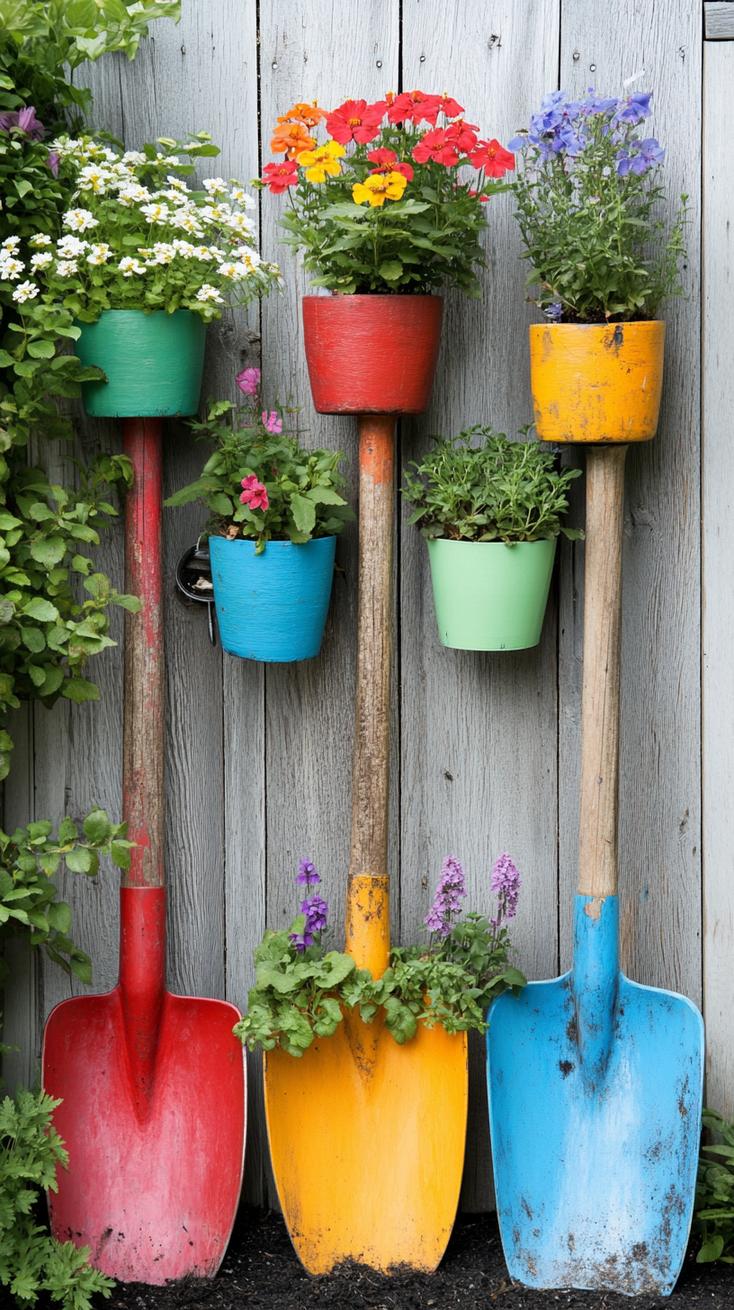
Old shovel handles lying around? Don’t toss them. Stand them upright as quirky vertical planters.
Strap on old tin cans or small pots, fill with soil, and pop in your favorite herbs or succulents. This turns trash into conversation pieces, and saves space in tight gardens.
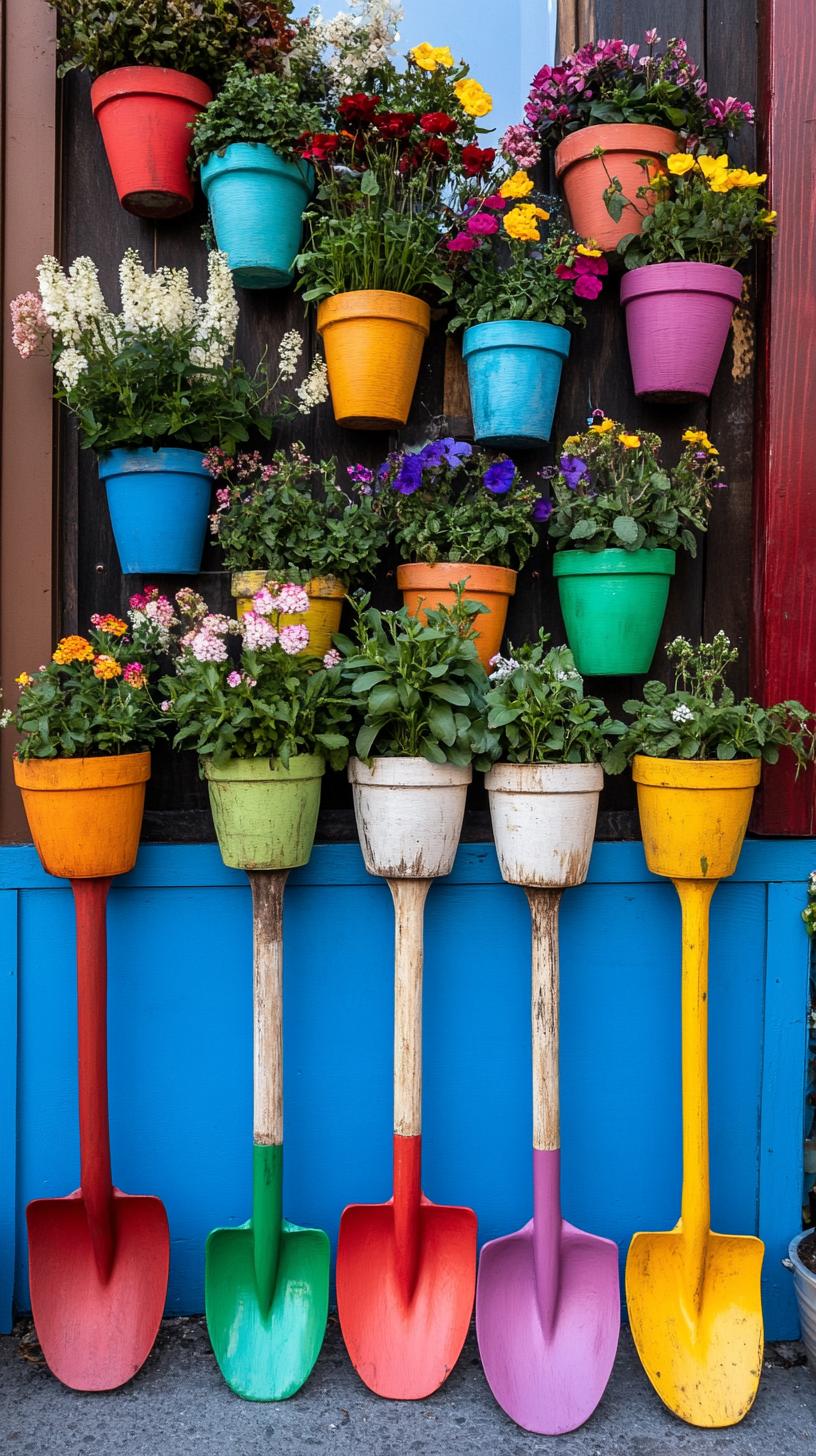
But be mindful: wood can rot, especially when exposed to water. Use paints or sealants to expand their lifespan outdoors. A splash of bright color adds fun and character.
Plus, if you grow trailing plants, you’ll create a living sculpture, straight from yesterday’s shed to tomorrow’s garden gallery.
15. Colorful rain chain with recycled mason jars
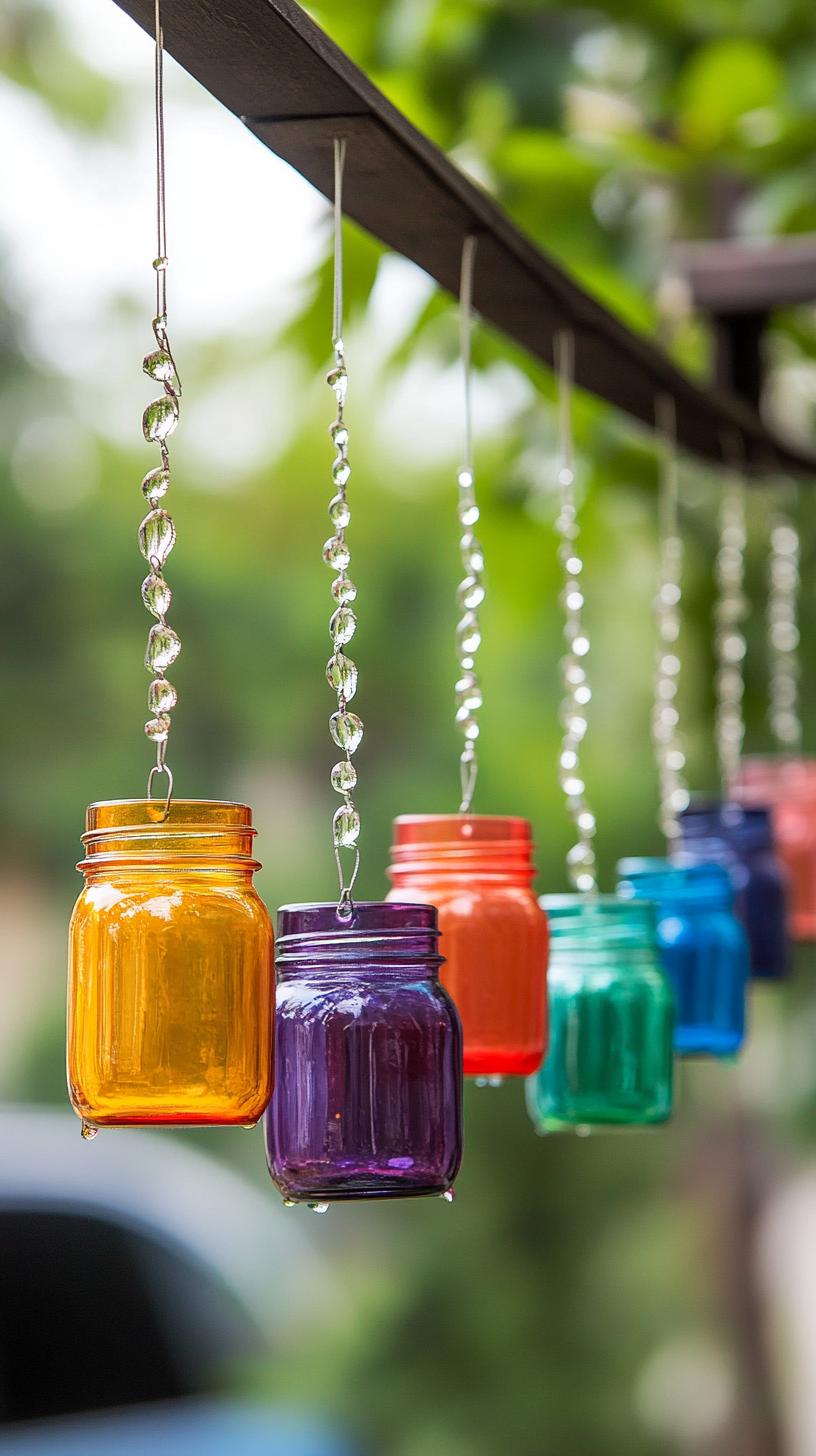
Old mason jars piling up in your cupboard? Don’t toss them, liven up your backyard by stringing them together in a colorful rain chain. Glass catches the sunlight, tossing rainbows everywhere.
It’s fun, budget-friendly, and helps you repurpose what you already have. Why buy fancy decor when your leftovers shine?
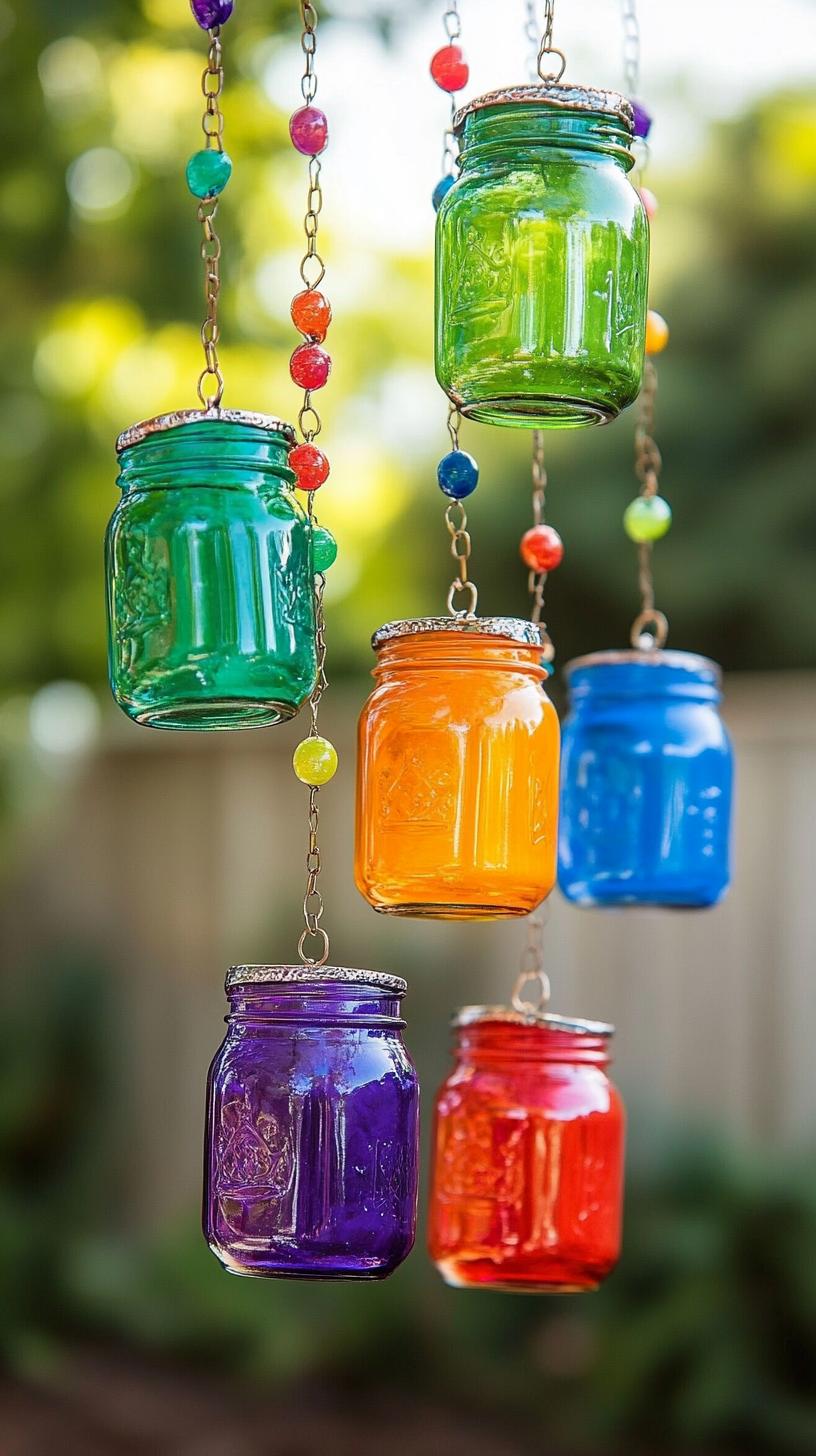
Small hiccup: glass jars are breakable. Pick a sturdy, out-of-the-way spot, and use strong wire to hang them. Add pebbles or beads inside for extra sparkle.
This simple project brings cheer to rainy days and gives your garden a clever, homemade twist that neighbors might just copy.
16. Pebble mosaics turned into butterfly designs
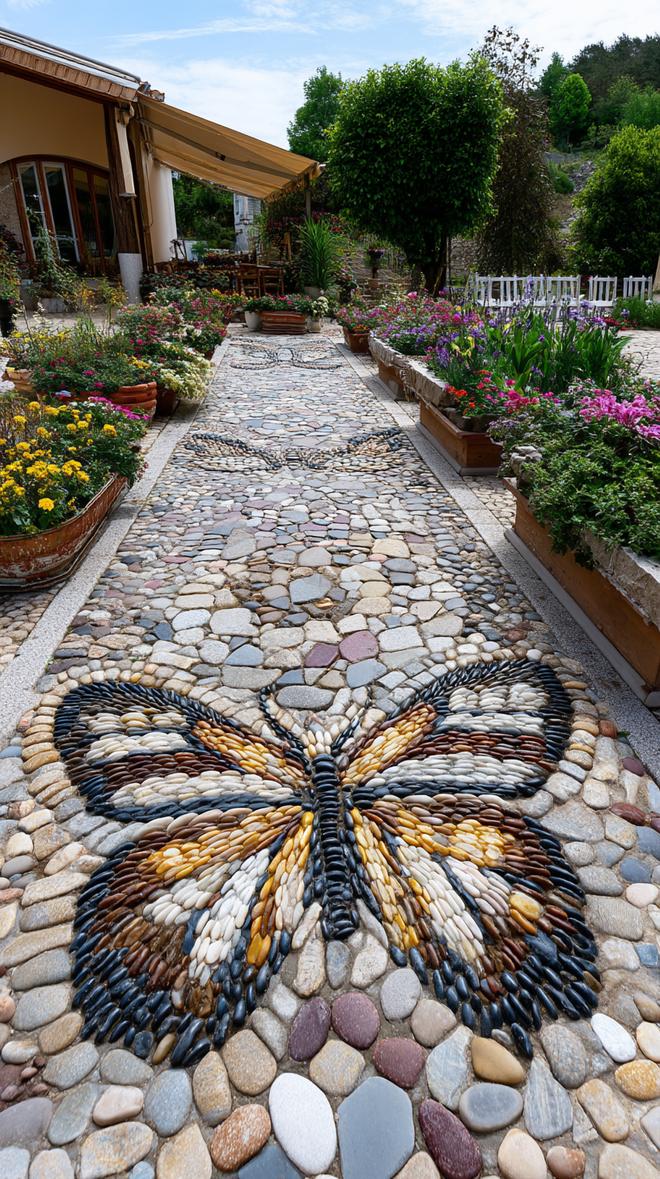
Pebble mosaics shaped like butterflies add instant charm to any garden bed. All it takes is some spare stones, basic patience, and a little colored gravel.
Lay out wings and a body, pressing each pebble into soft soil or concrete. Kids love pitching in. It’s affordable, surprisingly sturdy, and customizable.
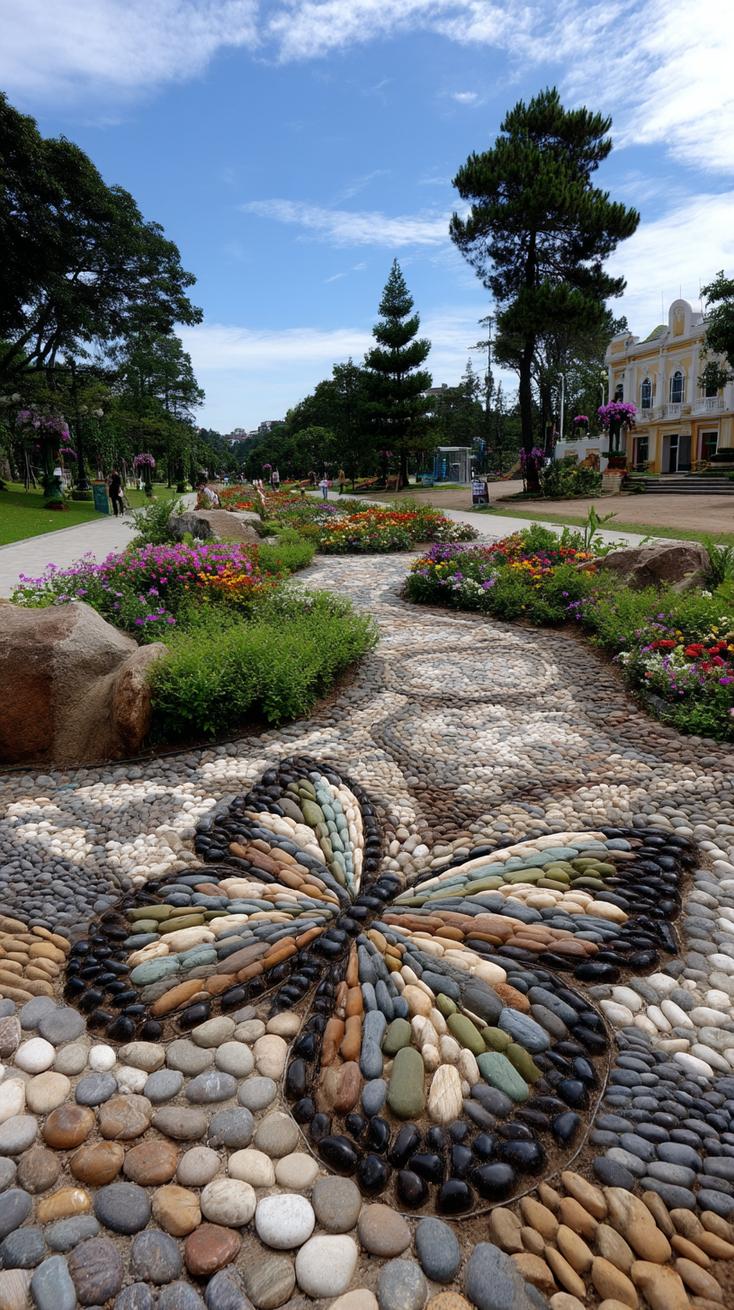
One warning: choose your spot wisely. Too much shade can hide your masterpiece. Bugs or birds occasionally disrupt pebble placement, requiring quick fixes.
Start small, like on a stepping stone, before tackling a larger butterfly display. The visual result is worth every minute, guests won’t believe you crafted it yourself!
17. Painted tires turned into playful hanging baskets
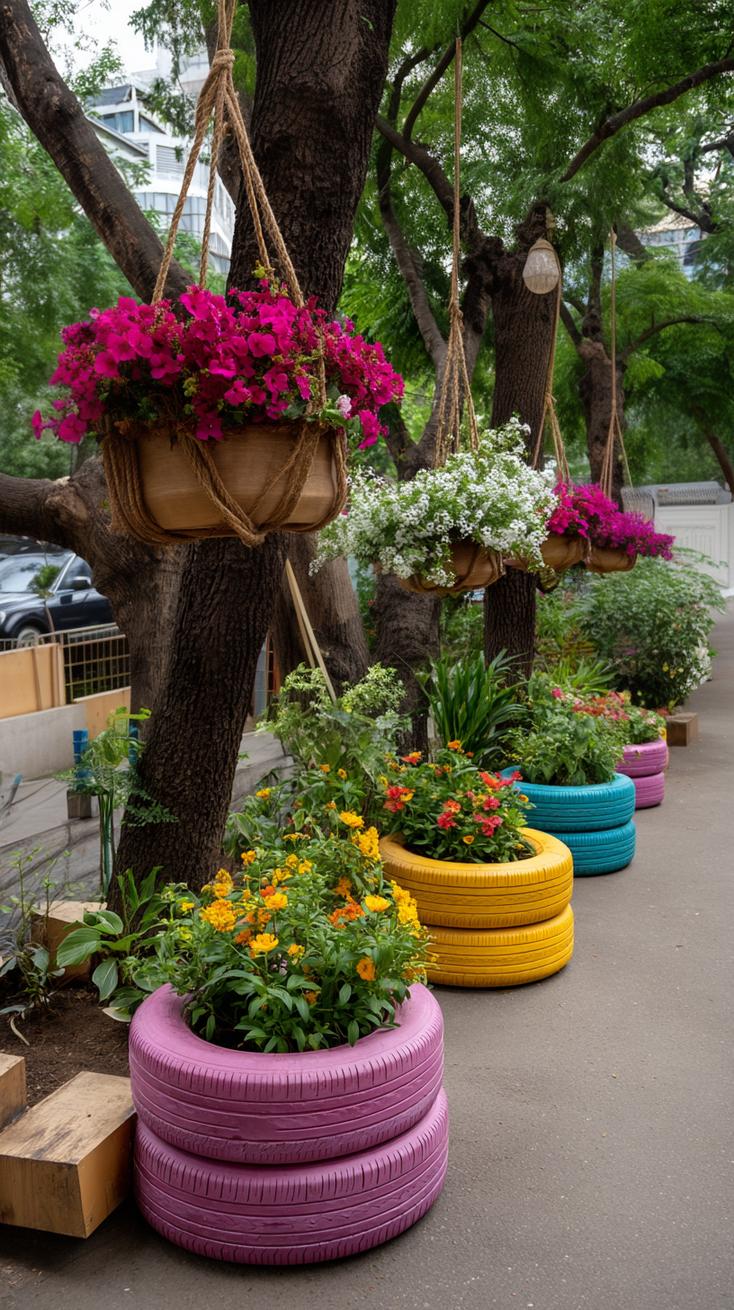
Give your old tires a fresh lease on life by turning them into playful hanging baskets. All you need is vibrant paint, strong rope, and a little imagination.
Kids will love picking out wild colors or silly faces, while adults can experiment with patterns or geometric shapes for something more subdued.
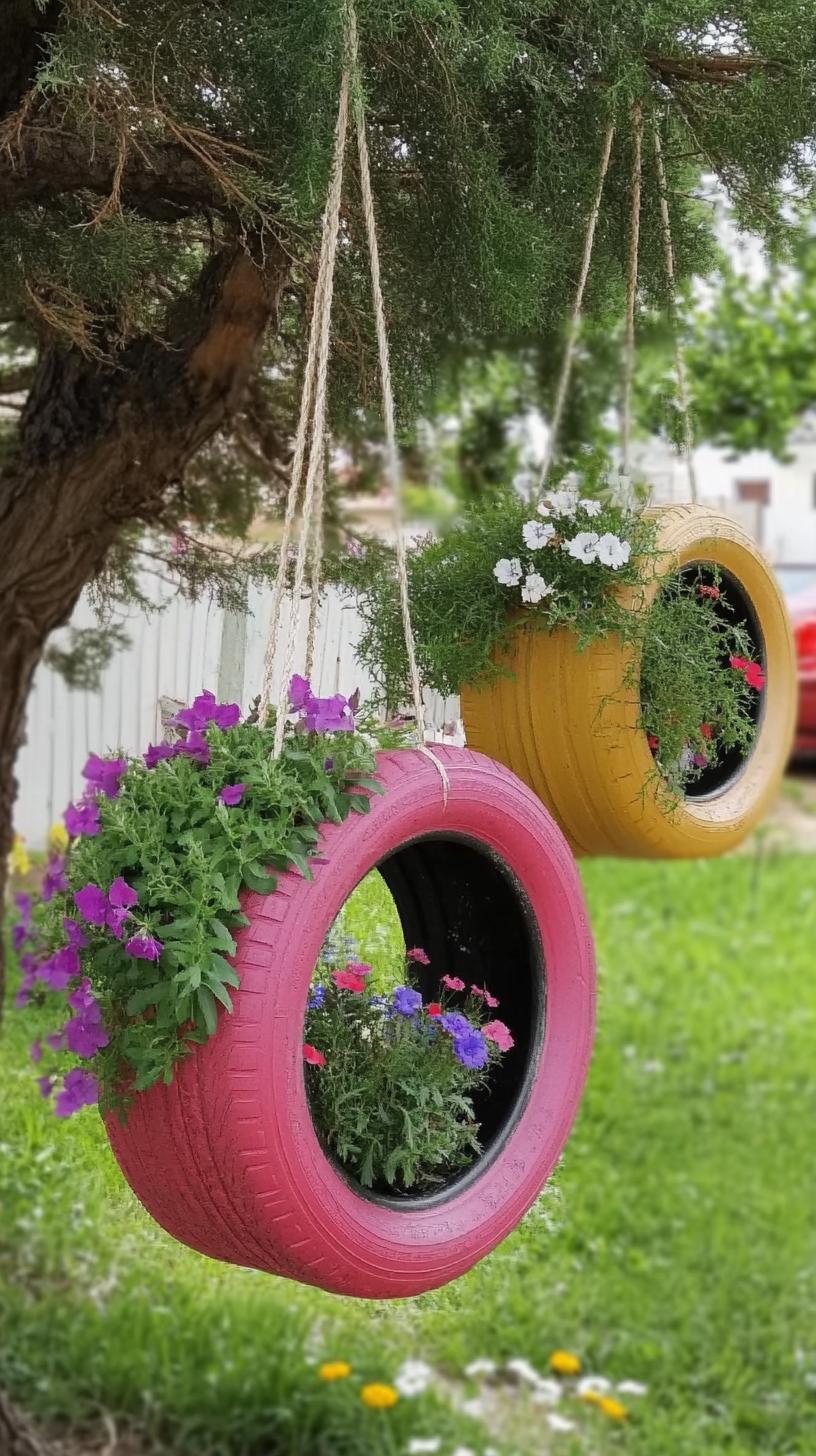
However, painted tire baskets aren’t for the faint of heart, or the tiny balcony gardener. They need sturdy mounting and regular watering, as tires can dry out quickly in summer.
But if you want a splash of color and quirky charm dangling from a tree or fence, few projects compare.
18. Metal flowers made from cut and painted cans
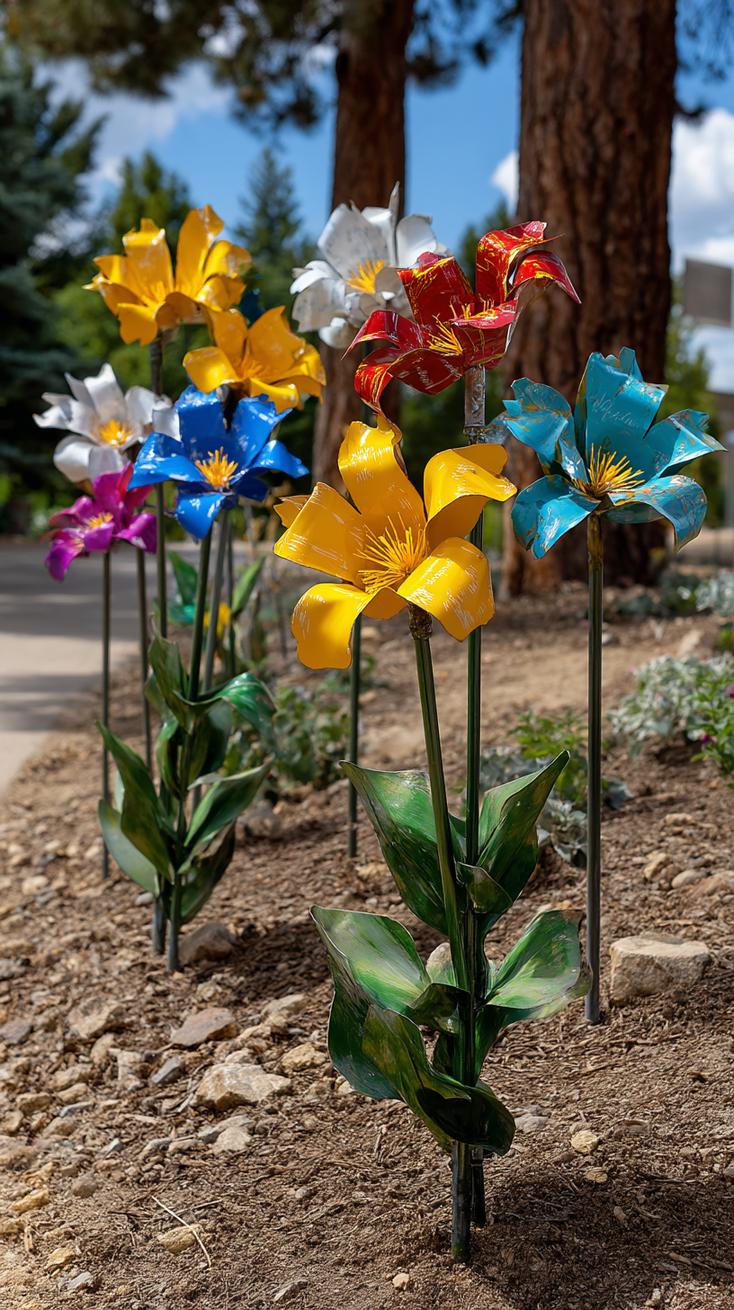
Why toss those empty soda cans? With a pair of sturdy scissors and a splash of paint, you can make striking metal flowers for your garden.
Cut petals, bend them into shape, and paint each one in bold colors. These DIY blooms withstand sun, rain, and nosy wildlife.
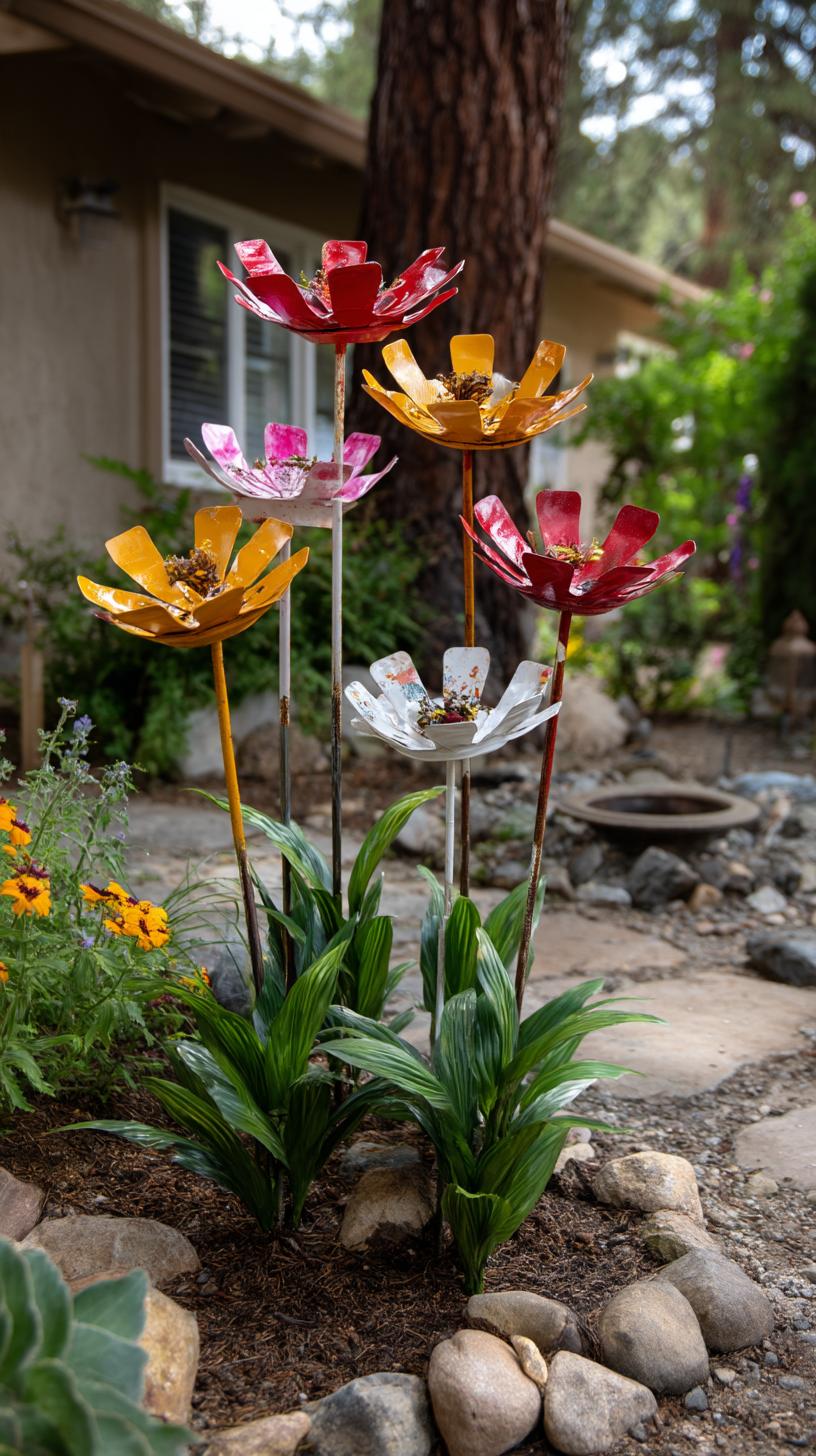
Trying this? Watch your fingers, metal edges can be sharper than your morning coffee. Add a dab of outdoor-friendly glue to secure your petals.
Attach the flower to a stick, and plant it in your flowerbed. Eye-catching, cheerful, cheap, what’s not to like? Some rust may appear over time, but that adds rustic charm.
19. Upcycled boot planters filled with succulents
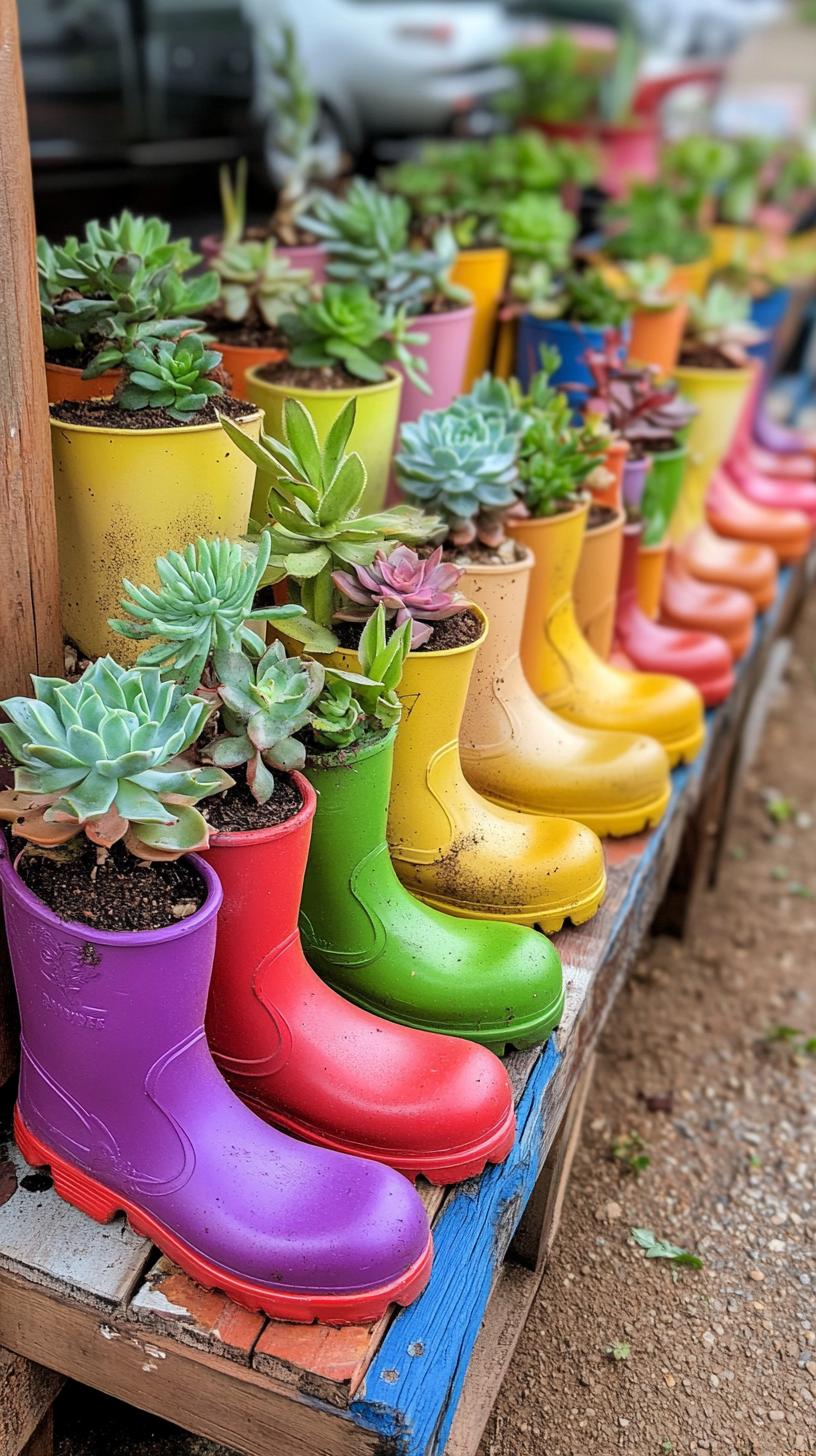
Old boots make excellent plant pots. A pair that’s lost its bounce can be filled with soil and bright succulents.
Why toss what can grow life? Just punch a few drainage holes and you’re set. It’s quirky, practical, and a conversation starter for visitors or nosy neighbors.
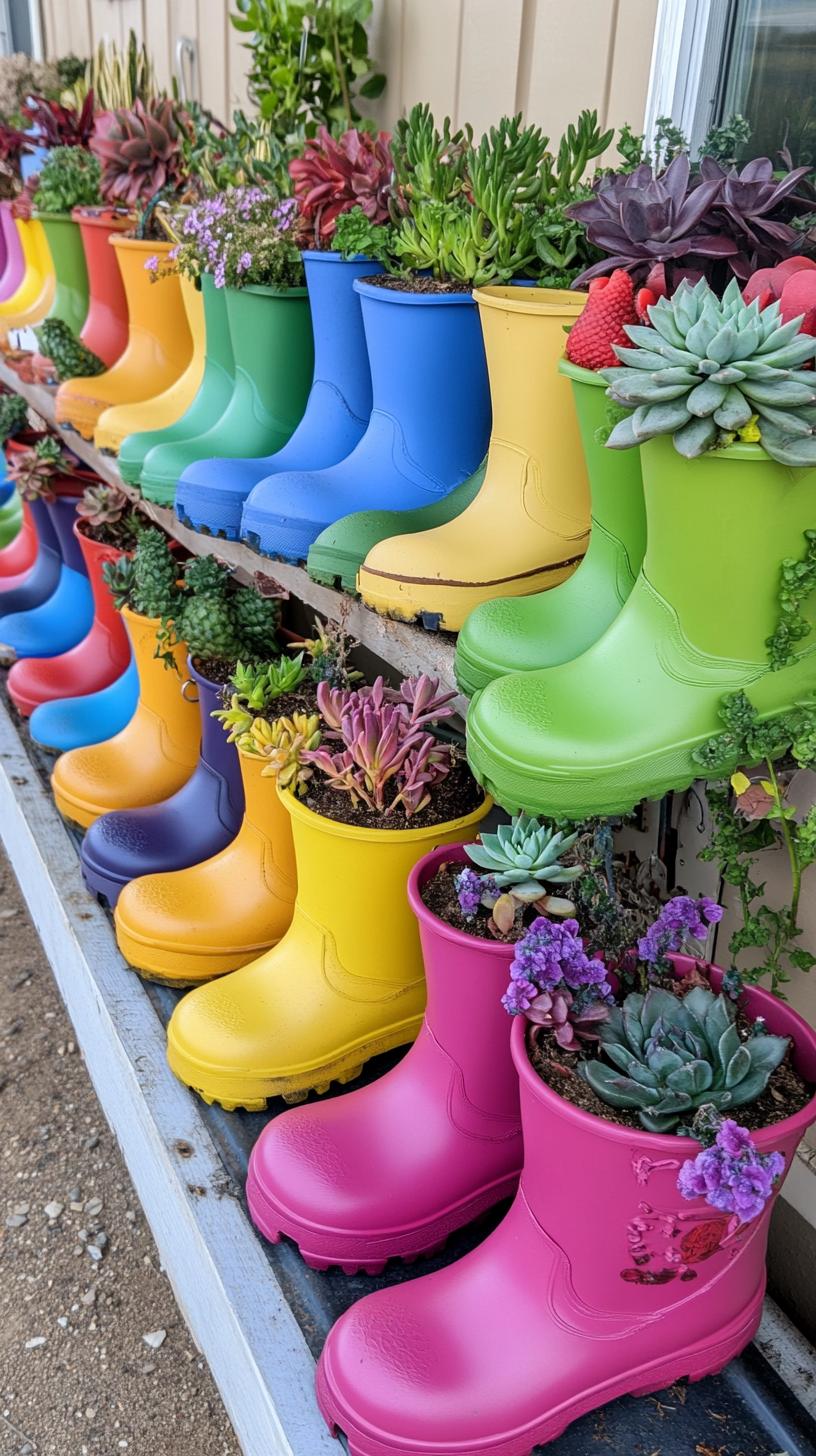
Sure, using boots adds color and texture to your garden, but leaking soles may need extra care. Place them on pavers to slow down decay.
If the boots wear out faster than your plants, simply switch them out, gardening should be fun, not fussy.
20. Rock caterpillars lining flower garden edges
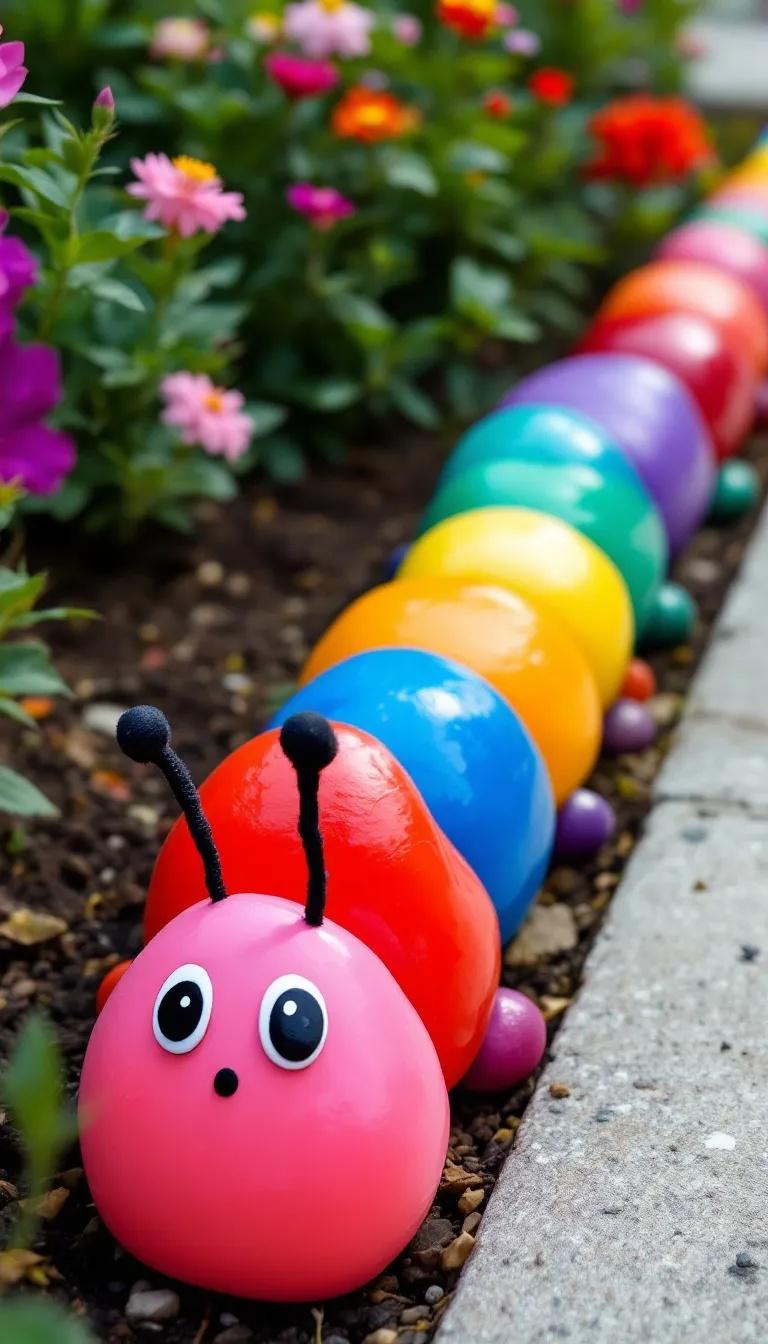
Kids and adults both find rock caterpillars irresistible. Simply paint rocks in vibrant colors, glue on googly eyes, and arrange them in a winding line along your flower bed.
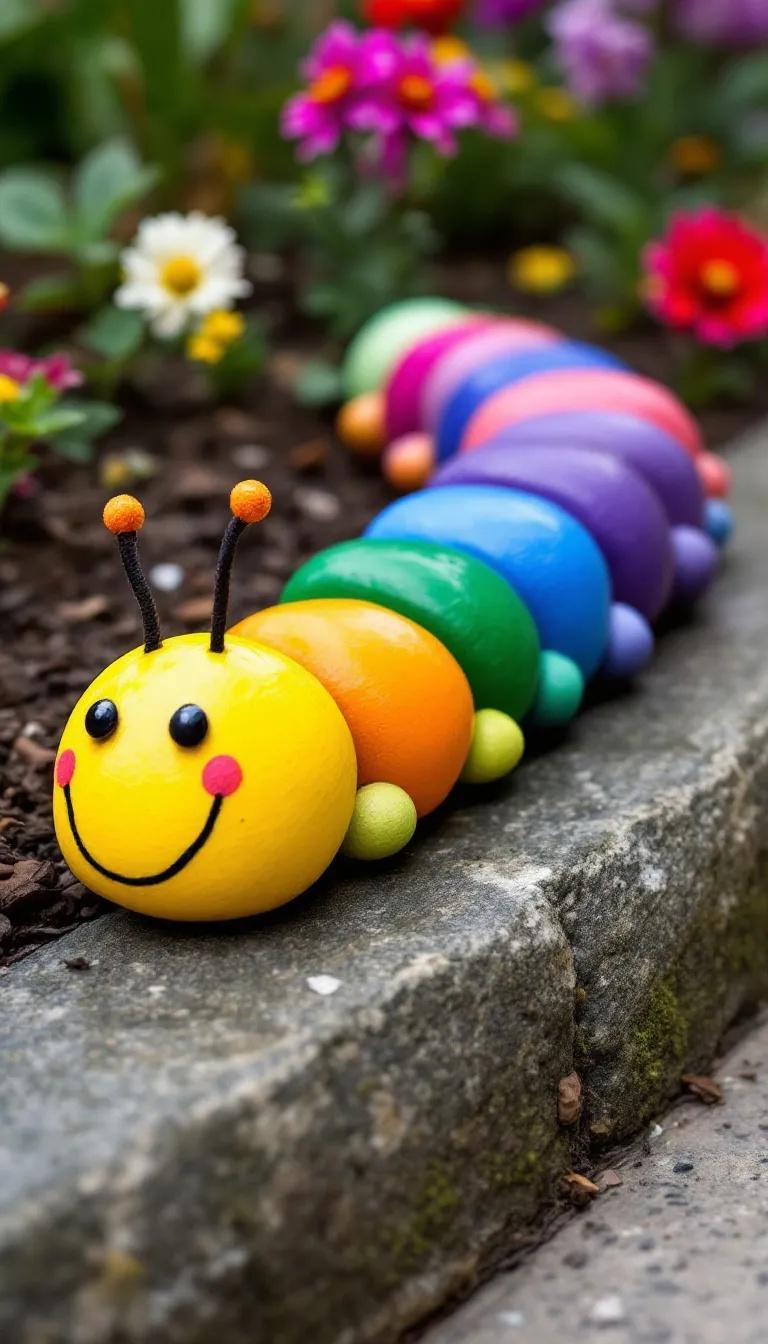
They bring instant charm and a pop of color. Rain won’t wash their personalities away, but expect to repaint after heavy seasons.
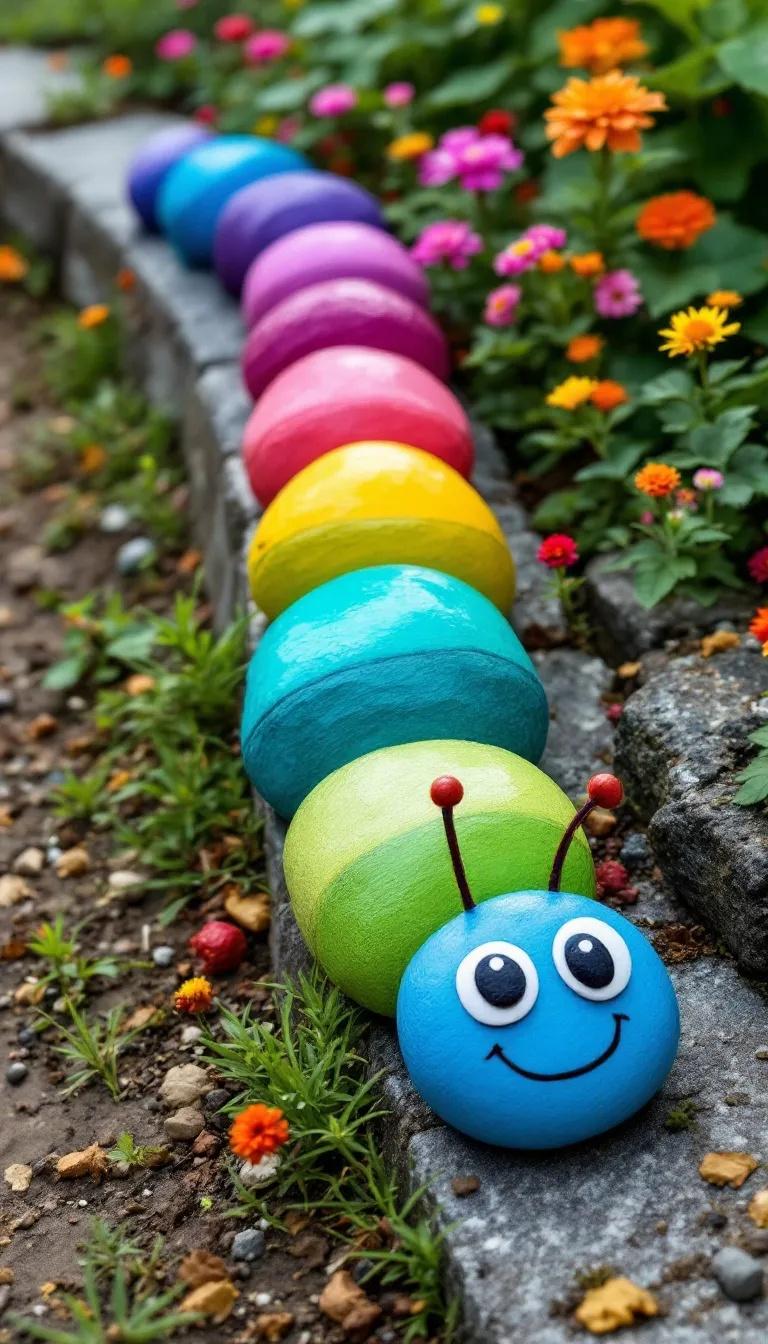
Families especially love crafting these because you can gather rocks as a group, pick your favorite colors, and personalize faces. Imagine cheerful bug “friends” greeting you daily.
Who says garden borders have to be boring? Give your edge some playful character, just watch for small rocks where lawnmowers roam.
21. Fairy doors glued to tree trunks and fences
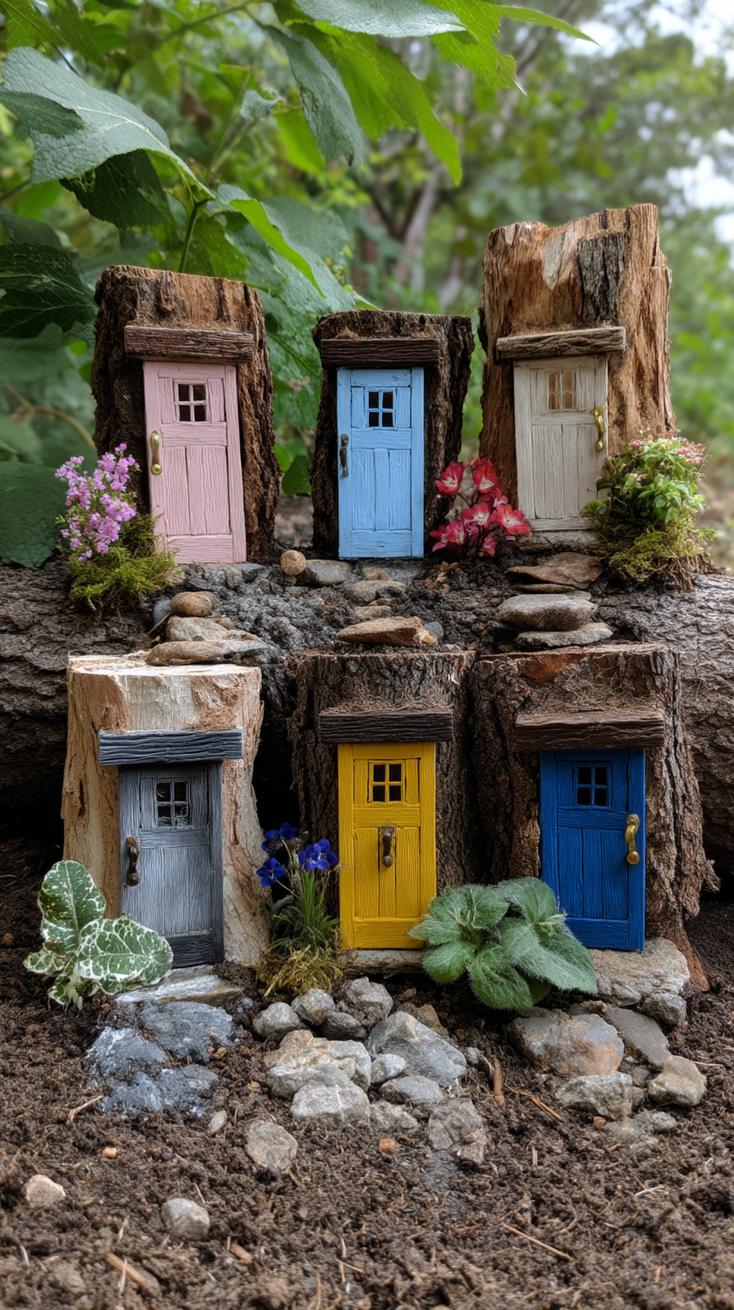
Miniature fairy doors glued to tree trunks or fences turn ordinary backyards into magical spaces. Imagine your morning coffee enjoyed beside a whimsical portal that sparks stories for kids and adults alike.
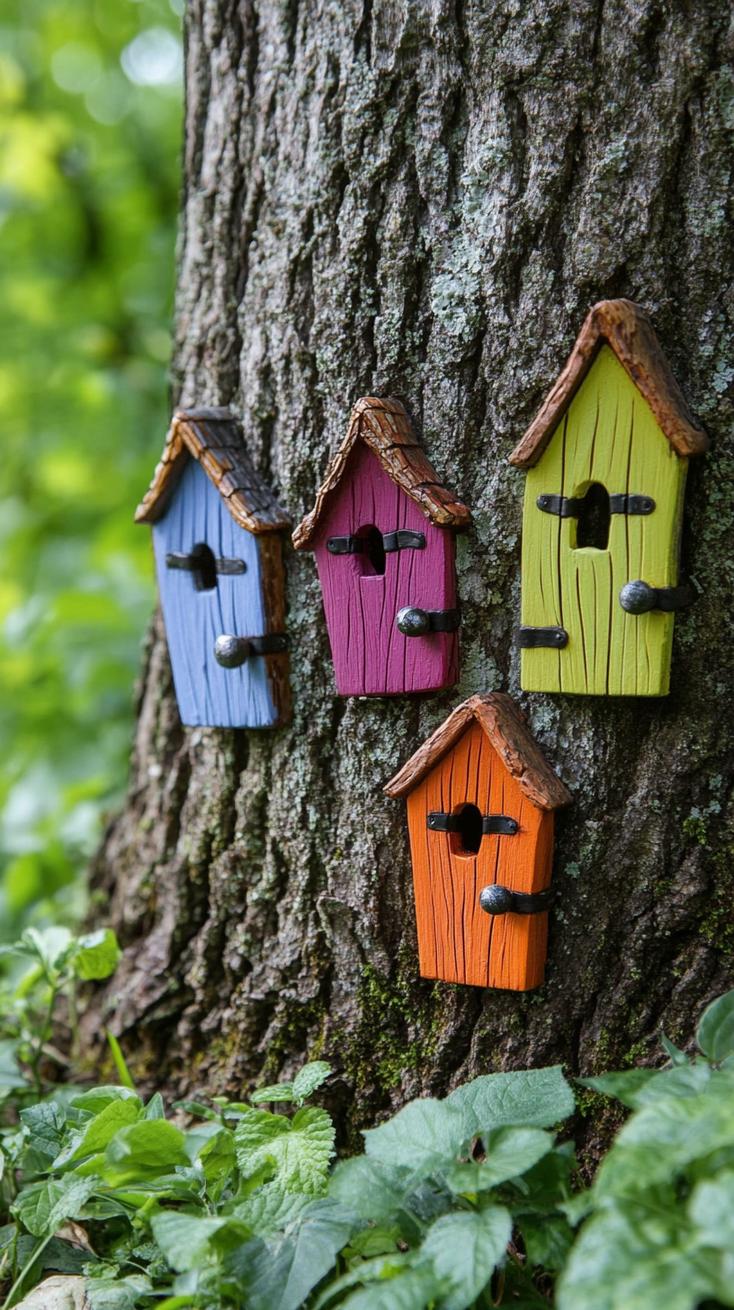
Wooden craft doors are affordable, simple to paint, and stick well with outdoor adhesive.
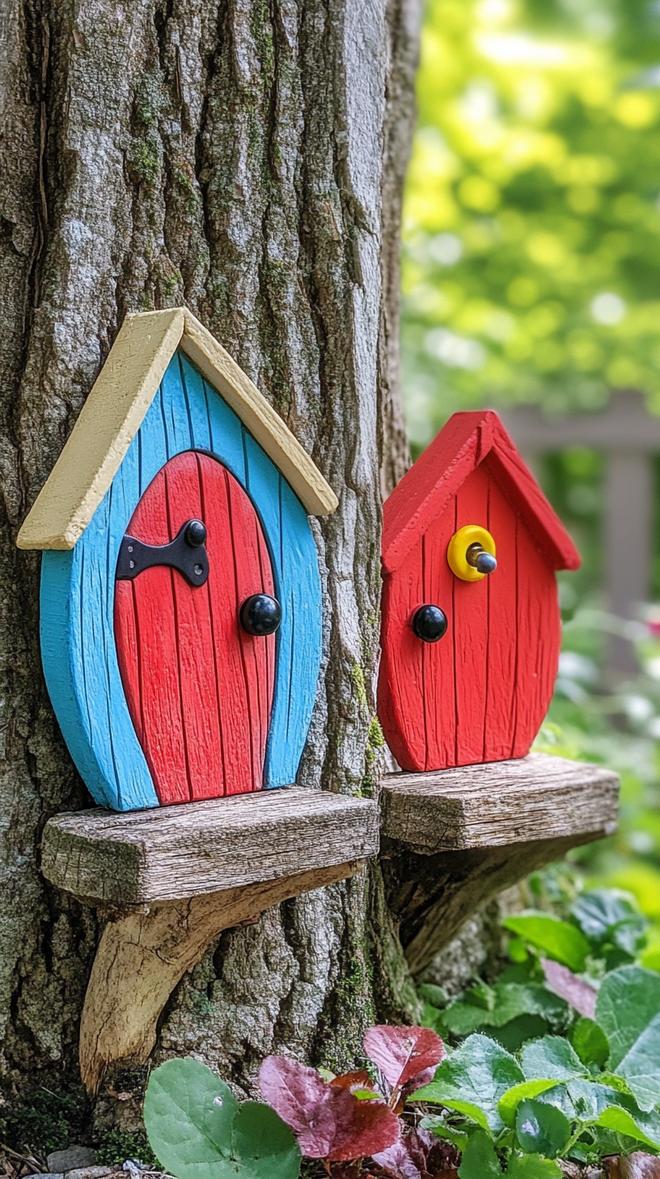
But let’s not kid ourselves, cheap glue means fallen doors after the first rainstorm. Always pick a waterproof option and check back every season for loose pieces.
Even a “fairy” needs maintenance, right? These tiny doors offer both fun creativity and a reason to spend more time outside.
22. Painted pine cones hung like flower clusters
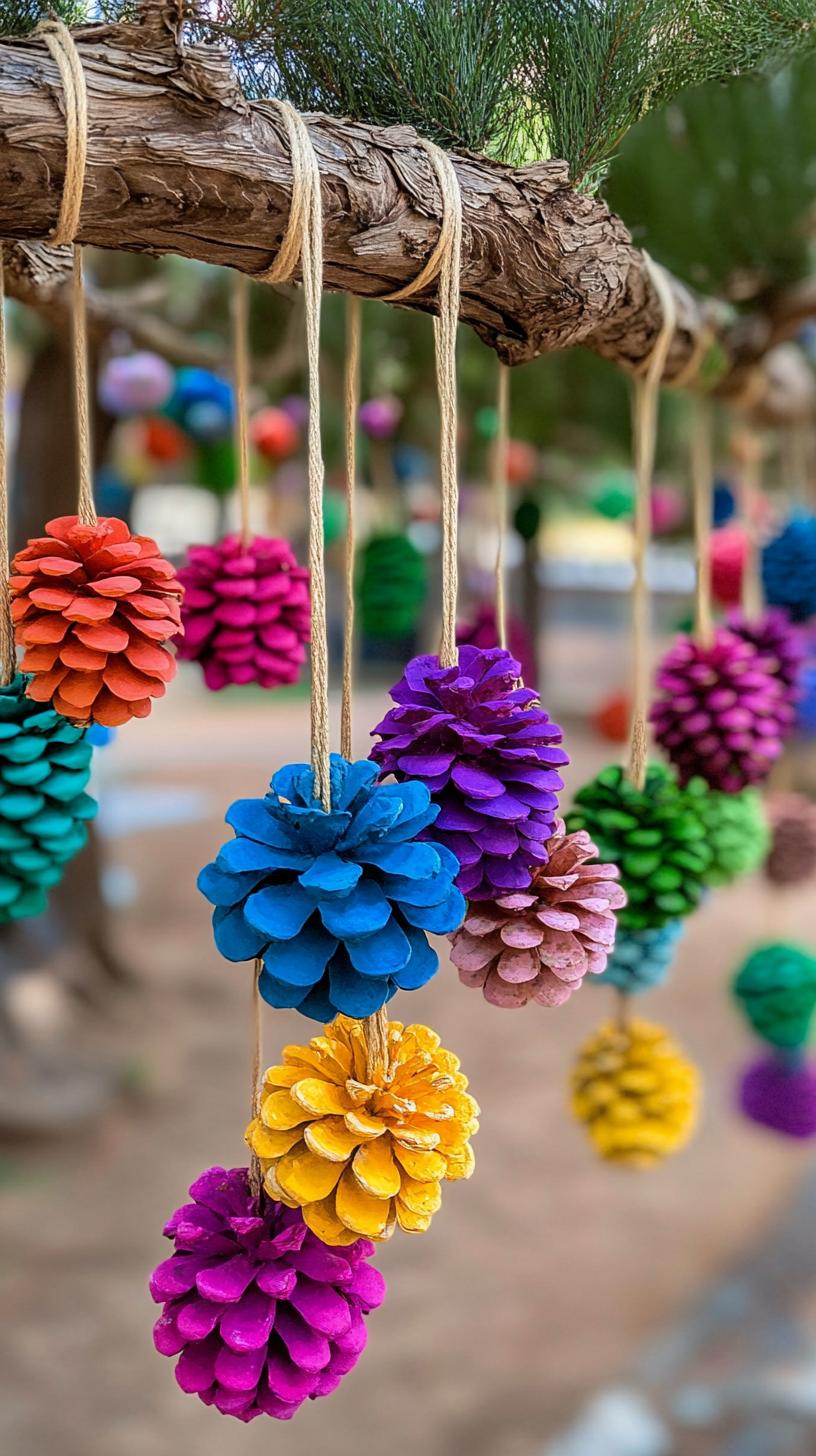
Painted pine cones bring out colors you didn’t know you wanted in your garden. Stringing them up together makes a cheerful cluster reminiscent of wildflower bouquets.
All it takes is some spray paint, sturdy thread, and a good eye for color. Even kids can help paint, let them pick wild combinations.
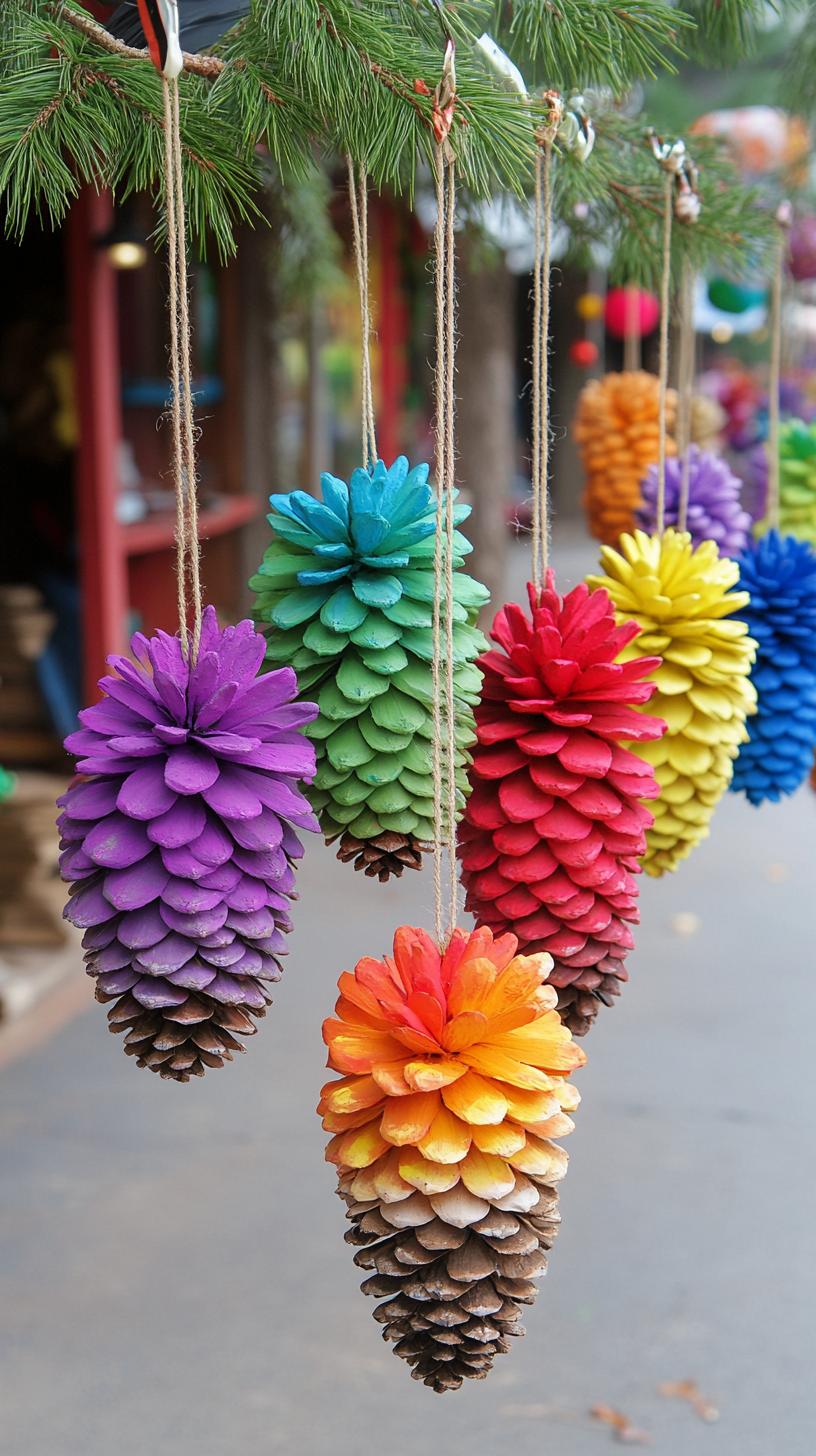
This method isn’t perfect, pine cones can fade in rain, and some might fall apart over time. But replacing them is simple and cheap.
Who else gets to say “I made my own garden flowers, and they never droop”? Give it a try, and watch neighbors peek over the fence.
23. Colorful spirals made from twisted garden hoses
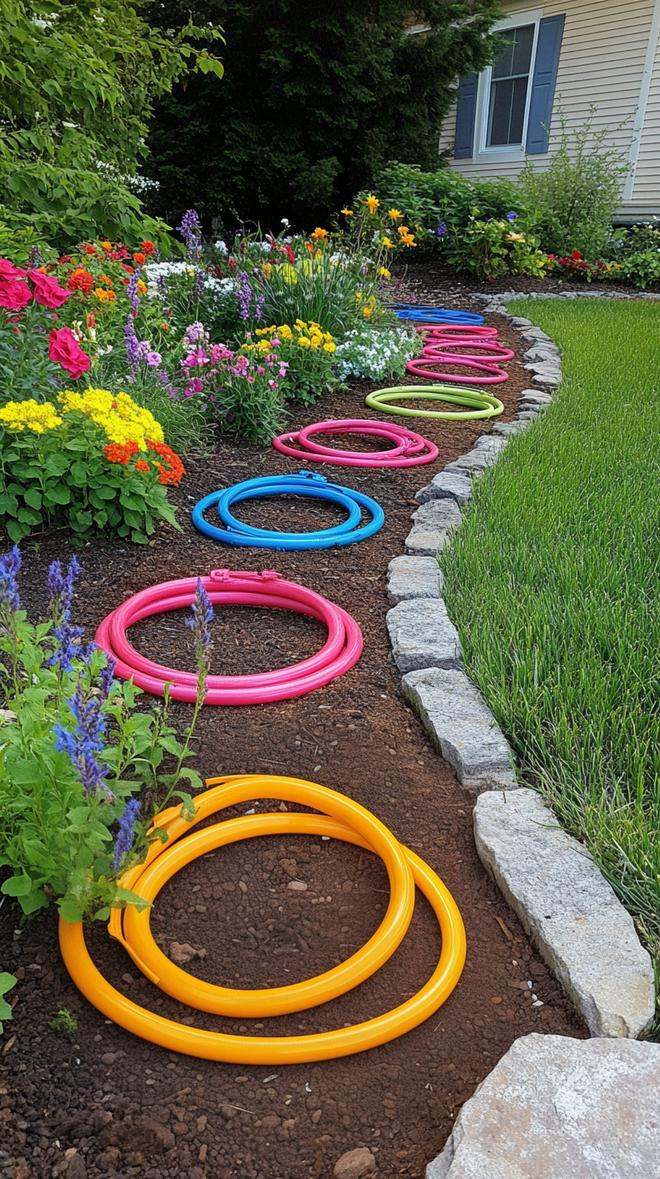
Ever wonder what to do with that cracked old garden hose? Twist it into fun spirals, add a splash of paint, and hang it on a fence. Kids love picking the colors.
These little bursts of color catch sunlight and create quirky shapes. It’s recycling, but with a wink.
Some folks may worry about the hose weathering outdoors, but that’s half the charm. As the colors fade and the plastic ages, the art changes, too, sort of like nature’s own update.
Grab some zip ties, recruit a neighbor, and see who makes the wildest design.
24. Hand-painted garden markers shaped like veggies

Painting garden markers shaped like carrots, tomatoes, and peas adds personality to any plot. Grab stones or wood scraps, acrylics, and brushes. Kids and adults both love it.
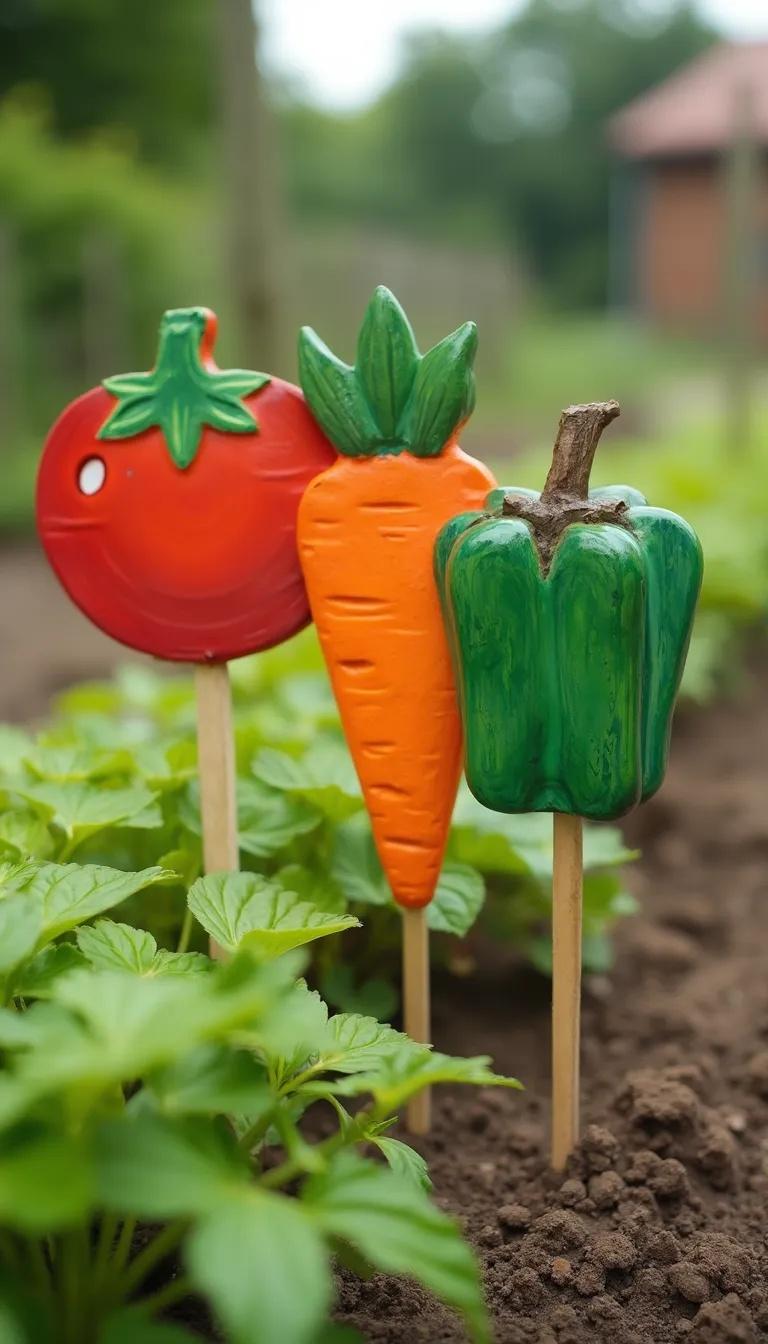
These markers hold up through rain, but sometimes paint fades with time, or curious squirrels move them. Still, they brighten up garden beds instantly.
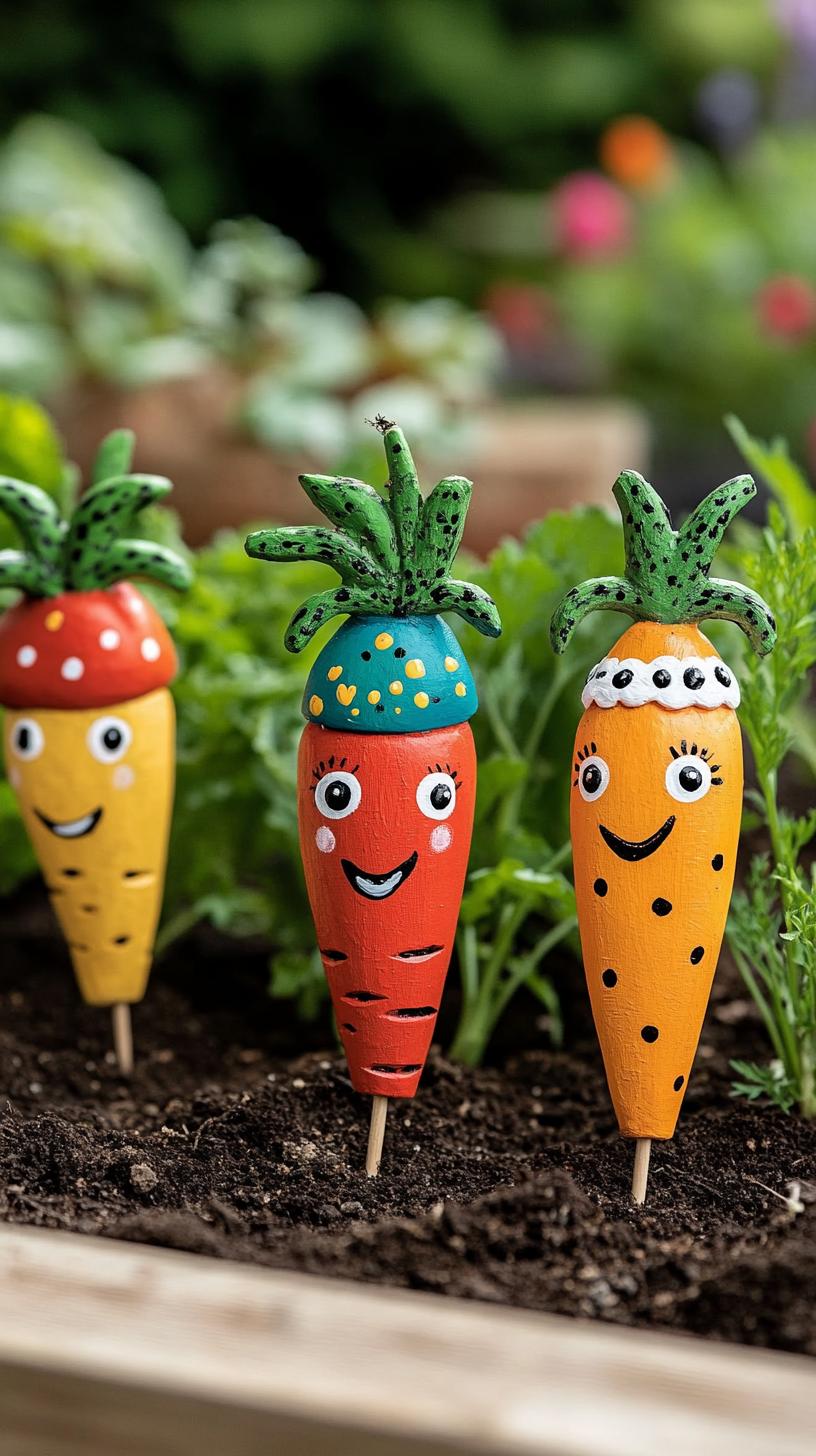
Don’t stress about perfection. A lopsided tomato is charming. Why not label herbs, too? Seal the paint with clear varnish for better longevity.
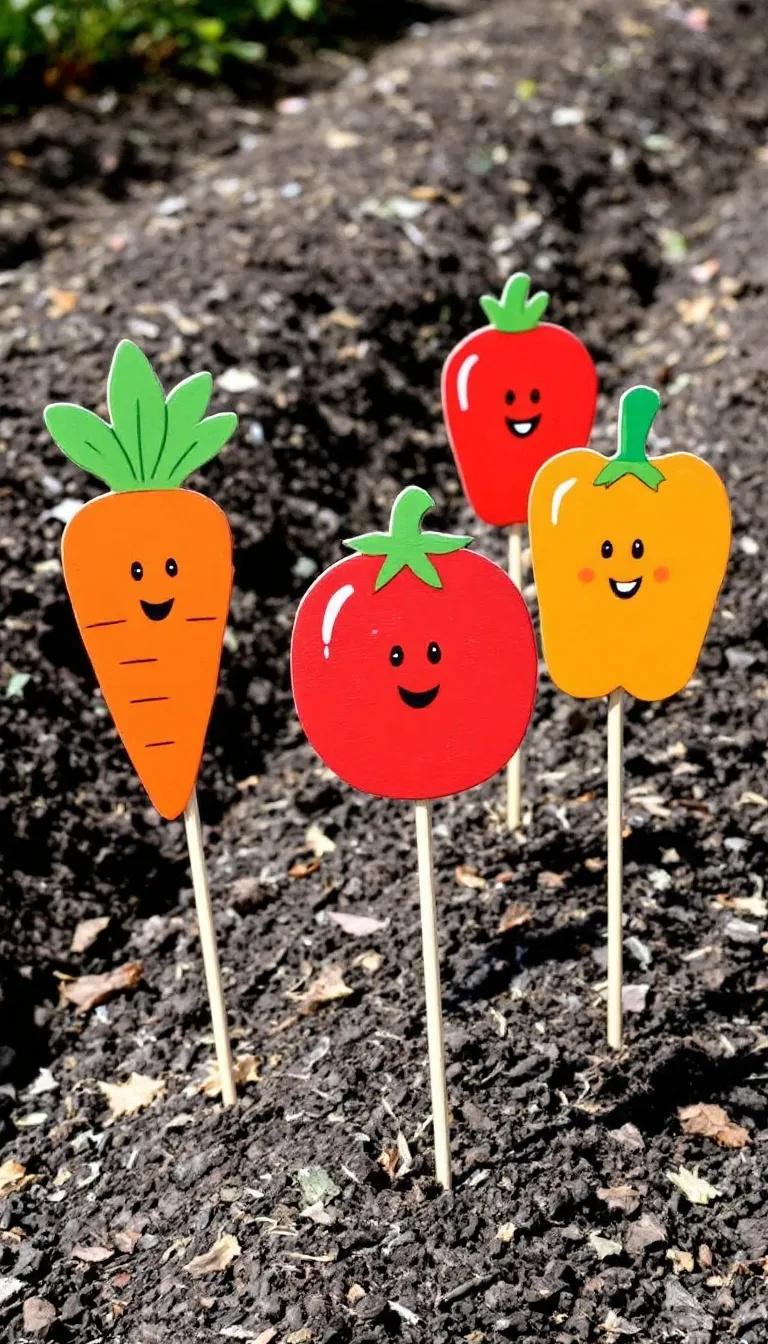
This craft sets your space apart and helps you identify seedlings. Plus, you’ll smile every time you spot your quirky cucumber marker after a long day.
25. Rustic wooden lanterns with string fairy lights
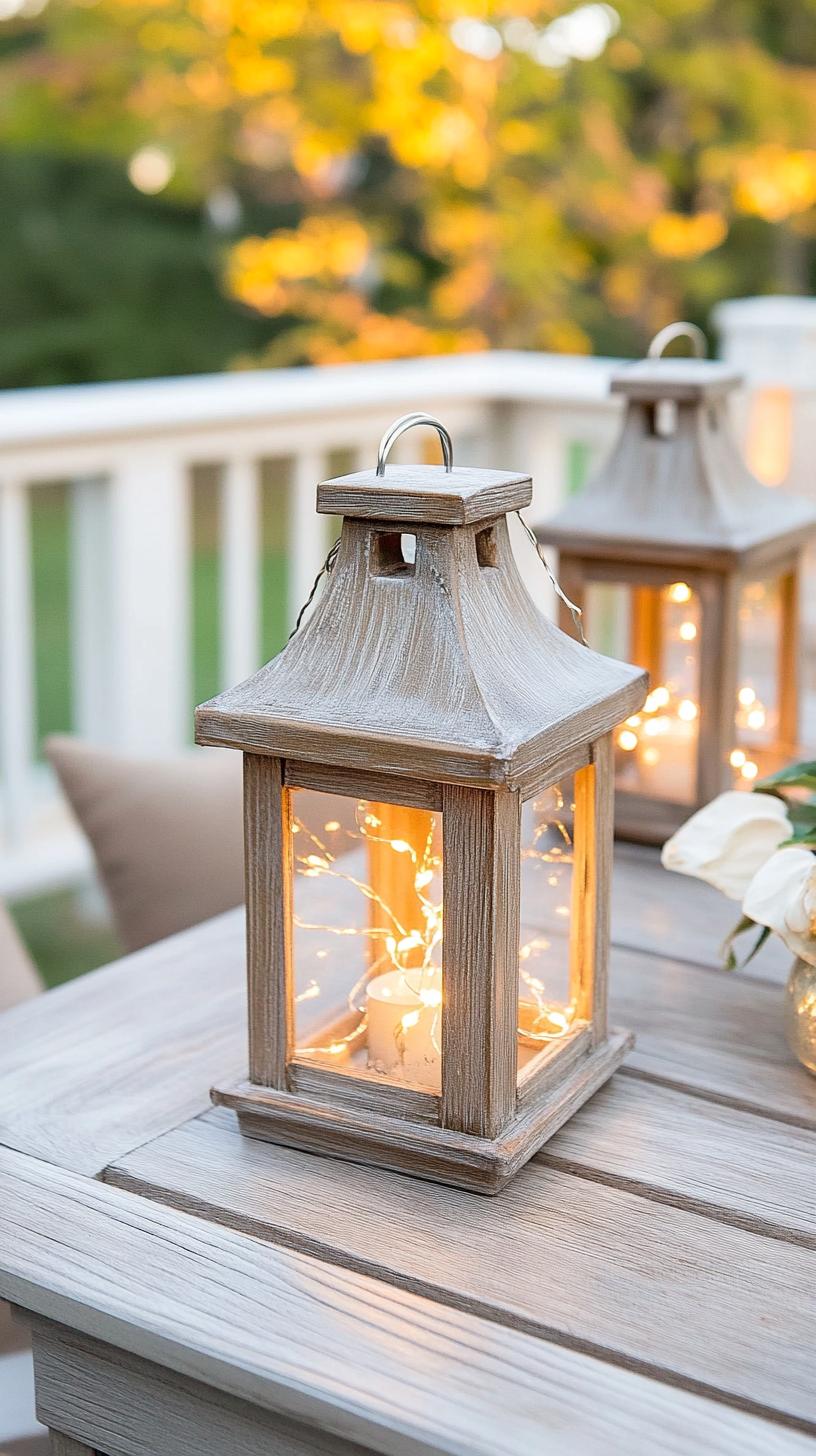
Old wooden boxes or scraps make fantastic rustic lanterns, adding a homey warmth to any garden. Drill a few holes or cut windows, then thread string fairy lights through the gaps.
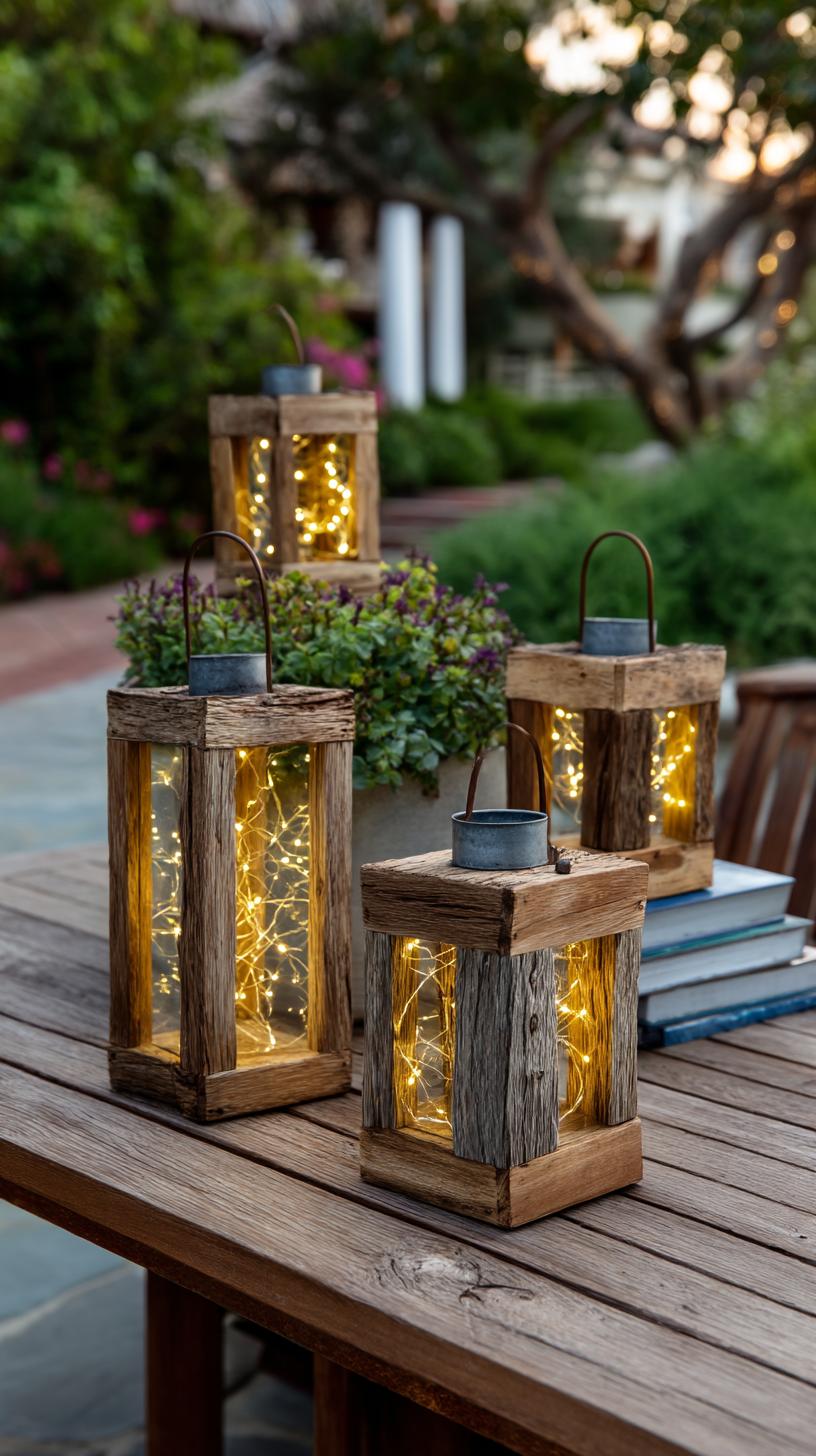
Suddenly, dull timber glows with gentle radiance. Who said you need fancy shop-bought lanterns for a magical garden moment?
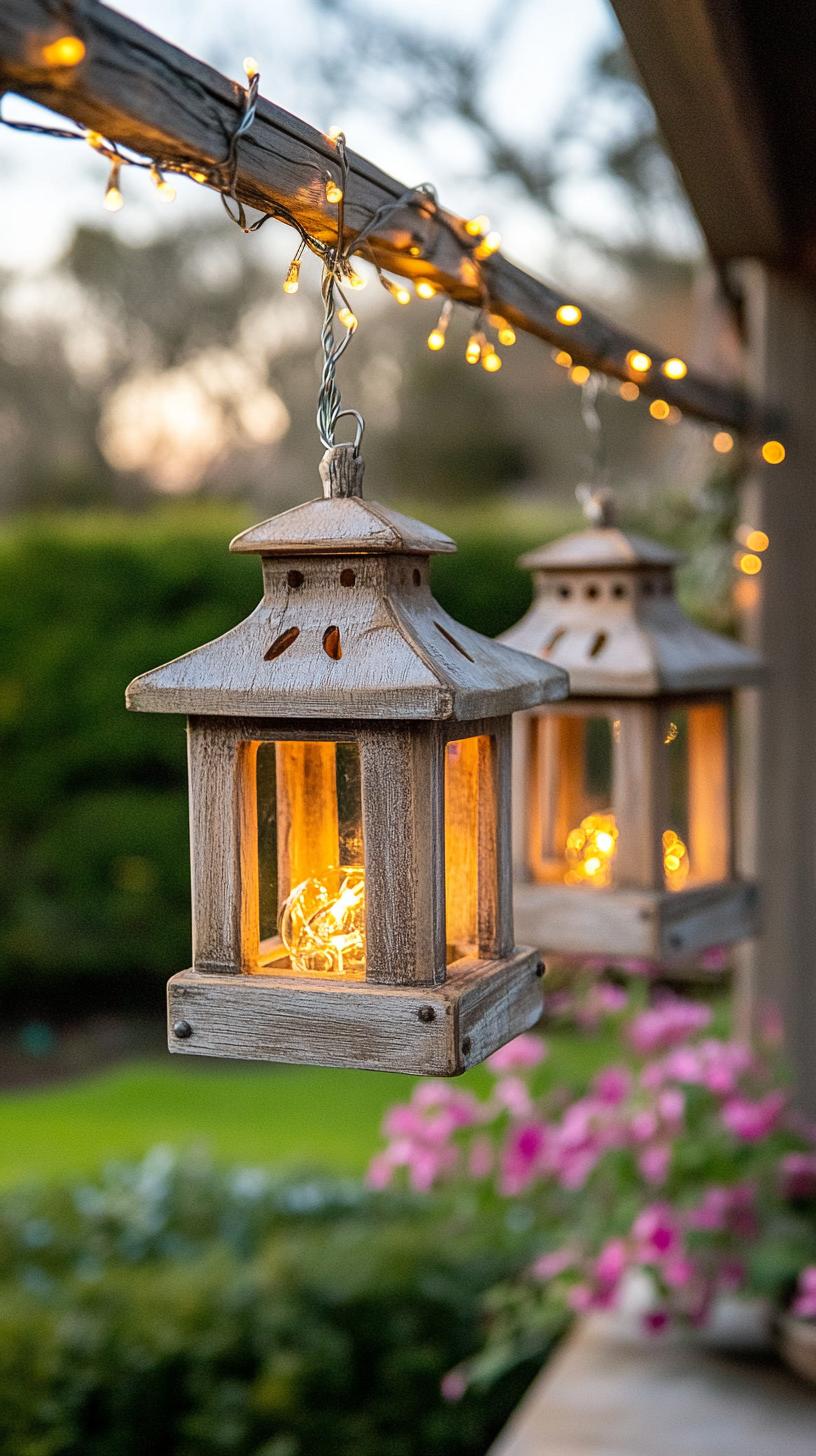
This DIY doesn’t demand fancy carpentry skills or costly supplies. Kids love getting involved, and minor imperfections add real character. Wood will weather over time, but that’s part of the charm.
Just remember, if your lights aren’t weatherproof, bring them inside during heavy rain. Simple, practical, surprisingly striking.
26. Rain gutter wall planters painted in pastels
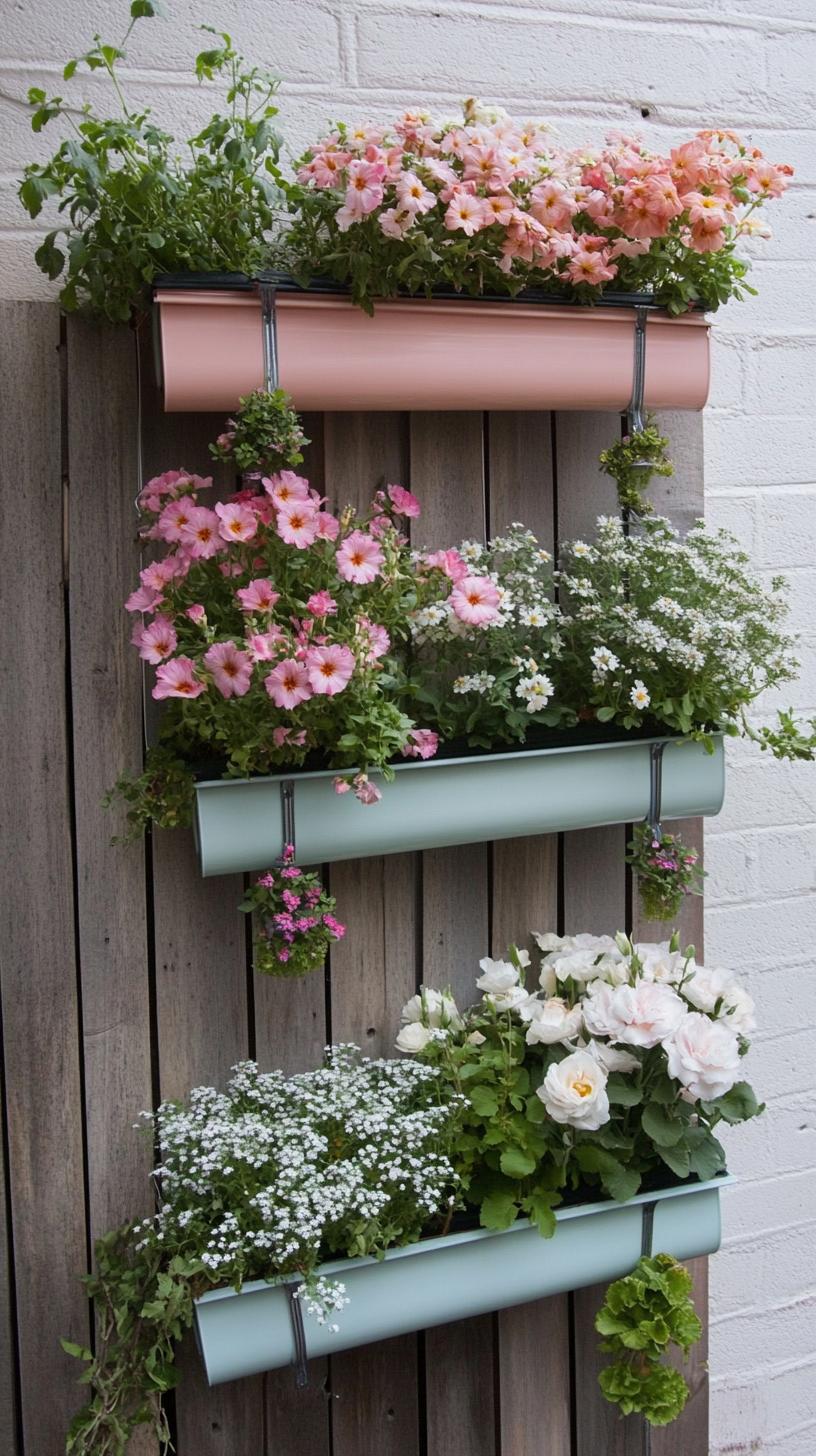
Think rain gutters are only for roofs? Think again. Fasten them to a fence, splash on pastel shades, fill with soil, and tuck in herbs or blooms. Simple installation, big statement.
Pastels add cheer even on cloudy days. Kids can help paint, too, making this a true family project.
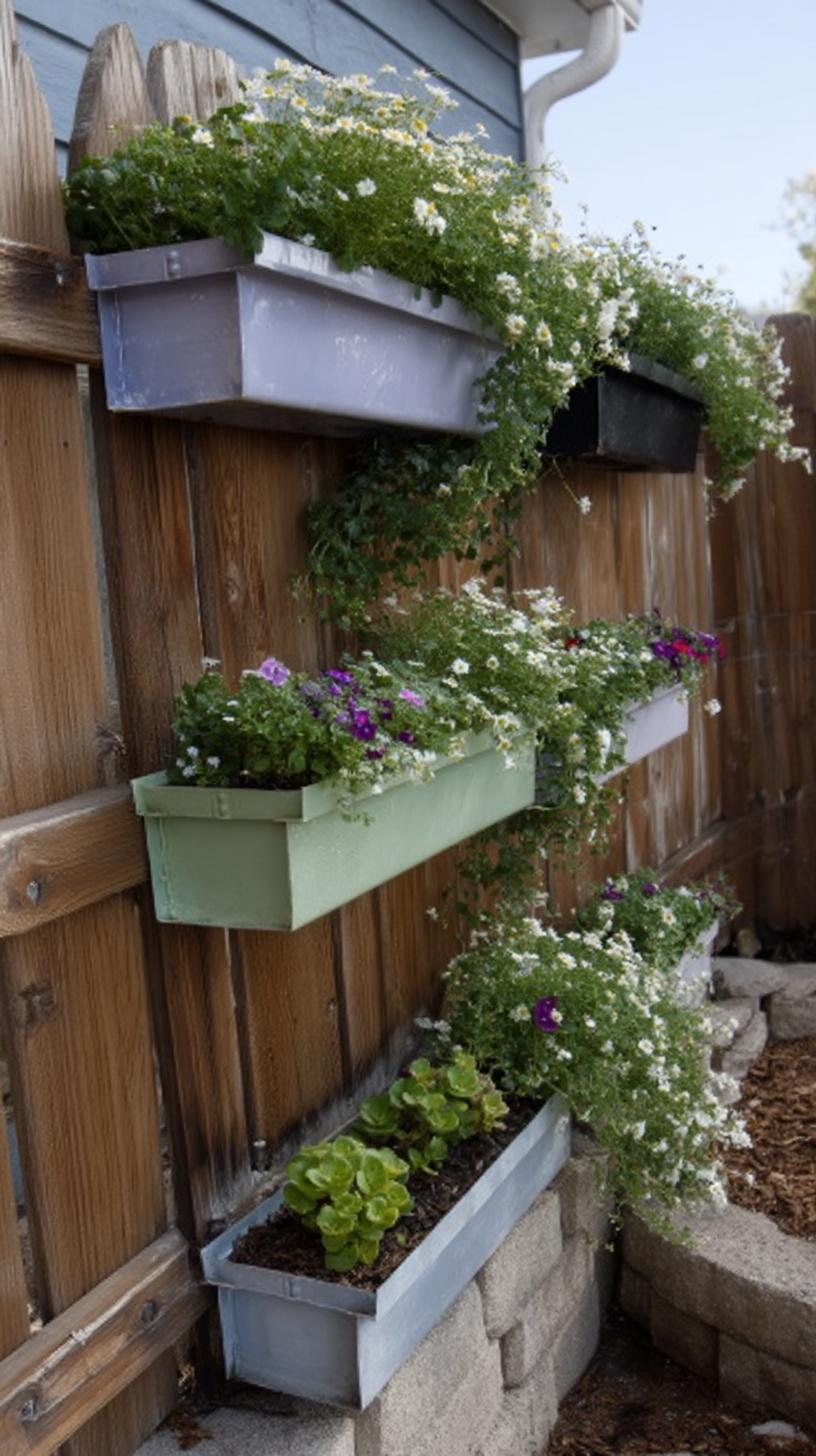
These planters save space and fit snugly in small gardens. Worried about drainage? Just poke a few holes in the bottom. Succulents, strawberries, or lettuce thrive here.
The main quirk? Gutters dry out quicker, regular watering is the trick. Low on budget, high on charm, who knew gutters could turn heads?
27. Pallet wall garden decorated with painted blooms
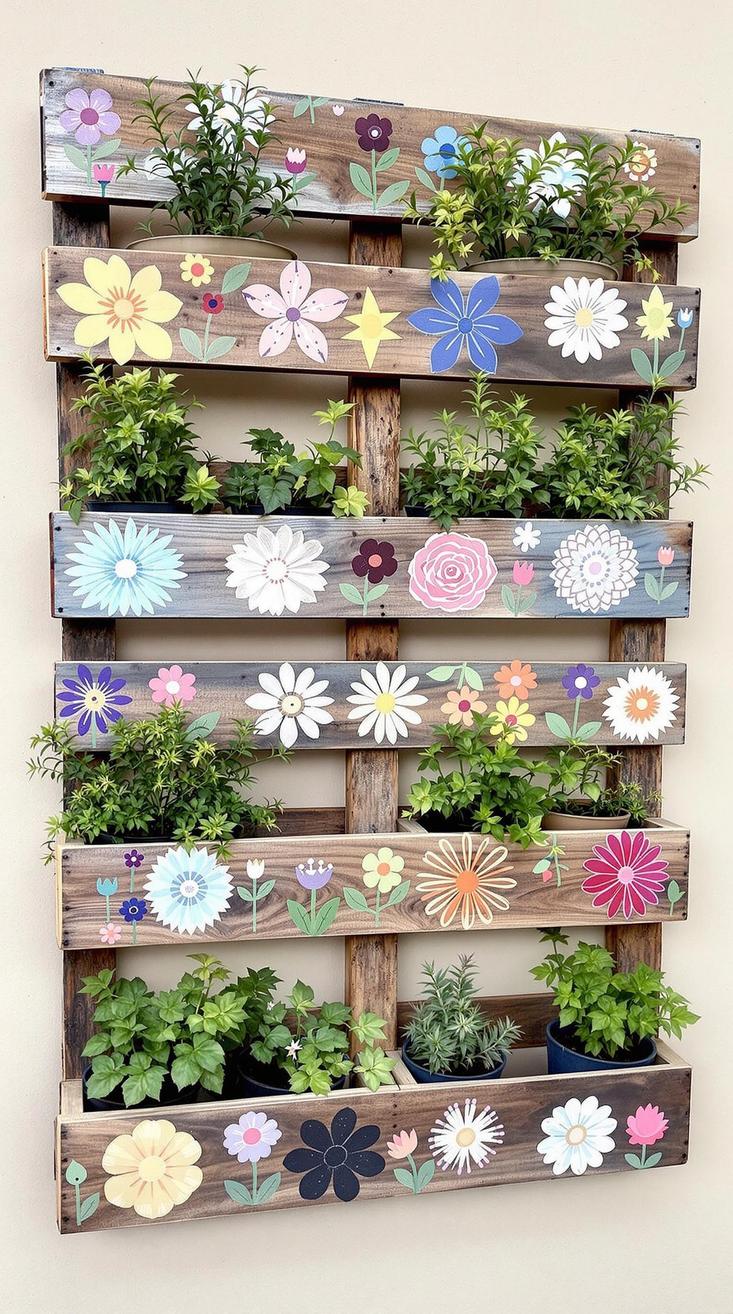
A pallet wall garden makes plain fences smile. All you need is a leftover pallet, a bit of soil, and a wild streak with paint.
Kids love splashing color onto wooden blooms, no art degree needed. Plus, swapping veggies for flowers means your backyard feels fresh without much fuss.
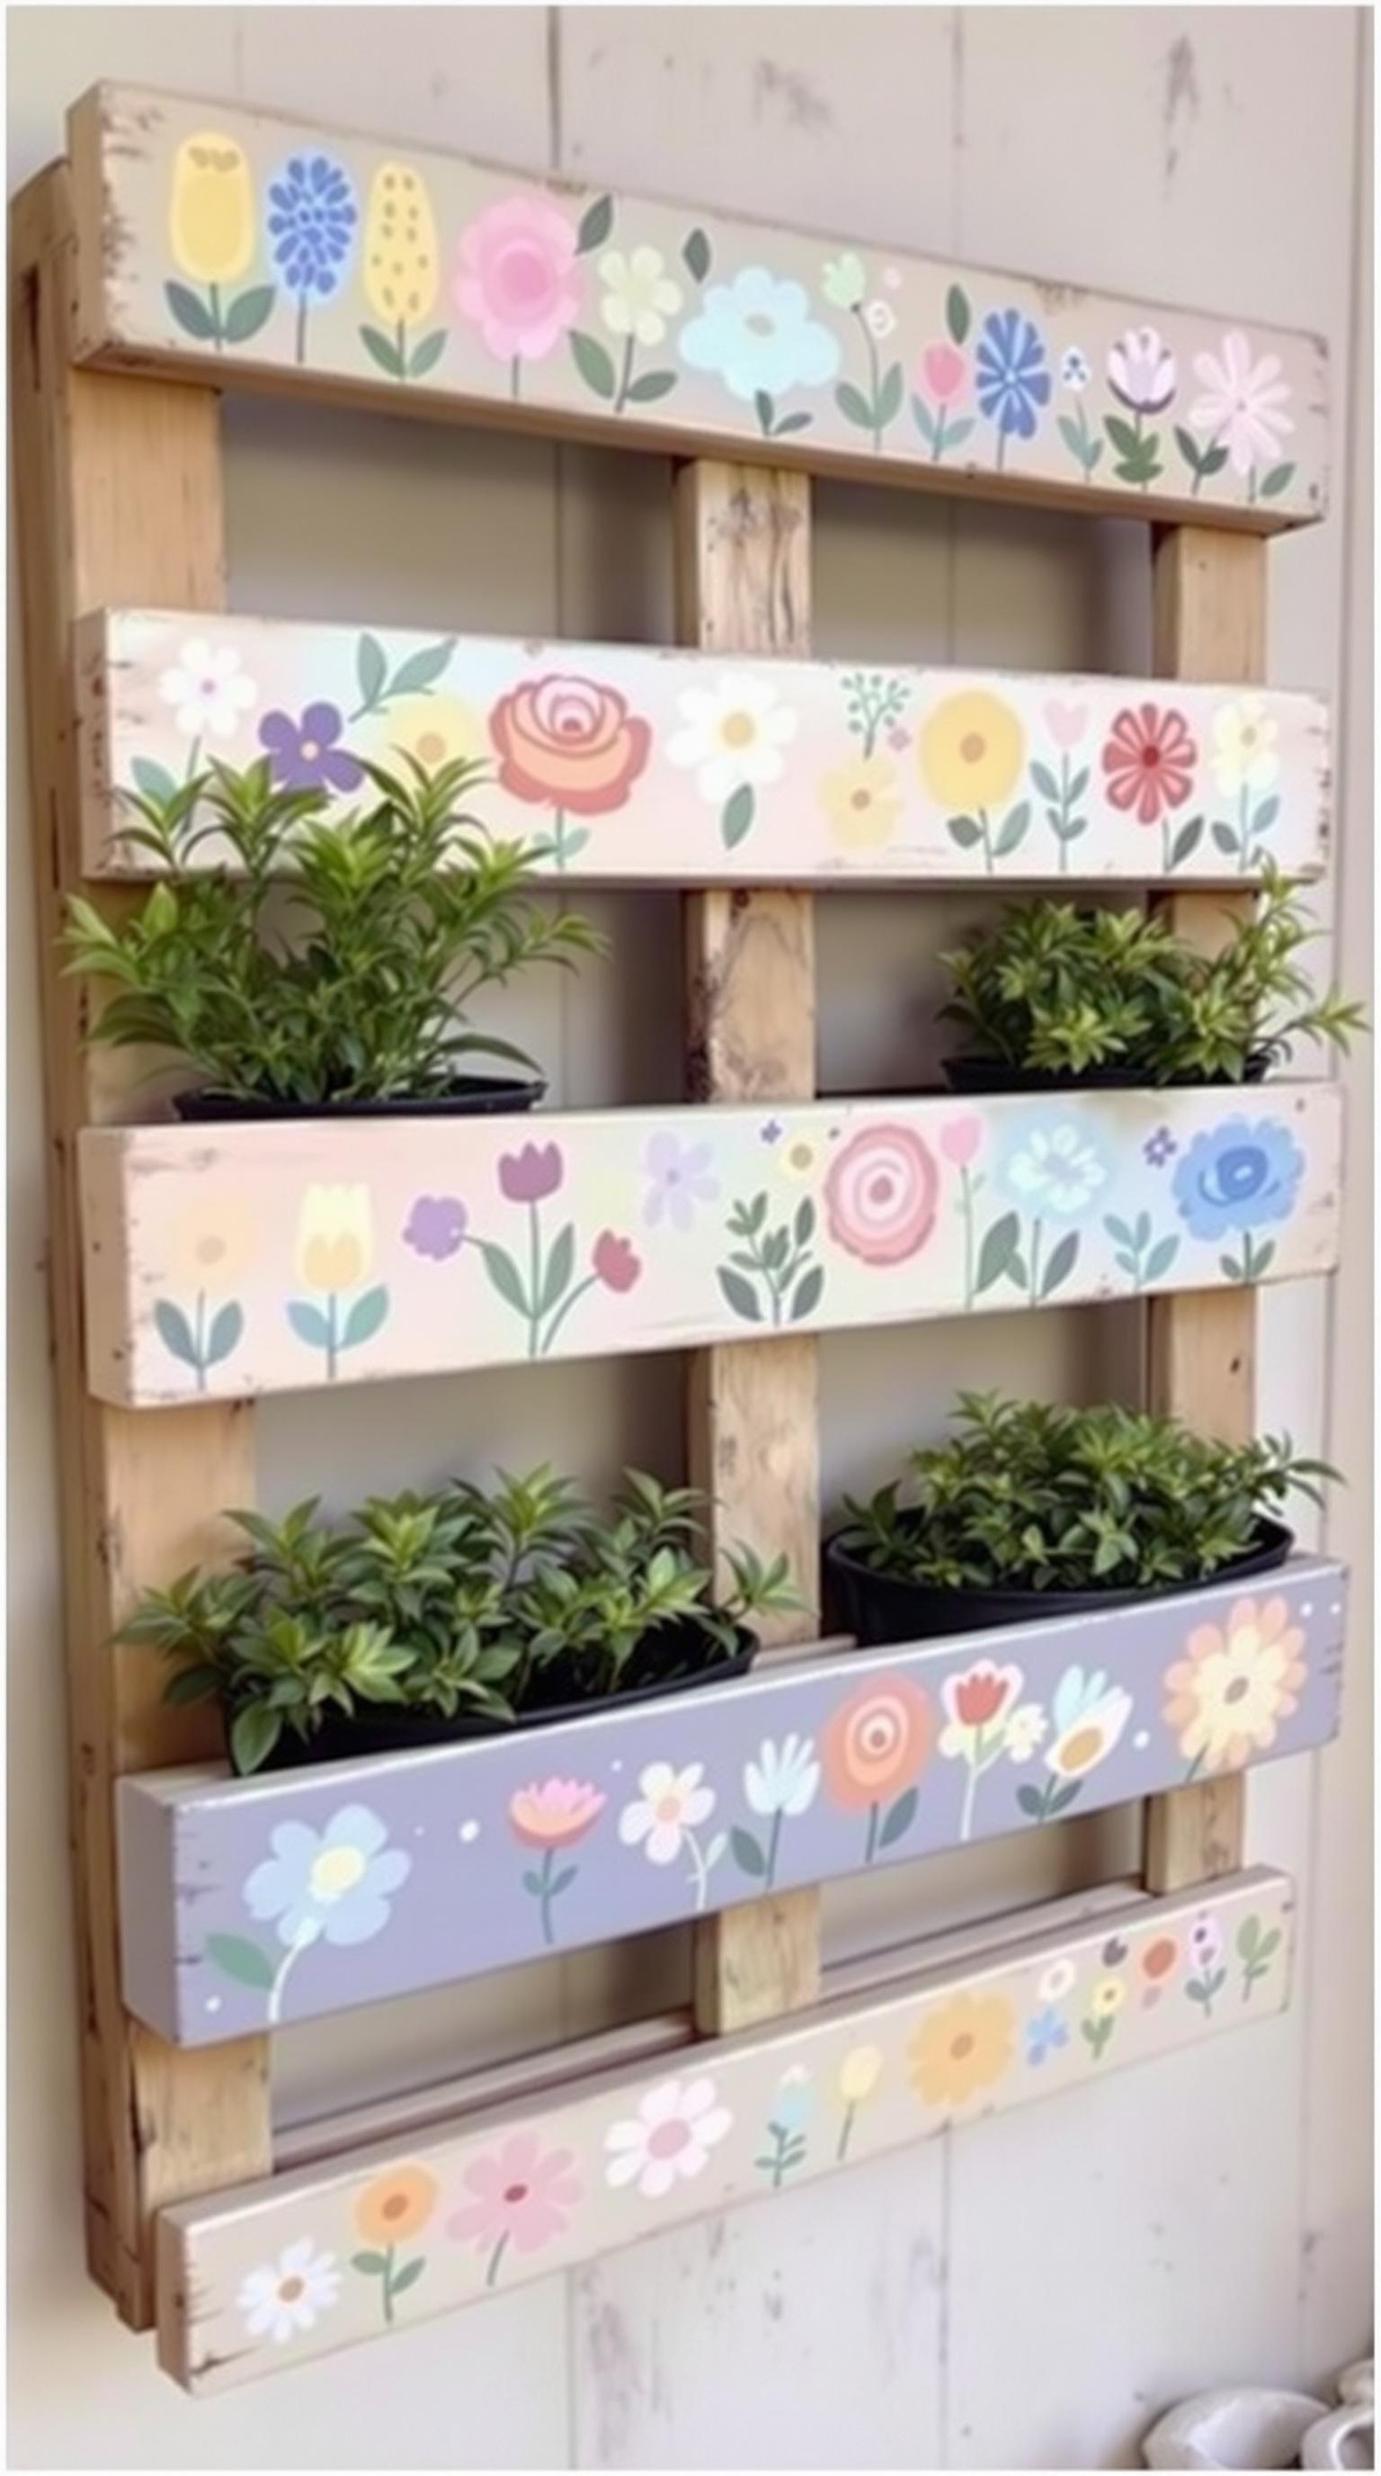
Painted pallet gardens are affordable, but sun and rain may fade your masterpiece. Quick fix: waterproof sealant, or repaint every season for a new look.
Have a neighbor who loves beige? Warning: your bright project might ruffle feathers. Still, it’s your garden, so let it pop!
28. Tree stumps topped with mosaic tile designs
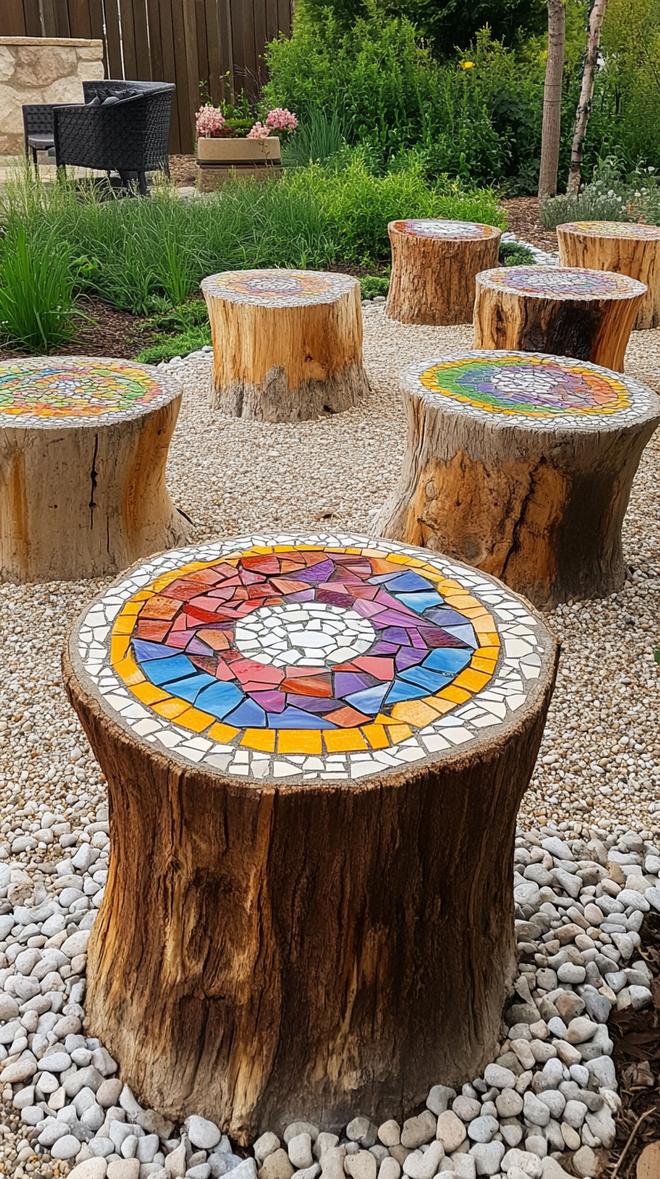
Imagine turning an old tree stump into a spotlight for your yard. Mosaic tiles can bring broken crockery or leftover glass to life.
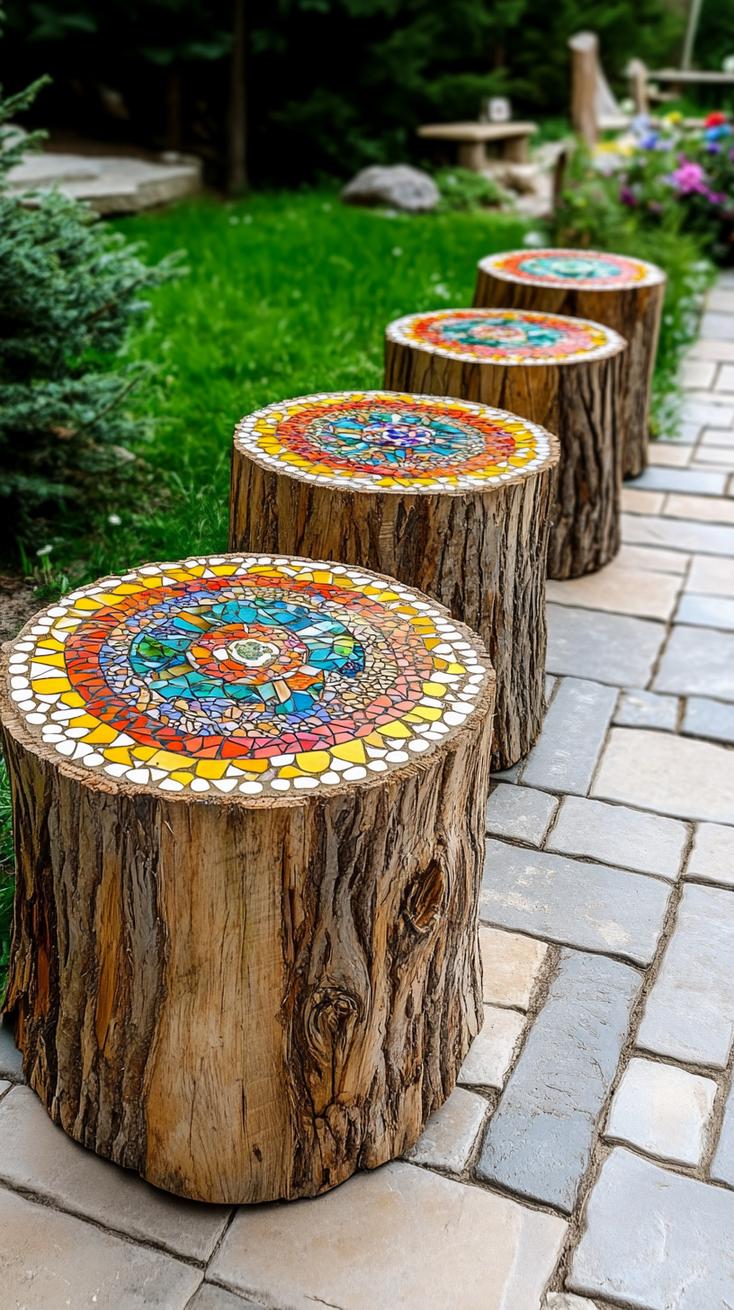
Simply glue pieces on top, grout, then seal for weather resistance. Instant character, minimal tools. Kids can join in, making memories as bright as the colors.
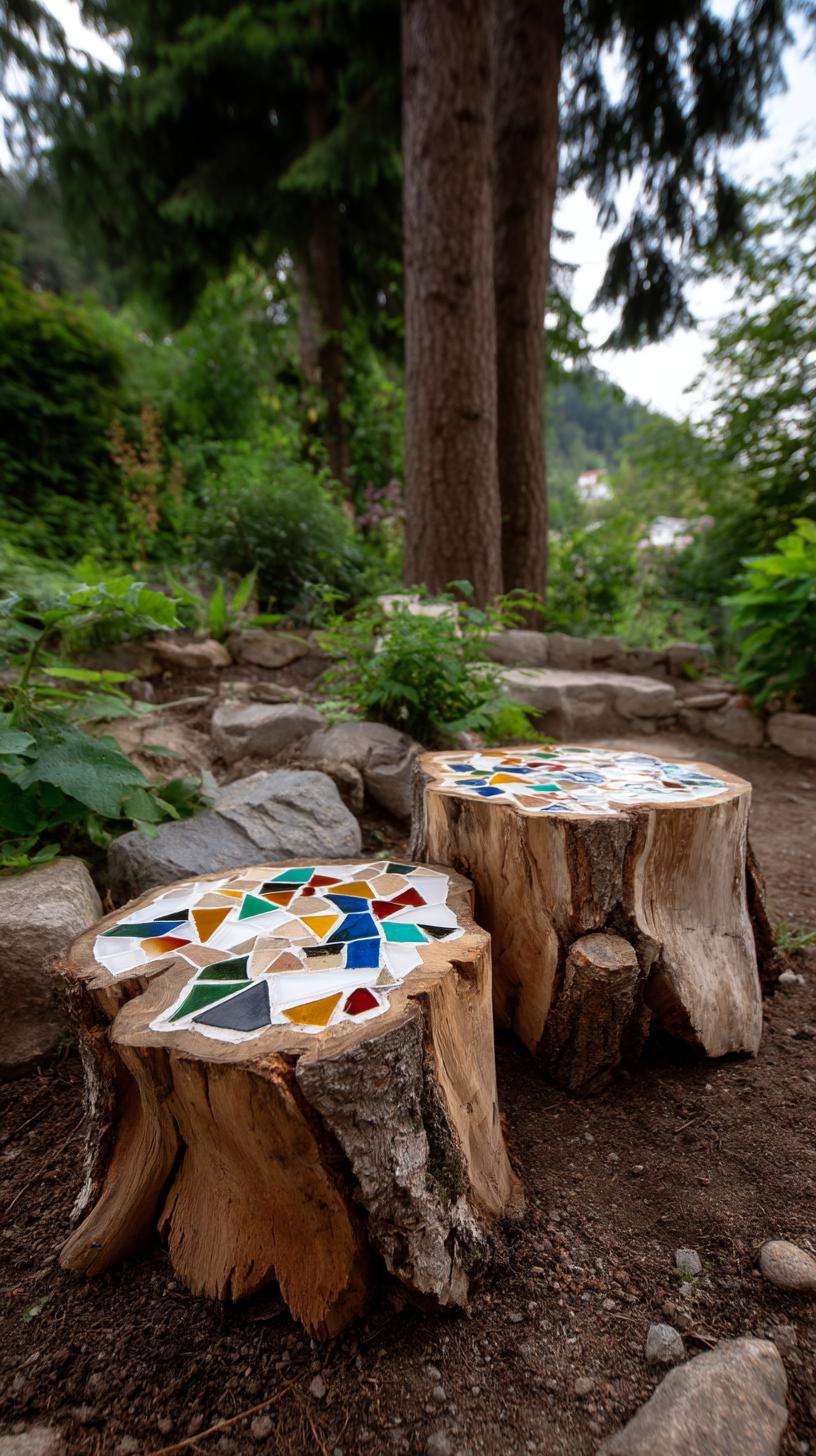
Sure, rough surfaces can make precise tiling tricky, but that’s half the appeal. No two projects ever look quite the same. Even a wonky edge or mixed pattern draws a smile.
Isn’t it refreshing to champion playful imperfection over perfectionism? Give it a go, your garden won’t judge.
29. Whimsical robots made from painted tin cans
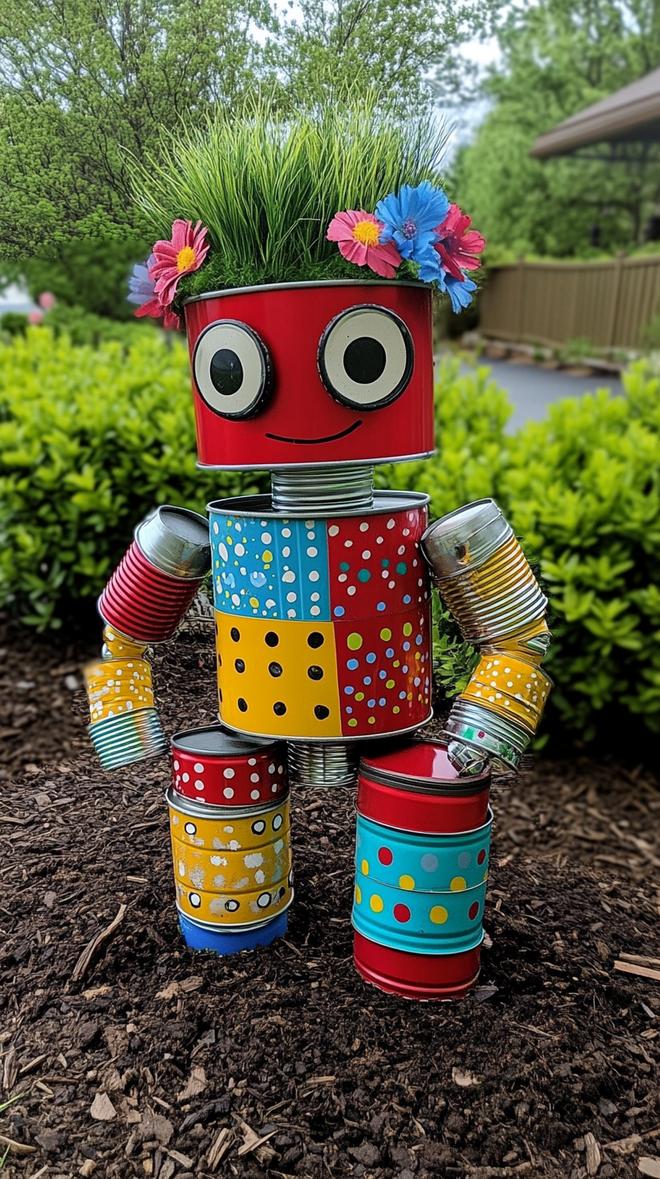
Why toss empty tin cans when they can become quirky robot sculptures? Grab some paint, wires, and bottle caps. Kids love giving each robot a funny grin or mismatched eyes.
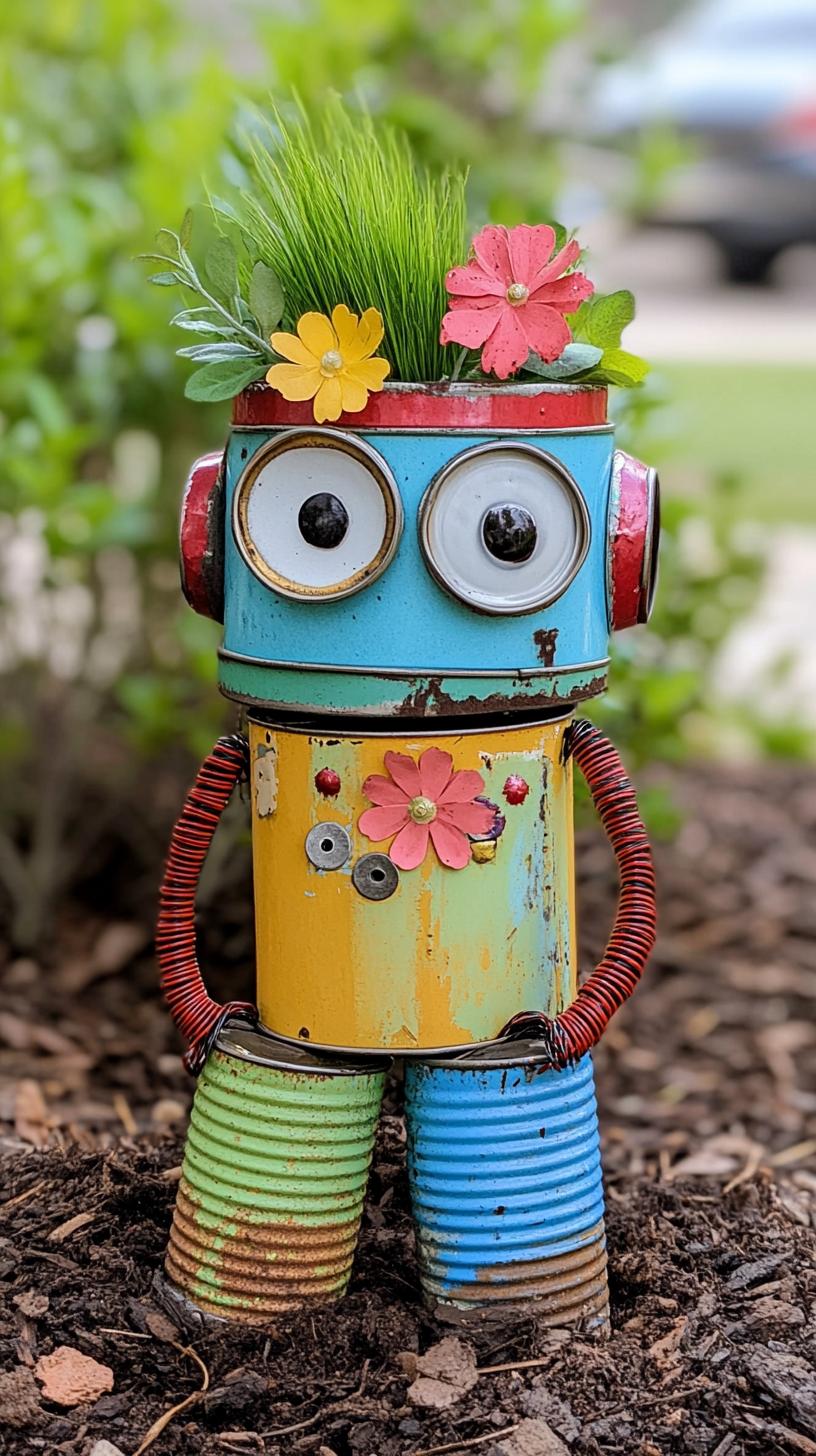
These little creations bring charm to flowerbeds and help spark creativity with simple household scraps, no need for fancy supplies.
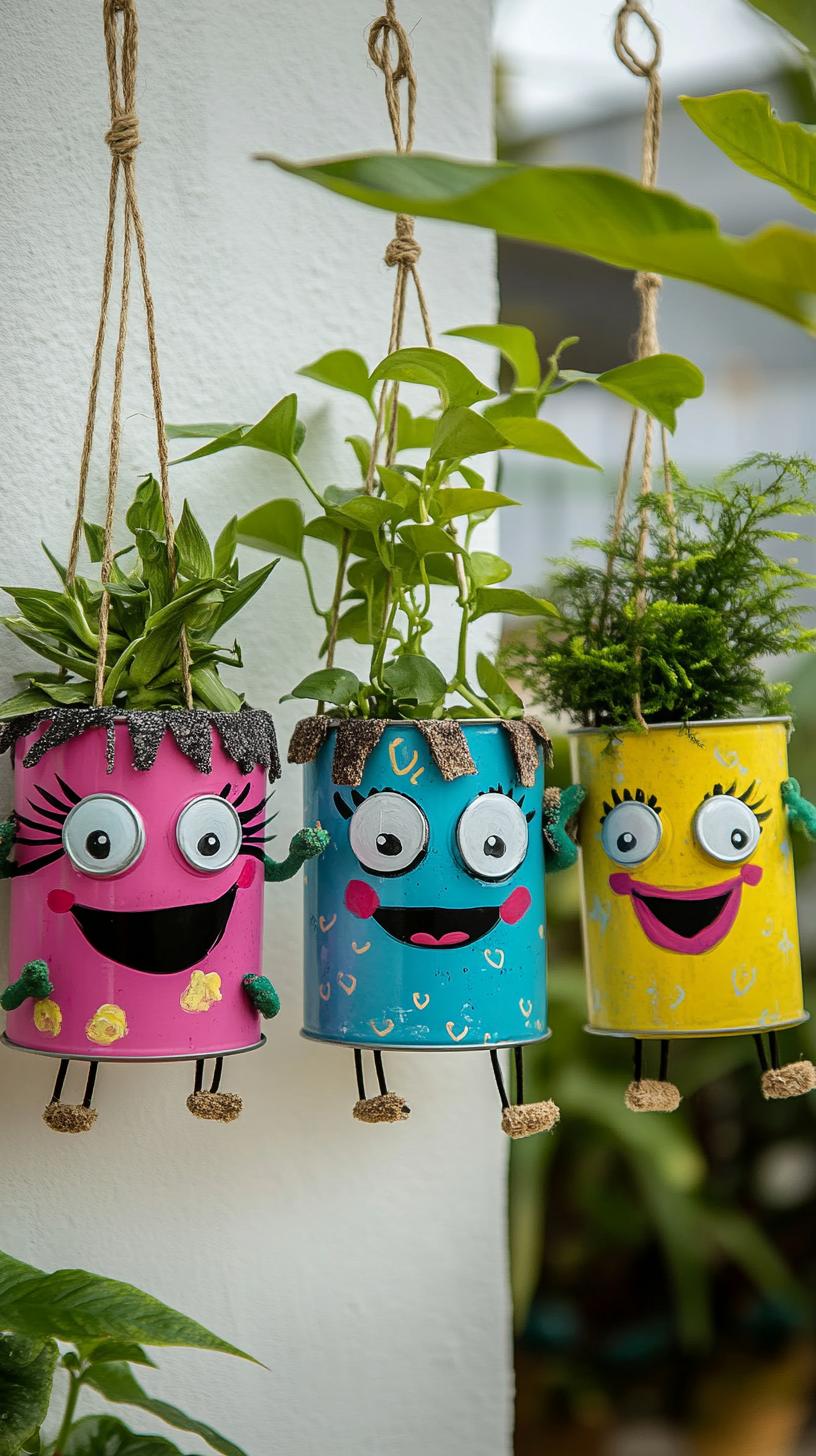
However, rain can cause rust or flaking paint. Try using weather-resistant paints or place your robots under cover.
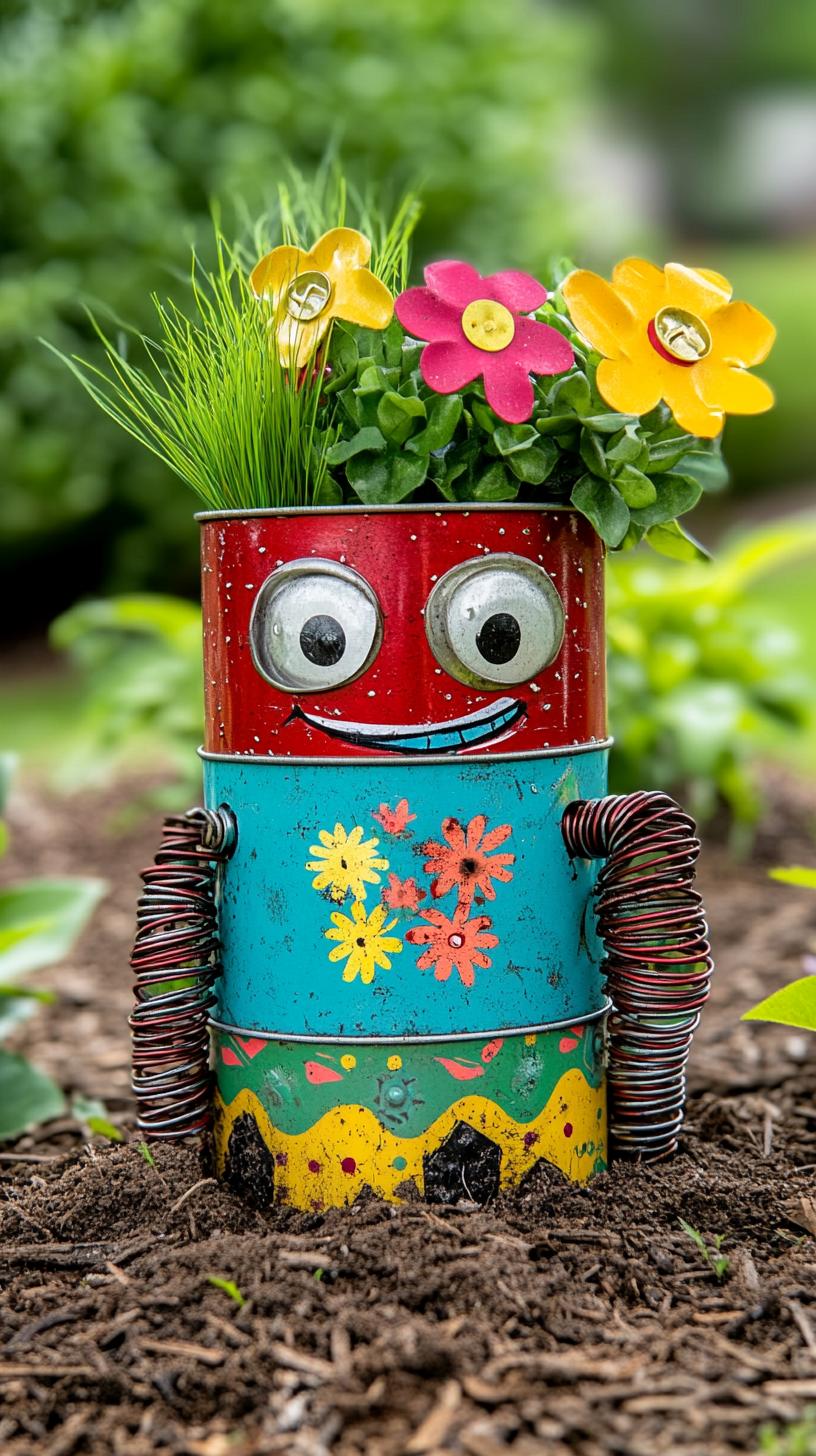
Despite the occasional maintenance, these DIY robots add a splash of fun and personality to any outdoor space, turning yesterday’s trash into tomorrow’s conversation starter.
30. Colorful pinwheels made from recycled plastic
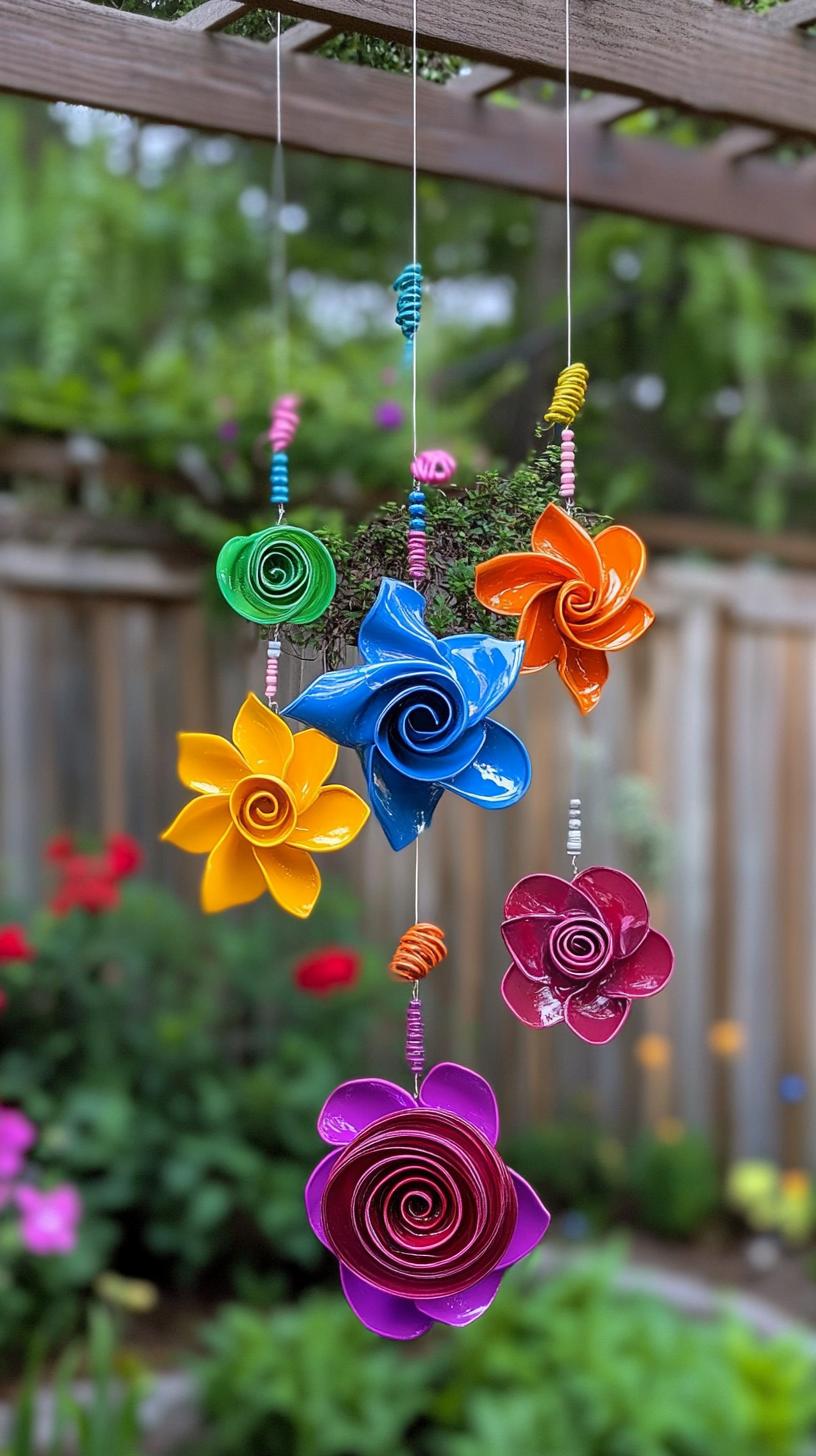
Old plastic bottles collecting dust? Slice them into ribbons, paint with bold shades, and watch them spin as pinwheels in your garden. Kids go wild for the swirls.
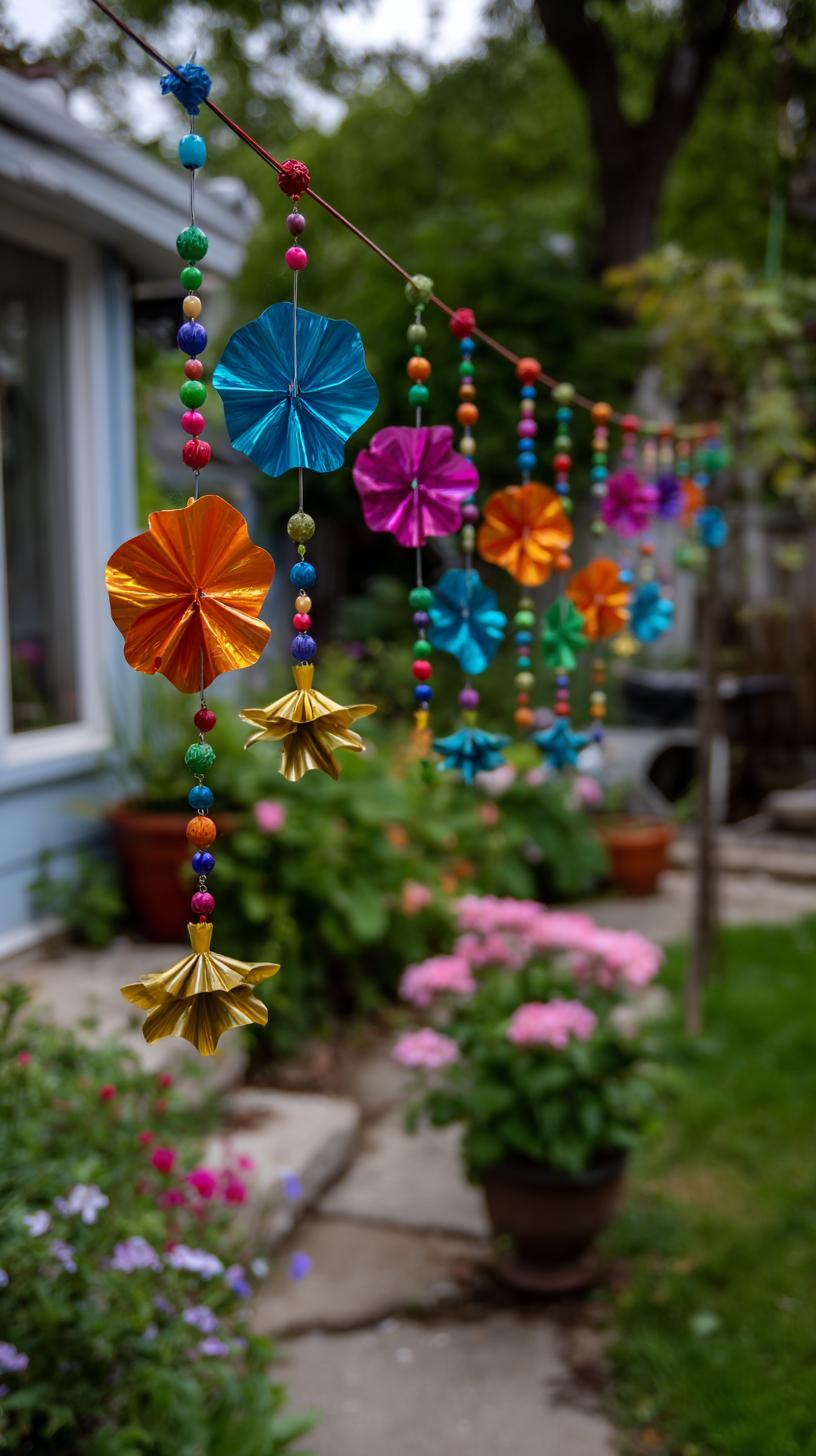
These pinwheels catch every breeze, adding energy without breaking the bank, or your back.
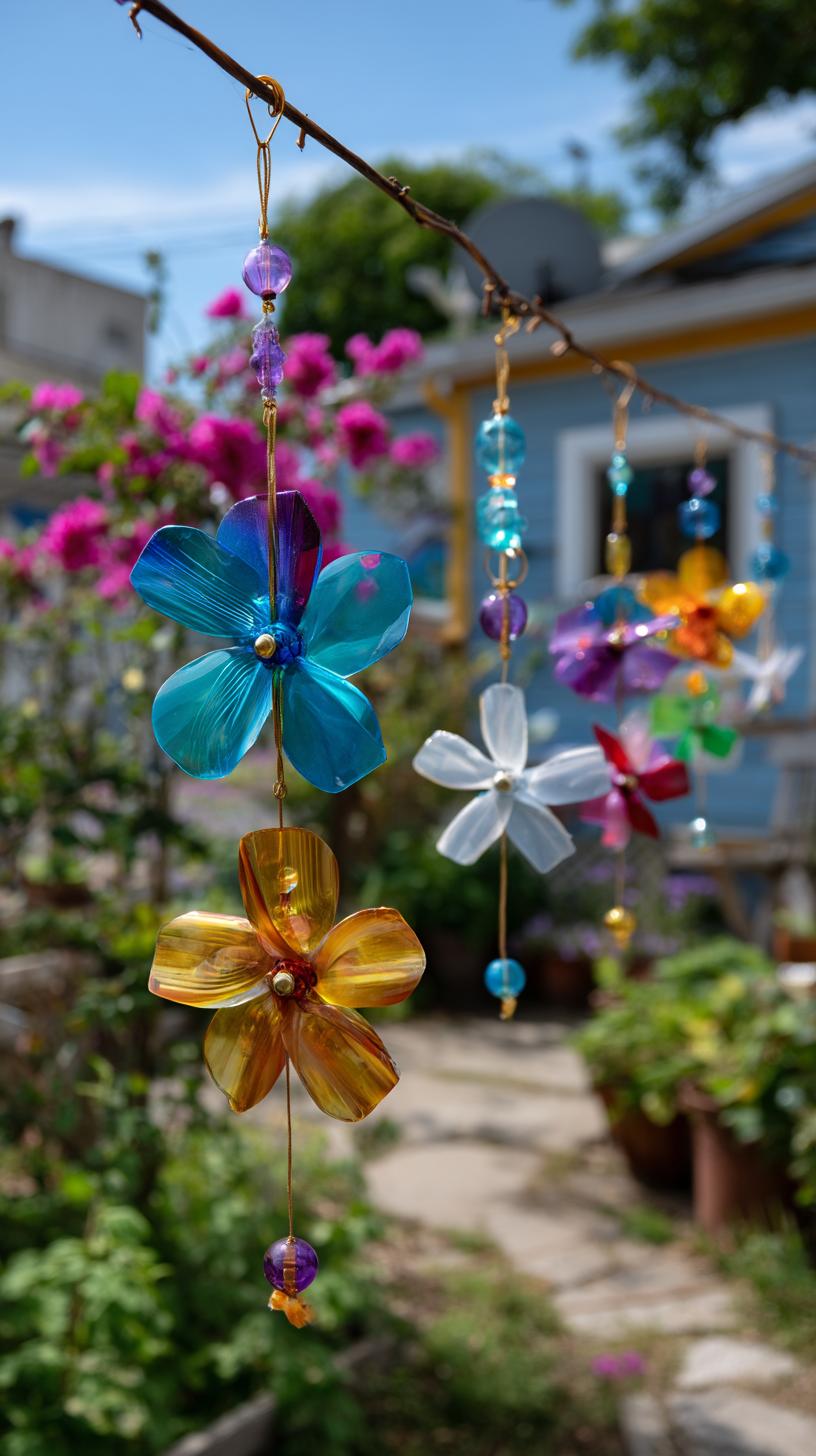
One thing to watch: painted surfaces can fade. Give them a clear coat if you want lasting color. Older kids can handle scissors; little ones might need help.
You’ll turn trash into cheerful, spinning decorations and maybe even spark a friendly chat with your neighbor.
31. Glass bottle border lighting with solar accents
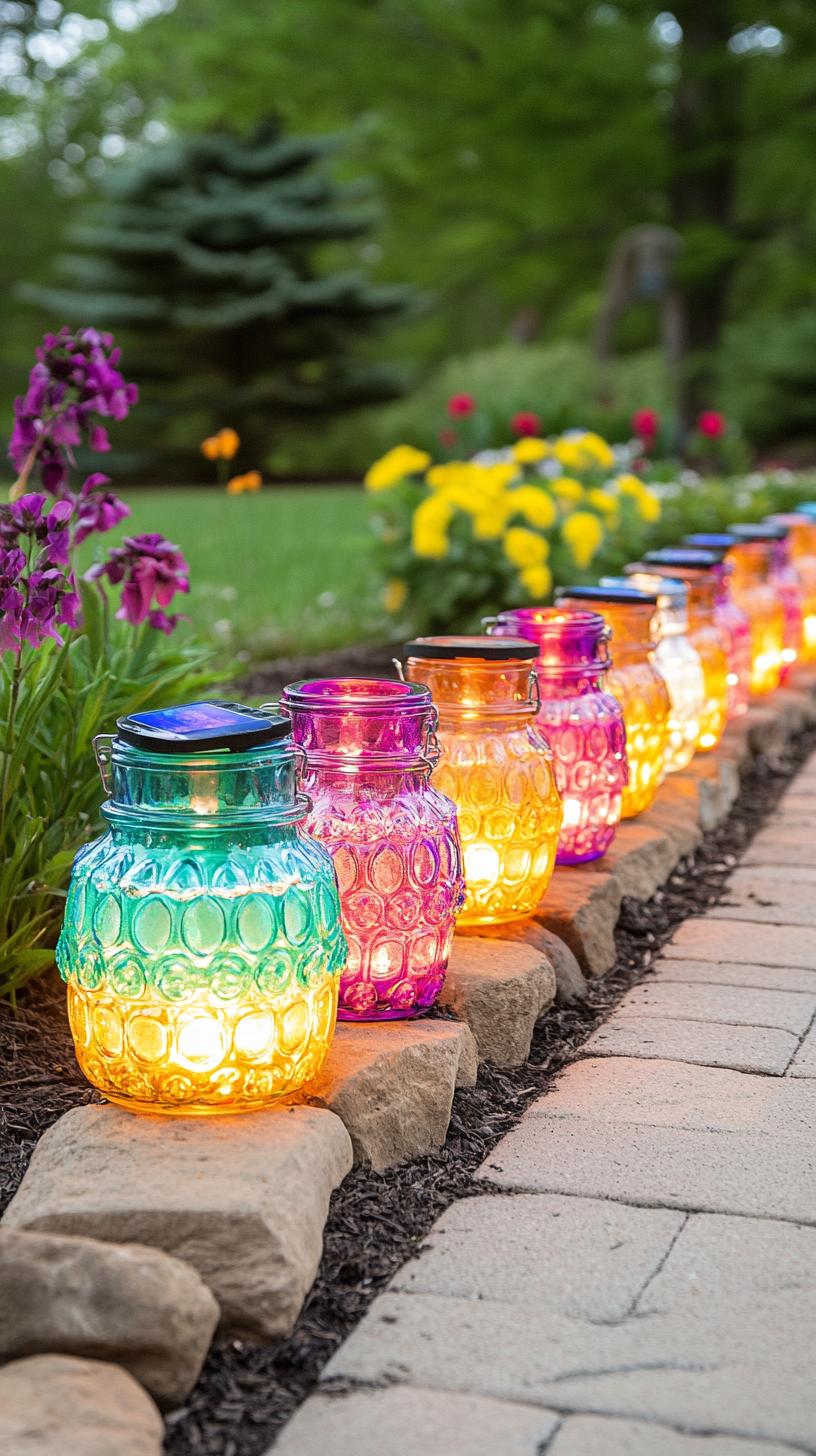
Take old glass bottles, bury them neck-down along your garden path, and slip a compact solar light into each opening. Suddenly, your walkway glows at night.
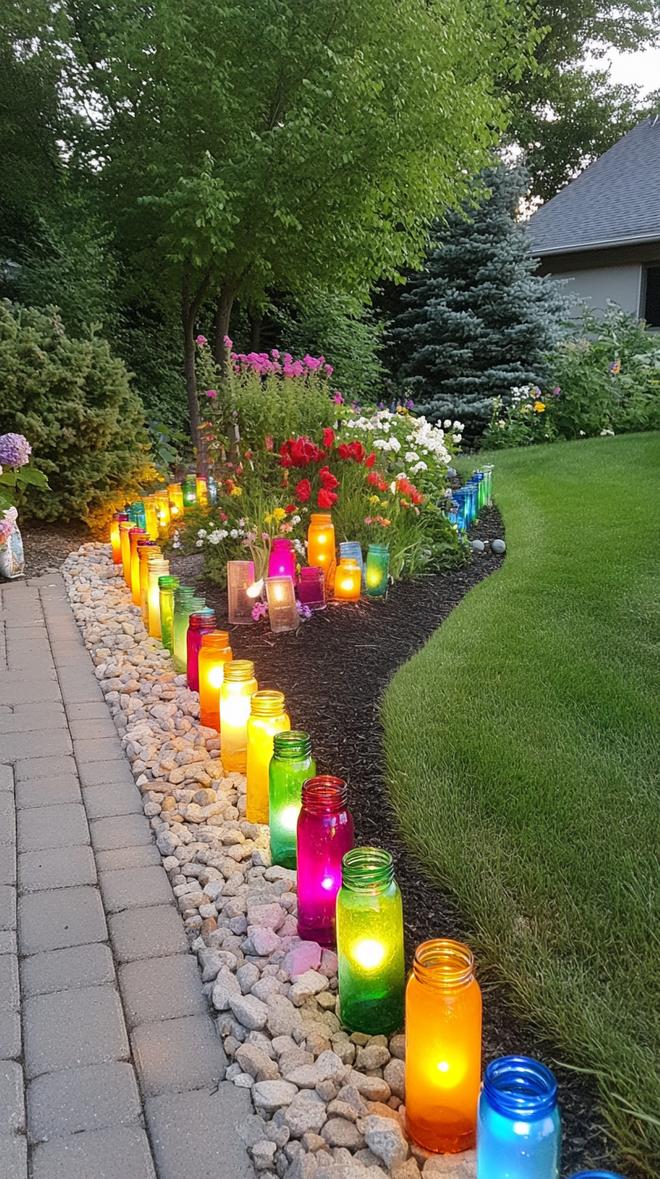
It’s budget-friendly, recycles glass, and installation is a cinch. No wires, no fuss, just a charming, low-tech addition to any backyard.
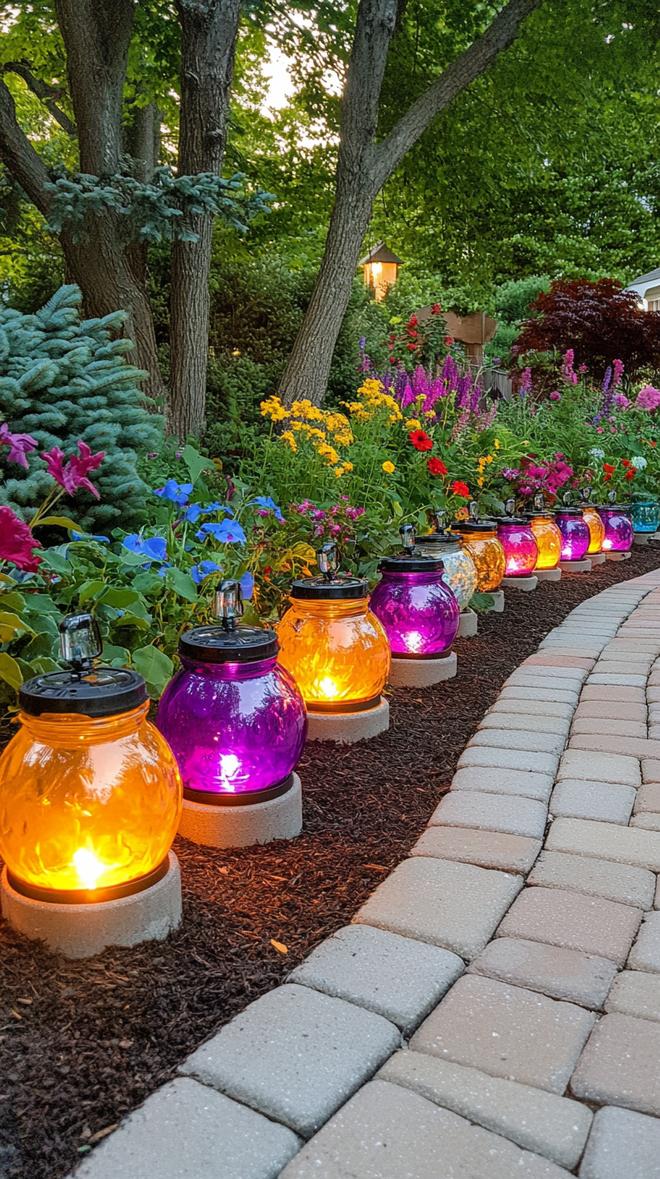
Of course, condensation inside bottles can dull the light, and neighborhood raccoons may inspect your handiwork. Still, you gain a quirky ambiance and use up extra bottles.
If you want to switch things up, try colored bottles for extra flair. Who said garden art had to cost a fortune?
32. Rope-wrapped planters hung from tree branches
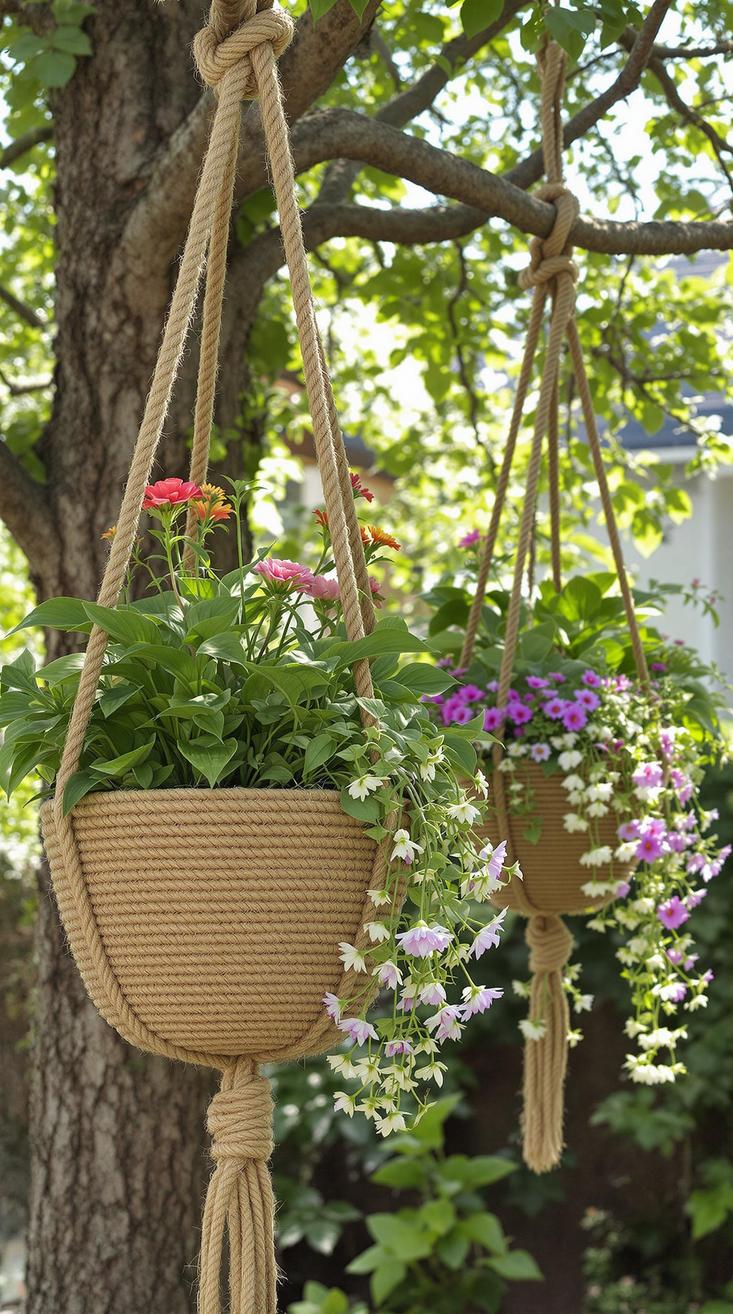
String some thick rope around old tin cans or jars, and you’ve got eye-catching planters that look chic hung from sturdy tree limbs.
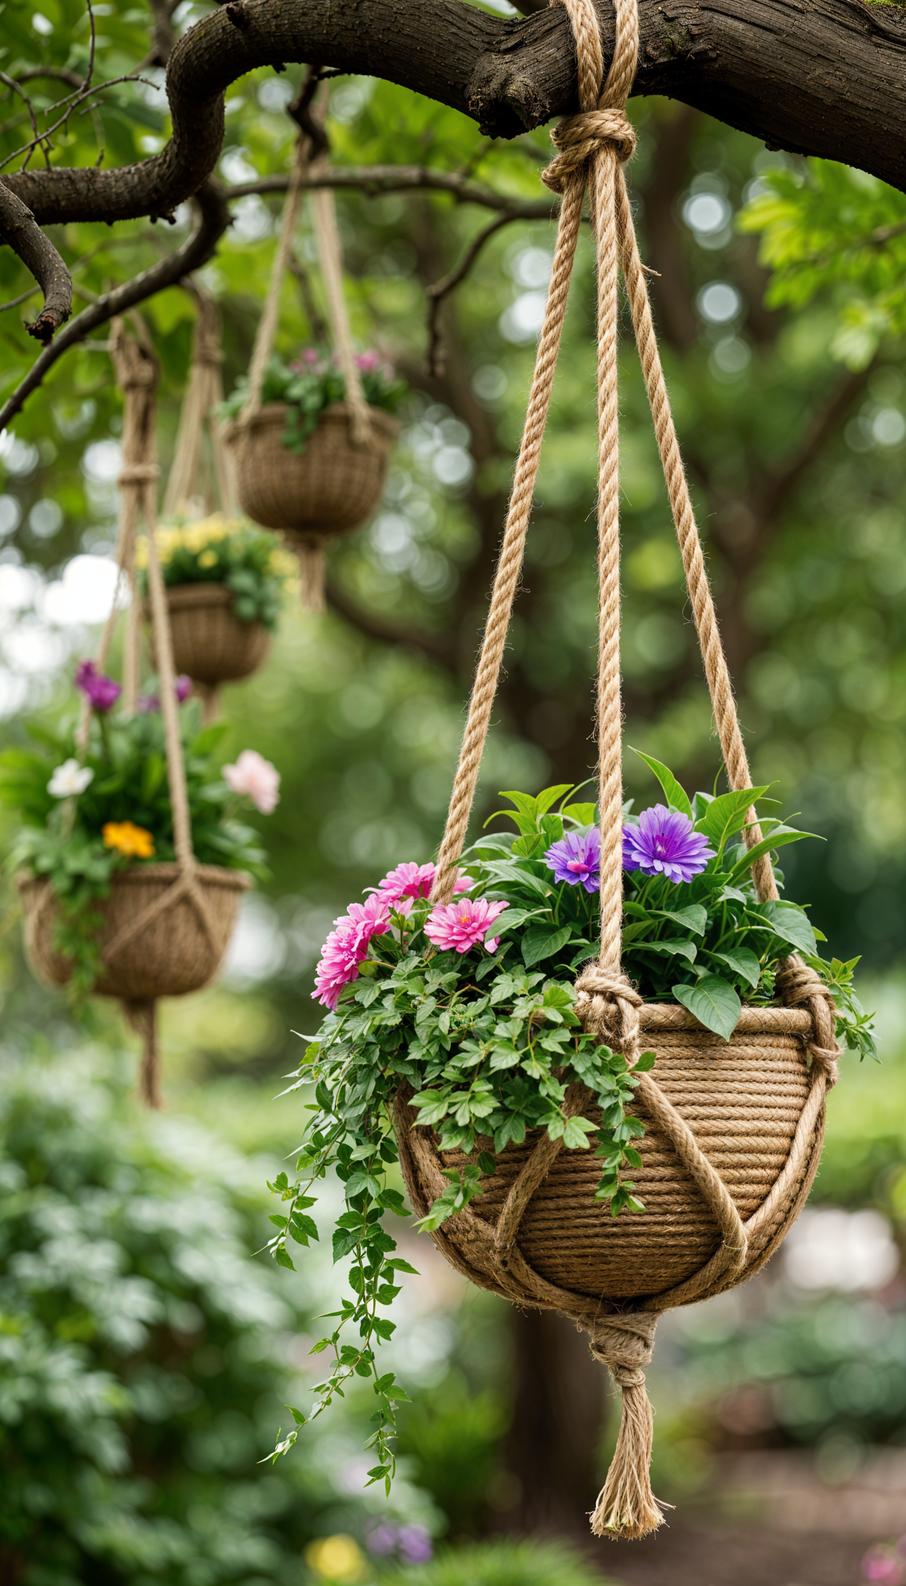
This simple trick gives even dull containers a rustic twist, adding personality for pennies. Who says plant pots can’t double as showpieces on your backyard stage?
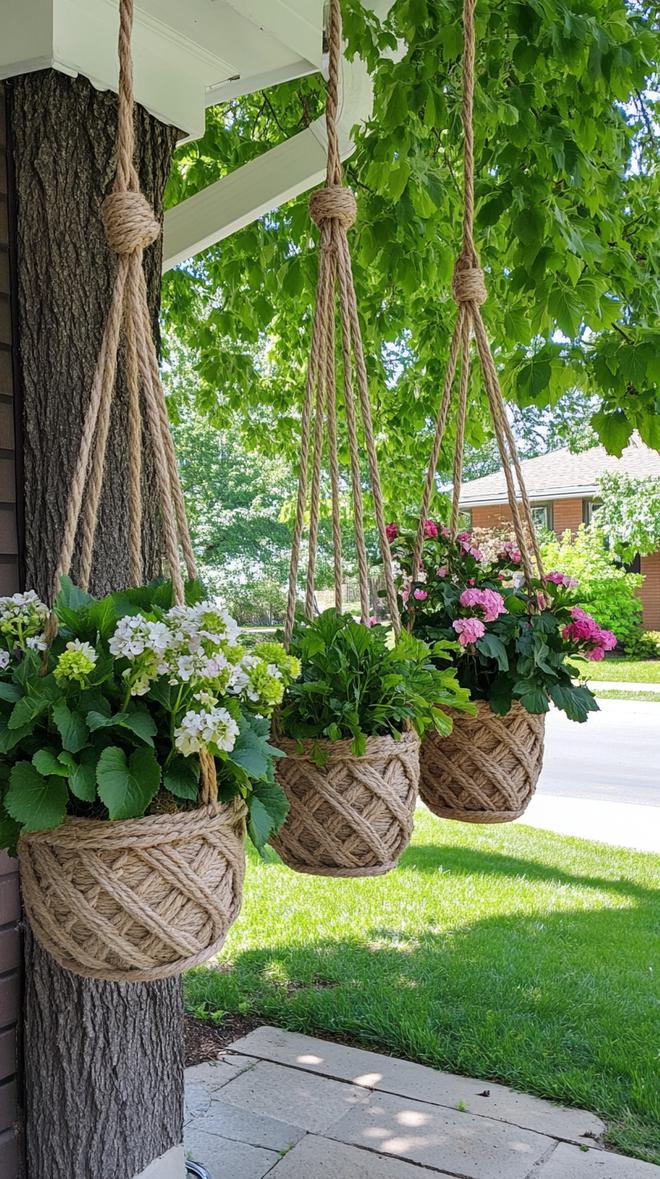
A word to the wise: heavier pots can strain small branches, so pick wisely. Secure knots, and check them after storms.
These cheerful planters set a casual mood, but don’t expect fancy water drainage, punch a hole if you’re worried about soggy roots. Reliable, easy, and just a bit rebellious.
33. Painted spoon butterflies mounted on garden poles
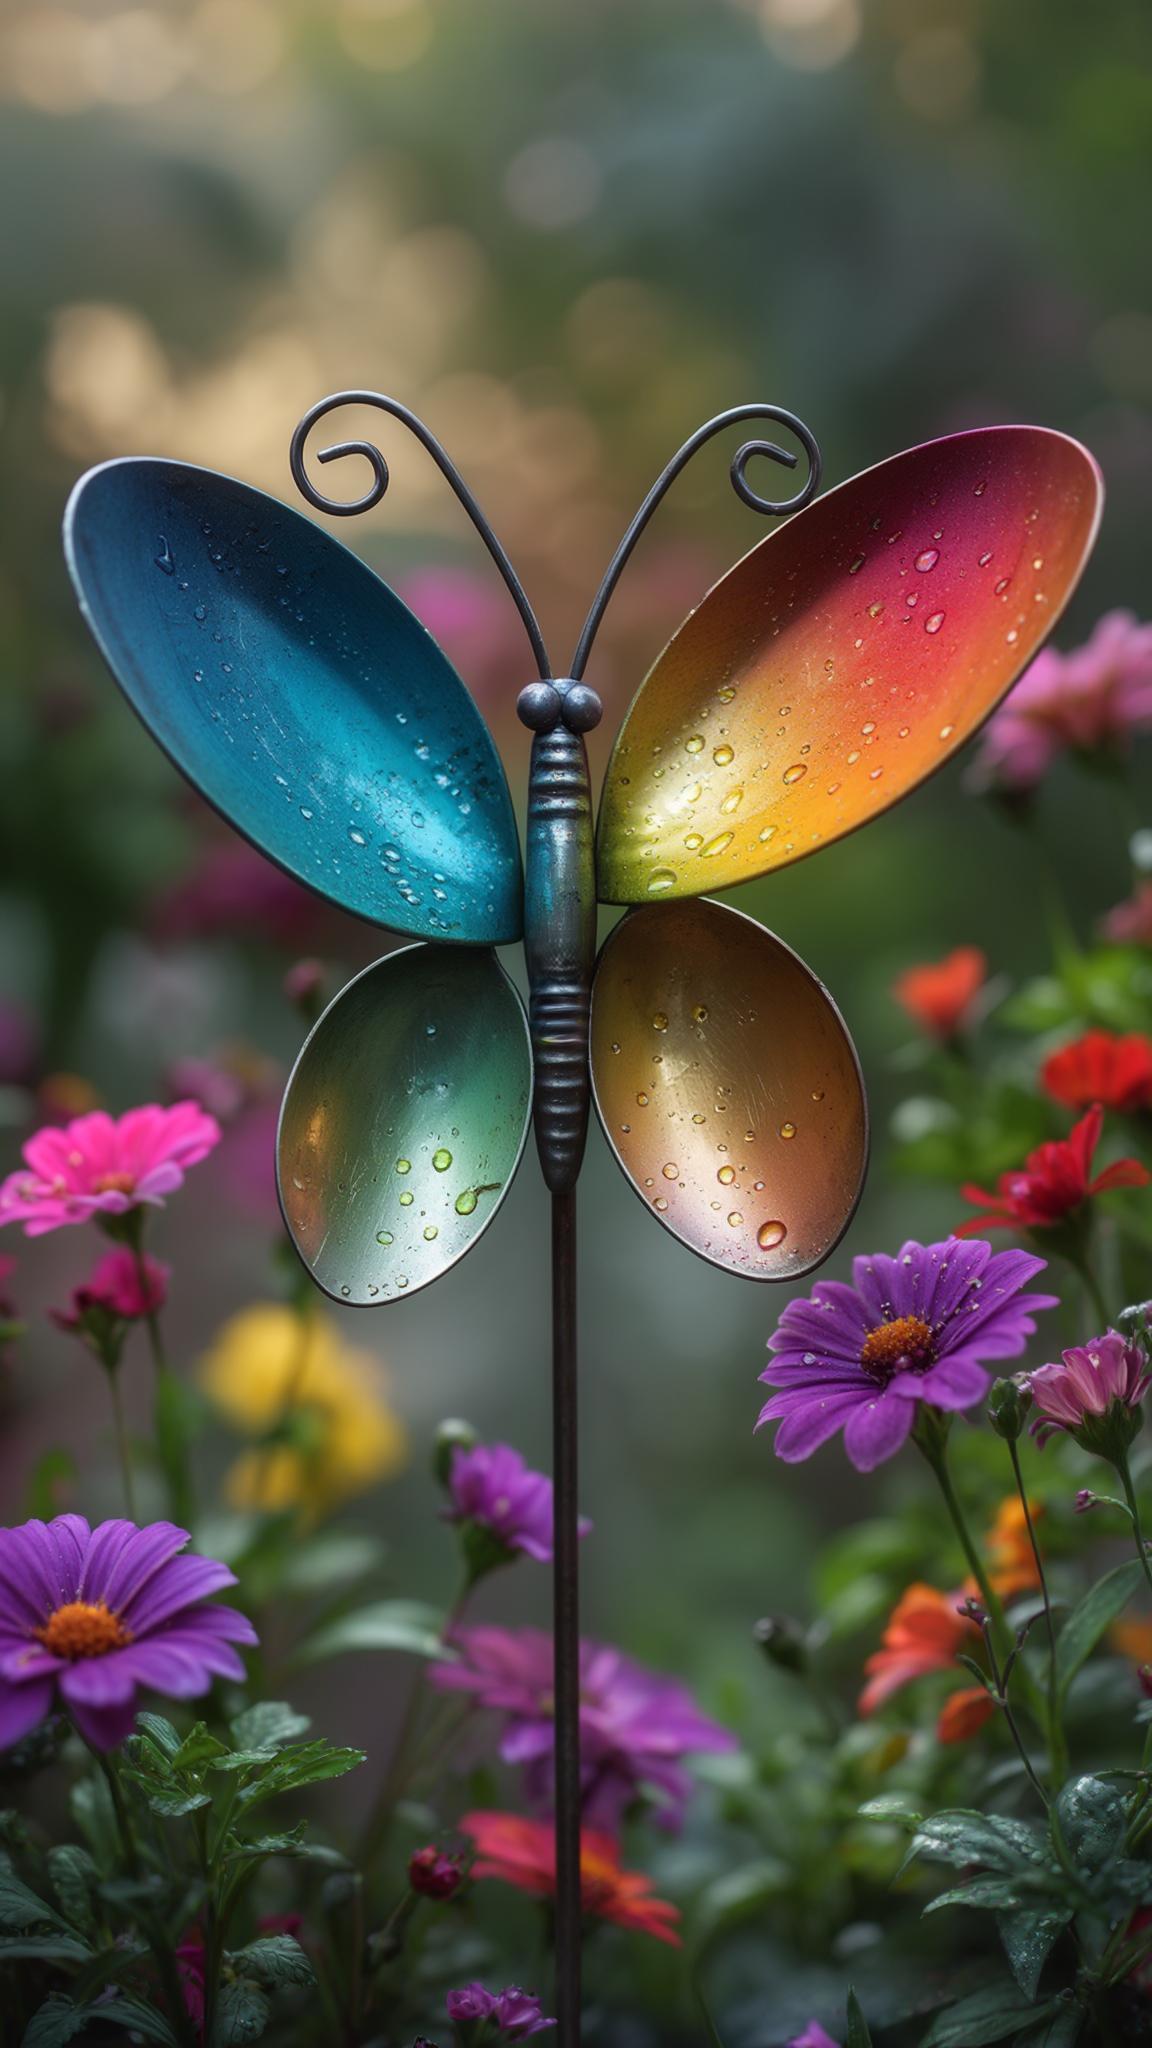
Who says kitchen tools belong indoors? Turn old spoons into colorful butterflies for your garden.
Paint two spoons in bright hues, glue them on a stick as wings, and stick them into the soil. Kids love the process, but keep an eye on sharp edges for safety.
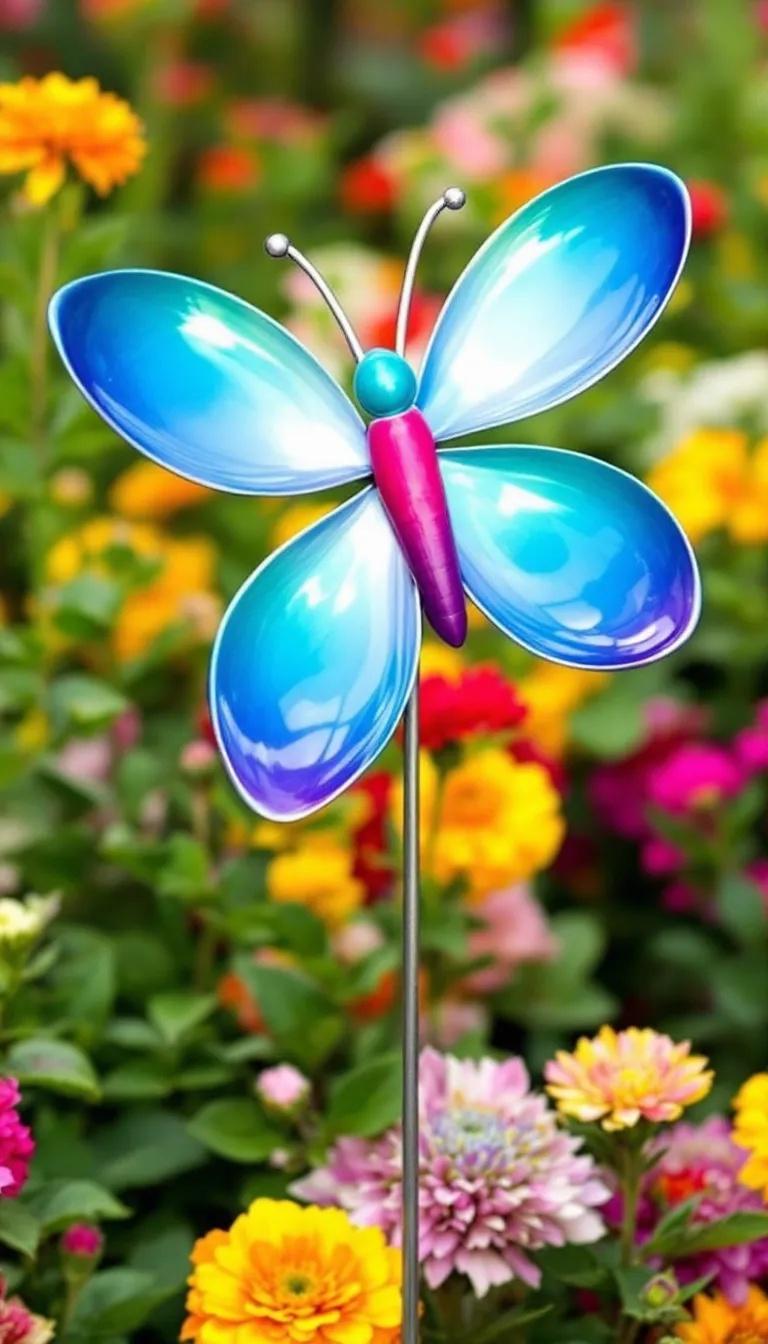
This crafty project lasts all season if you use waterproof paint. Painted spoon butterflies add charm, but after heavy rain, colors may dull. To fix this, spray a coat of sealant.
It’s a small extra step for long-lasting color in every corner of your yard.
34. DIY garden mirror framed in climbing ivy
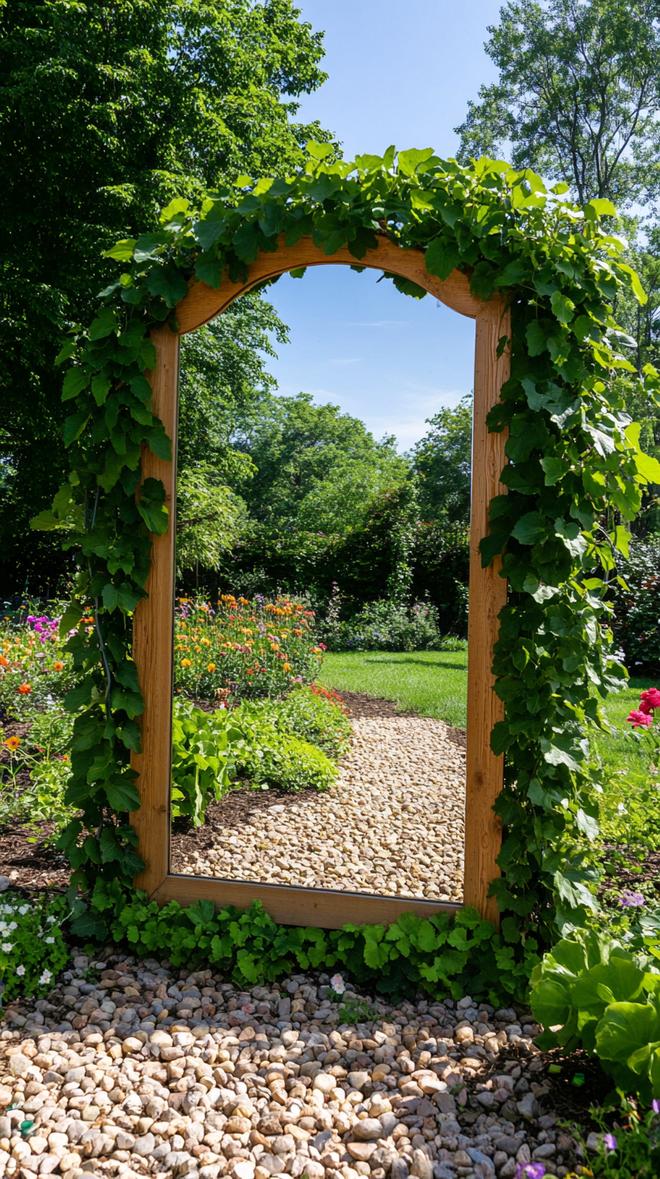
Garden mirrors framed in climbing ivy make small spaces seem bigger. Try repurposing an old mirror, adding a rustic frame, and training ivy to grow slowly around the edges.
This trick fools the eye and doubles the greenery, all with minimal effort and low cost.

Of course, mirrors need cleaning and careful placement, they can startle birds or even start a fire in strong sunlight. Stick the mirror in a shady nook.
Let the ivy do its thing, embracing imperfections. Who knew a touch of magic could be so simple?
35. Layered terracotta pots painted like garden gnomes
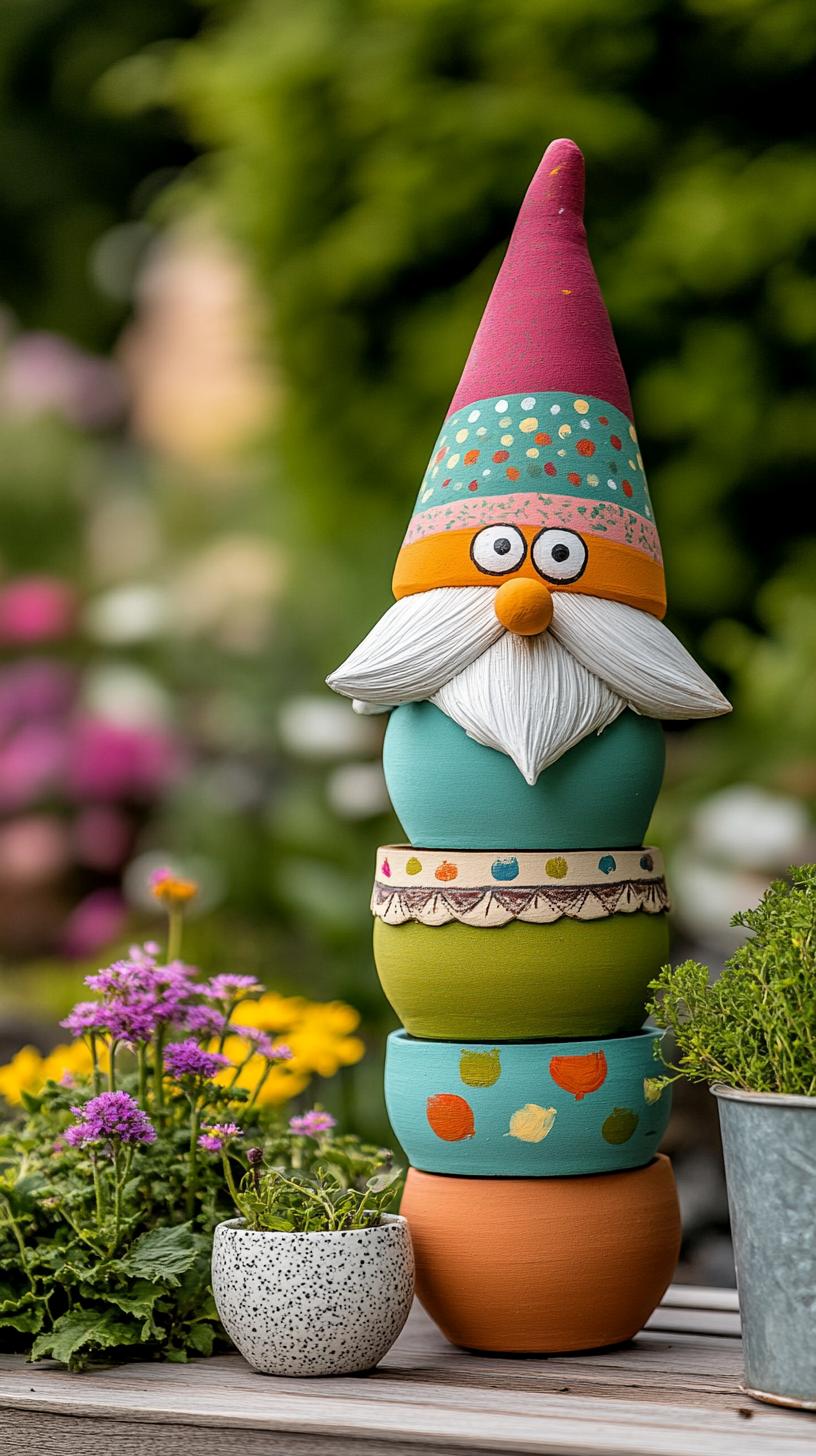
Grab a few simple terracotta pots, some colorful paints, and let your inner artist loose.
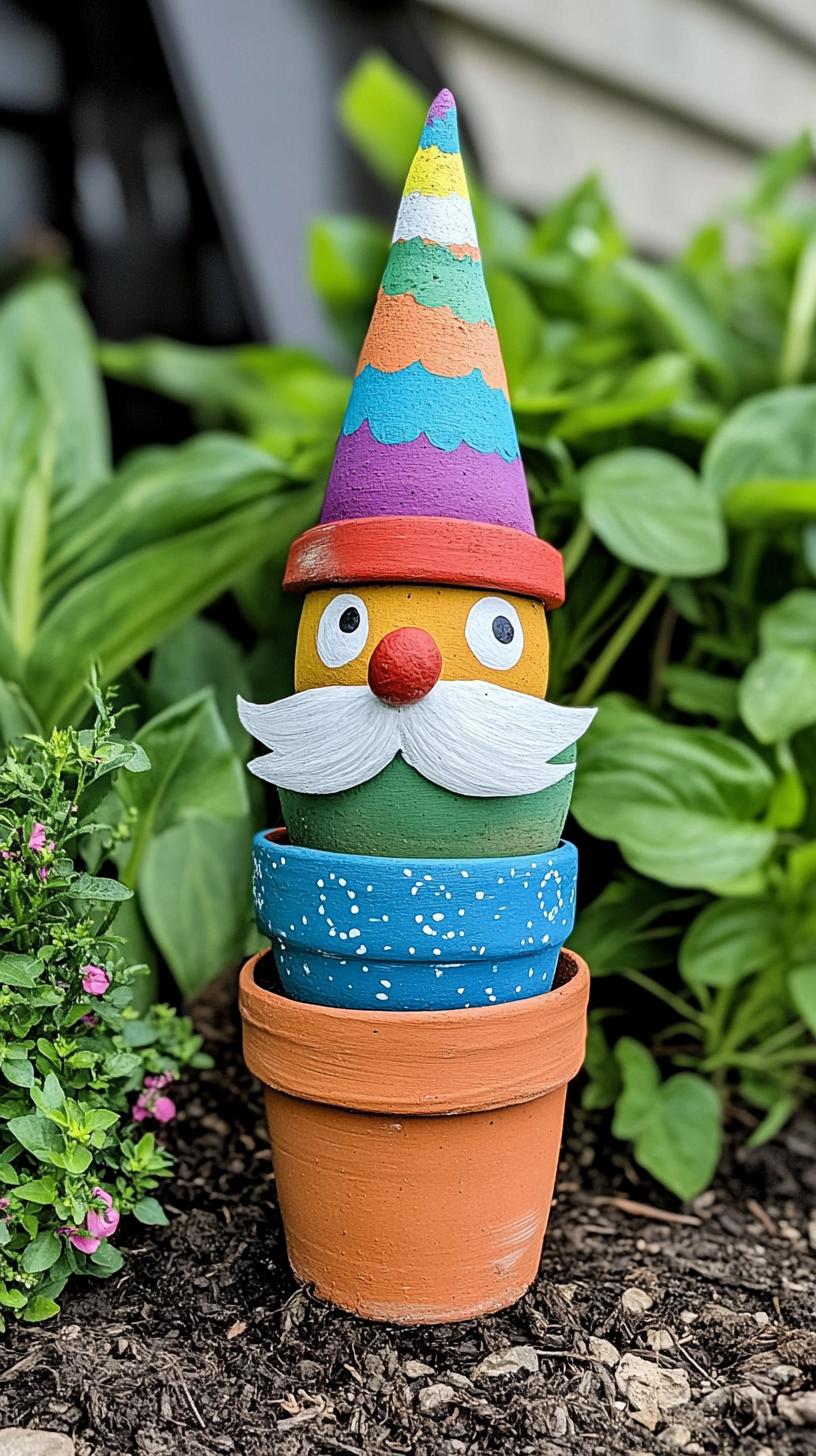
Stack the pots in sizes from large to small, paint cheerful faces and bright hats, and suddenly you have a quirky garden gnome. This project adds charm and personality without breaking the bank.
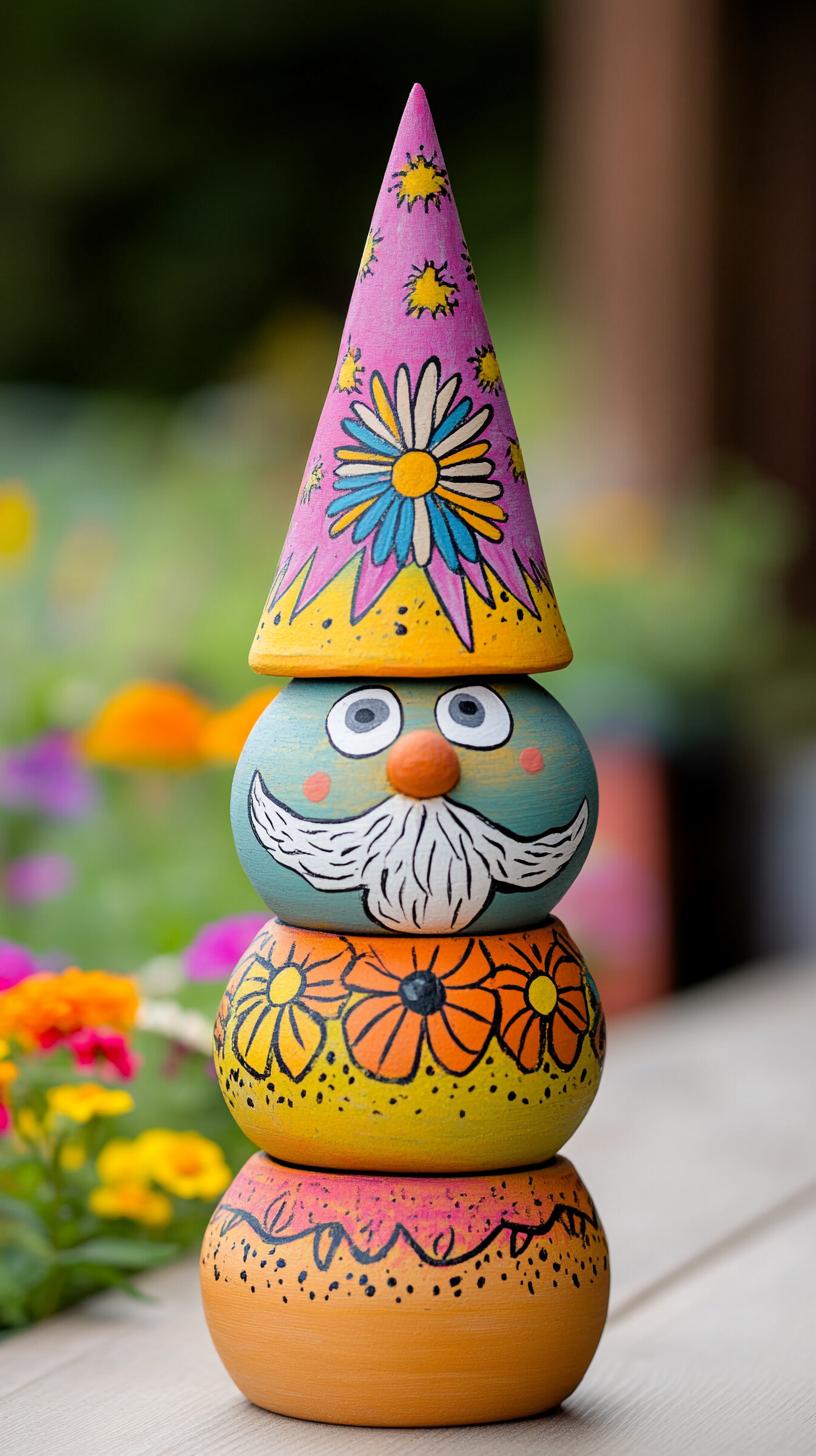
While these gnomes are sturdy, heavy rain can fade the colors. Consider applying a weatherproof sealant for extra protection.
Friends may tease you about your growing gnome army, but isn’t a little garden mischief what outdoor spaces need? Creative, playful, and budget-friendly, this project is perfect for beginners.
Conclusion
Simple garden crafts breathe life into any outdoor space. Think painted stones marking your herbs or wind chimes built from old keys and string. Even a butter dish can become a bird feeder.
Suddenly, your backyard tells your story.
Before you grab store-bought décor, remember: your hands can do wonders. A dash of color and a sprinkle of creativity go a long way.
Why settle for ordinary when a few crafty minutes can make your garden unforgettable? Give it a try today!
Related Topics:

