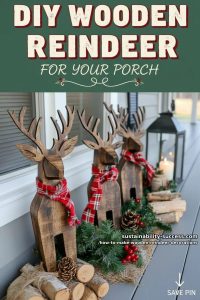
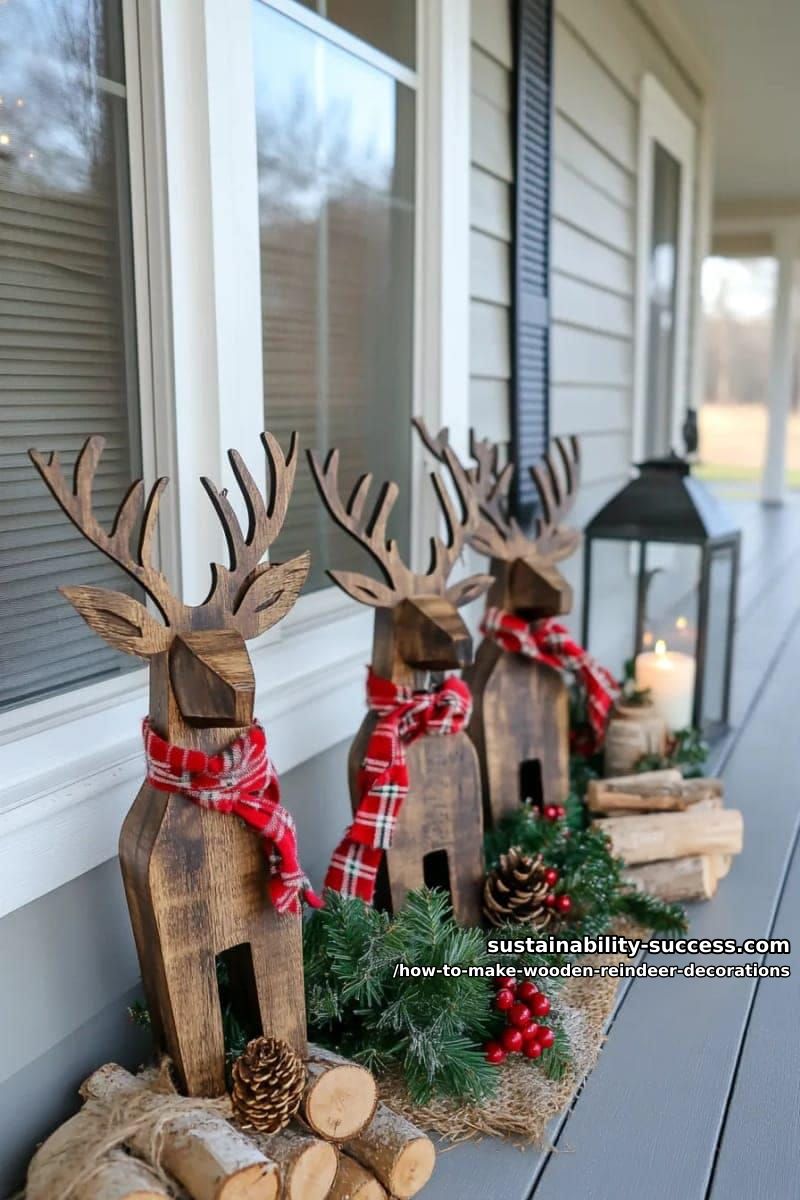
Wooden reindeer decorations are a charming way to welcome guests and add rustic holiday cheer to your porch or entryway.
With just a few basic tools and some simple materials, you can make sturdy, weather-resistant reindeer that last for years.
This project is beginner-friendly and surprisingly fun. By tracing a pattern, cutting out the shapes, and assembling the pieces, you’ll create a festive piece you’ll be proud to display.
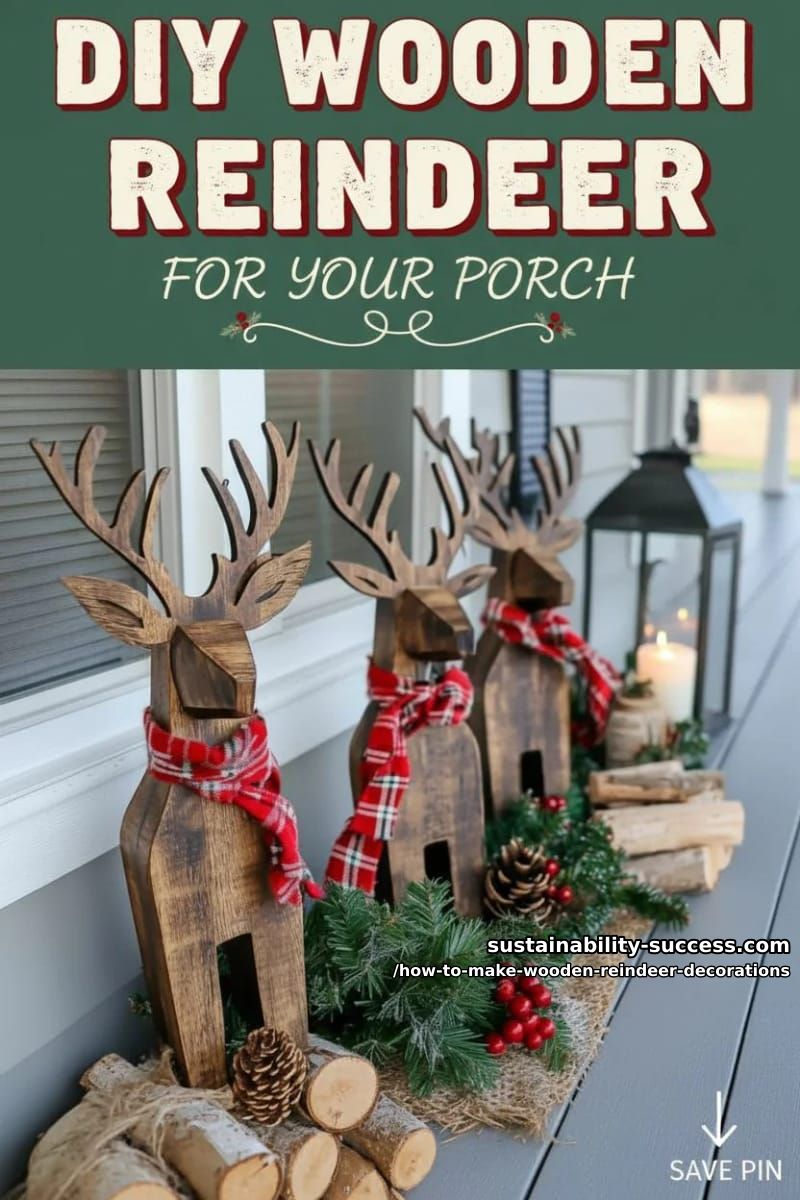
Personal touches like scarves or bells give your reindeer personality and warmth!
What You’ll Need
- Chunky wood for the body (reclaimed wood, pine, or thick plywood panel)
- Plywood for antlers
- Small wood block for the nose
- Jigsaw or hand saw
- Drill and wood screws (2–3 per reindeer)
- Sandpaper (medium and fine grit)
- Wood glue (optional, for extra hold)
- Wooden dowels/spines (for securing the nose, about 2–3 inches long)
- Pencil and paper for tracing patterns
- Paint or wood stain (optional, for finishing)
- Old scarf or jingle bell (for decorating)
- Safety goggles and dust mask
Step 1: Trace and Cut Out the Body
Start by drawing a simple reindeer body shape on your chunky wood.
If you’d like, download a free pattern from our website after subscribing, or sketch a classic silhouette with four legs and a rounded body.
Cut along your outline using a jigsaw (or hand saw if that’s what you have), working slowly for smooth curves. Don’t worry if it’s not perfect, rustic charm is part of the look!
After cutting, sand all edges and surfaces until they’re smooth and splinter-free. Focus especially on corners and legs, as these spots can be rough.
Step 2: Cut Out the Antlers
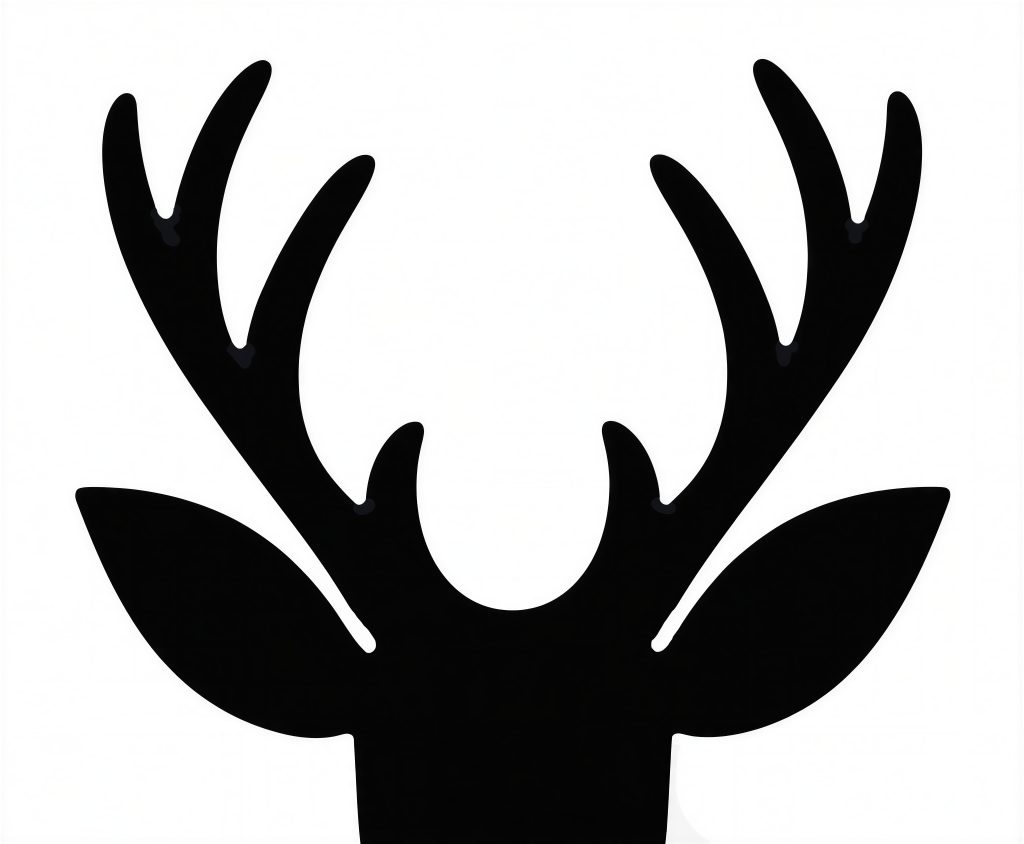
Print or draw an antler pattern on paper, making sure it fits proportionally on your reindeer’s head.
You can get the necessary patterns for the antlers and ears for FREE by just subscribing to our mailing list here👇
Simple pattern:
Realistic pattern:
Trace this onto a piece of thick plywood and cut it out with your jigsaw. Antlers don’t have to match exactly, quirky shapes are fun!
Sand the antler cutout, smoothing any sharp or jagged points. The antlers should be sturdy but not too heavy for the body to support.
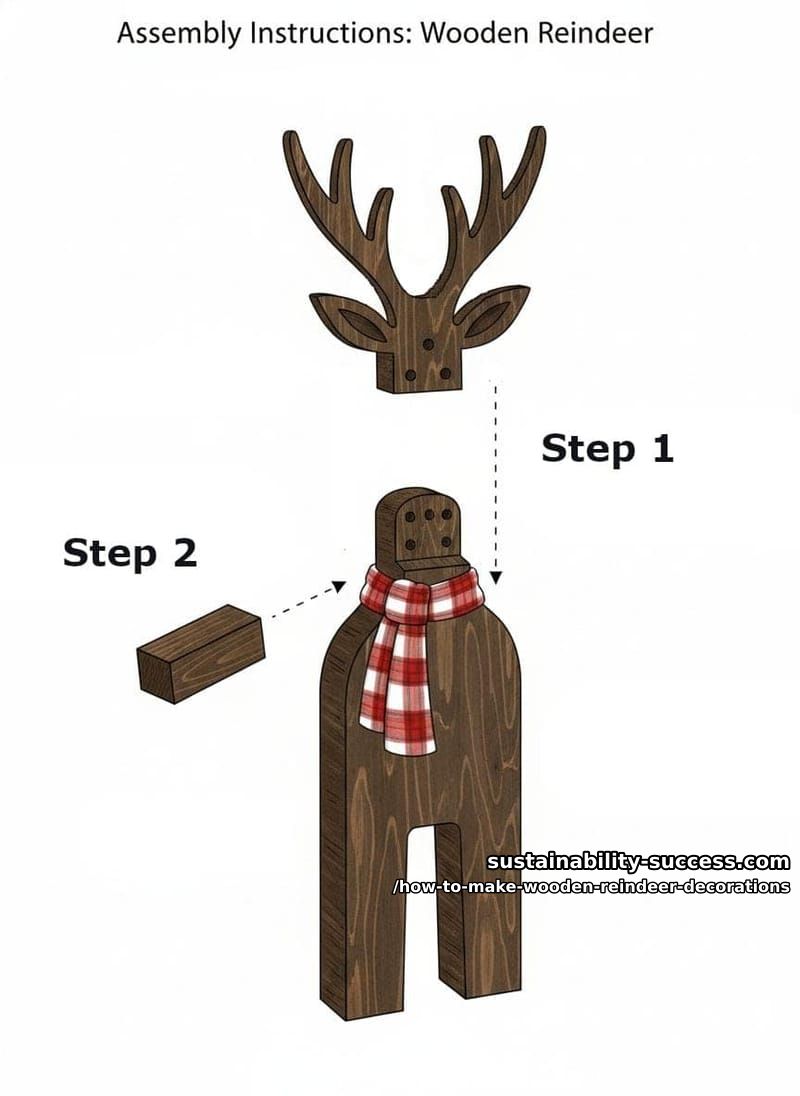
Step 3: Assemble the Body and Antlers
Position the antlers behind the top of the body, lining up so they look natural.
Use your drill to make 2–3 pilot holes through both the body and antler panel, then secure with wood screws.
Here’s a quick sketch showing how to assemble the parts 👇
If you want extra hold, dab a little wood glue between the pieces before screwing them together.
Make sure your reindeer stands upright and the antlers are straight before fully tightening the screws.
Step 4: Attach the Nose
Take your small wooden block or pyramid and position it at the front of the reindeer’s face. Drill a few holes through the nose piece and into the body.
Insert wooden dowels or spines through these holes to secure the nose firmly in place. A little wood glue can help keep it extra sturdy.
If you don’t have dowels, small screws can also work, but make sure nothing pokes out the front.
Step 5: Add Finishing Touches
Wipe off any dust and, if you like, paint or stain your reindeer for extra protection and style. Let paint or stain dry completely before moving on.
For a festive touch, wrap a scarf around the neck or tie on a jingle bell. Thrifted scarves work perfectly and add a cozy, personal flair.
Tips for Success & Common Mistakes to Avoid
- Don’t rush the cutting. Slow, steady movements make safer, cleaner cuts.
- Check your wood for nails or screws before sawing, especially if using reclaimed wood.
- Make sure all screw heads are flush or slightly sunk to avoid snags.
- If your reindeer wobbles, sand the feet until it stands level.
- Store your decoration in a dry place after the holidays to prevent warping.
Take your time with each step. Small imperfections just add to the rustic character!
Conclusion
Making a wooden reindeer for your porch or entryway is a simple, satisfying project that adds instant holiday charm.
With just a few tools and some creativity, you’ll create a durable, welcoming decoration that can be enjoyed year after year.
Give it a try, and watch your handmade reindeer become a favorite part of your holiday tradition! And once you are done with your own wooden reindeer, share your masterpiece on social media and tag us! We’d love to celebrate your creativity and see how you’ve brought a little extra holiday magic to your home.
Related Posts
- Wood Christmas Ornaments
- Upcycled DIY Christmas Decorations
- Eco-Friendly Handmade Christmas Decorations
- Rustic Christmas Decorations
- Simple Christmas Decor DIY

