
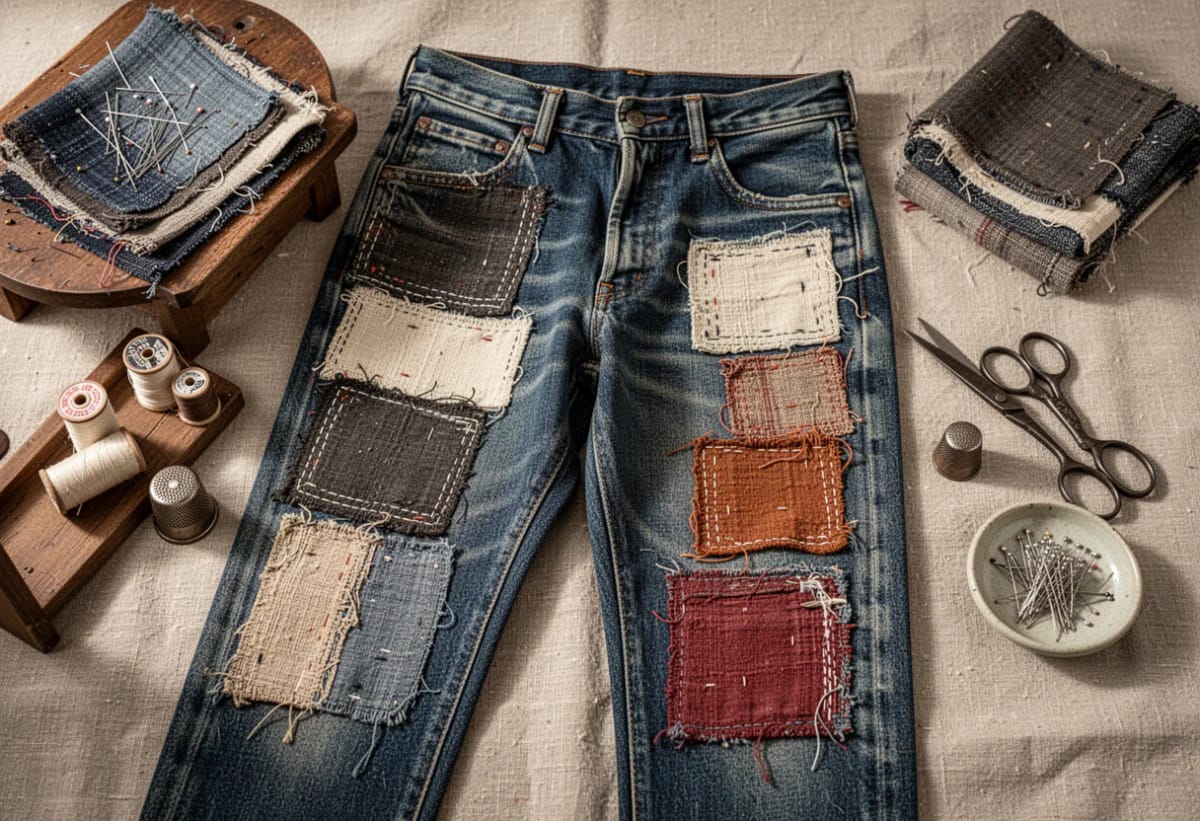
Most patched jeans fail twice. The first repair holds and the denim beside it tears instead, because one stiff square of new cloth is harder than the soft fabric around it, so the stress just moves an inch sideways. Boro, the layered mending that kept Edo-period farm clothes in service through generations in northern Japan, works the other way: several thin scraps overlapped and stitched across a wide area with rows of running stitch, so no single edge carries the whole load. Ten ways to build those layers follow, sorted by where jeans actually give out.
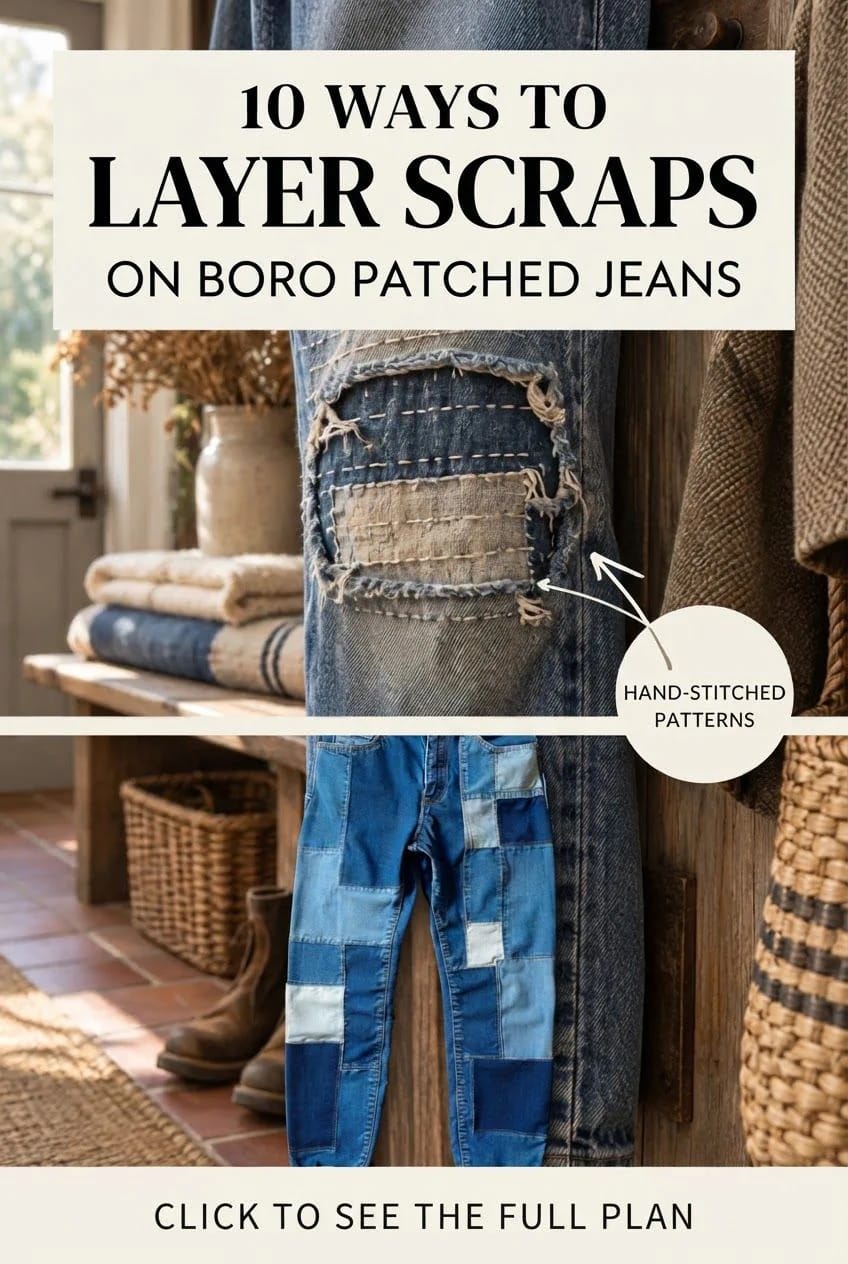
Start where the denim gives out
Denim fails in four places and almost always in the same order: knees, seat, inner thigh, hem. Patch in that order and you spend your stitching where the garment is asking for it.
1. Knee blowout, patched from behind with two thin scraps
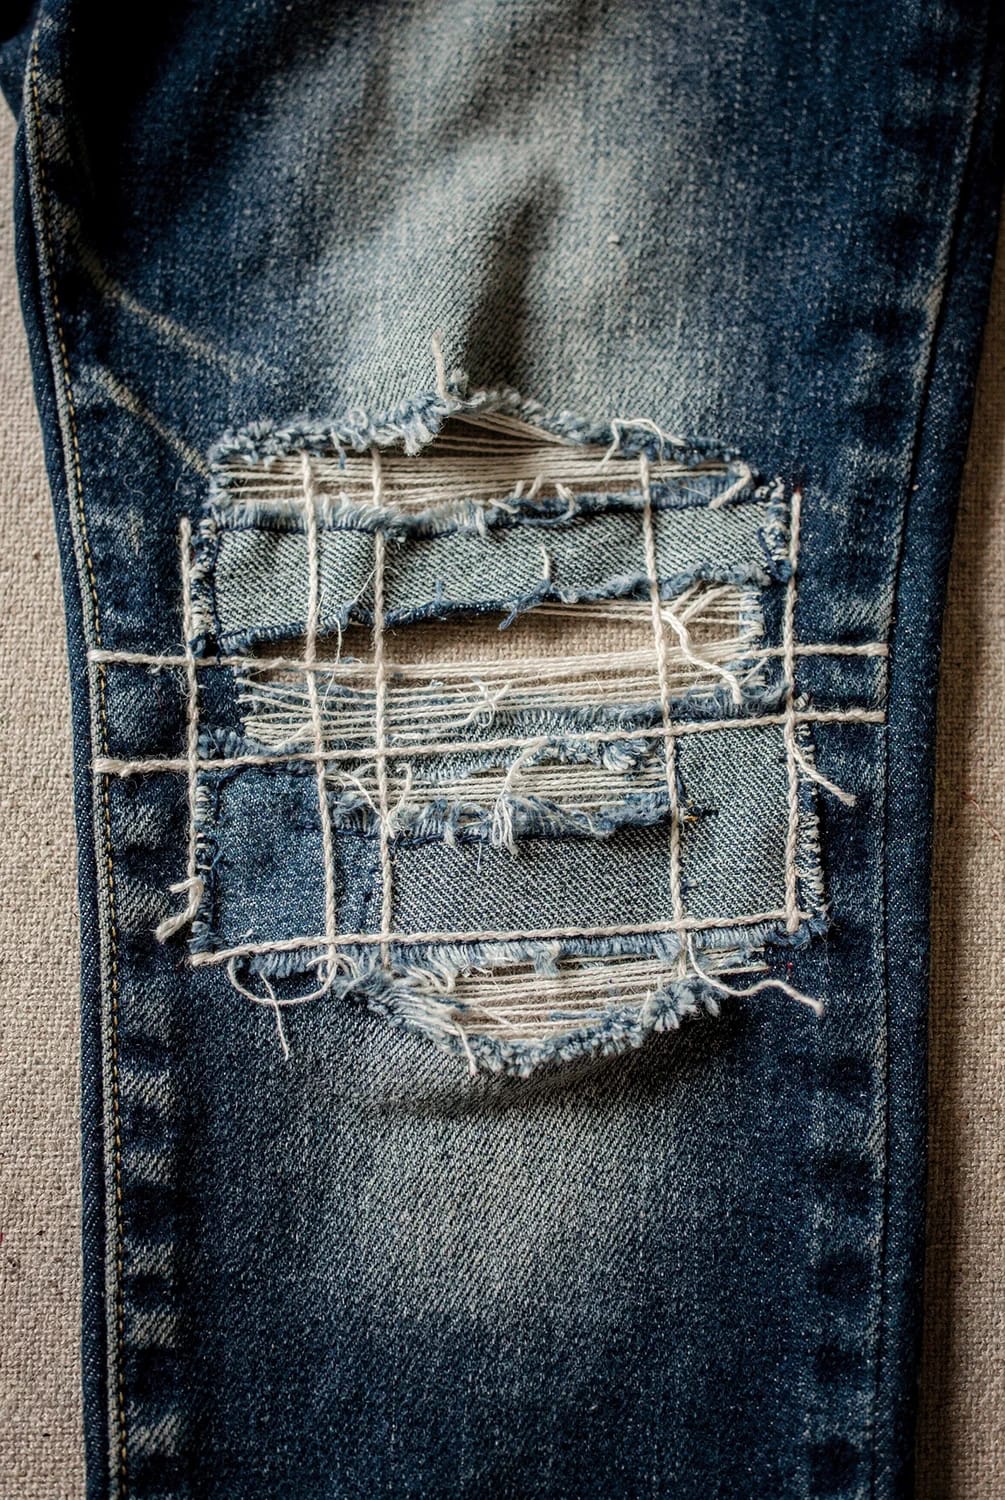
Put the patch behind the hole, not over it. Turn the leg inside out, slide a scrap under the worn area with at least an inch and a half of overlap all the way round, and pin it from the outside so you can see exactly what you are covering. Every stitch then goes in from the right side, in rows that run well past the ragged opening onto sound denim, and the torn edges of the original hole stay visible and go soft after a wash or two. That softening is what people are after when they say boro, and it is the one part of the look you cannot fake on day one.
Two thin scraps beat one thick one; a piece of old chambray shirt at around 4 oz backed by a second layer of light denim gives the body of a heavy patch without the plank-stiff edge that starts the next tear; it also lets a needle through without a fight. Long needles matter more here than anything else you own, because you load three or four stitches onto the shaft before pulling the thread through, and a tube of Tulip long sashiko needles in assorted lengths will outlast several pairs of jeans.
Granted, this only works while the denim around the hole still has strength in it. If the fabric two inches out is thin enough to see light through, the patch has to reach past that too, or you have relocated the failure rather than fixed it. Rows about a quarter inch apart, stitches about a quarter inch long, patch a full inch bigger than the hole on all four sides.
2. Back pocket corners and the seat, reinforced before there is a hole
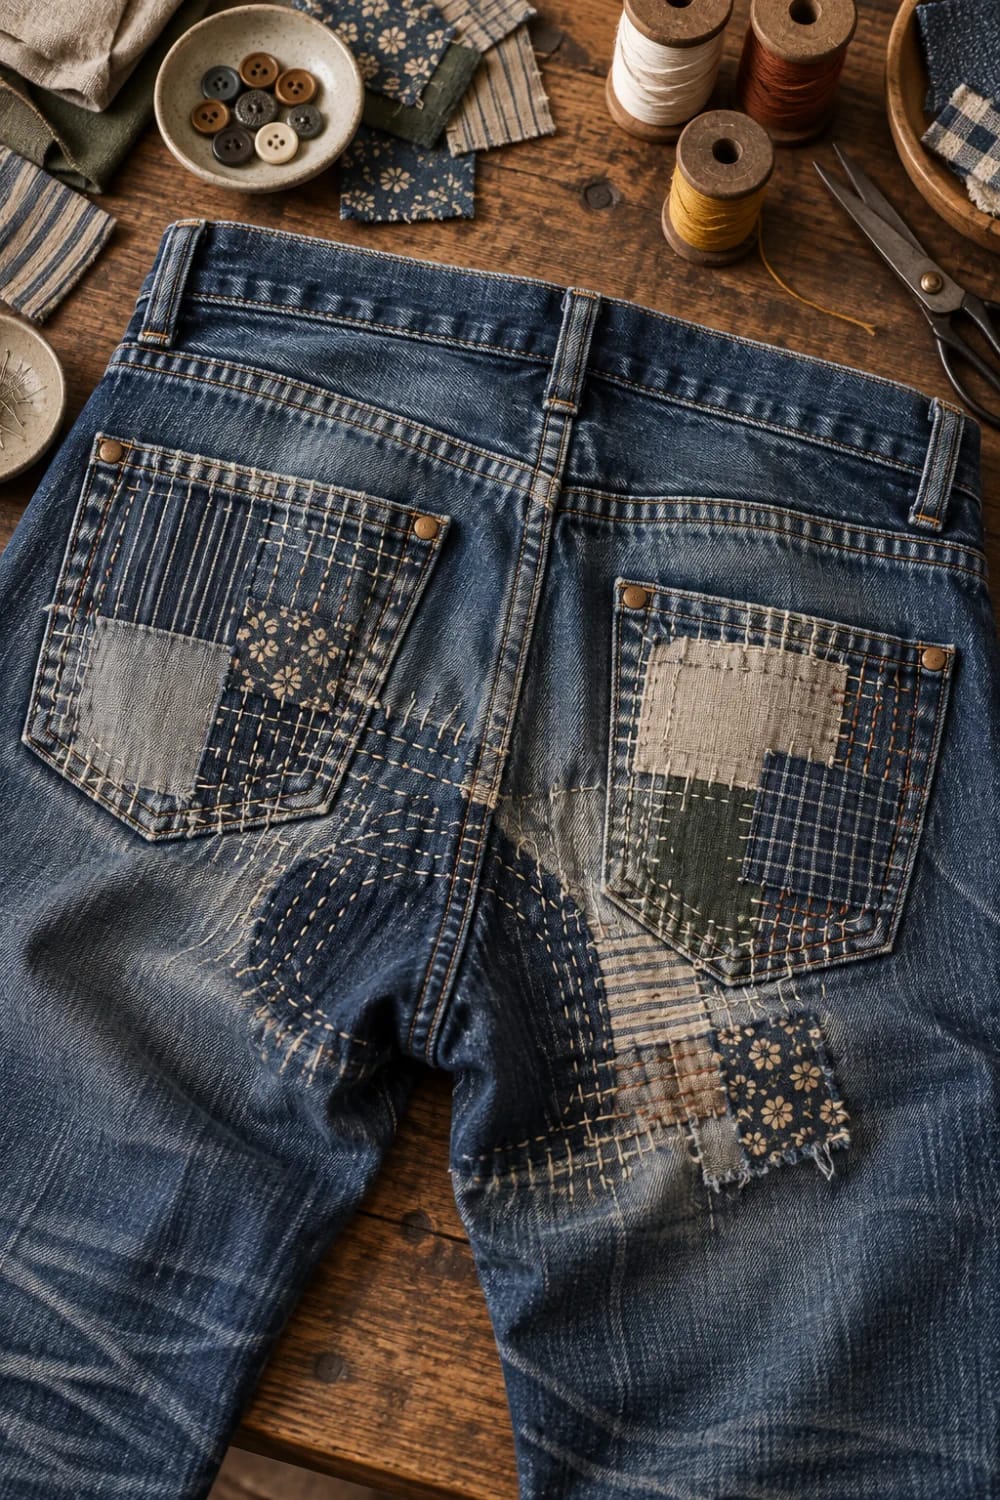
Patch the pocket corners while they are still only pale. The lower outer corner, where the pocket bag meets the side seam, is the first thing to go on anyone who carries a phone, and a two inch triangle of scrap stitched over it along the existing gold topstitching disappears into the pair completely. Almost nobody does this, because it is work with nothing to show for it yet.
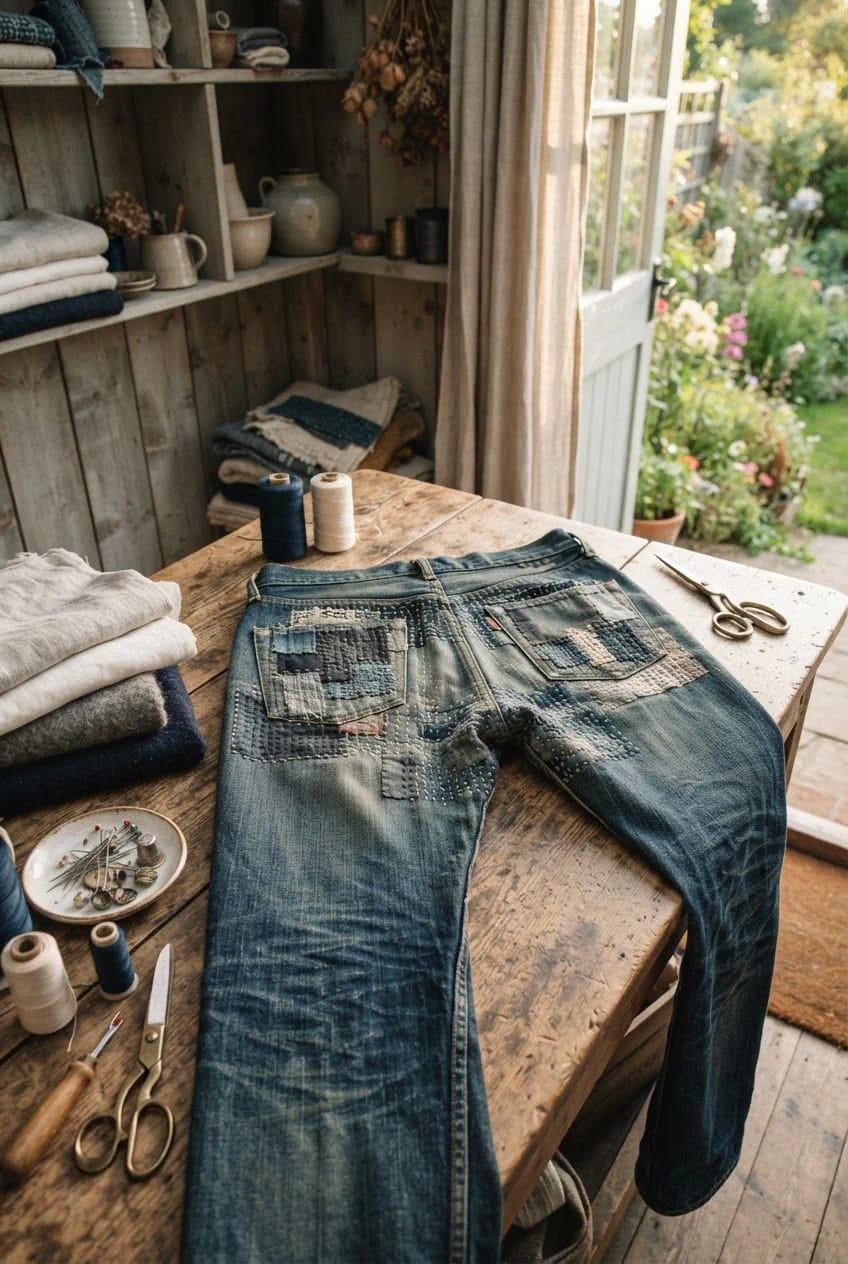
3. Inner-thigh chafe, covered with overlapping small scraps
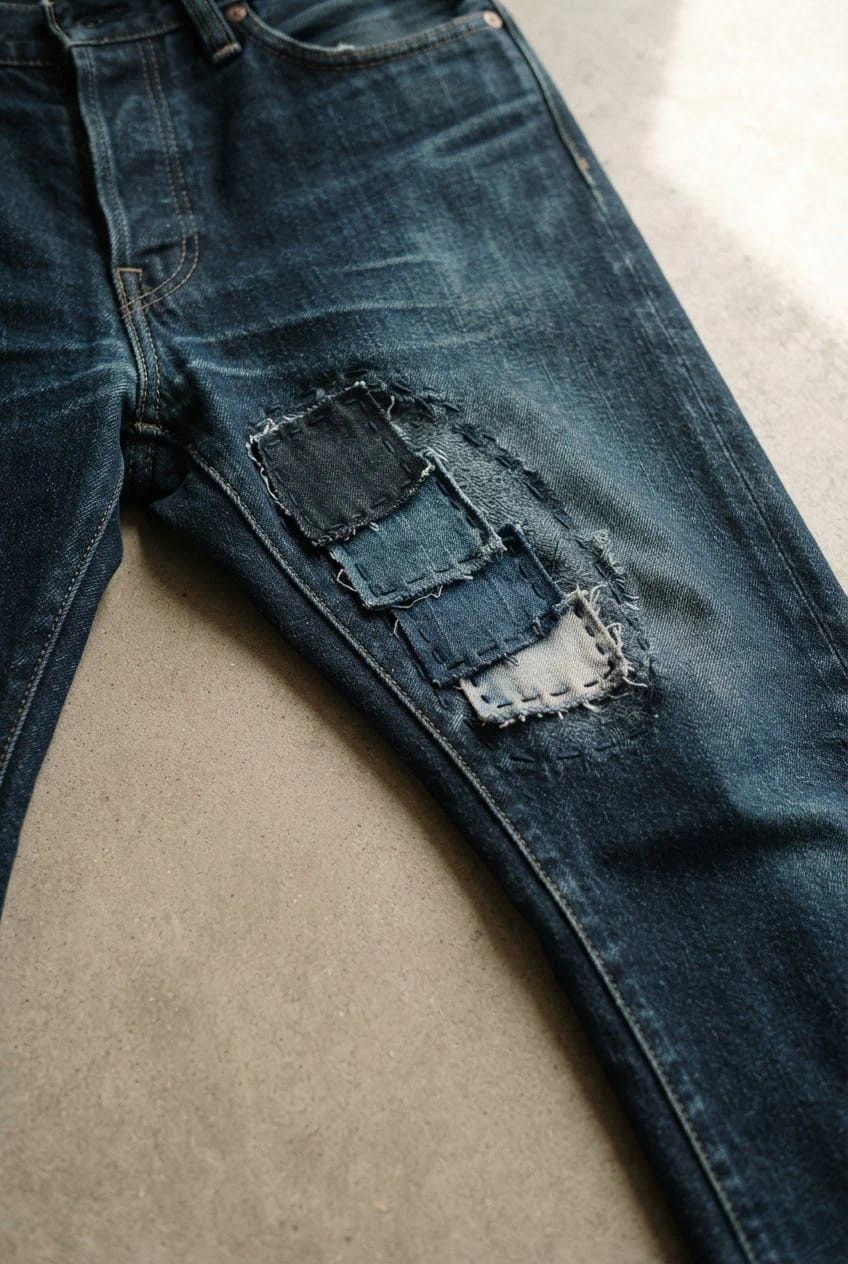
Inner thighs need many small overlaps, never one large panel. The chafe zone is two moving surfaces sanding each other down over months, so the failure arrives as a soft blurred area maybe four inches across rather than a clean hole, and a single big patch bridges a curved, high-flex part of the leg and pops its stitching within weeks. Lay four or five scraps of two to three inches instead, shingled downward from the crotch seam, each one stitched on its own.
The overlaps let the whole area bend. It also means one failed patch is a five minute fix rather than the entire repair peeling away from the leg.
4. Hems rebuilt with a folded scrap band
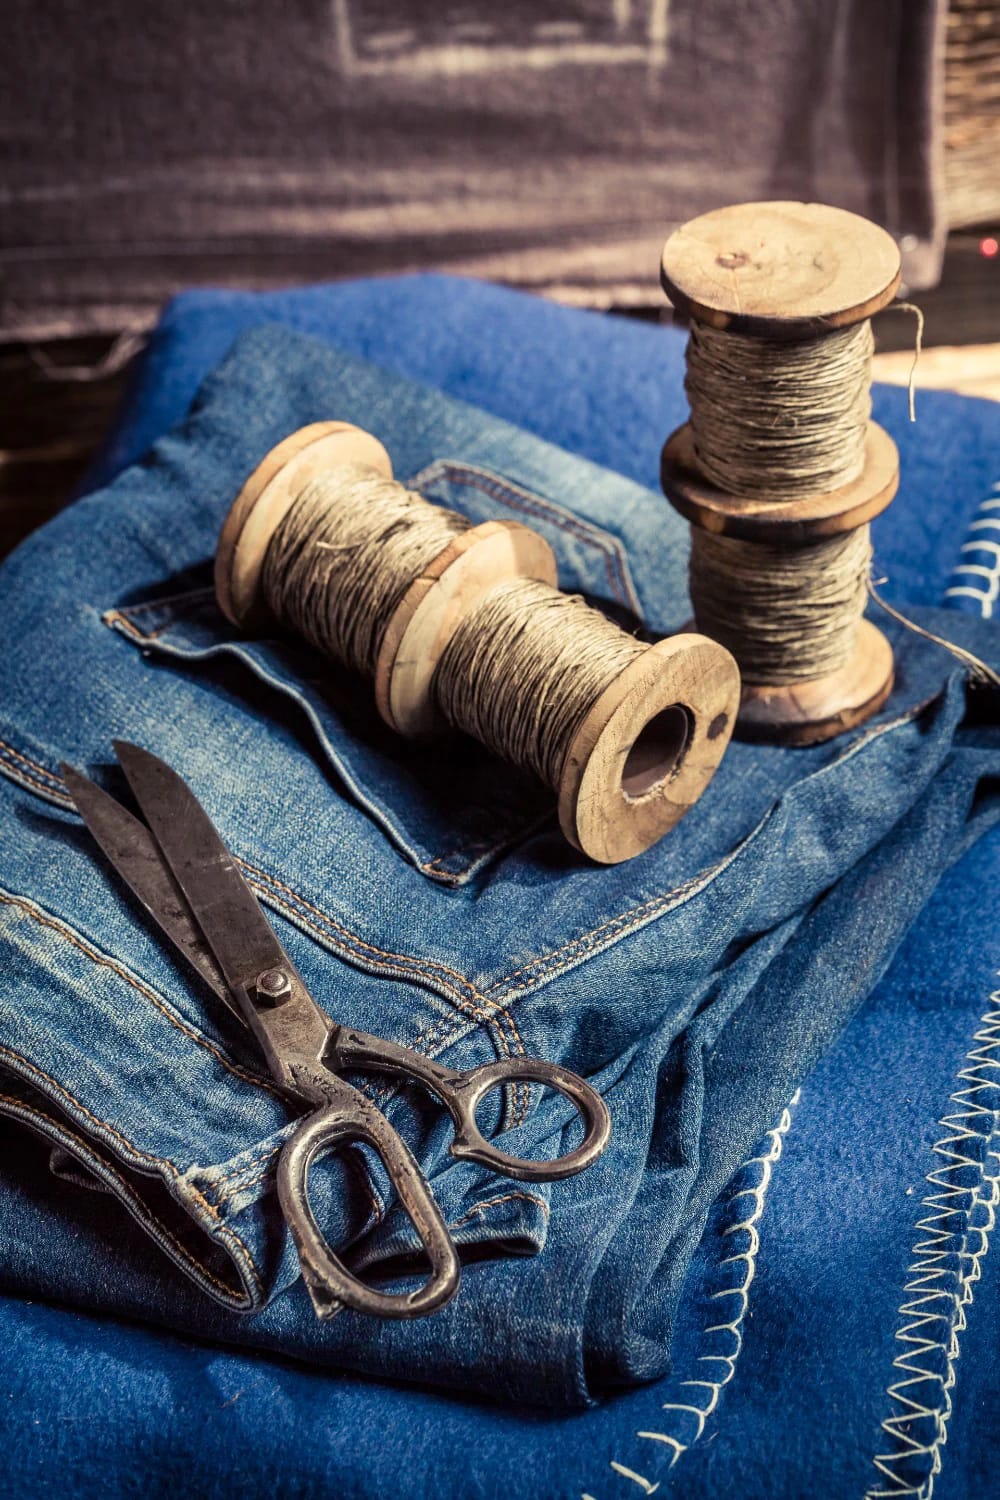
Rebuild a shredded hem with a folded band rather than a fold-up. Cut a strip of scrap two inches wide and long enough to wrap the leg opening plus an inch, press it in half lengthwise, wrap it over the raw hem like binding, and run stitch through all the layers. You lose no length at all, which matters if the jeans already sit short on you, and from then on the band takes the scuffing instead of the denim.
Layer decisions that separate boro from a bad quilt
Two choices decide whether stacked scraps read as mending or as a craft accident, and neither one is about stitch technique.
5. Stack three washes so the patch reads as depth
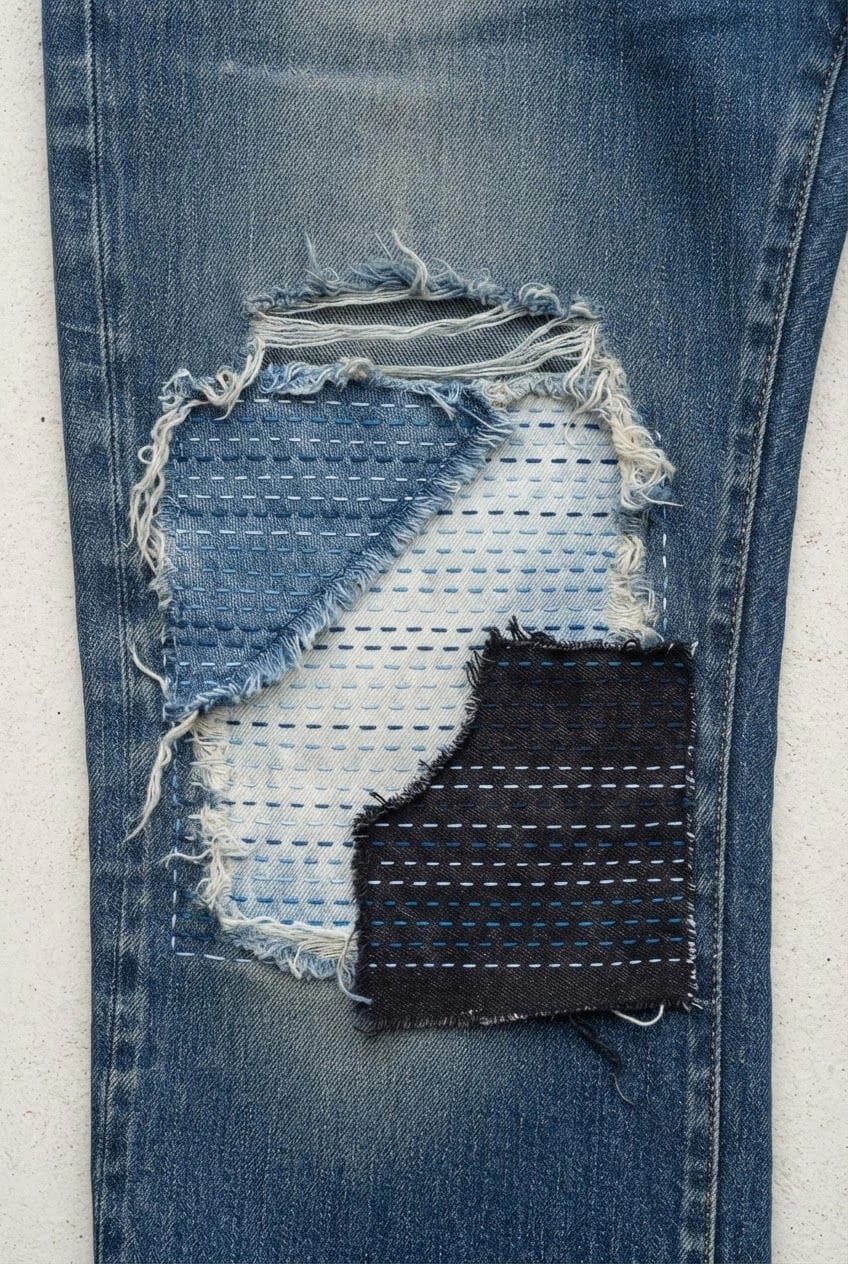
Put the palest scrap directly under the hole and the darker ones around it. Depth in a layered patch comes from value contrast, not pattern: a bleached-out scrap showing through a dark worn knee reads as a hole with something behind it, which is exactly what it is. Reverse the order, dark cloth under pale denim, and the same patch reads as a shadow or a stain.
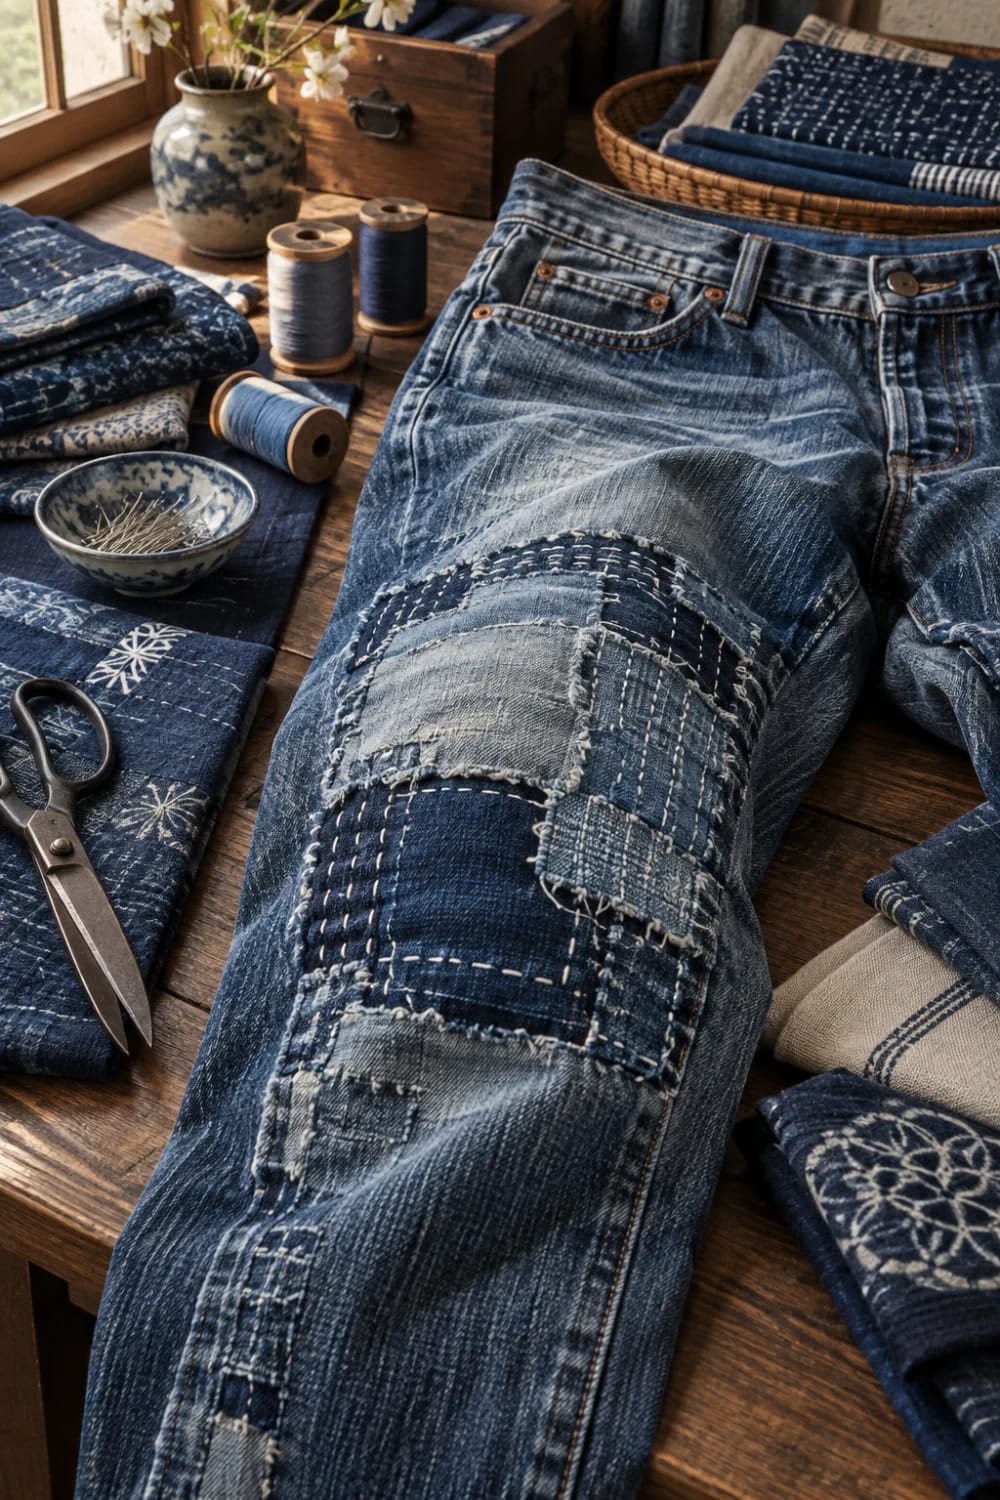
One pair of jeans already carries three or four washes. The denim inside the hem sits near its original indigo, the seat and knees have gone two or three shades pale, and the panel behind the pocket bag lands somewhere in between, which is the same sorting judgment that drives a whole pair of multi-wash patchwork jeans and costs nothing but ten minutes with the pieces laid out on the floor. Thread follows the same logic: white on a pale scrap vanishes, white on raw denim shouts, and a variegated blue and white sashiko thread skein splits the difference while hiding the wobble in your stitch line.
That said, one loud white grid on an otherwise plain leg is a deliberate choice and looks like one. Three different bright thread colours on three different patches is what looks like an accident.
6. Sashiko the thigh before it tears
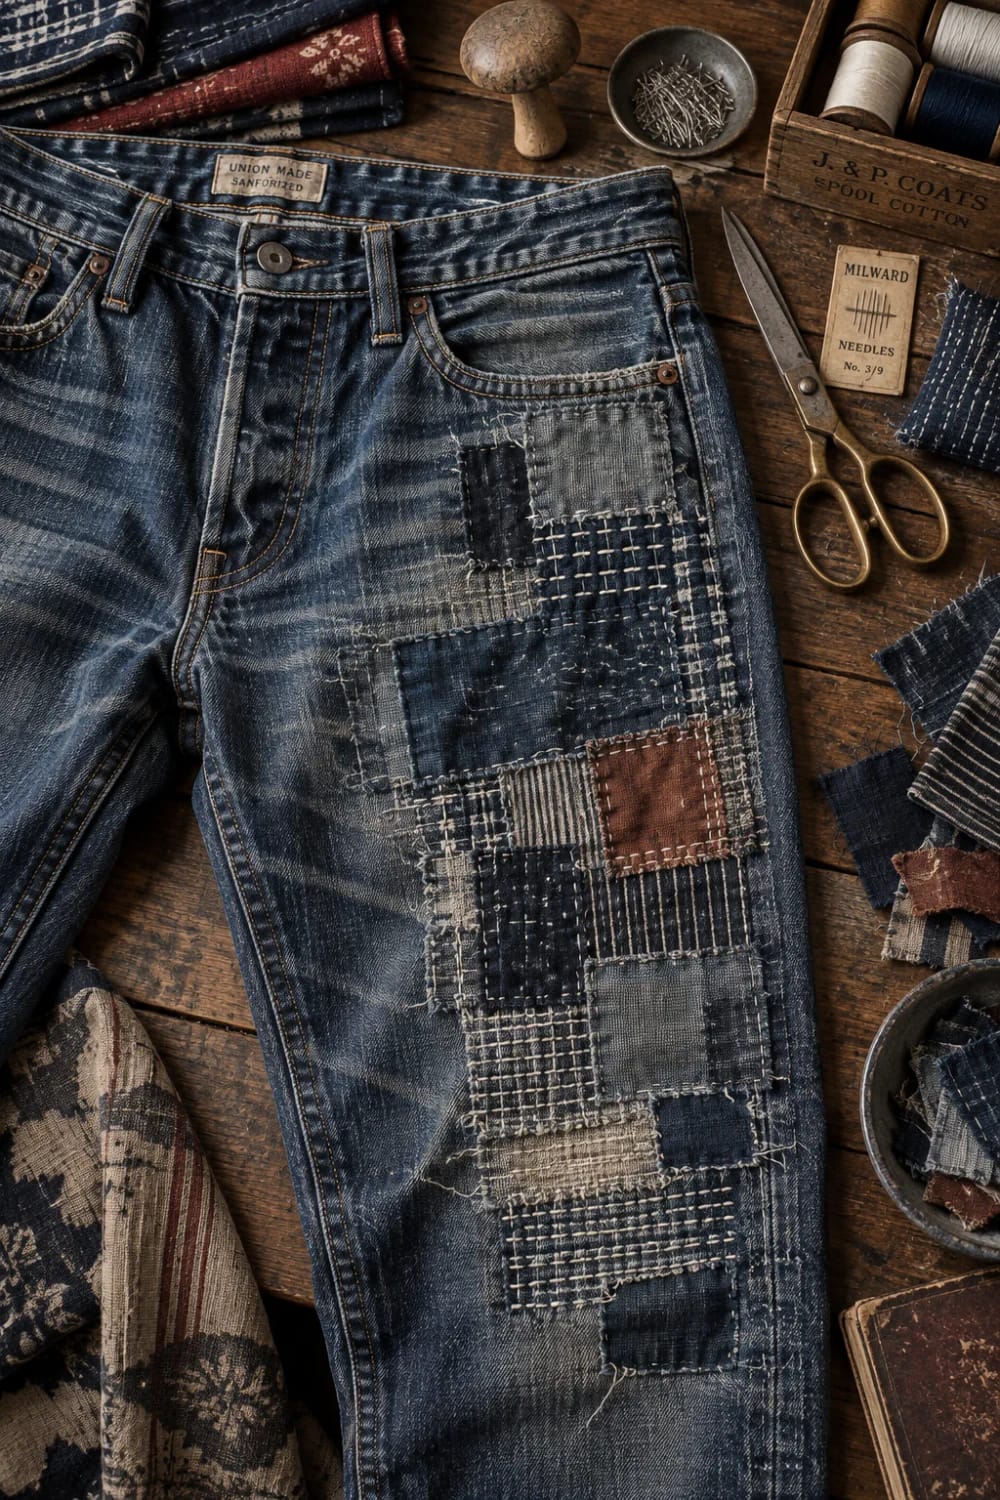
Stitch the thigh before it has a hole in it. Rows of running stitch across a fading knee or seat, spaced a quarter to three eighths of an inch, turn one weakening layer of cloth into a stitched grid that spreads load the way a patch does, and the whole panel takes an evening while the denim is still sound.
This is the part of boro that never made it into the visible-mending trend, which is overwhelmingly patches applied after the damage. WRAP put a number on what the timing is worth in Valuing Our Clothes: nine extra months of active use cuts a garment’s carbon, water and waste footprints by roughly 20 to 30 percent, and reinforcing a thigh before it splits buys considerably more than nine months. A 100 metre skein of Olympus sashiko thread in white grey covers both knees and a seat with thread to spare.
Keep the grid on the panels that actually wear, and let it follow lines the jeans already have, the seam, the hem, the pocket edge. That placement is the same reason stitched motifs on denim look like part of the garment instead of a sticker somebody applied.
7. Non-denim layers: chambray, linen napkins, worn flannel
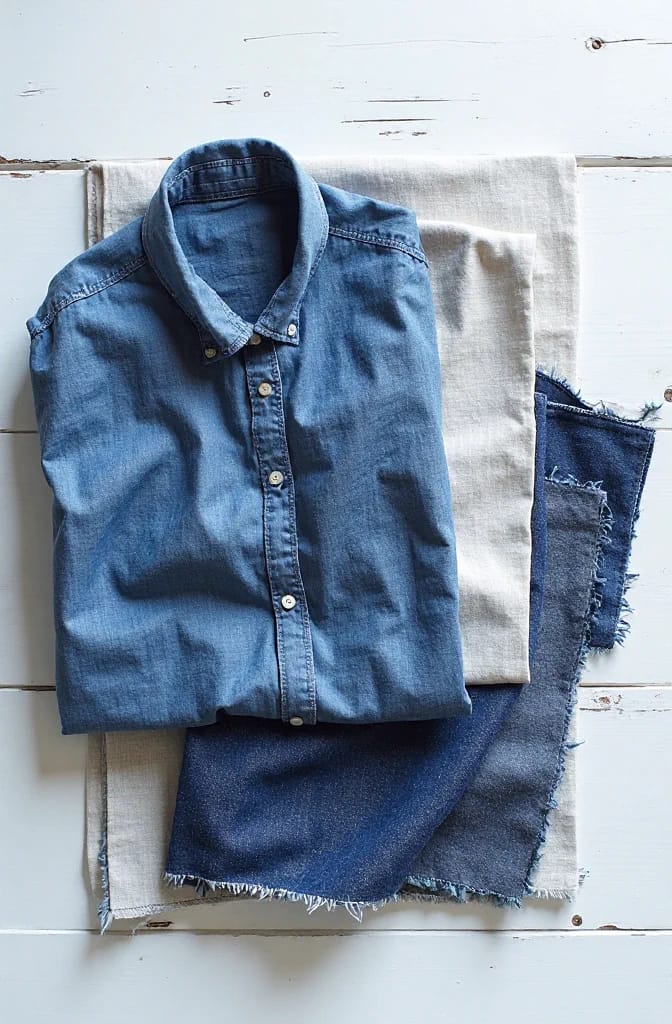
Denim is not the only thing allowed in the stack, and all-denim repairs are why so many boro-style jeans end up feeling like armour. The original garments layered whatever the household had: in Tohoku that meant hemp and ramie, because commoners were barred from wearing cotton until the late nineteenth century, and indigo because it was the cheap dye that grew locally. The modern equivalents are dead chambray shirts, linen napkins with a stain in the middle, flannel sheets, blue cotton dress shirts with frayed collars.
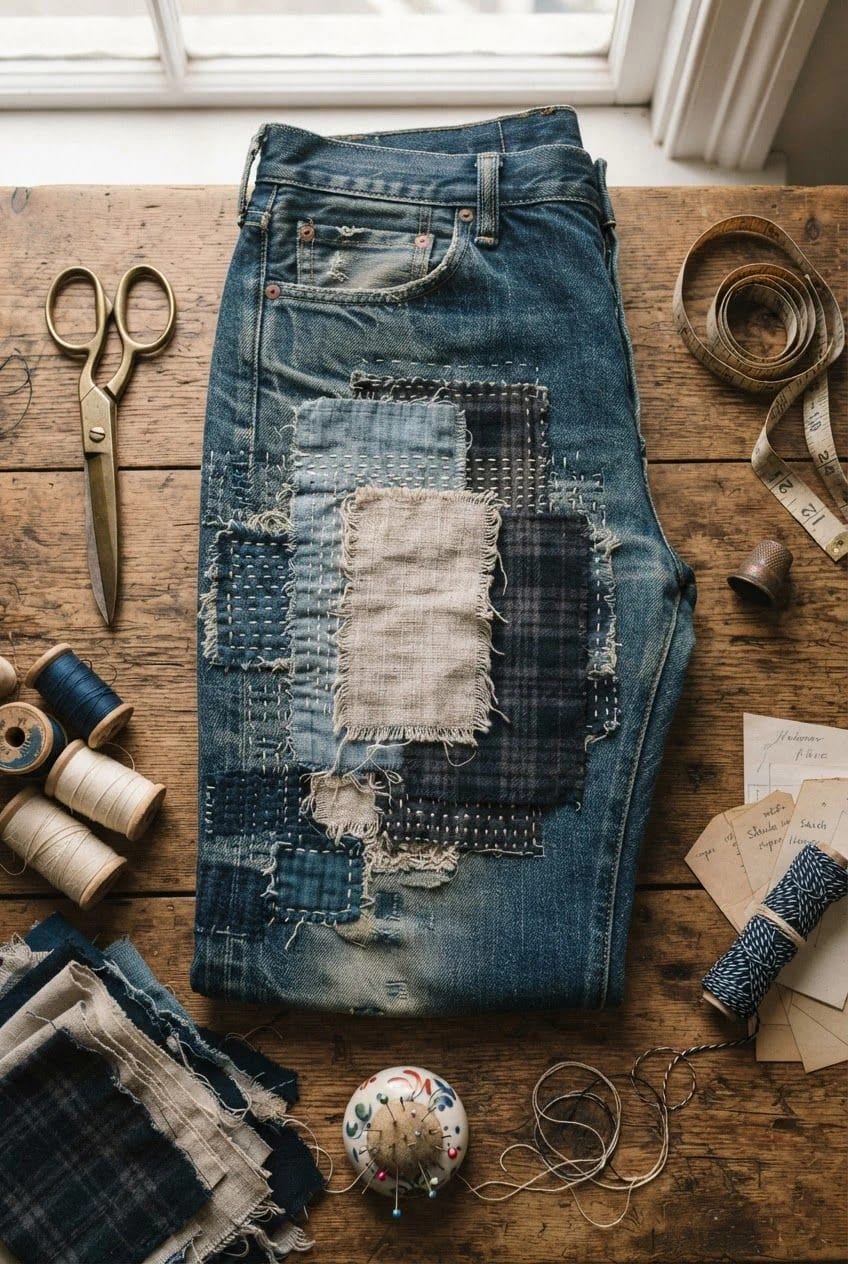
Weight decides placement. Light cloth goes inside where it never has to abrade, heavy cloth goes on the outside where it does: a linen napkin stitched under a knee behind denim will outlast the jeans, and the same napkin used face-out pills into fuzz in a month.
Building a scrap pile worth stitching down
8. Sort the scrap bag by weight first, colour second
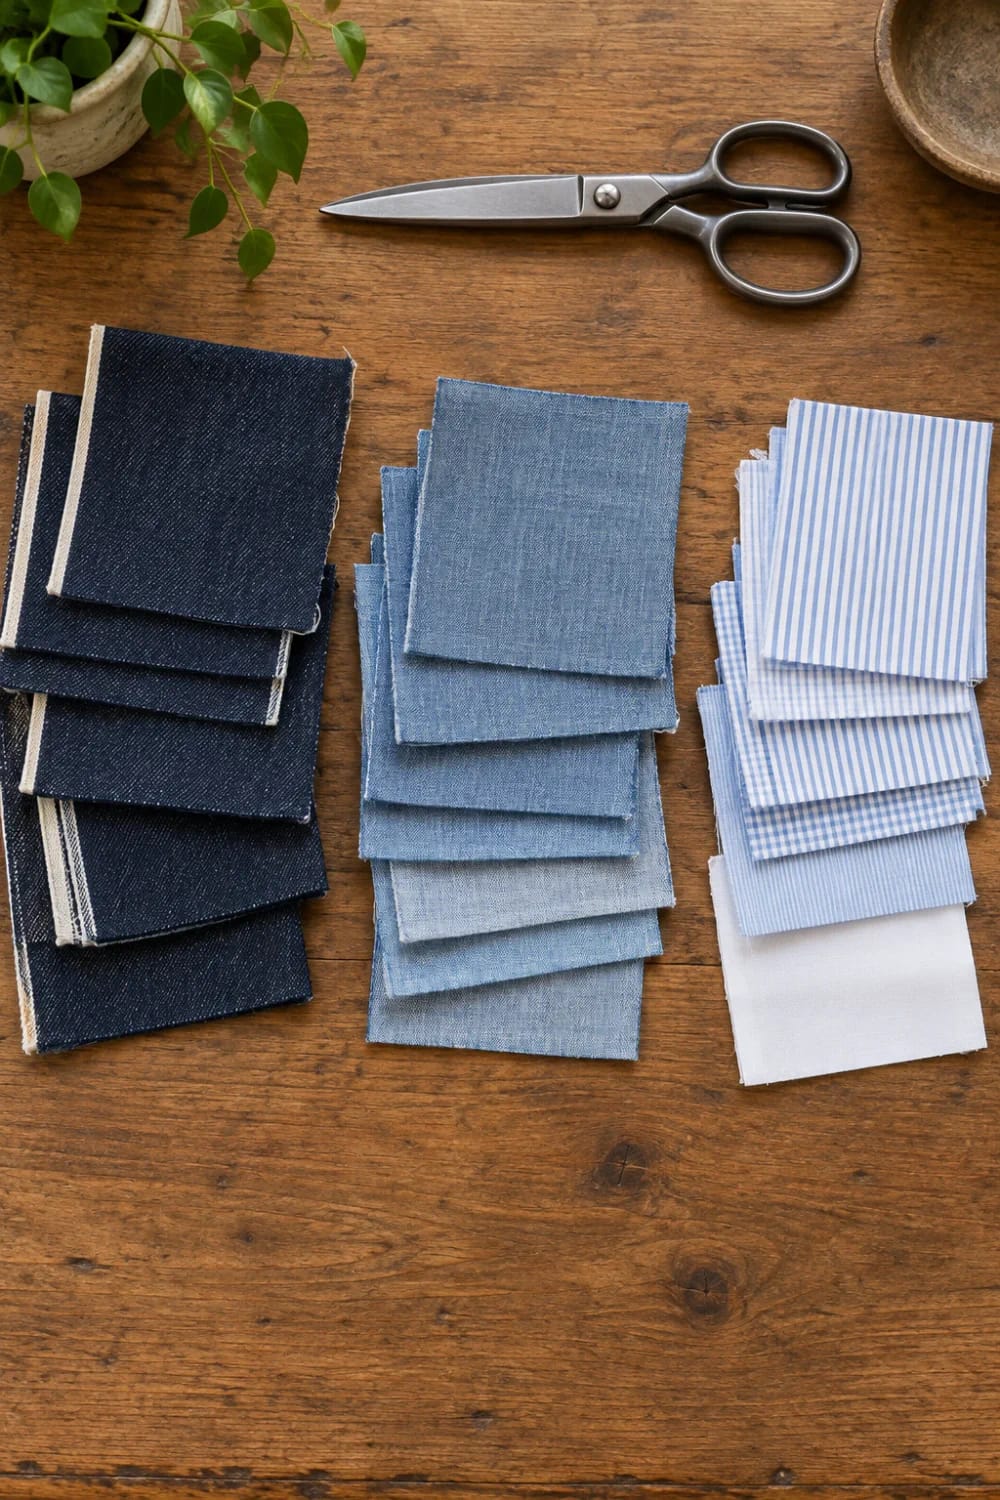
Sort by weight before you sort by colour. A bag that mixes 12 oz denim with quilting cotton produces patches that fail at wildly different rates, and quilting cotton is the worst possible thing to put on the outside of a knee (3 oz plain weave, sold for things that never get sat on). If your bag is all lightweight prints, buy denim instead of improvising: a bundle of 4.8 oz indigo denim fat quarters in three shades gives you the wash range this needs for the price of a sandwich. And a pair that has gone soft everywhere is not a mend candidate at all, it is scrap stock, which is the pile a braided denim rag rug eats.
9. Two-inch offcuts assembled into a mosaic patch
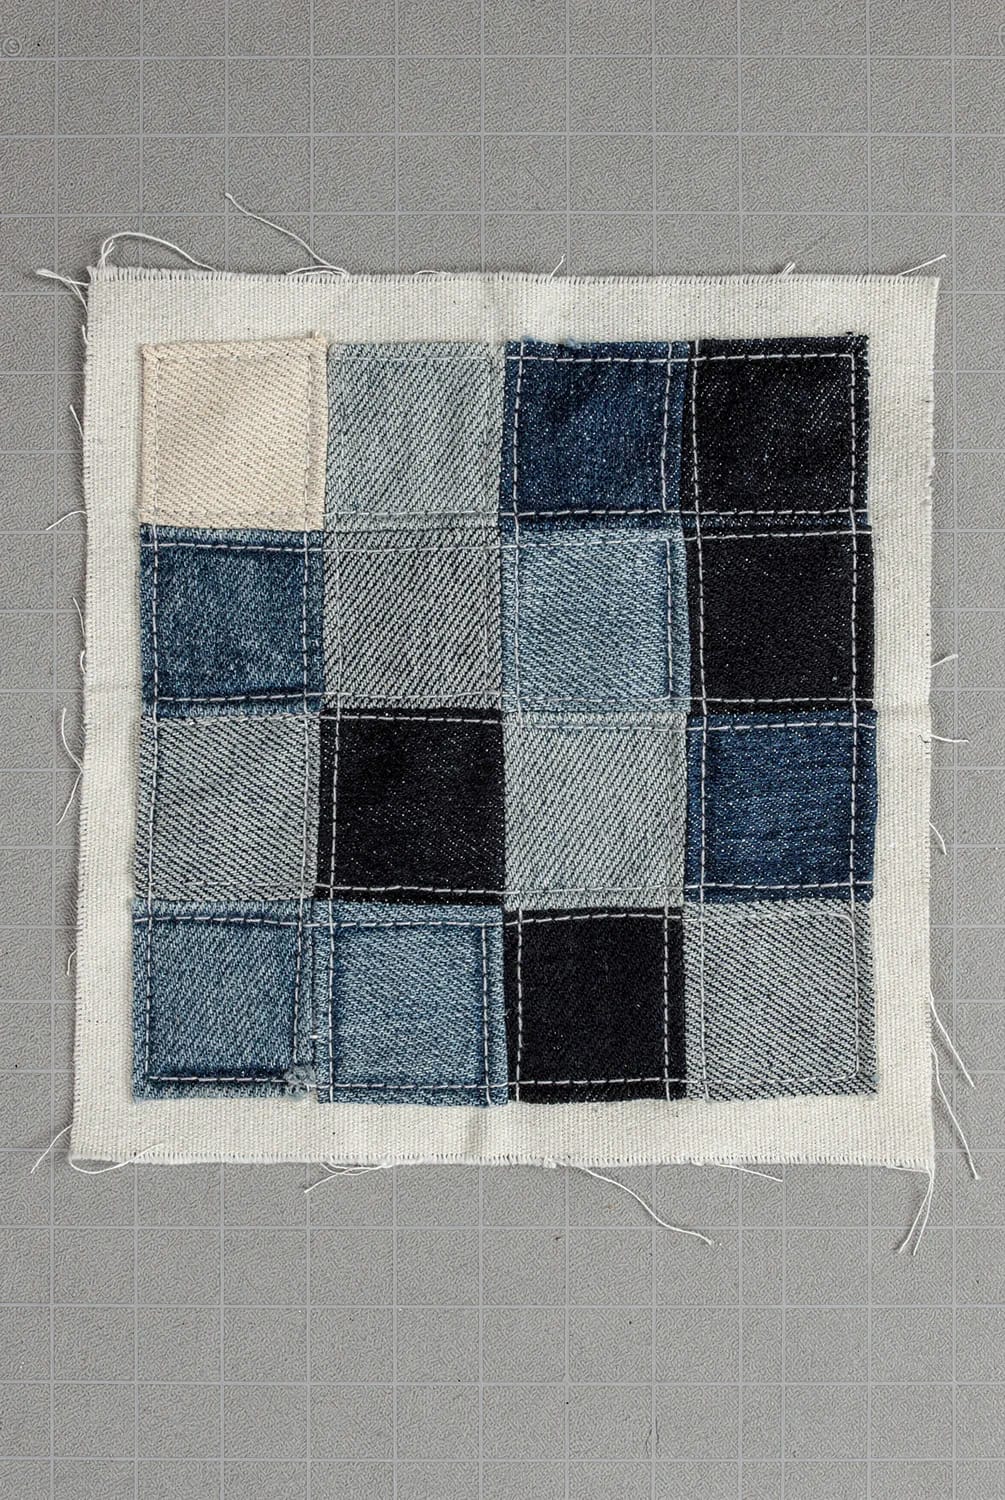
Two inch offcuts work as a patch if you build them into one first. Assemble the mosaic on its own backing square of light denim, butting the pieces close and running stitch across each join, then apply the finished square to the jeans as a single unit. Placing fifteen loose pieces directly onto a leg that keeps moving is how people abandon this halfway through and go back to a plain rectangle.
Do not iron the finished square on. Fusible patches fail at the glue line: the adhesive stiffens a hard-edged rectangle, the denim keeps flexing around it, and the tear reopens along the patch edge within a season, usually taking a little more fabric with it than it did the first time. If someone has already ironed one onto the pair you are working on, stitch through it in rows now, before it lifts at a corner and starts collecting lint underneath.
 12 Clever Scrap Fabric Projects With Almost No Sewing What to do with the remnants below patch size, including a few that need no machine at all.
When the mending becomes the garment
10. The full boro leg, patched until the original denim is the minority
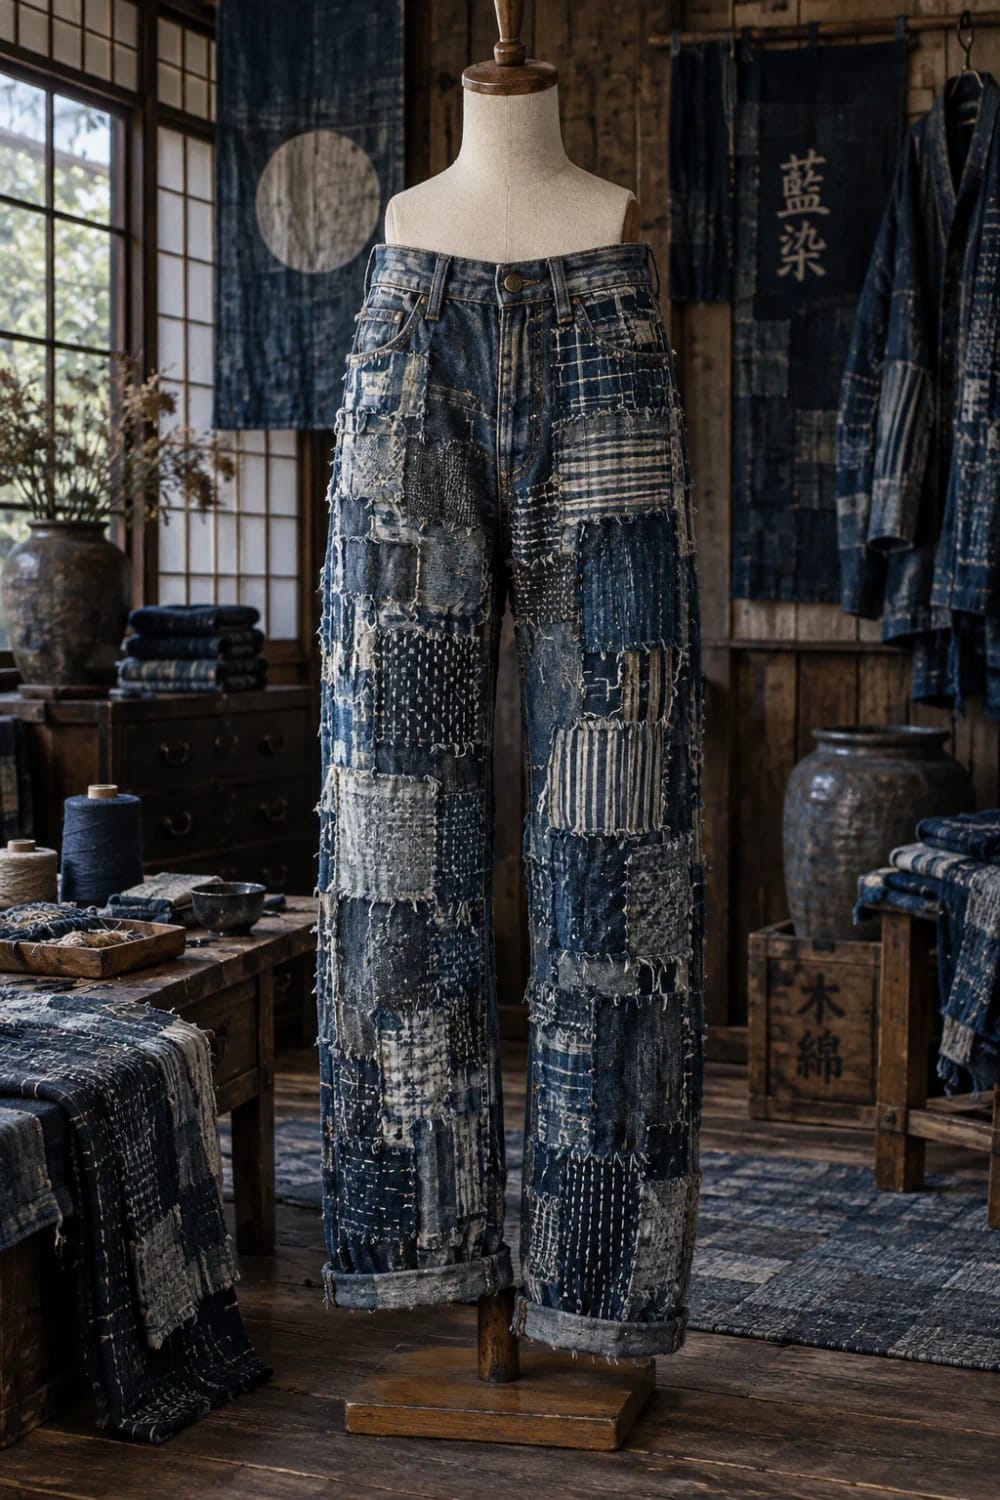
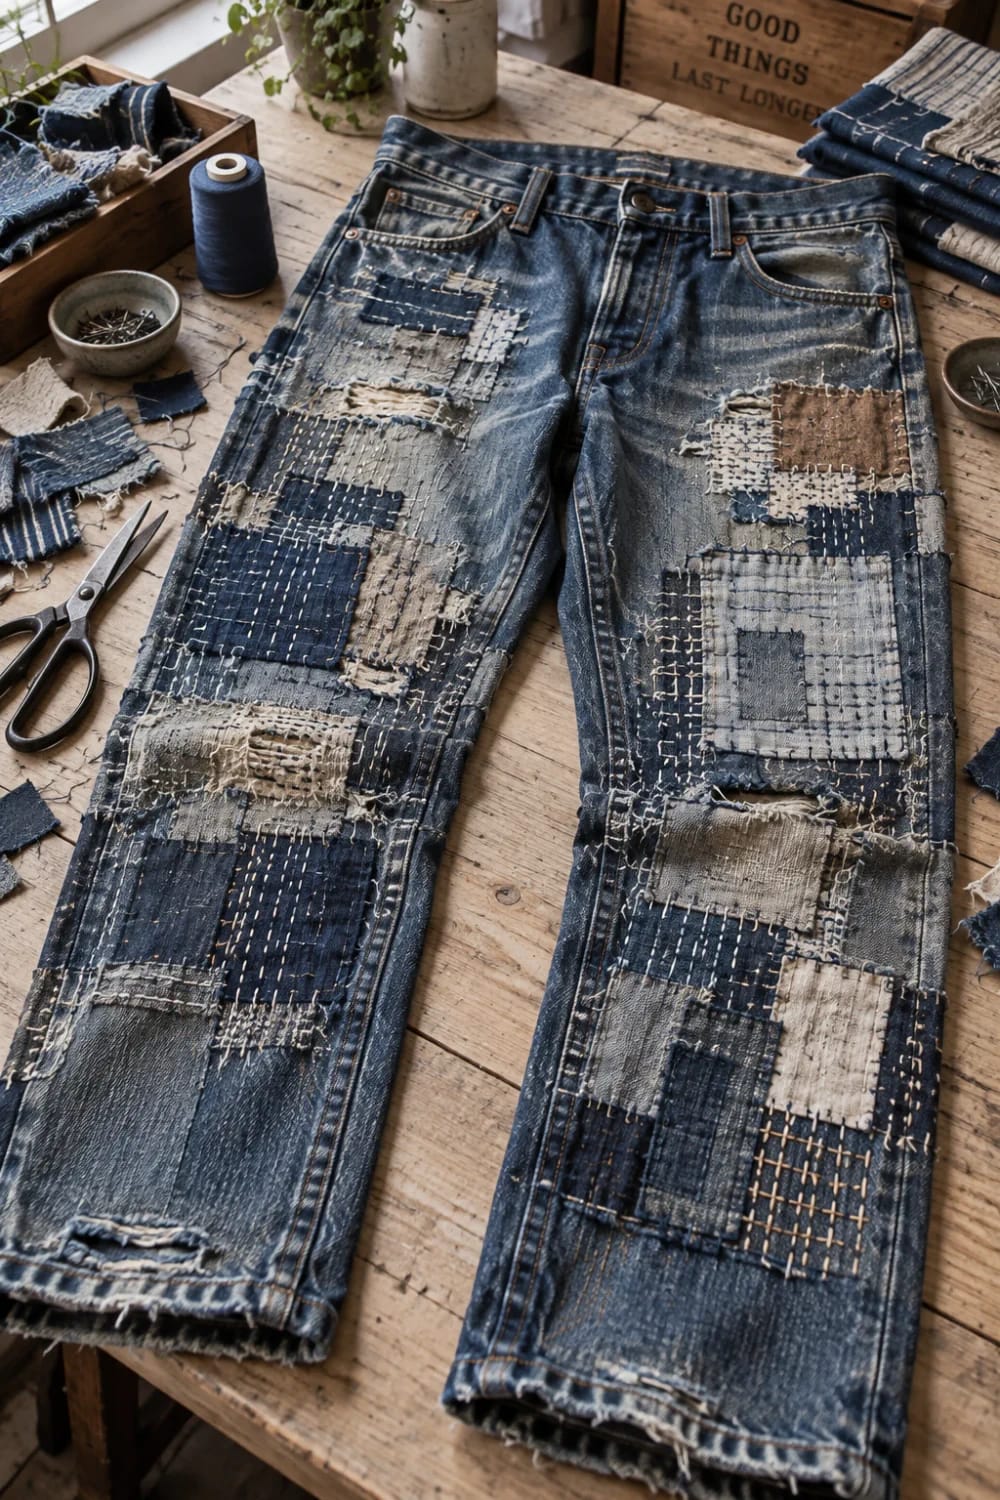
At some point the patches outnumber the denim, and that is a decision rather than a stage you drift into. Work from the seat down, adding a panel each time a new area softens, and within a couple of years the leg is mostly other people's shirts held in place by the original seams and a grid of stitching. The waistband and the fly stay original, which is what keeps the pair recognisable as a garment instead of a textile experiment.
Chuzaburo Tanaka spent decades collecting the real thing, more than 30,000 pieces of Japanese folk textile, and the boro garments in that collection had been worked on by three or four generations of one family before anyone thought of them as art. The collection was on show at the Amuse Museum in Asakusa until it closed in 2019. Photographs of those pieces show no symmetry anywhere and no patch placed purely for the look of it, which is worth remembering when you are tempted to add a scrap to fill a gap.
Where I would stop: a full boro leg on jeans that no longer fit properly is a lot of evenings spent on something you will not wear. Check the fit before the fourth patch, not after the fifteenth. And when a pair genuinely is finished, those patched panels are the most interesting material in the pile that gets turned into denim decor.
Before the first wash
Wash the pair cold and inside out, then look at every patch edge before it goes back in the drawer. Hand stitching that felt tight settles after one cycle, and the two or three loose ends you find are a five minute fix now and a lifted corner in a month. The torn edges you left around that first knee hole will bloom in the wash, which is the point of leaving them, and the pale scrap under the dark knee will go another half shade lighter, which is worth knowing before you pick it.
Related Posts
- Multi Wash Patchwork Jeans From Old Denim Scraps: The Decisions That Make the Pair
- 11 Upcycled Jeans Decor Ideas for the Pile You Can’t Toss
- How to Make a Braided Denim Rag Rug From Old Jeans
- 57 Innovative Upcycled Jeans Ideas: Transform Your Old Denim into Chic Fashion and Home Decor
- Butterfly Embroidery Jeans: Ideas Worth Stitching Onto Denim You Already Own
- How to Make an Upcycled Jeans Messenger Bag From Old Denim