
Most wine cork reindeer tutorials hand you the same face: two googly eyes, a red pom nose, and pipe-cleaner antlers bent into a lightning-bolt shape. That version is fine for a kids' craft night, but it reads plastic on a rustic tree, and the whole point of a rustic tree is that nothing on it looks like it came out of a clamshell package. Swap three materials and the same reindeer stops looking like a classroom project: natural cork instead of just any cork, real twigs instead of chenille, small dark beads instead of the big wobble eyes. The eleven ideas below are grouped by the decisions that actually change how the finished ornament reads, starting with the body shape and moving through antlers, faces, and finishes.
One thing worth settling before you glue anything: not every cork behaves. Natural cork cuts and takes a twig cleanly, while the smooth, plastic-feeling synthetic stoppers in cheaper bottles resist a blade and tend to split at the drill. Keep the real ones (squishy, woody, usually stained at one end) and set the plastic ones aside. Each of these takes about ten minutes once your corks are sorted.

The build you start from
1. The classic hanging wine cork reindeer
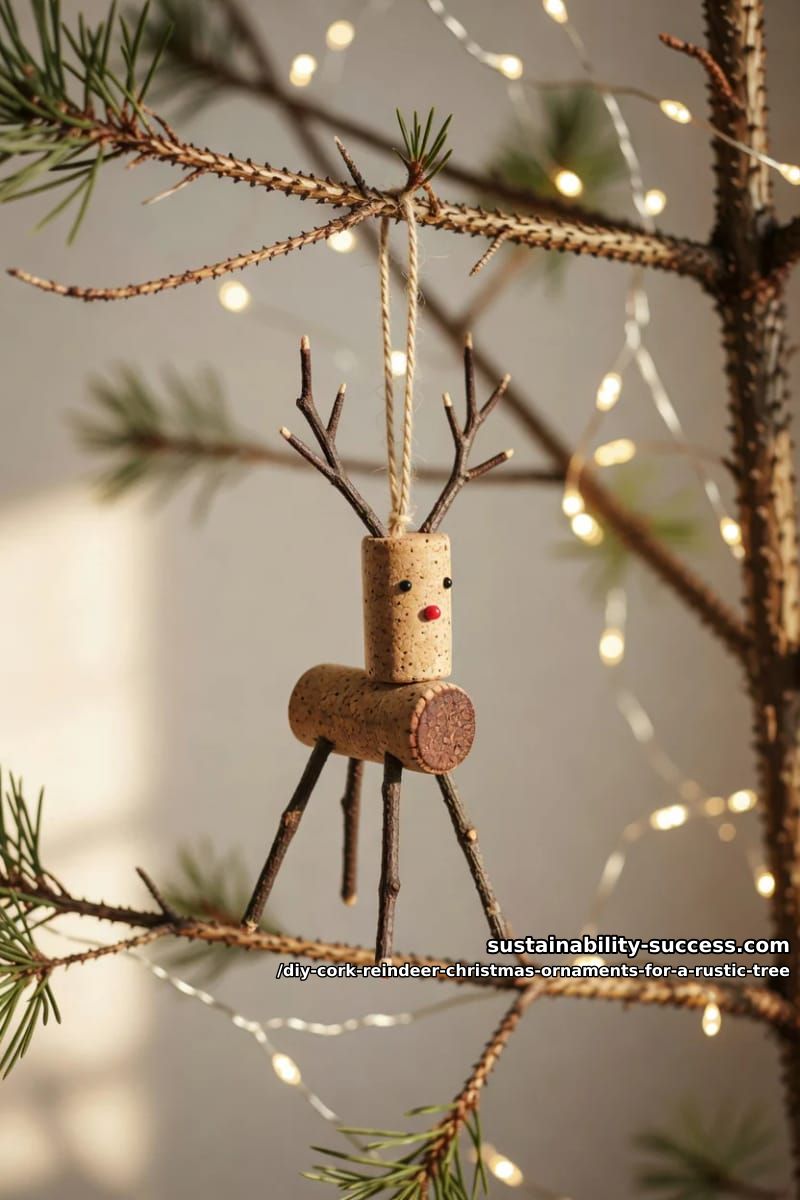
Two corks stacked, twig legs and antlers, a bead nose, done in ten minutes. The standard build has the head cork glued at an upward angle off one end of a horizontal body cork, with four twig or half-cork legs and a jute loop at the top for hanging. It is the shape everyone recognizes, and it is the right place to learn your proportions before you start experimenting. The one thing worth borrowing from the fussier tutorials: a short twig or a thin cork slice as a "neck" between head and body gives the reindeer a forward tilt that a flush head never gets.
Dry-fit the whole reindeer before a drop of glue touches anything. Corks are light and the legs want to splay, so stand it up first and trim leg twigs until it balances, then glue. Hot glue sets in seconds, which is either the appeal or the problem: on a piece this small a blob at the neck shows, and you cannot slide the head a millimeter once it grabs. E6000 buys you a couple of minutes to nudge angles and dries closer to invisible, at the cost of an overnight cure. Either way, attach the head and antlers last, after the body already stands on its own.
2. A standing two-cork reindeer for the mantel
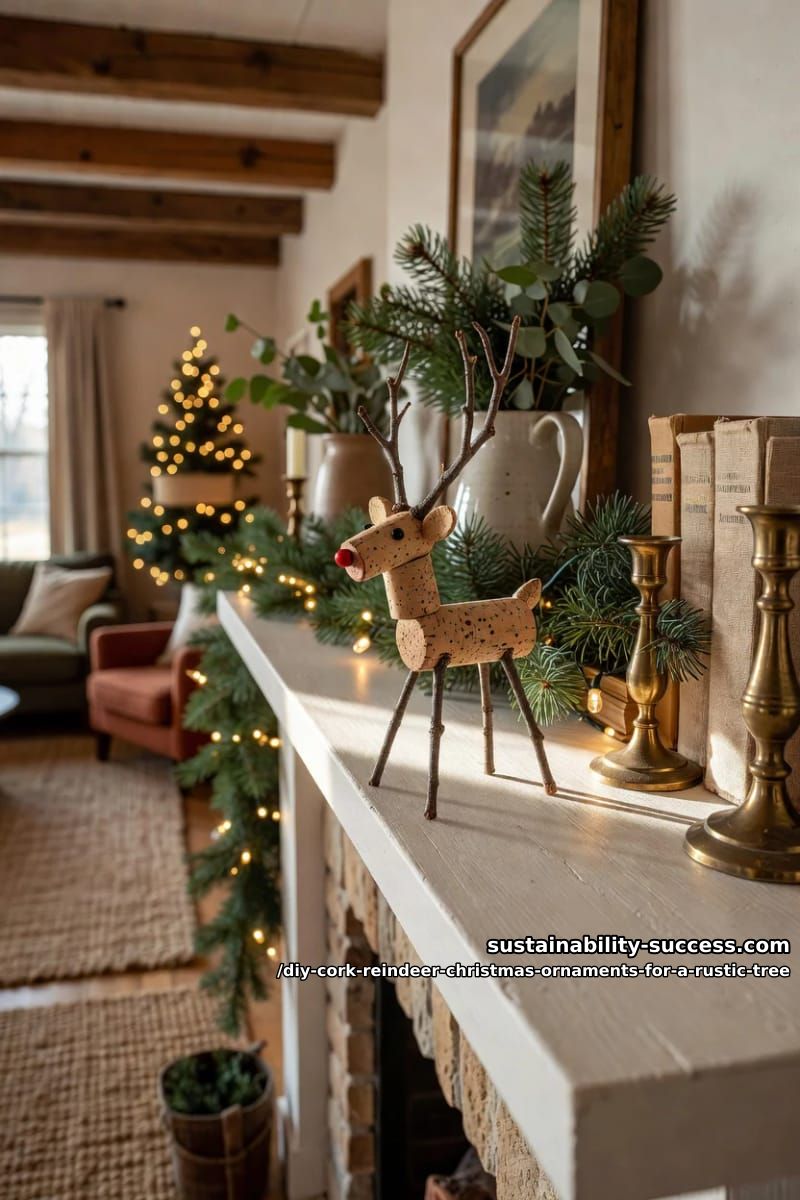
Twig legs, not cut-cork legs, are what let a reindeer stand instead of hang. If you drill four leg holes into a whole cork and push in sturdy twigs (or thin dowel), you get a little figure that lives on a mantel or a windowsill, not just the tree. Pipe-cleaner legs collapse under the cork's own weight, so this is the one build where foraged twigs are non-negotiable. A rustic tree looks better with a few of these standing in a bed of moss at its base than with every single reindeer dangling.
Reads rustic
- Natural cork with the wine stain left showing.
- Twig antlers and legs, whatever is in the yard: birch, apple, dogwood.
- Jute, baker’s twine, or a thin scrap of ribbon knotted at the neck.
- Small matte beads for eyes, a nose no bigger than an eye.
Reads craft-store
- Glossy synthetic corks.
- Oversized googly eyes.
- Neon chenille antlers.
- Glitter. Any glitter.
3. A champagne cork reindeer with a chunkier muzzle
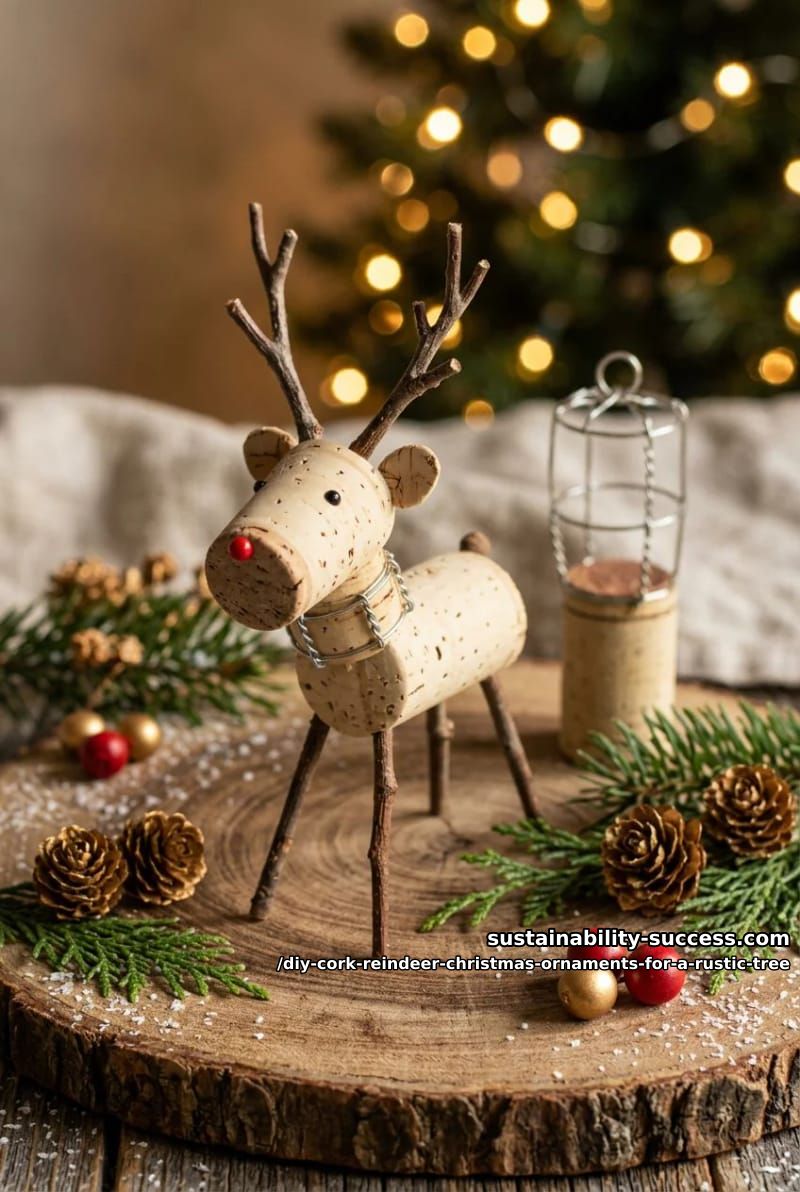
Use the champagne cork's flared base as the muzzle and you get a rounder, friendlier face than a straight wine cork gives. Champagne corks are wider and denser at the bottom, so they read as a heavier-jawed reindeer, and the little wire cage (the muselet) can be flattened into a collar if you want one detail that says "this used to hold something." Save these across the whole year, since most households produce maybe two a season.
Antlers, noses, and the face
4. Foraged birch twig antlers

The antlers are the single biggest tell between a rustic reindeer and a craft-store one, so this is where to spend your attention. Twigs that already fork are ideal, because a natural branch point gives you antler tines without any bending or cutting. Look for thin twigs where they split, snip just above the fork, and you have a matched-ish pair in one cut. Drill or poke two holes at the top of the head cork about half an inch apart, dab glue, and push the twigs in.
Scale is what people get wrong. Antlers that tower over the body look cartoonish; keep each twig roughly the height of the head cork or a little taller and the proportions stay believable. If your only twigs are dead straight with no branching, that is a job for the wire version below, not a reason to reach for pipe cleaners.
| Antler material | Holds a standing pose? | Effort | Reads as |
|---|---|---|---|
| Real twigs (birch, apple) | Yes, if thick enough | Forage, trim, drill holes | Most rustic |
| Pipe cleaners | No, too floppy | Easiest, just bend | Craft-store |
| Craft wire + beads | Somewhat | Fiddly bending | Dressy, less woodsy |
| Thin dowel bits | Yes | Cut to length | Neat but uniform |
5. Beaded wire antlers for a dressier reindeer
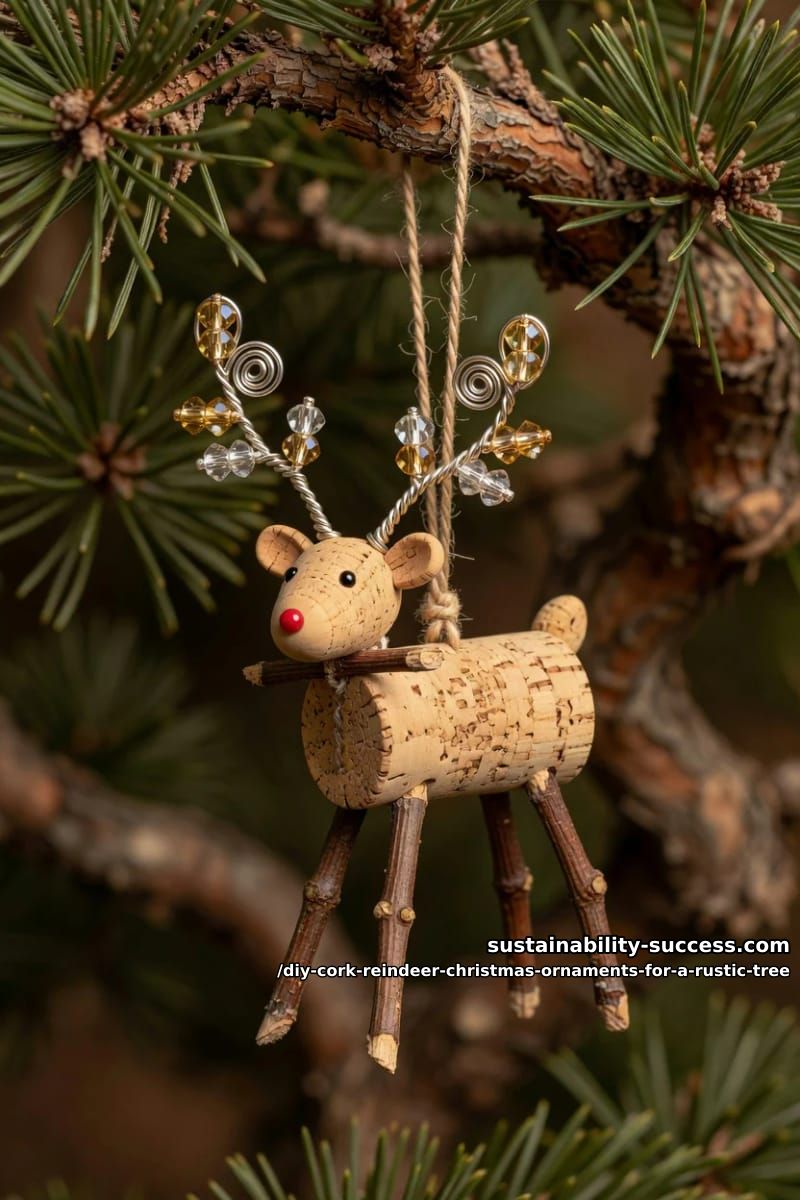
When you want one or two fancier reindeer in the batch, bend brass wire and string a few glass seed beads along it before shaping the tines. It photographs well and suits a tree that leans more "farmhouse dinner party" than "log cabin." Granted, this drifts away from strictly rustic, so make a couple as accents rather than converting the whole herd.
6. The red nose, done without going full clown

A small matte red bead beats a fuzzy pom every time on a rustic tree. The pom reads toy; a wooden bead, or even just the cork tip dabbed with a bit of red paint, keeps Rudolph recognizable without the plastic sheen. Keep the nose the same size as or smaller than the eyes. Not every reindeer needs a red nose either, so a herd of plain brown noses with one Rudolph mixed in looks more like a set someone thought about.
7. Skip the googly eyes for a quiet Scandi face
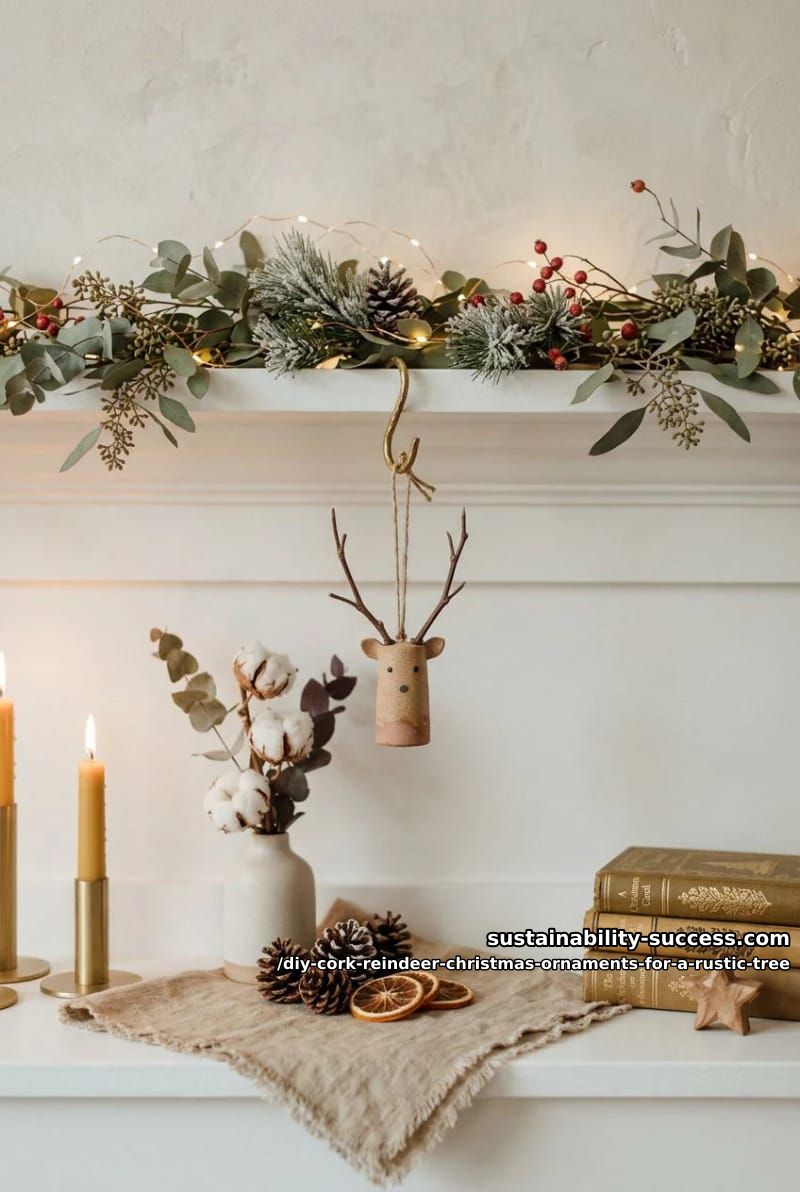
Two tiny black seed beads set close together give a calmer, more grown-up face than the standard wobble eyes. This is the version for anyone whose tree skews neutral and Scandinavian, all naturals and off-whites, where a googly-eyed anything would stick out. It is barely more work, just a smaller bead, and it is the change that most reliably makes people ask whether you bought the ornament.
Finishes that read rustic
8. Bare natural cork with a jute loop
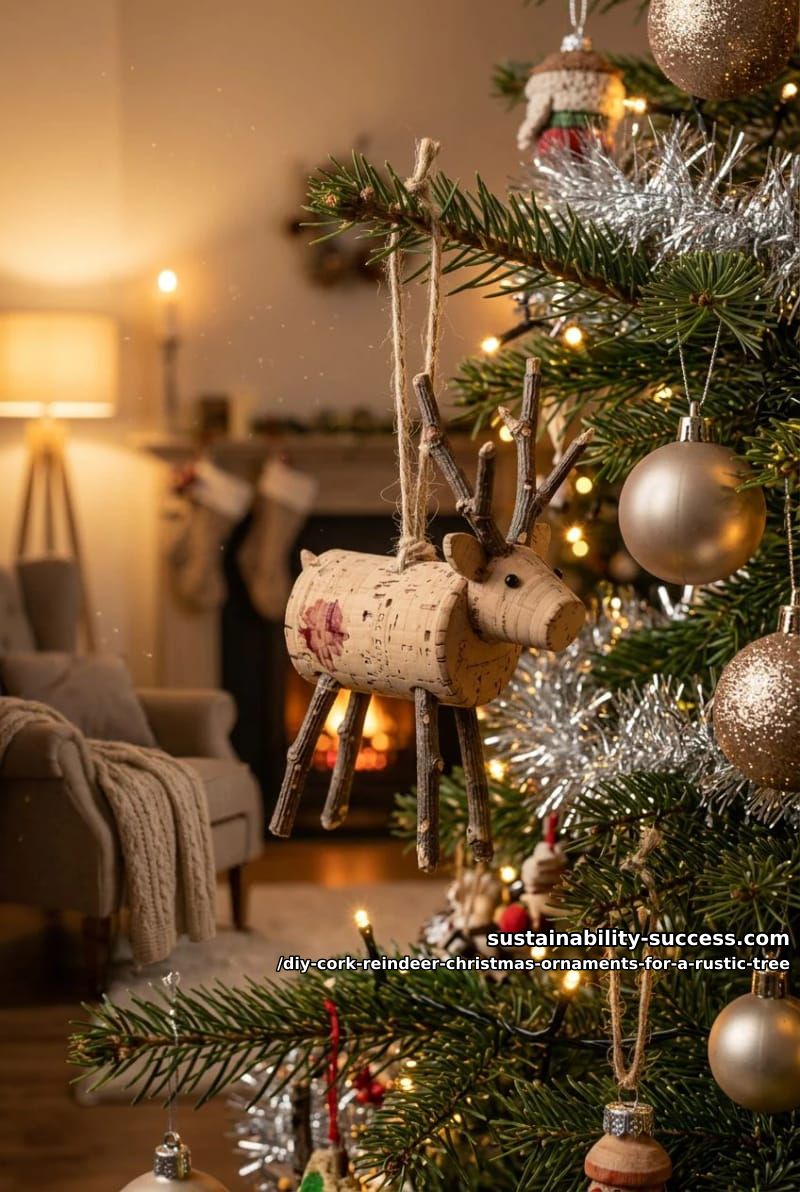
Leave the cork alone. The wine stain, the pores, the slight unevenness of a real cork are the finish, and a coat of sealer or varnish only adds a plastic shine that fights everything else on a rustic tree. Tie a loop of frayed jute straight into the top and hang it as is. If you want a hint of the reindeer's history, choose corks with a visible red stain at one end and orient it as the muzzle.
Worth flagging while we are here, because it decides which corks even make this cut: the smooth, uniform, sometimes oddly-colored stoppers are polyethylene, not cork. They feel like plastic and lack the woody give, and they neither cut nor take a twig well. The genuinely spongy, wine-stained ones are what you want, both for how they work under a blade and for how they look bare.
9. Stained or wood-burned cork for depth
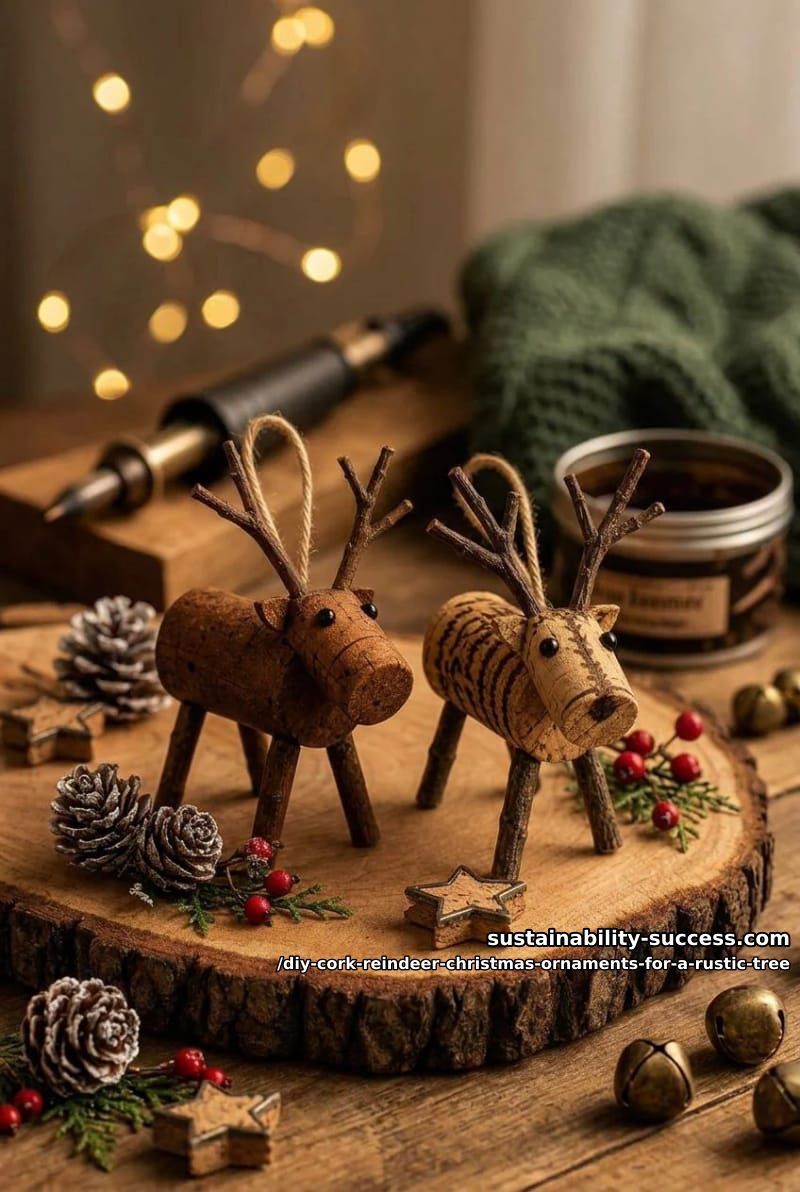
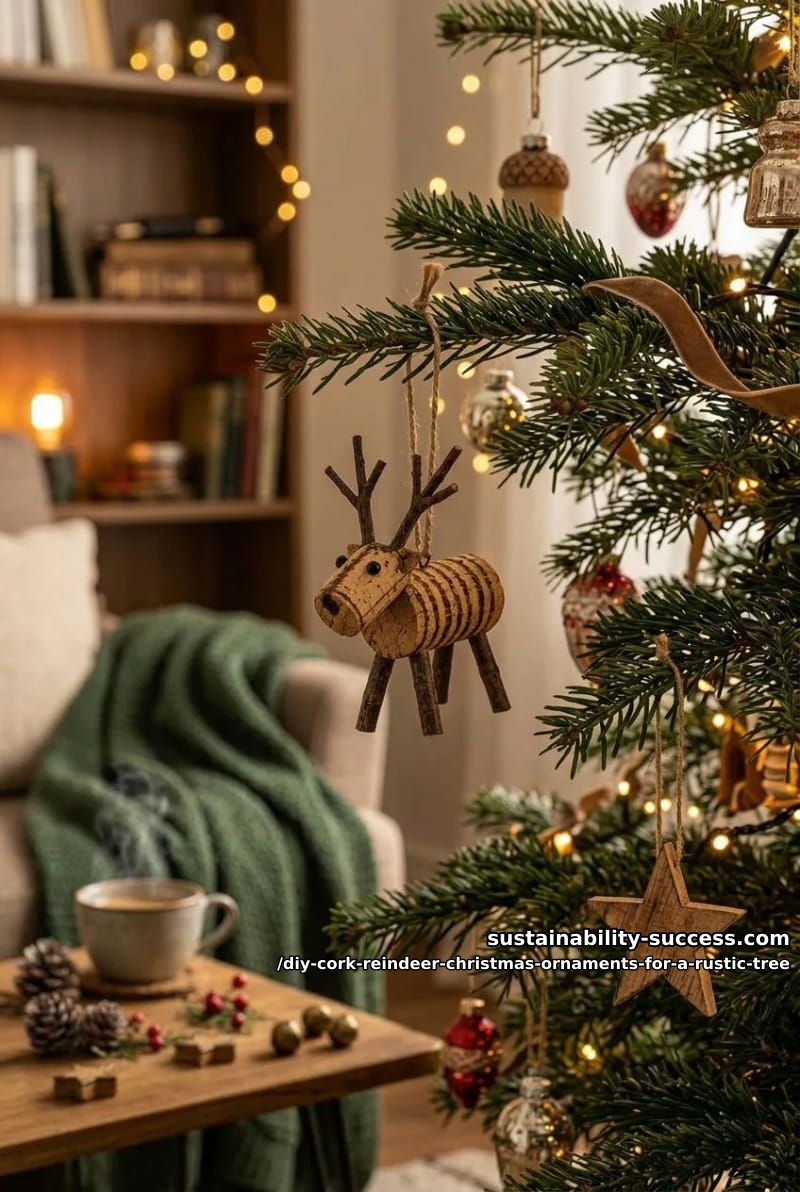
A quick swipe of wood stain turns pale cork a deeper, more deer-like brown. It is optional, and honestly the bare tan already suits most rustic trees, but if your corks are unusually light or you want the herd to match, a walnut or espresso stain evens them out. A wood-burning pen can add faint fur lines or a little detail to the face for anyone who wants to slow down and fuss.
Past a single ornament
10. A cork reindeer garland, a little herd on a string
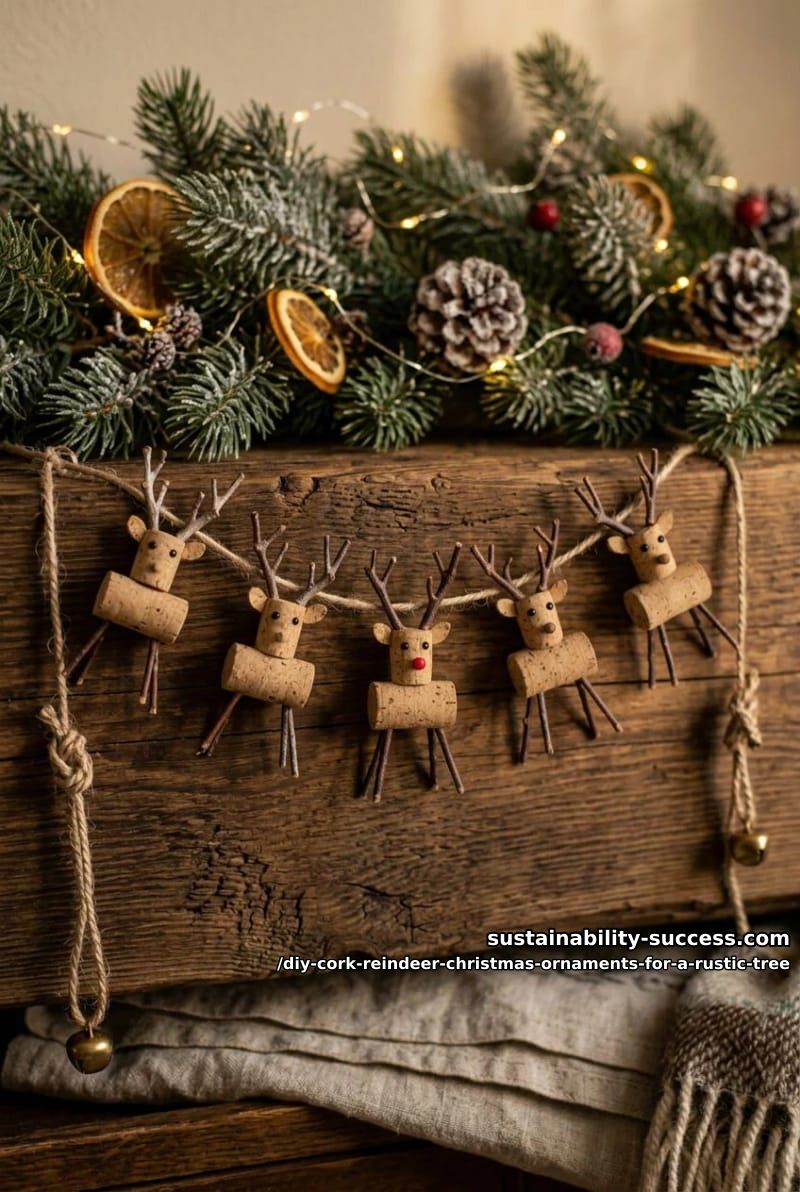
String five or six of them along a length of jute and you have a mantel garland instead of six separate tree ornaments. Loop the twine through the back of each reindeer so they all face out, space them a hand-width apart, and let the ends trail. This is also the most efficient way to burn through a big cork stash, and a garland reads more intentional than the same reindeer scattered singly across the tree.
11. Place-card reindeer that leave the tree for the table
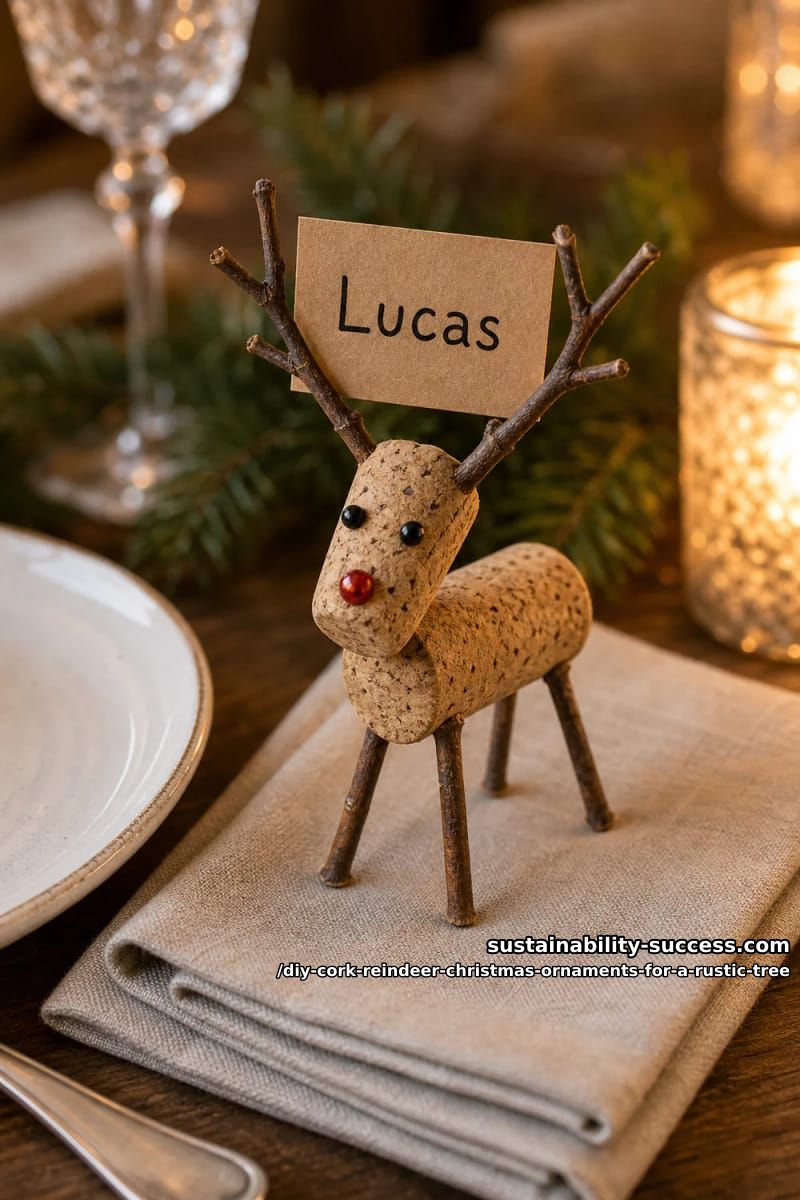
The antlers hold a name card, which turns the standing version into a place-card holder for Christmas dinner. Slot a folded kraft card between the two twigs and it perches there on its own. Make a few extra during your batch and they double as gift toppers or little host presents, which is how these tend to multiply once you start.
Conclusion
If you are making a batch, sort your corks first, cut or drill all the bodies, then assemble down the line with noses and ribbons going on last. Start with the plain natural-cork hanger from idea 8 to lock in your proportions before you commit twigs and stain to a dozen of them. And if you only change one thing about the standard build, make it real twig antlers rather than pipe cleaners, since that is the single swap that pulls the whole ornament away from the classroom version and toward something that belongs on a rustic tree.