
Most homemade seed paper never sprouts. The seeds get pulverised in the blender, or cooked on a radiator, or they came from a bargain wildflower mix that had no business being posted to five different states in the first place. That is the honest problem with this project: the papermaking is easy and forgiving, and the germination is neither. So what follows is built around the three moments where the seed actually dies (the blender, the drying, and the packet you chose back in autumn), with the pulp, the cookie cutters and the kraft card treated as the straightforward part, because they are.
What you need, and the one thing worth not buying
The paper is free and the seed is the expensive part, which is the correct way round for a project whose whole promise is that something grows in April.
Materials
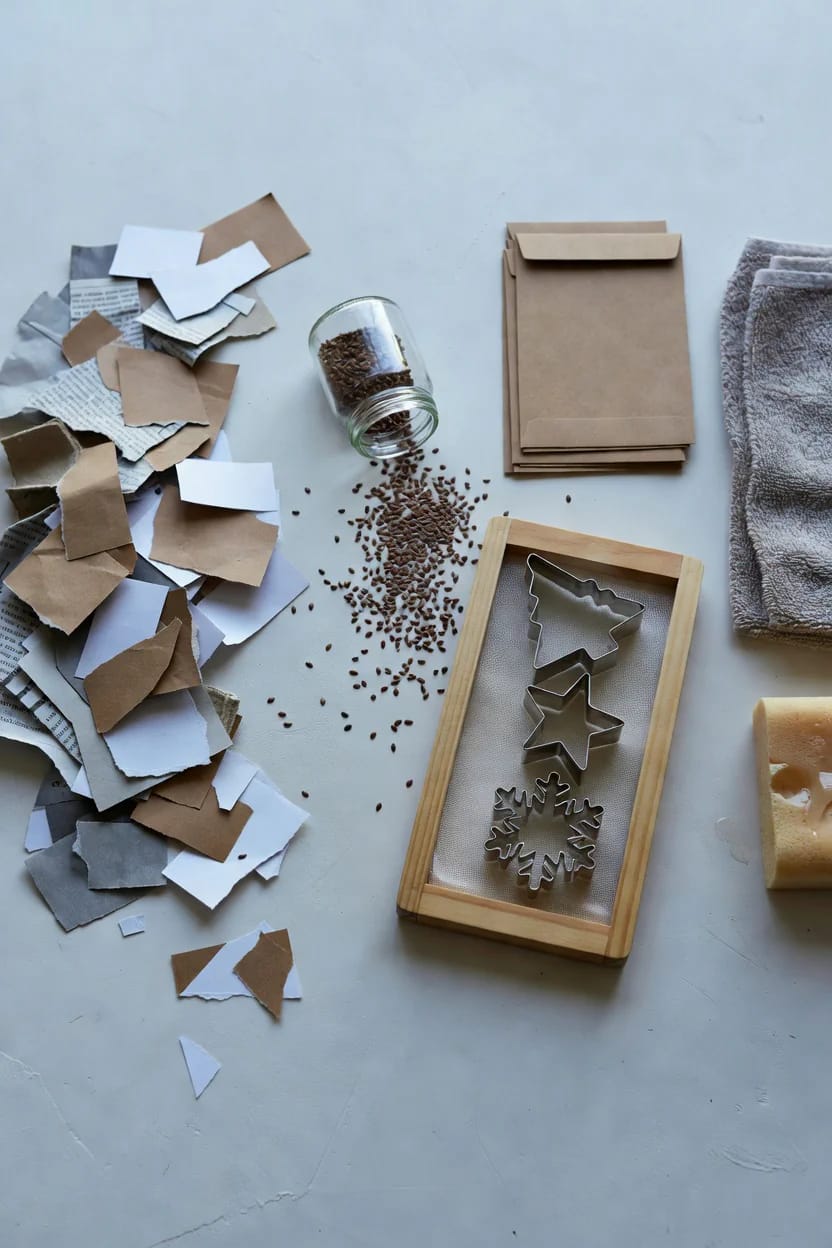
- Recycled paper scraps, roughly 4 packed cups once torn: newsprint, brown paper bags, plain printer paper, envelopes with the windows cut out, brown egg cartons. Free.
- Seeds, small and flat, 1 to 2 tablespoons per cup of finished pulp. Buy regionally, see the next section. $4 to $12.
- Blank kraft flat cards with envelopes, A2 size (4.25 by 5.5 inches), which is what the seed panel gets mounted onto: Darice A2 kraft blank cards and envelopes, 50 sets. $12 to $18.
- Glue stick or double-sided tape. $2 to $5.
Tools
- A blender you will never make soup in again. Thrift one; paper fibre and ink are not things you want in a smoothie. $0 to $20.
- A mould and deckle. A picture frame with window mesh stapled to it works, but the four-size kits are cheap enough that the A7 frame alone (tag-sized) earns its keep: Worown paper making screen kit with mould and deckle, A4 to A7. $15 to $25.
- Christmas cookie cutters in stainless steel, tree and star at minimum: 12-piece stainless steel Christmas cookie cutter set. $8 to $14.
- Sponge, a colander with fine holes, two or three terry or flannel cloths. Kitchen drawer. $0 to $8.
Materials run roughly $18 to $35 and tools roughly $23 to $67, so a from-scratch batch of 20 to 30 cards lands somewhere between $41 and $102. If the blender, the cutters and the cloths are already in the house, which for most people they are, you are spending about $20 on seed and card blanks. Prices are approximate ranges as of July 2026.
The seed choice decides whether any of this was worth doing
Buy a regionally native seed mix from a native-plant supplier, or single species you can name out loud, and skip the supermarket wildflower blend entirely. This is the part of the project that can do actual harm, and it is the part everyone treats as a formality.
The evidence is not subtle. In 2002, an undergraduate researcher at the University of Washington’s Center for Urban Horticulture grew out 19 packets of commercial wildflower mix and found between three and 13 invasive species in every single one, with eight containing plants listed as noxious weeds somewhere in the US or Canada; a third of the packets listed no contents at all. That work was never formally published and it is now decades old, so treat it as the origin of the concern rather than the current state of the shelf. The current state of the shelf is not obviously better: a 2022 scan of 16 seed distributors by the Invasive Species Council of British Columbia found that nearly every one sold at least one invasive variety. Penn State Extension goes further and names this exact craft, warning gardeners to be wary of unlabelled seed mixes received as favours or embedded in whimsical paper shapes. That is us. That is literally what we are making.
So: name the species, or do not send it. If you are posting cards to relatives across four climate zones, culinary herbs are the safe answer, because basil, thyme and parsley are small, flat, cheap, non-invasive and nobody’s local weed board cares. If everything is going to people within an hour of you, single-species natives from a regional supplier are better still, and they double as a nudge toward planting natives in the front yard instead of thirsty lawn.
Seeds that work
- Coreopsis, native across much of North America and flat enough to embed cleanly. Anything under about 2mm across will lie flush in the pulp rather than sitting proud of it.
- Herbs. Basil, thyme, oregano, parsley. The most forgiving option by a distance, and they suit anyone already keeping a small herb garden on a windowsill or a balcony.
- Named natives from a regional seed house, ideally annuals, since many perennial natives need a cold-wet stratification period and will not show themselves until the second spring.
- Sweet alyssum and corn poppy are the two most commonly recommended seeds for this craft and they do embed beautifully, but both are Mediterranean, and California’s invasive plant council lists sweet alyssum as an escapee of coastal dunes, scrub and bluffs. It has naturalised across most of the lower 48. Fine in a pot on a balcony in Ohio, not something to post to somebody who gardens near the California coast, and if you are going to make the invasive-species argument at all you have to apply it to your own list.
Seeds that do not
- Sunflower, bean, corn, nasturtium: too bulky. They sit proud of the pulp, make lumpy paper, and drop out of the sheet as it dries.
- Anything sold as a “wildflower mix” with no botanical names on the packet.
- Seed left over from three seasons ago. Viability falls off, and you will not know it failed until April.
Making the pulp, and the one rule with no exceptions
Never put the seeds in the blender. Not on pulse, not for a second, not "gently". The blades cut them and nothing grows, and this is the single most common reason homemade seed paper produces bare soil in spring.
- Tear about four packed cups of paper into rough one-inch pieces. Smaller pieces, smoother pulp. Skip anything glossy, foiled, waxed or thermal (till receipts are thermal); the coatings will not break down, and they are the same papers that get rejected at the recycling facility for exactly the same reason.
- Soak in warm water. Two hours minimum, overnight is better; the water swells the cellulose and the pulp comes out silkier for it.
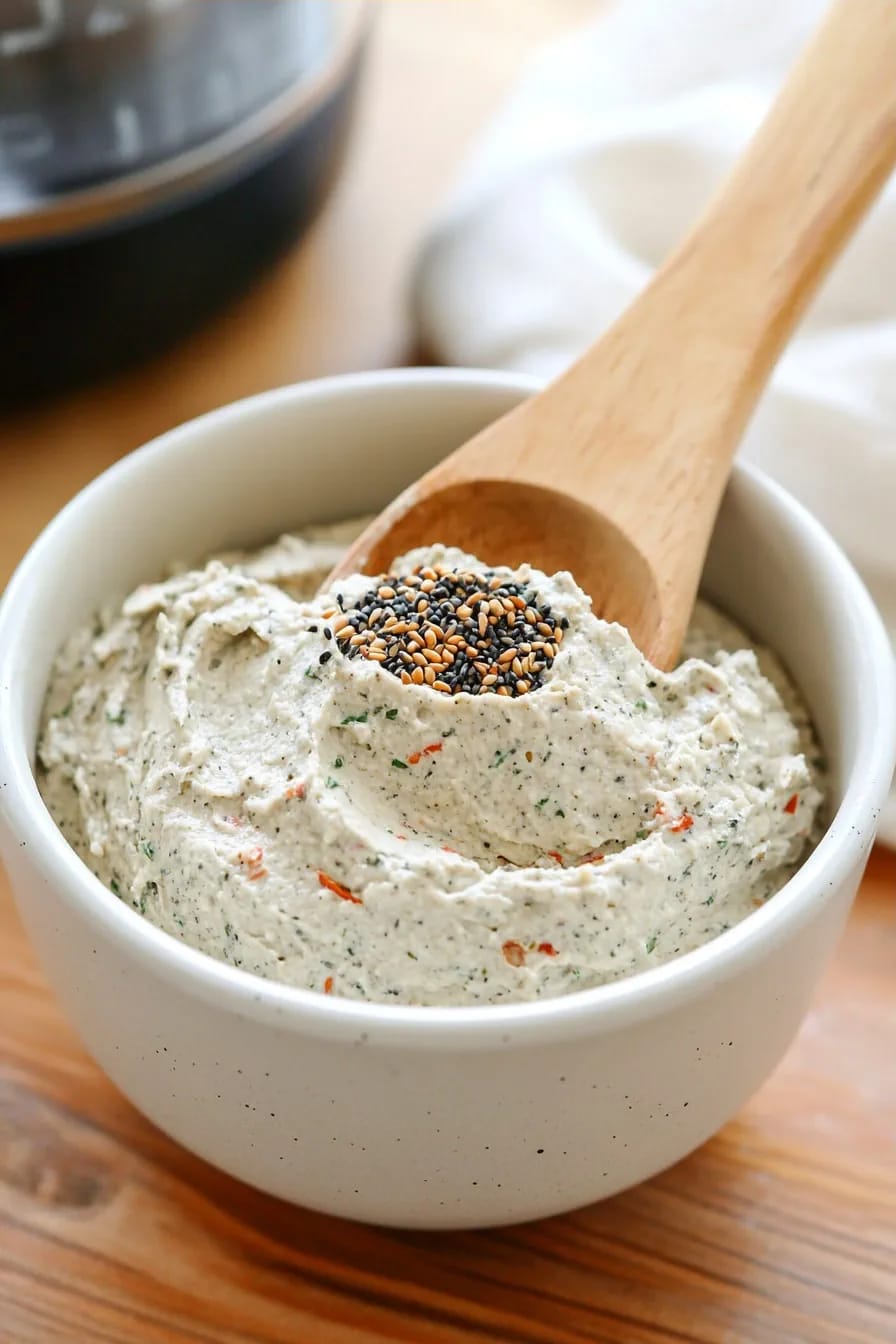
- Blend in batches, jar no more than two-thirds full. Ten to fifteen seconds low to break up the chunks, then about thirty seconds high until there are no flakes left. You want a pourable slurry, thin-smoothie consistency.
- Drain through the fine colander to something closer to thick oatmeal. Too wet and the shapes will not hold; too dry and the sheet cracks as it dries.
- Stir the seeds in by hand, one to two tablespoons per cup of pulp, until they are evenly spread. Spoon or fingers. Nothing electrical.
People worry that wet pulp will start the seeds germinating before the card ever gets posted. It will not. Germination needs sustained warmth and moisture over days, and a few damp hours followed by air-drying is nowhere near enough to trigger it, which is also why the drying needs to be reasonably brisk rather than dragged out over a fortnight in a cold garage.
One thing worth knowing before you buy dye: the colour comes from the paper. Red and green construction paper scraps blended into the mix give you a genuinely festive flecked pulp with no pigment involved, tissue paper gives you a thinner translucent sheet, and egg cartons give you a coarse oatmeal-brown that photographs better than it sounds.
Cookie cutters beat the deckle for this particular job
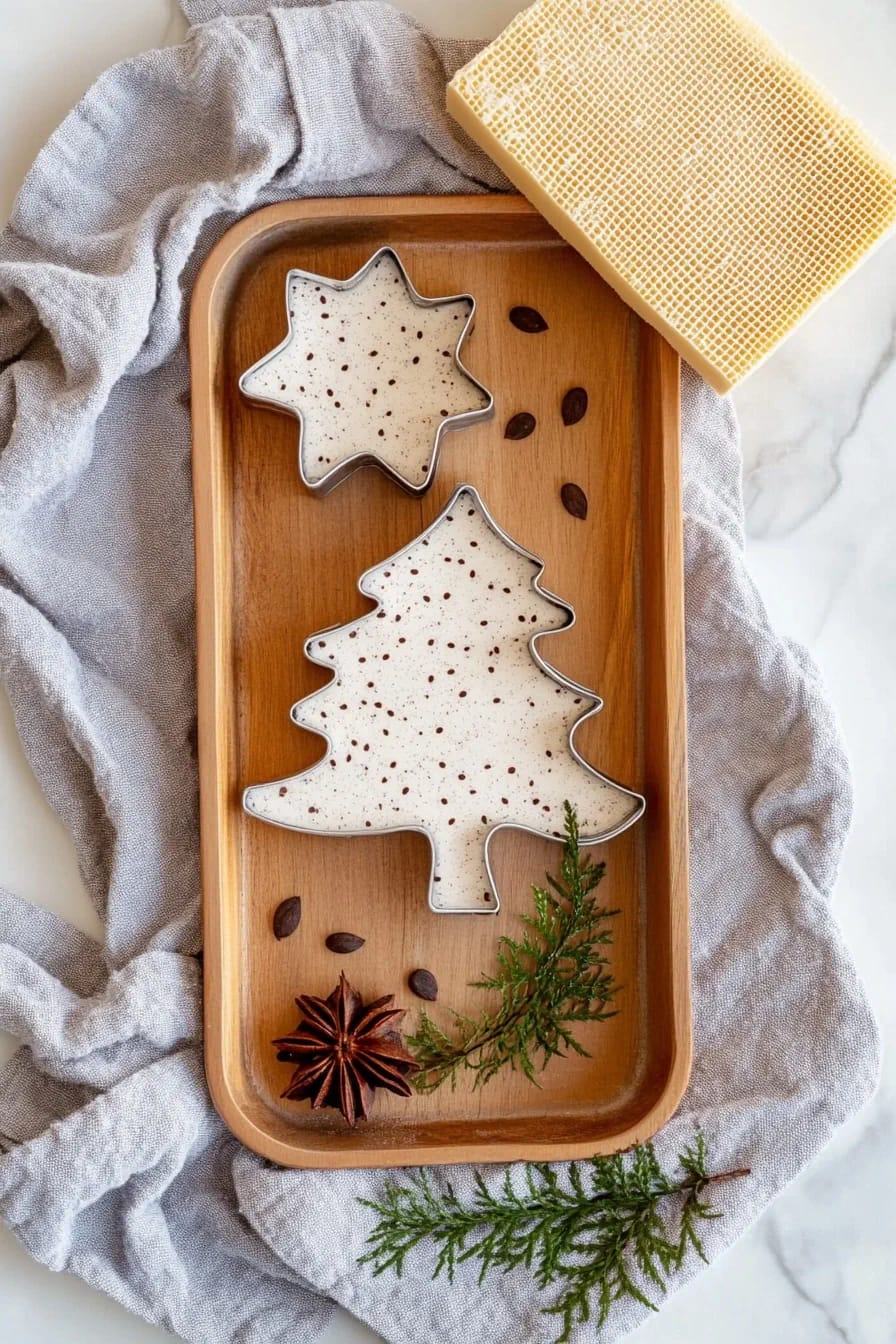
Shape the wet pulp inside the cookie cutter on the cloth, rather than pulling a full sheet and cutting shapes out of it once dry. Two reasons: scissors slice straight through any seed sitting on the cut line, and the offcuts you throw away are seeded pulp you paid for. The cutter method wastes nothing and gives you a feathered, slightly furred edge that reads handmade in a way a clean scissor cut never does.
- Lay a terry or flannel cloth on a tray. Set the cutter on it.
- Spoon pulp into the cutter and pack it down with your fingertips to a depth of about an eighth of an inch, no thicker. Thicker paper does not germinate better, it germinates worse, and it will cost you at the post office.
- Press a sponge over the top, wringing it out between passes, until no more water comes up.
- Lift the cutter straight up, not at an angle. If the shape slumps, the pulp was too wet; scrape it back into the bowl and try again with a drier scoop.
Keep the deckle for full-size panels if you want a whole card front rather than a tree or a star. Pull the sheet, shake it front to back and side to side to lock the fibres, let it drain for a minute, then couch it onto the cloth and sponge it flat.
Drying without cooking the seeds
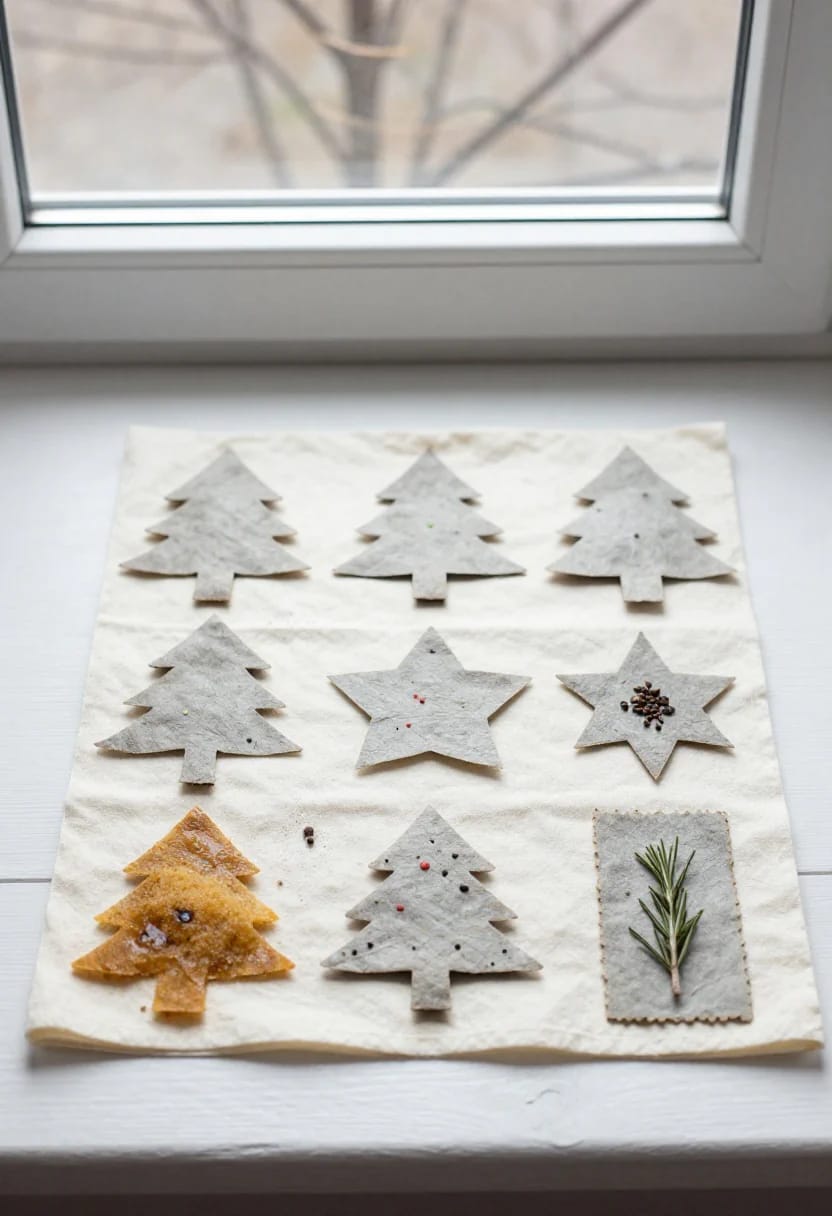
Air dry flat, 24 to 48 hours, and flip each piece once the upper face has gone matte. No radiator, no oven on its lowest setting, no hairdryer, no dehydrator. A seed that has taken up water has far less heat tolerance than the same seed sitting dry in a packet, so warmth that would never bother stored seed will kill seed embedded in damp pulp. The damage is invisible: the paper comes out looking correct and the seeds inside it are dead.
If you need it faster, press more water out rather than adding warmth. A second sponging, or a stack of cloths with a heavy book on top for twenty minutes, will buy you most of a day.
Turning the sheet into a card that survives the mail
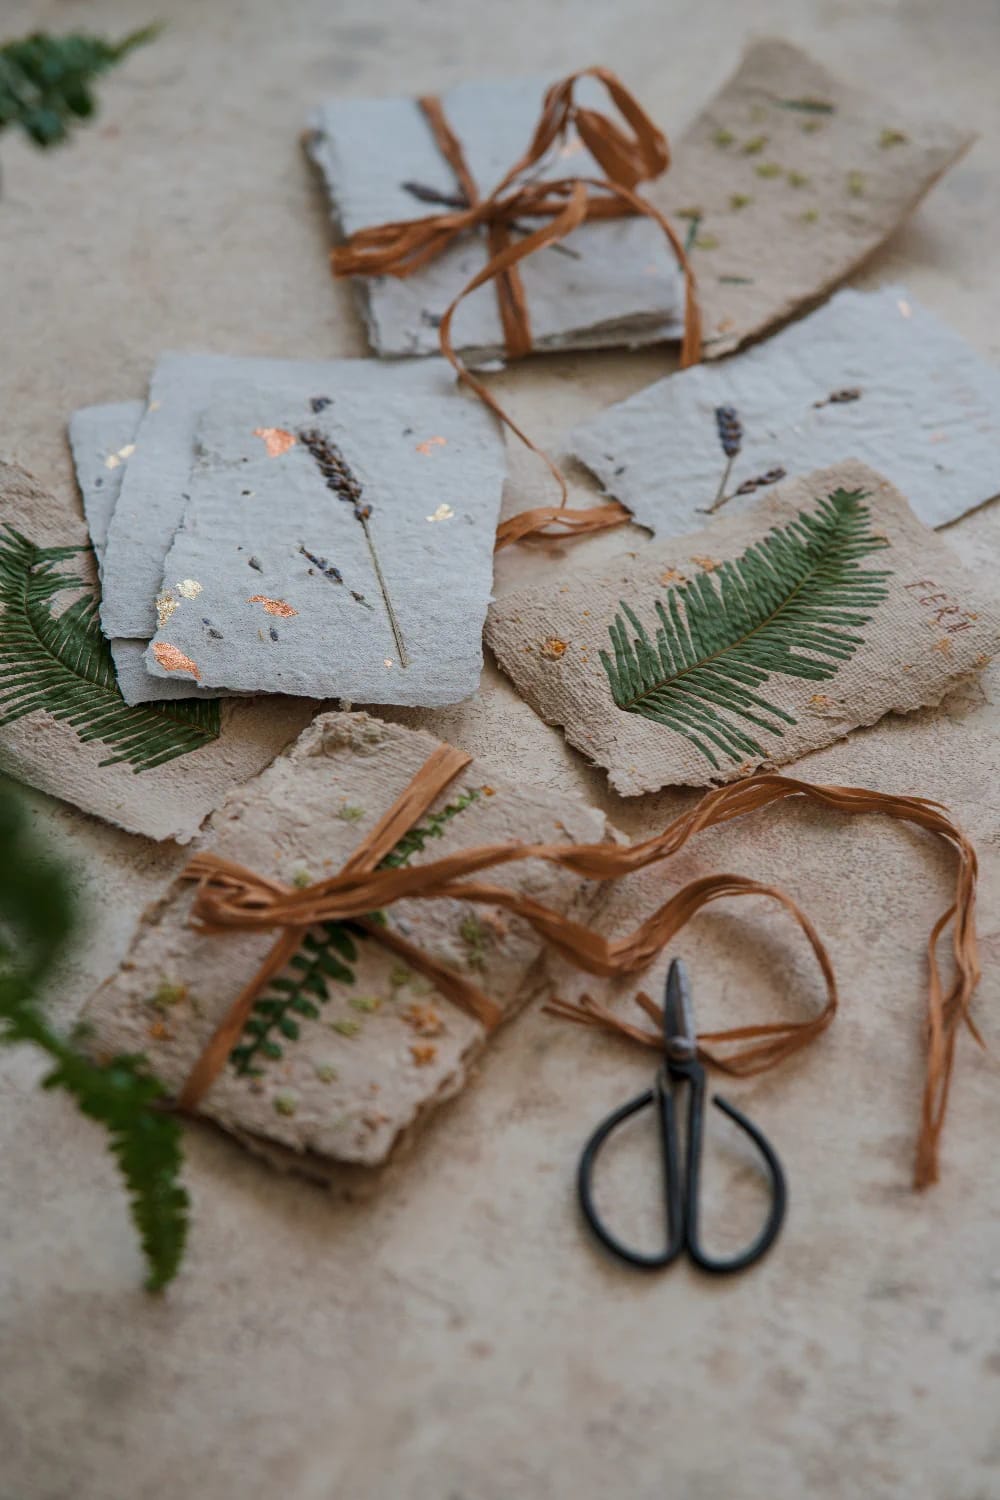
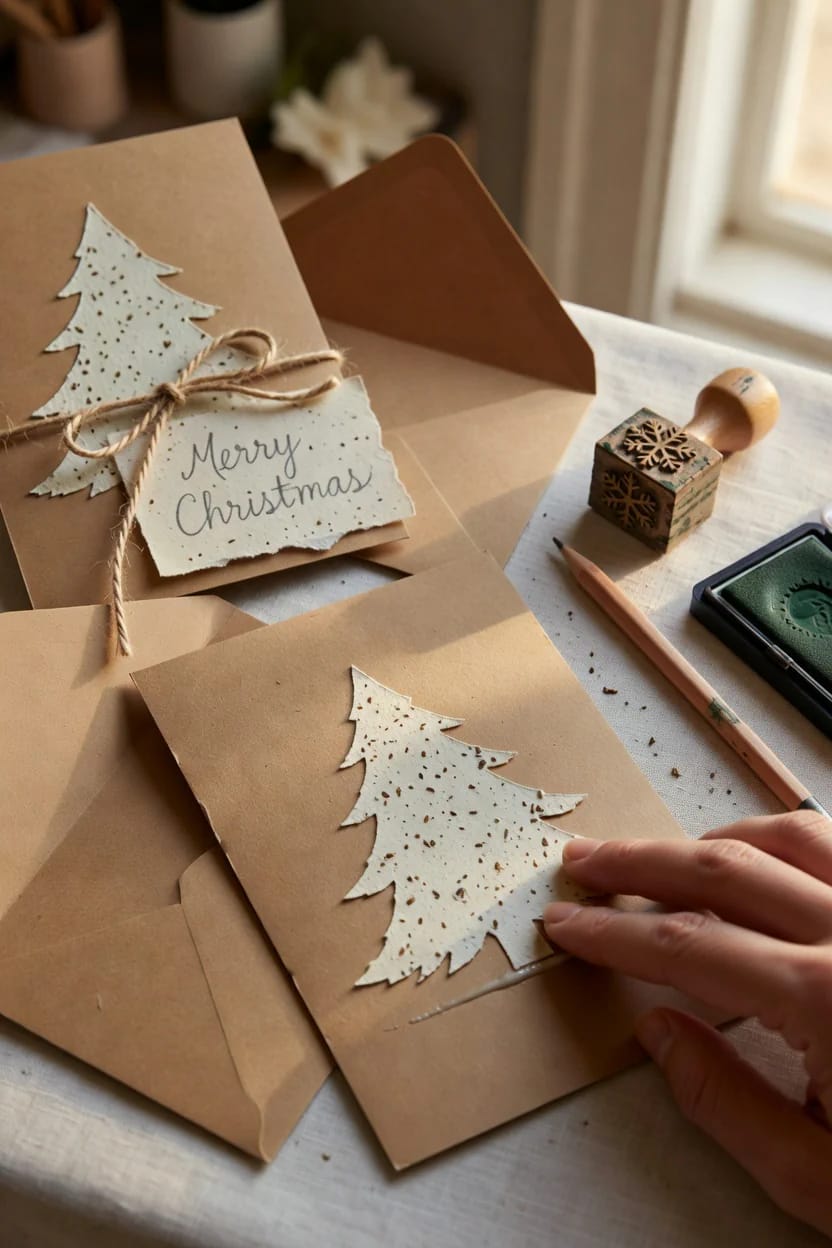
Mount, do not fold. Seed paper cracks along a fold line because the fibres are short and the sheet is thick, and a folded seed-paper card is also a lumpy, rigid object that letter-sorting machines hate. Glue the tree or star panel onto a kraft A2 flat card instead. You get a clean writing surface, a normal envelope, and a recipient who can peel or tear off the plantable part without destroying your message.
Write with a graphite pencil or a rubber stamp with pigment ink. Ballpoint drags and tears the surface, and gel pens bleed into the fibre. Practise on an offcut first, and keep writing on the seeded panel to a minimum; the ink does not stop germination, but the tearing will make you unhappy.
Then check the thickness, which is really two separate postal rules that get muddled into one. A quarter inch is the ceiling for letter-size mail: go over it and the piece is priced as a large envelope, which is a different rate table, not a surcharge. Separately, USPS classes a letter as nonmachinable if it is too rigid or unevenly thick from its contents, and that one currently carries a $0.49 surcharge on top of the first-ounce rate. A glued-on seed panel is a rigidity problem before it is a thickness problem, so use a flexible kraft envelope rather than a stiffener, keep the panel thin, and weigh one before you buy stamps for thirty. The A2 envelope earns its place here for a reason nobody mentions: at 4 3/8 by 5 3/4 inches it clears the 1.3 minimum length-to-height ratio by a hair, where a square card fails outright and pays the surcharge on shape alone. Or hand them over in person, which is free and, for a card that is supposed to be about slowing down, arguably the point of the exercise. Either way it slots neatly into a plastic-free approach to the rest of the gifting.
The planting note is the part everyone forgets
Nobody plants a Christmas card in December, and if you do not say so on the card, a good proportion of your recipients will drop it in a pot of soil on Boxing Day and get nothing. Wildflower and herb seed goes in during spring, or early autumn for a following-spring show, which means the card has to survive four months in a drawer first.
Write these on the back, in this order, in about this many words:
- Keep me somewhere cool and dry until spring. Stored that way, basil and poppy hold viability for several years; parsley is the short-lived one and wants using inside a year or two.
- In March or April, tear the panel into pieces and soak them in water.
- Lay the pieces on damp soil in a pot or a cleared bed and press them down firmly, so the paper is in contact with the soil rather than perched on it.
- Do not bury them. A dusting of fine soil or vermiculite over the top is the most they want, and bare is fine.
- Water, then keep the soil constantly moist. Not wet. Moist.
- Sprouts in one to three weeks for the easy species; some take up to eight, so do not throw the pot out in May.
That fourth line is the one worth defending, because almost every seed paper tutorial on the internet tells recipients to cover the pieces with a quarter inch of soil and it is wrong for most of what goes into these cards. Alyssum, poppy, oregano and thyme all need light to germinate and are sown on the surface; only basil and parsley are content under a quarter inch. Seed paper makes it worse, because the seed is already sitting a paper's thickness down before you add anything on top of it. Press for contact, cover with almost nothing, and mist rather than pour so you do not wash the pieces apart.
Granted, an impatient recipient can start it indoors on a bright windowsill in January and it will usually work, especially with herbs. Say that too, if you have room.
 29 Eco-Friendly Christmas Gift Ideas DIY for a Thoughtful Holiday Handmade presents to put in the parcel the seed card is taped to.
Mistakes that ruin a batch
- Seeds in the blender. The batch is decorative paper now. Make it into gift tags and start again with the second half of the seed packet, which is why you buy more seed than you think you need.
- Dried with heat. Same outcome, but you will not find out until April, which is worse.
- Panels too thick. Over an eighth of an inch and the seed sits too deep, the paper takes days to break down in soil, and the envelope gets flagged at the post office.
- Telling the recipient to bury it. A quarter inch of soil over a light-germinating seed that is already embedded in paper is a burial, and it is the most widely copied instruction in this entire craft.
- Glossy or thermal paper in the pulp. The coating will not pulp, the sheet stays lumpy, and you have introduced a coating you would rather not bury in soil.
- Pulp under-blended or under-pressed. Both produce a sheet that crumbles when you peel it off the cloth. Blend longer, sponge harder.
- An unlabelled seed mix. Covered above at length, and still the mistake most people will make.
Offcuts, leftover pulp, and the tag pile
There will be leftover pulp, because there always is. Press it into the A7 frame or a small round cutter, punch a hole once dry, thread jute twine through it, and you have plantable gift tags that cost nothing and finish a parcel better than a printed label. Dry any genuine excess into a lump and store it; it re-blends with a splash of water next year.
Do not pour pulp down the sink. It sets. If the tree still looks bare while all this is drying, the knotted flannel ornaments made from a worn-out shirt use a different bin of household waste entirely, and they need no drying time at all.
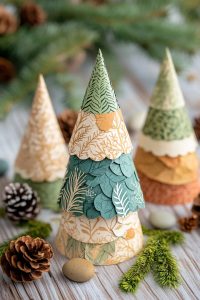 29 Unique Paper Christmas Decorations You Must See For 2025 More ways to spend the paper pile that did not make it into the cards.
A build sequence that fits around December
This crosses sessions whether you plan for it or not, so plan for it. For a batch of 20 to 30 cards:
- Late November, one evening, 20 minutes. Order the seed (regional supplier, not the supermarket rack) and tear the paper. Set it to soak overnight.
- Next morning, 45 to 60 minutes. Blend, drain, stir in the seed, and shape every panel in one go. Do not do this in two sittings; the pulp goes sour.
- Days 2 to 3. Drying. Flip each piece once the top face is matte. Nothing to do but wait, and resist the radiator.
- Day 3 or 4, about an hour. Mount the panels, stamp or pencil the fronts, write the planting notes on the back.
- First week of December. Post. Nonmachinable letters get hand-sorted, so build in a few extra days, and weigh one at the counter before committing to a book of stamps.
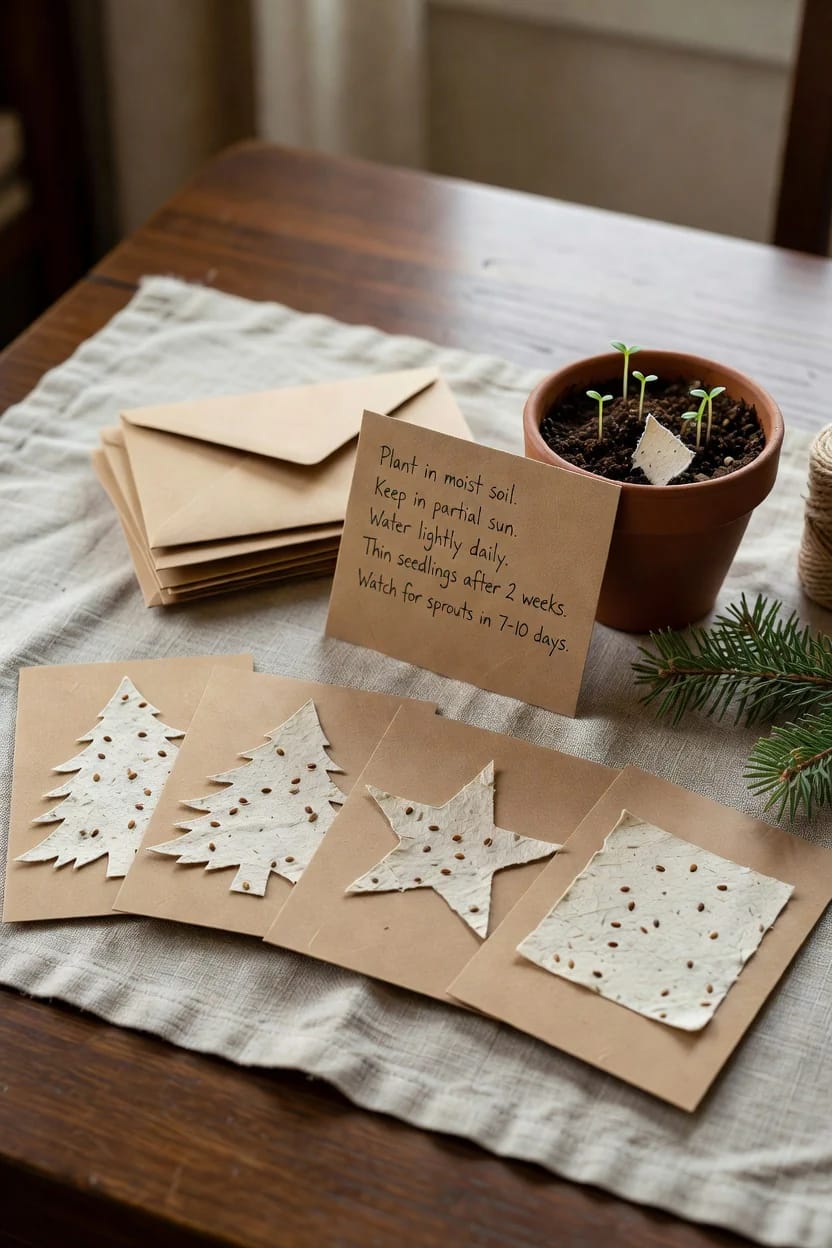
Make ten more panels than you have people to send them to. The failure rate on your first drying batch is high, the offcuts become tags anyway, and the spares let you keep one back to plant yourself in March, which is the only way you will ever find out whether the seed you chose actually took. If it does not, the fault is almost always upstream of the paper.
Related Posts
- How to Make a Fresh Greenery Christmas Wreath from Yard Clippings
- How to Make Recycled Fabric Christmas Tree Ornaments (No Sewing, No Waste)
- Create Unique Alcohol Ink Christmas Ornaments Step By Step
- How to Make a Decorative Hot Air Balloon Planter from Old Jeans
- 31 Eco-Friendly Handmade Christmas Decorations to Try This Season
- 29 Unique Paper Christmas Decorations You Must See For 2025