
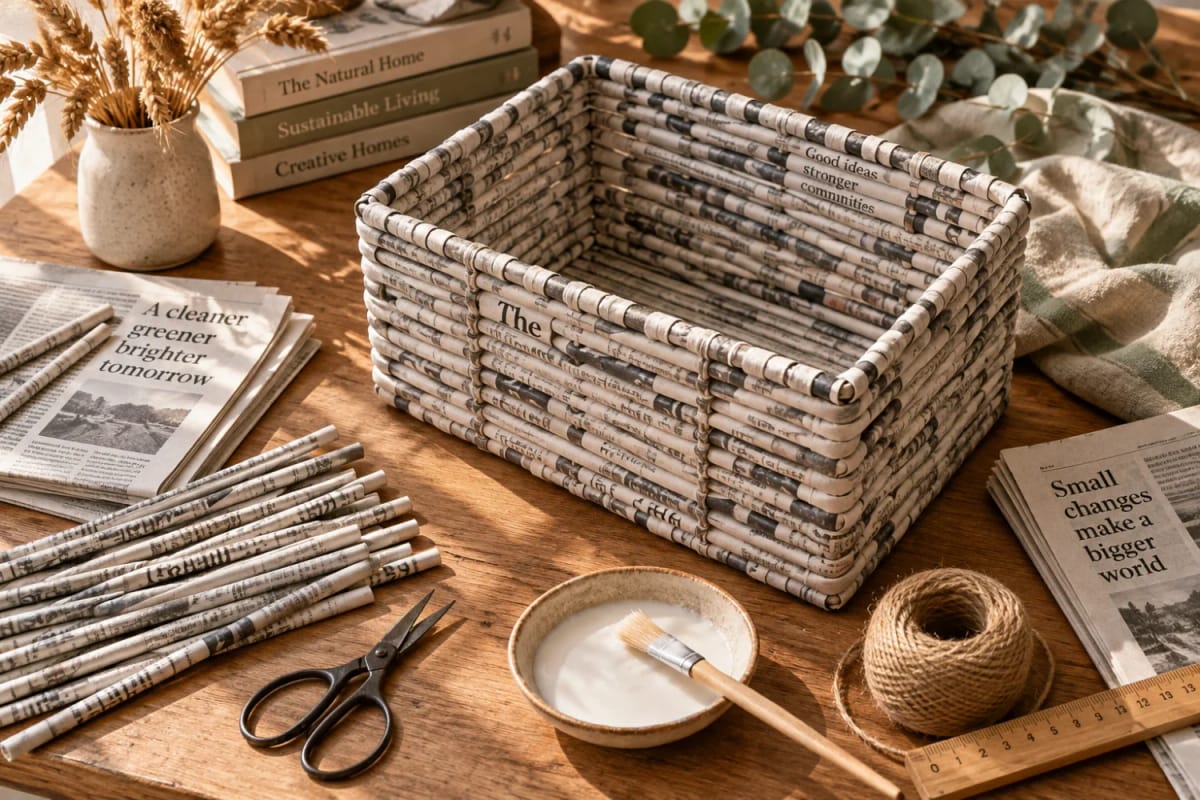
A newspaper basket lives or dies in its first twenty minutes, and those twenty minutes are spent rolling tubes. Everything after that, the base, the walls, the rim, is the same over-and-under motion at a slower tempo. Which is the whole reason this guide spends more words on the roll than on the weave.
What a newspaper basket is, and what it will not do
It is newsprint rolled into tight spirals, glued, and woven over an armature of thicker spirals. A tight paper tube is surprisingly rigid in compression and almost useless in tension, and that one property explains everything a basket made this way will and will not do.
Expect to spend most of the project rolling rather than weaving. A basket six inches across and four inches deep eats somewhere between 25 and 40 tubes, depending on how thick you roll them, and a first attempt usually runs four to six hours across two sittings, drying included. The newspaper costs nothing, so the only real outlay is time. Paper is the cheapest raw material in any house, which is why so many upcycled craft projects built from free materials start with it.
What it will not do: hold anything heavy or wet. A woven paper wall takes a bag of oranges, a stack of magazines, a rolled towel, a ball of yarn. It does not take a full watering can, and it does not belong in a bathroom that steams. Under a running tap the whole thing goes back to being pulp.
What you need before you roll a single tube
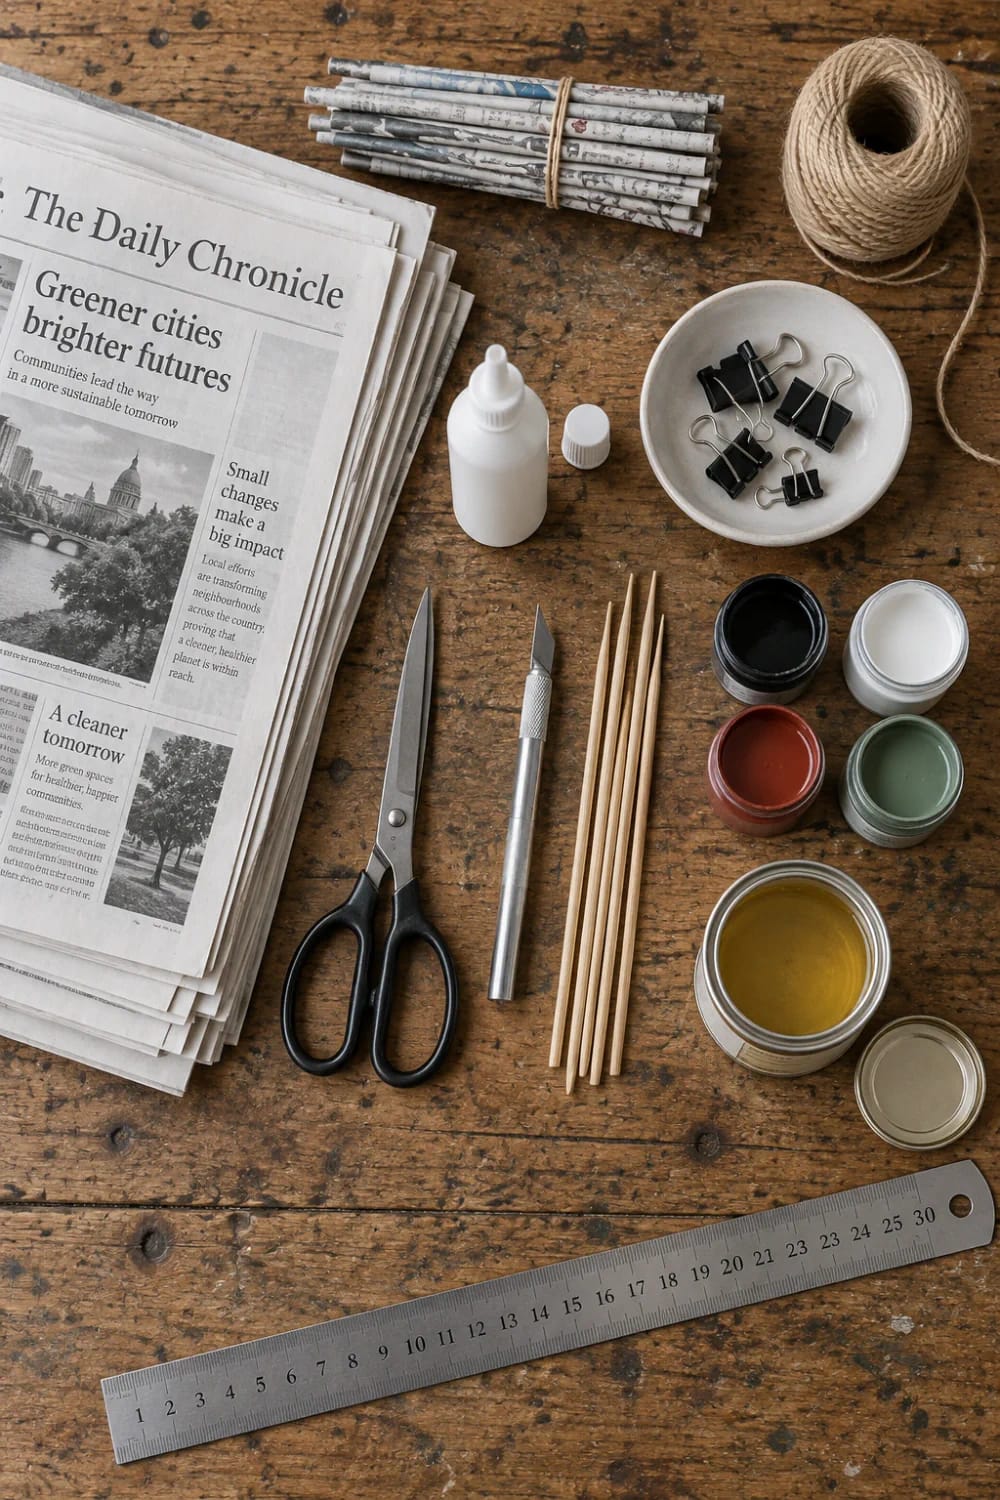
The list is short and most of it is reusable. Roll your first basket from a single newspaper section, a bottle of white glue and a skewer, and you will learn everything the rest of this list exists to make easier.
Materials
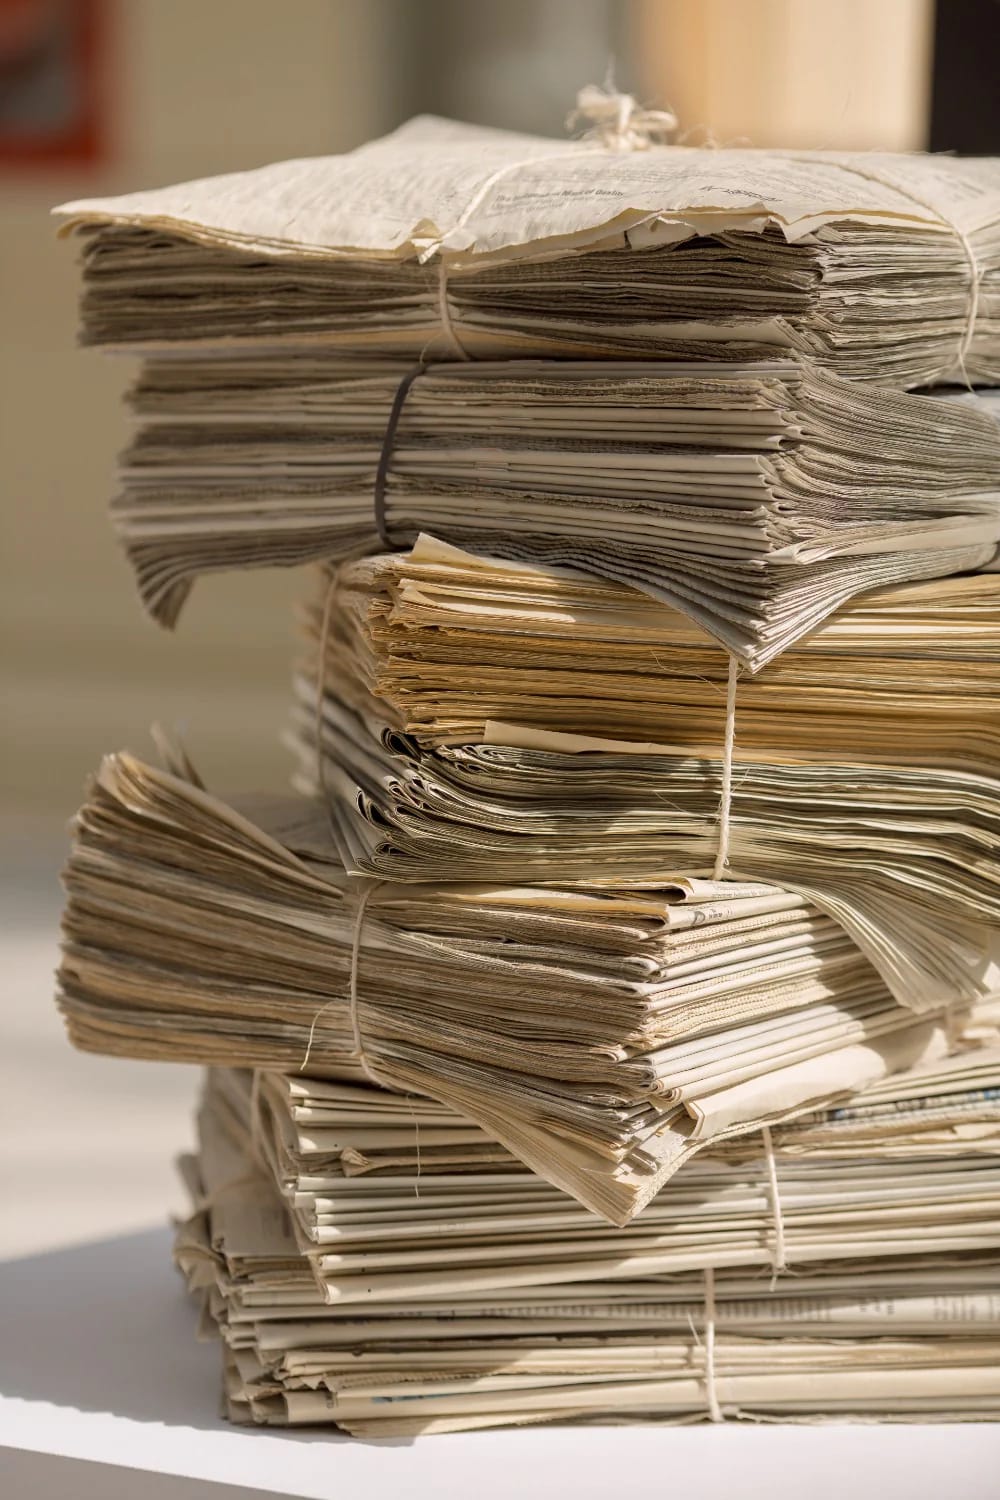
- Newspaper. About 20 broadsheet sheets, which is two or three Sunday sections. Free. Skip the glossy flyers.
- PVA craft glue. Elmer’s Glue-All multi-purpose glue, 4 oz. $3 to $5, and one bottle covers two baskets.
- Acrylic craft paint. Apple Barrel Essentials acrylic paint set, twelve 2 oz bottles. $8 to $13. Buy it once and it will paint a dozen baskets.
- Water-based matte varnish. Minwax Polycrylic protective finish, clear matte, half pint. $8 to $14.
- Jute twine, 2 mm. PerkHomy natural jute twine, 1,100 ft. $6 to $10 for a roll you will never finish.
- Foam brushes, 1 inch. DMSVK 1 inch foam paint brushes, 20 pack. $4 to $7. Thin coats need cheap brushes.
- Small binder clips. Mr. Pen metal binder clips, 100 piece assorted sizes. $5 to $9. They pinch tube ends shut while the glue grabs.
Tools
- Bamboo skewers, 4 mm. HOPELF 12 inch bamboo skewers, 100 pack. $6 to $9. Thinner than 4 mm and the tubes come out floppy.
- A precision craft knife. X-ACTO #1 precision knife with five #11 blades. $8 to $13. Strips cut against a ruler are straighter than scissor cuts, and straight strips are the difference between even tubes and a basket that leans.
- A steel ruler. Already in most drawers, $0.
- Scissors, for trimming weaver ends as you go. $0.
- A round cake tin, a wide jar, or a bowl to rest the base in for the first few rounds. $0.
- A plant mister filled with water, for softening tubes that crack when you bend them. $0.
Buying the whole list from scratch lands around $40 to $55 for materials and another $15 to $25 for the knife and skewers. If you already own a knife and a ruler, the project drops to roughly $20, and the paint, varnish and twine carry over to the next five baskets.
The roll decides everything
Cut every strip before you glue anything. Stopping to cut between rolls is how tension wanders, and uneven tension is the defect you cannot fix later. Most tutorials land between 2 3/4 and 4 inches of strip width; 3 inches off a broadsheet page gives a tube roughly the diameter of a pencil, which is a good working size for both spokes and weavers. Cut along the grain where you can, which on a newspaper means parallel to the spine. Across the grain, the paper kinks as it rolls.
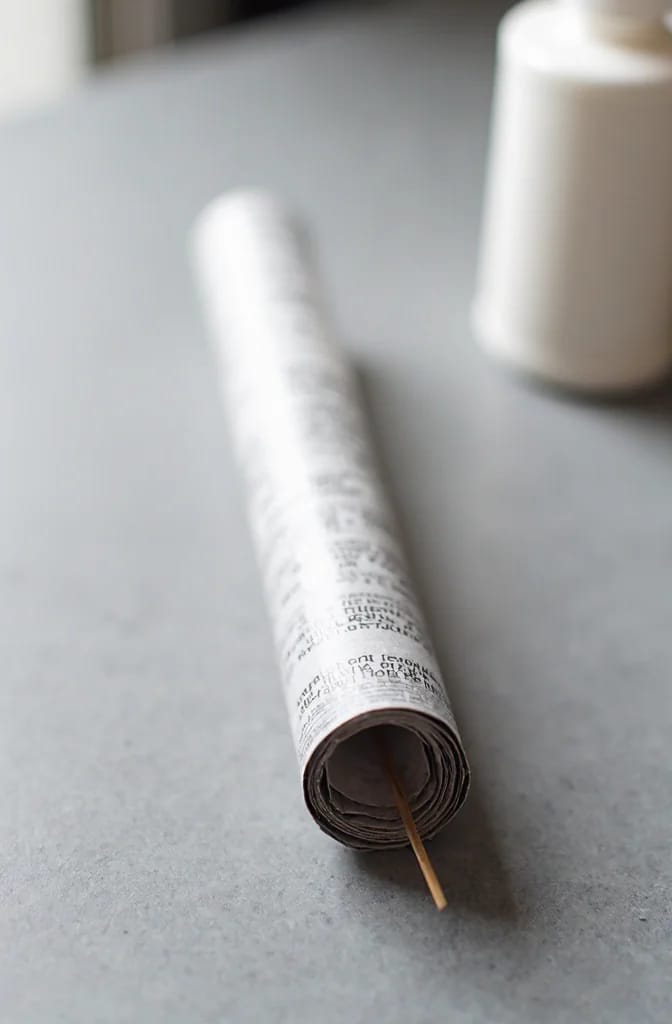
- Lay a 4 mm skewer diagonally across one corner of a strip, at somewhere between 45 and 60 degrees.
- Fold the corner over the skewer and pinch it flat, then start rolling away from you with firm pressure from the first turn.
- Keep the strip’s long edge aligned with itself as you go. If the tube starts to telescope, you are rolling at an angle that keeps shifting.
- Glue the last corner down with a single dot of PVA and press it for a few seconds.
- Slide the skewer out. If it sticks, the glue ran down the inside of the spiral; set that tube aside to dry before you force it.
The angle does something specific. A shallower angle, closer to 45 degrees, gives you a longer and stiffer tube from the same strip because the spiral is tighter. A steeper 60 degrees gives a shorter, fatter tube that bends around corners more easily. Roll two batches and keep them apart: spokes want a firm pencil-thick tube with plenty of glue, weavers want something thinner and slightly softer. Roll them all the same and you will either fight stiff weavers up the whole wall or watch the spokes buckle under the tension.
Every tube comes out narrower at one end. That is not a defect, it is the joint: push the narrow end of the next tube into the wide end of this one with a dab of glue and a twist, and you have a tube as long as you need.
- A tube that springs open. It was rolled too loosely, and it will collapse the first time you pull a weaver tight. Re-roll it. More glue never saves a loose spiral.
- Glue down the skewer. A smear of PVA welds the tube to the skewer and you will tear the spiral getting it free. One dot at the final corner is the whole requirement.
- Glossy supplement pages. Coated paper makes PVA sit on the surface instead of soaking in. Magazine pages make lovely accent tubes for a painted band and bad structure. Keep them out of the spokes.
 27 Recycled Spring Crafts to Spark Your Creativity Bottle caps, cardboard tubes and other household leftovers turned into 27 projects, including a bouquet built from the same rolled tubes you just learned to make.
Start the base on an odd number of spokes
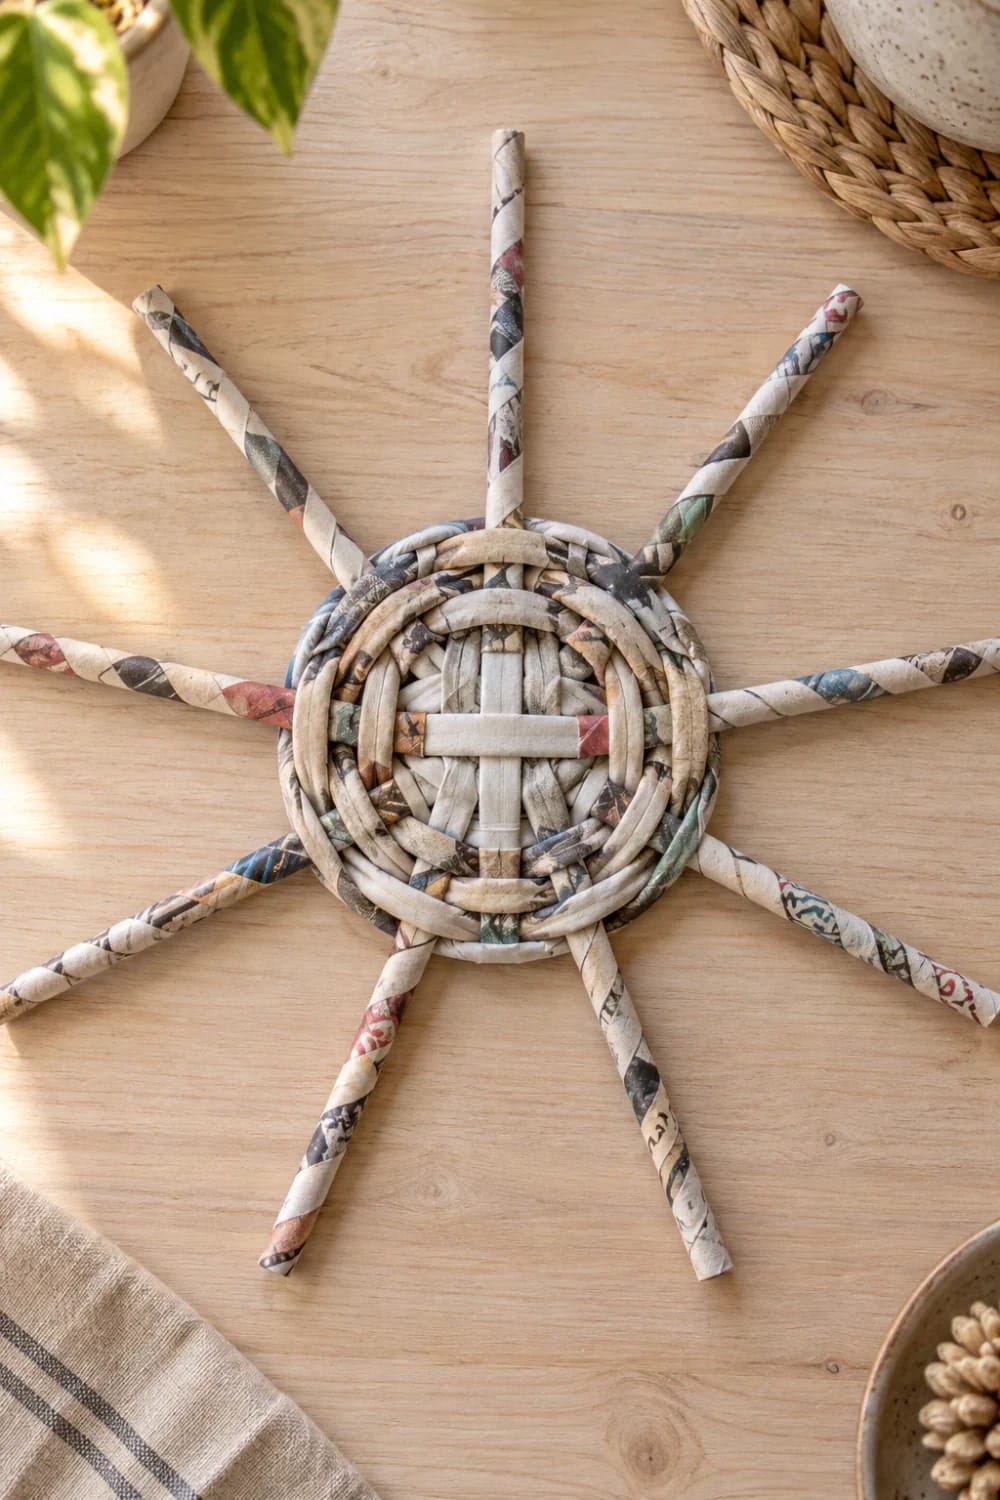
Nine spokes for a first basket, seven if you want something small. The odd count is not superstition. With an odd number, one weaver goes over a spoke and under the next and lands on the opposite side of the pattern each round, which is what locks the weave together. With an even number the weaver meets its own start every time and you need two weavers working in opposite directions. That is a real technique and a terrible place to begin.
- Cross four tubes at their middles and glue the crossing so you have eight working ends.
- Fold a short ninth tube over one of the eight and glue it flat against the spoke, giving you nine ends radiating like wheel spokes.
- Thread a thin weaver tube through the bundle and work two flat rounds over one spoke and under the next, keeping the rounds flat on the table.
- Work a third and fourth round, sliding each new round tight against the last, until the base reaches about 5 to 7 inches across.
- Bend every spoke upward, creasing each one against the edge of the table so it stands at a consistent angle.
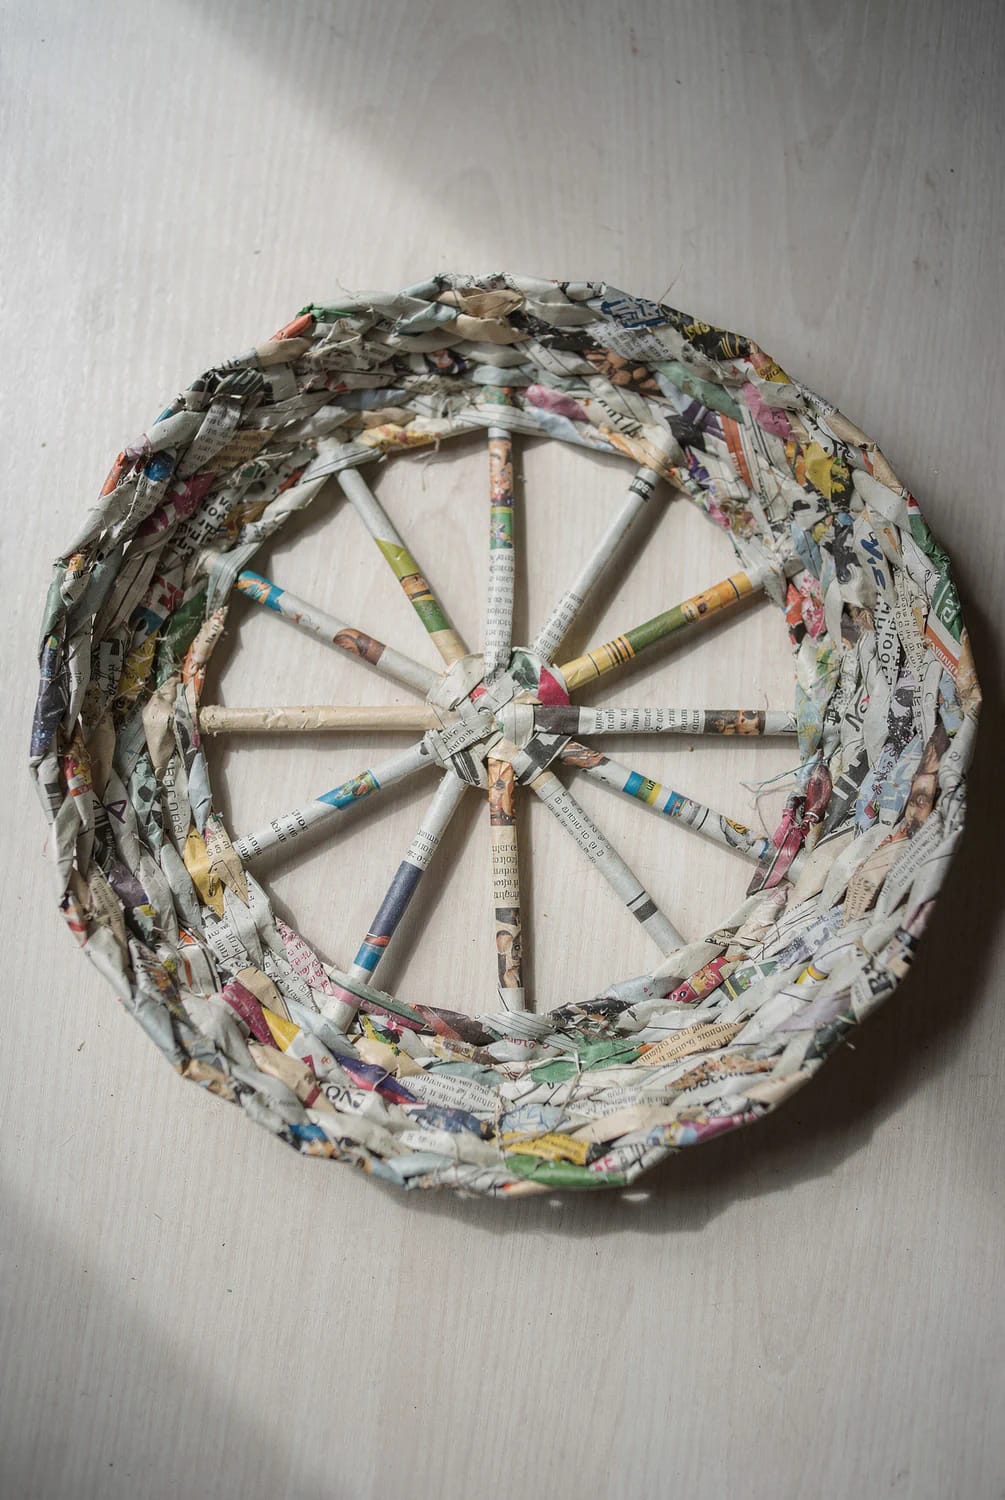
The first round is where beginners break the base. Pulled tight, it drags the spokes inward and the disc cups into a bowl; left slack, it leaves a hole in the centre that you will stare at for the life of the basket. The right tension is snug enough that the spokes cannot slide, loose enough that the base still lies flat when you set it down.
Weaving up the wall, one round at a time
From here it is a single motion repeated until the wall is as tall as you want it. Work the weaver over one spoke and under the next, all the way around, and when the weaver runs out, join a new tube the same way you joined the spokes. Then push the finished round down hard against the one below it, with your fingers or the edge of a steel ruler. Rows that sit loose look like a mistake even when the tension is perfect, and loose rows are what let a wall lean.
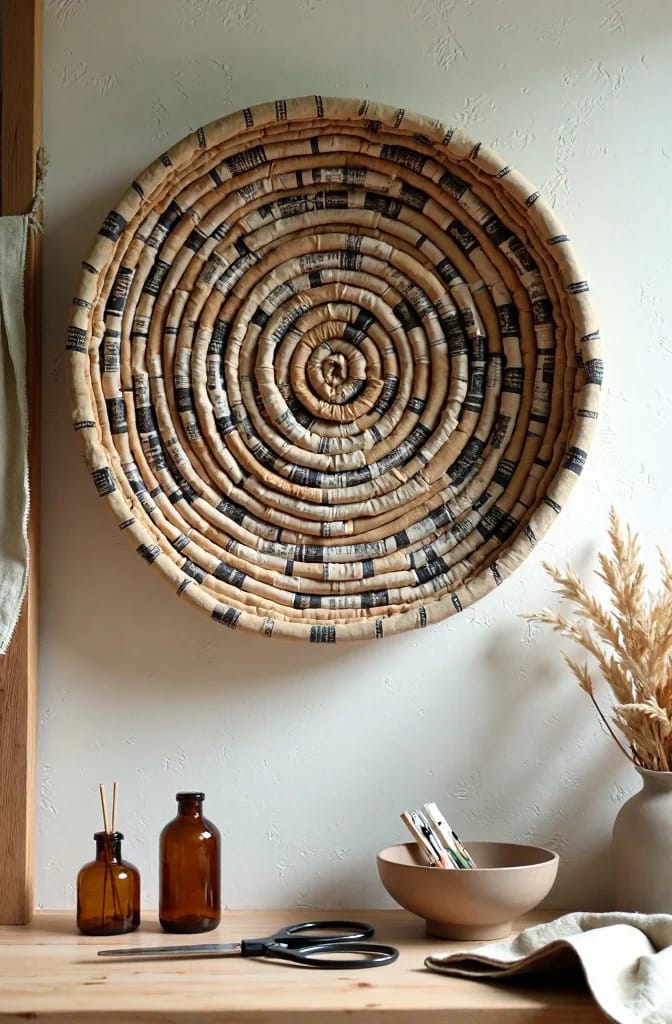
Two checks tell you whether you are on track, and both take a second. Press a thumb against the wall: it should give slightly and spring back, like a drum skin rather than a rock. Set the basket on a flat surface and look at it from the side: if the wall is climbing at an angle rather than straight up, you are pulling harder on one side than the other, and the fix is to stop and correct it on the next round rather than after another inch.
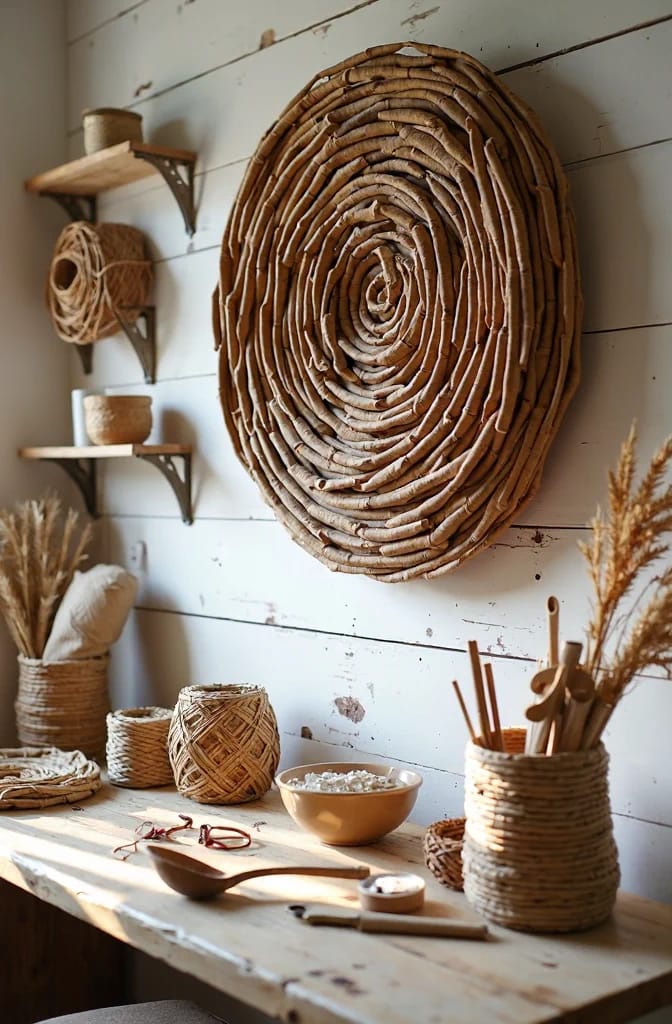
Keeping the wall straight or letting it flare
A straight cylinder is the easier of the two shapes and the one to aim for first, because it hides small tension errors that a deliberate flare will exaggerate. If you want the flare that makes a storage basket look like a bushel, change the angle of the spokes by a few degrees outward at one round and hold it there for the rest of the climb. A basket that flares gradually over six rounds reads as intentional; one that kicks out over two reads as a mistake, and no amount of paint hides it. When you stop to check progress, look at the basket in a room you actually use, which is the test these upcycled home decor ideas apply to every project: it either belongs on the shelf or it belongs in a cupboard.
The rim is where most baskets fail
The rim is a finish, not a step to rush at the end of a long evening. Work the last two rounds tighter than the rest so the top edge has something solid to fold over, then bend each spoke outward and fold it back down over the final round, tucking the cut end down inside the weave and gluing it against the inside wall. Work around the basket in one direction and keep the folds the same length. A rim that undulates is the single most common reason a finished basket looks homemade in the wrong sense.
- Spokes cut too short before folding. Cut each one with an inch of spare length. Folded spokes that barely reach the weave will pop out the first time the basket is lifted by the rim.
- Hot glue on the folds. It sets in seconds, which sounds like help and is not: it leaves glossy blobs that will not take paint and cannot be repositioned. PVA and a clip for ten minutes is slower and invisible.
- Skipping the second border round. One row of folds leaves the top edge flimsy. Two rows of a thin weaver tube, wrapped over the folds, is what makes the basket safe to pick up by the rim.
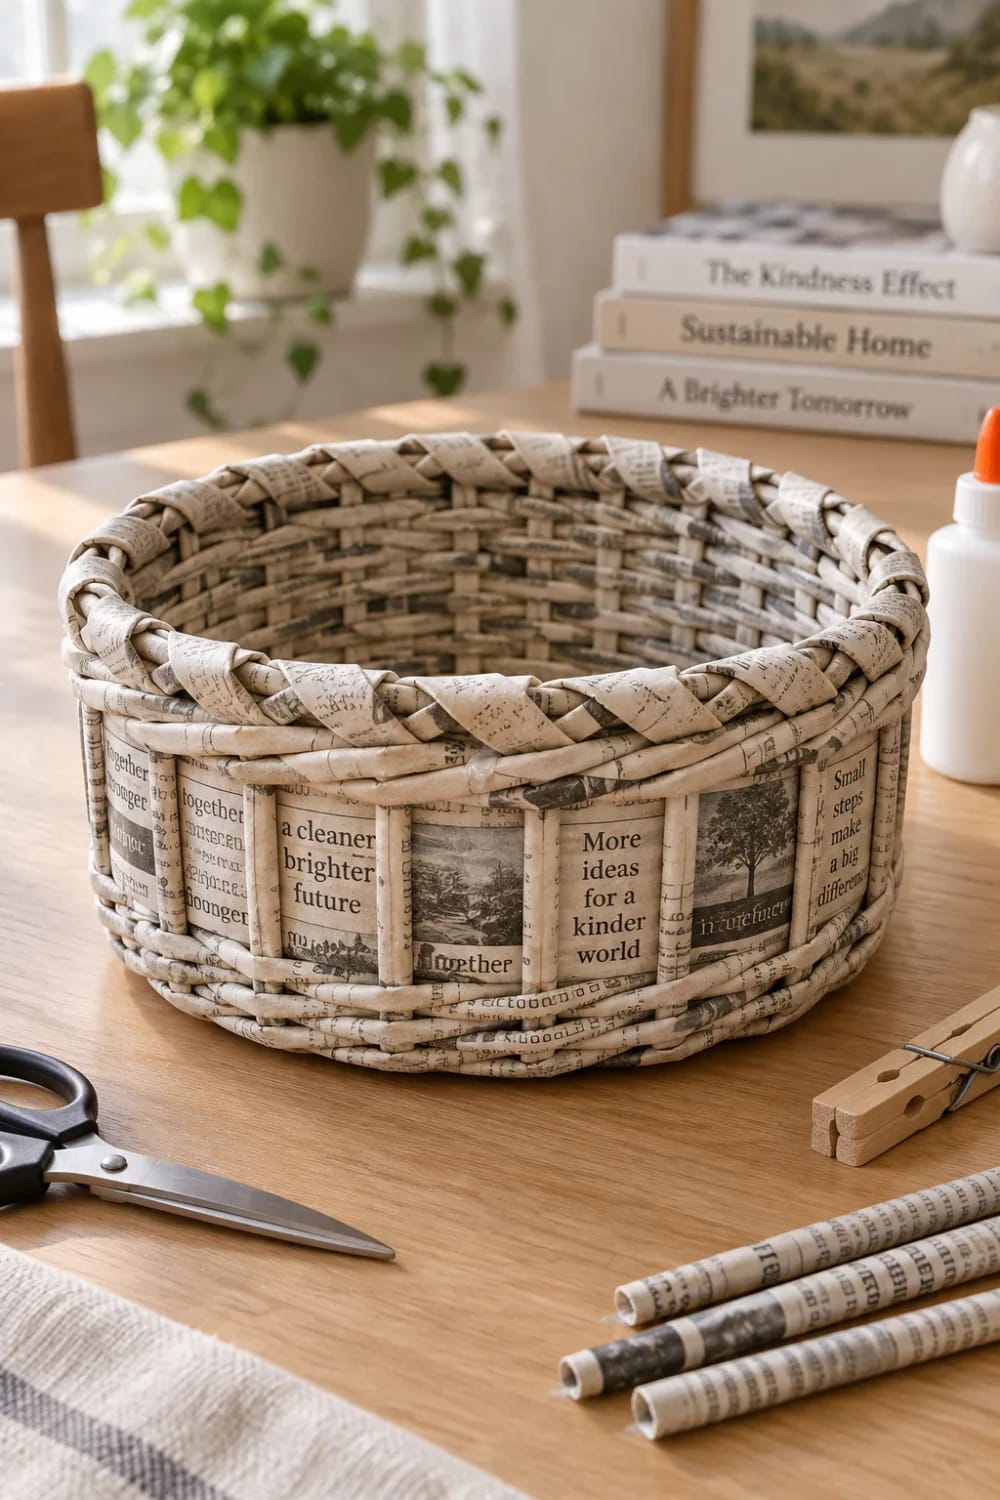
Handles, if you want them
Add a handle after the rim is set, never before, because a handle attached to a soft wall will pull the whole basket out of shape the first time you carry it loaded. Glue two tubes side by side into a flat strip, let it cure, then lash each end to the inside of the rim with jute twine through the weave. Wrapped twine is the honest joint here. It hides the attachment, it takes paint, and it takes the load.
Sealing, painting, and the two weeks nobody mentions
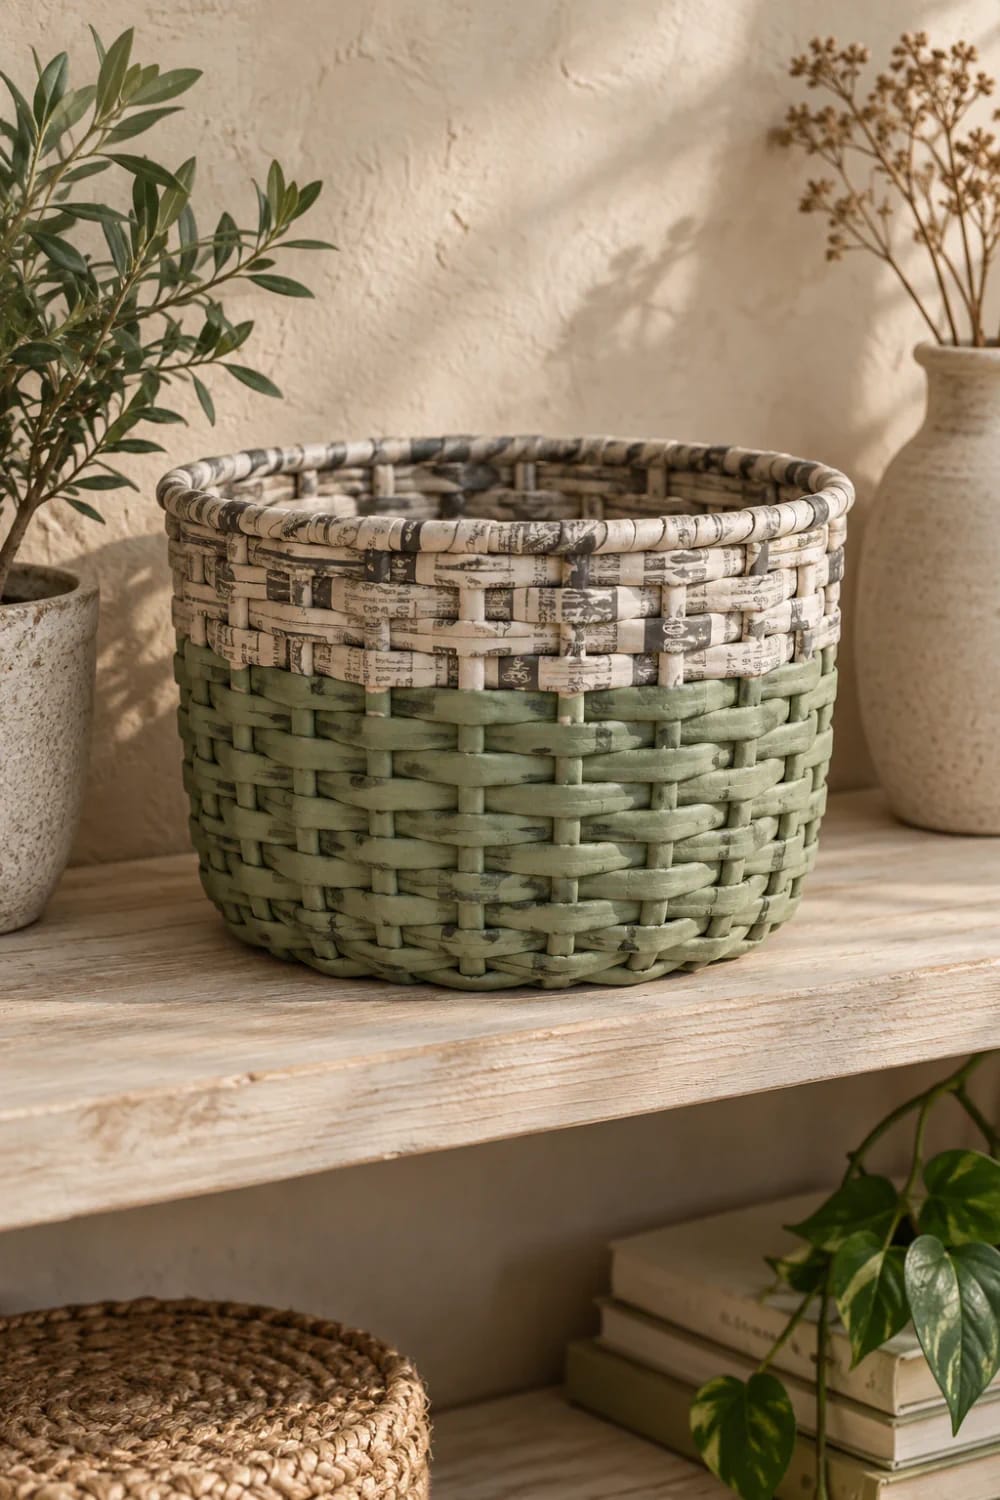
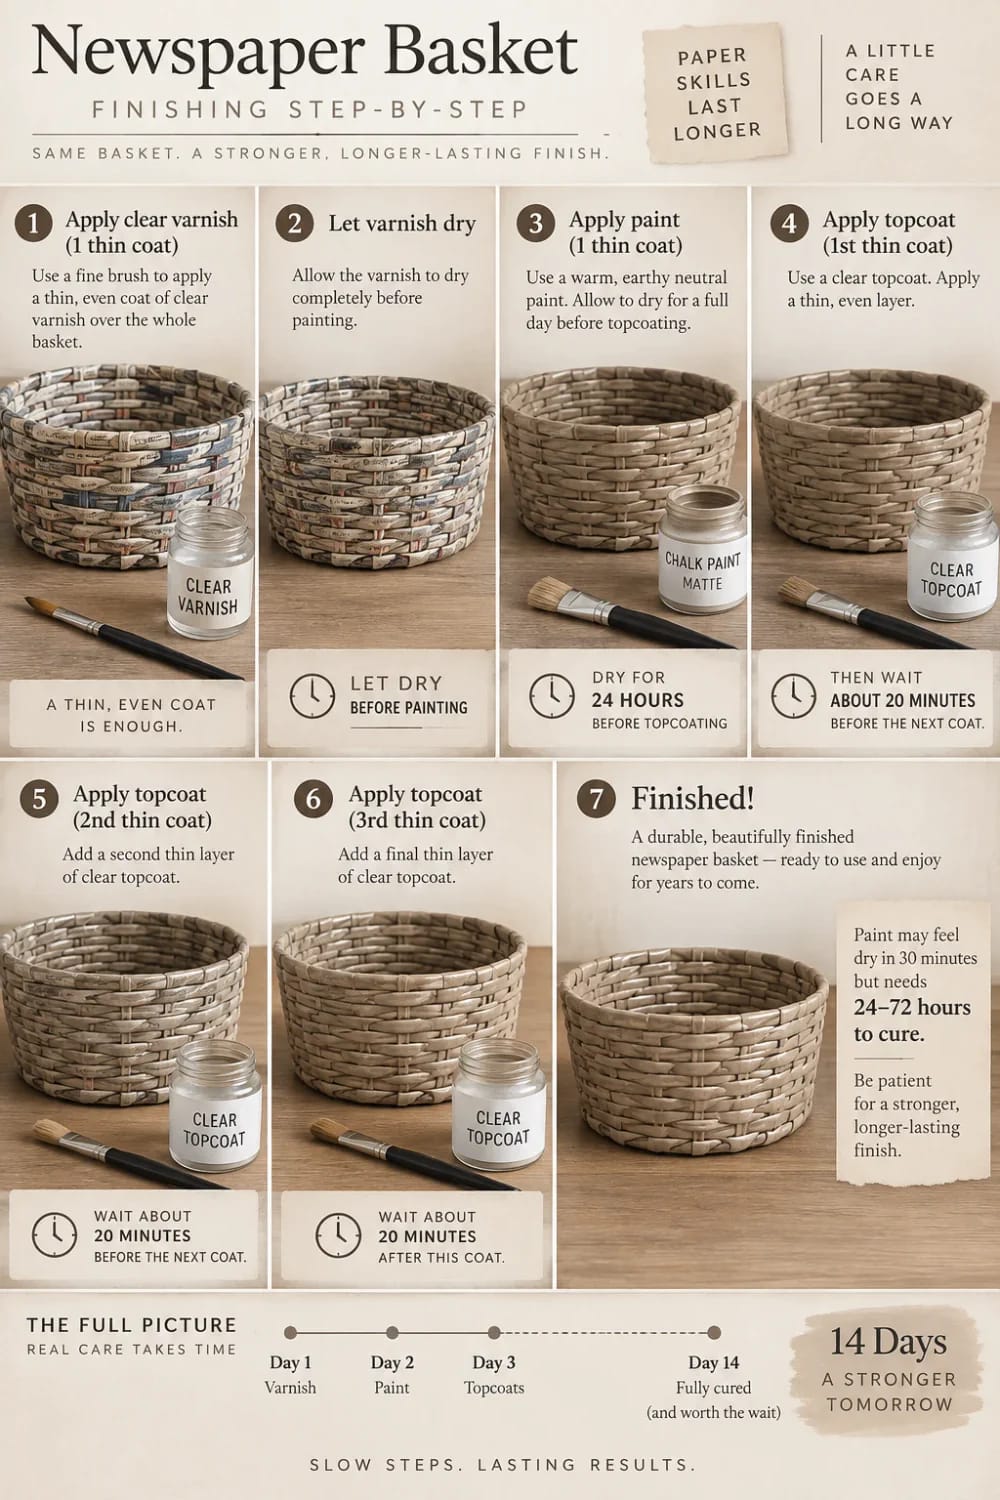
Order matters more than product here. Seal the bare paper first with one thin coat of varnish, let it dry, paint, let the paint cure for a full day, then build up three thin topcoats. Acrylic paint feels dry in half an hour and is not cured for 24 to 72 hours; a topcoat applied over wet paint reactivates it and the finish goes streaky. Thin coats with a foam brush, roughly 20 minutes apart, beat one thick coat every time.
Skip Mod Podge as the topcoat on a basket. It stays very slightly tacky, which means it collects dust and lint inside a woven texture you cannot wipe clean, and it can yellow over a year or two. A water-based polycrylic in matte dries harder, stays clear and takes a wipe with a damp cloth. The weathered look some people want from a paper basket comes from the newsprint showing through a thin coat, not from a soft finish.
A basket that gets a proper sealing schedule will hold up on a covered porch with twine and hand tools in it, which is where a lot of these end up once the house has three of them. You can see the same logic at work in these upcycled patio and garden decor ideas: anything left outside lives or dies on its finish, not its shape.
- Evening one. Cut strips and roll tubes, about an hour and a half. Roll extra; you will always be short.
- Evening one, later. Weave the base and the first few wall rounds, then stop. Fresh tubes are easier to work than tubes that have sat overnight.
- Evening two. Finish the wall, fold the rim, add the handle. Two hours.
- Day three. One thin sealing coat over the bare paper. Dry 30 to 60 minutes.
- Day four. Paint. Then leave it alone for 24 to 72 hours, longer in humid weather.
- After that. Three thin topcoats, 20 to 30 minutes apart, then two weeks of curing before the basket carries anything heavy.
What to do with the second one
Almost nobody makes one. The second basket is faster, the third one is better, and by the fourth you have a shelf and a vague plan involving a market stall. Before that happens, read the honest math on which upcycled crafts hold their margin at a market, because a newspaper basket has a good cost basis and a bad hourly rate: at four hours a basket, the price that makes it worth your evening is higher than most shoppers expect for something made of newsprint.
Prices for finished paper baskets run all over the place online, and I would treat any figure you see, including the ones on craft blogs, as a guess rather than a benchmark. What the finished object is genuinely good at is the job it was built for: holding the things that collect on a shelf, in a shape you chose rather than one a shop chose for you.
Make the next one smaller than you think you want. A five inch basket with a tight rim is a two evening project that teaches the tension lessons a ten inch basket takes a week to teach, and it will hold a plant, a stack of seed packets or a ball of yarn without any drama at all.