
An empty soup can has walls roughly a third of a millimeter thick: thin enough that a finish nail drives through with one tap, stiff enough to keep its shape once the pattern is in. That single fact is why the punched tin can luminary has outlasted every blow-molded pathway light at the hardware store, and why it keeps showing up along cold December walkways instead of on a shelf indoors. The ideas below run from a single star-pierced can to a whole glowing village of them, with the outdoor part treated as the actual problem it is rather than an afterthought.
Because outside in December changes the rules. Wind snuffs an open flame in minutes, bare steel rusts the first time it gets wet, and a design that looks delicate on a styled tabletop can vanish into the dark along a real path. So each pick flags what it needs to survive: which want flameless light, which suit an exposed porch, and which are worth the extra half hour of punching.
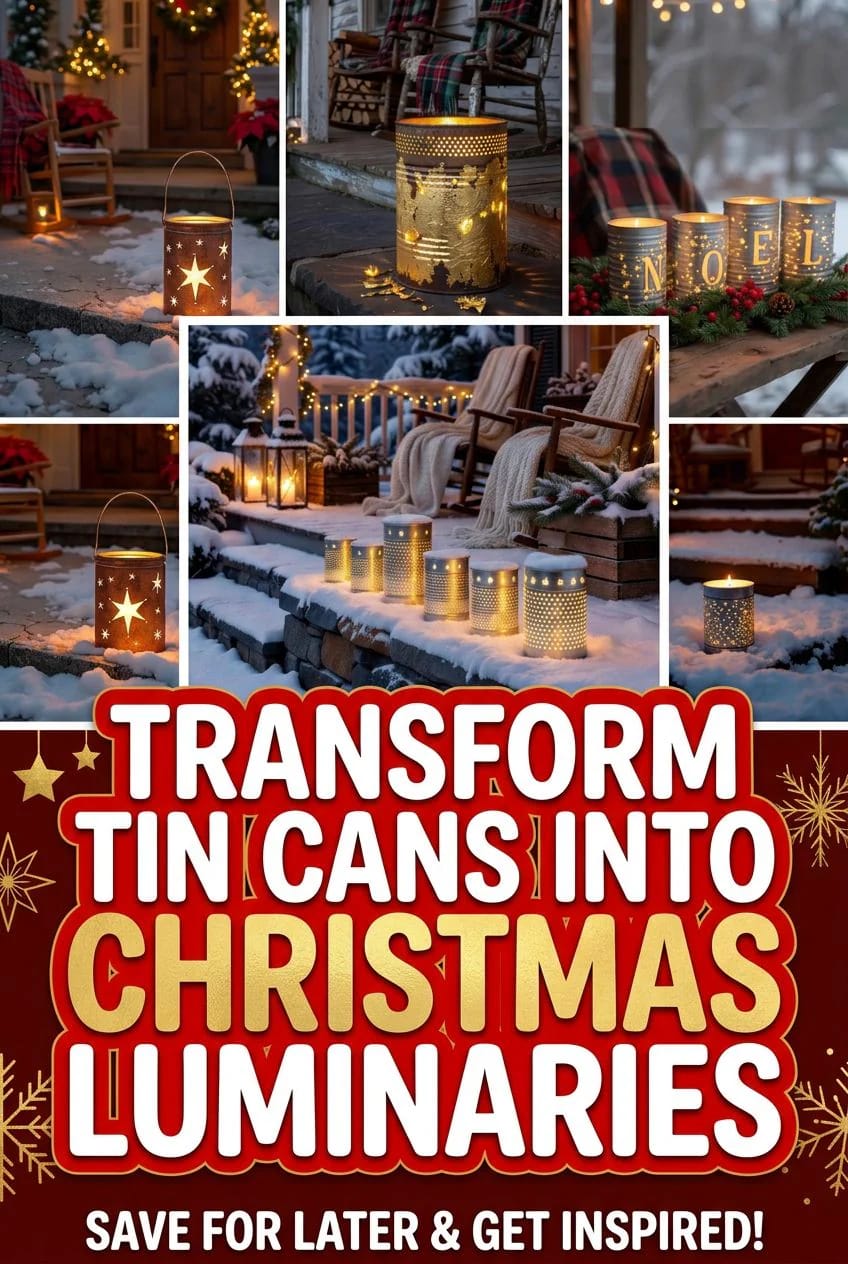
Star-and-snowflake pierced tins, the pattern everyone pictures
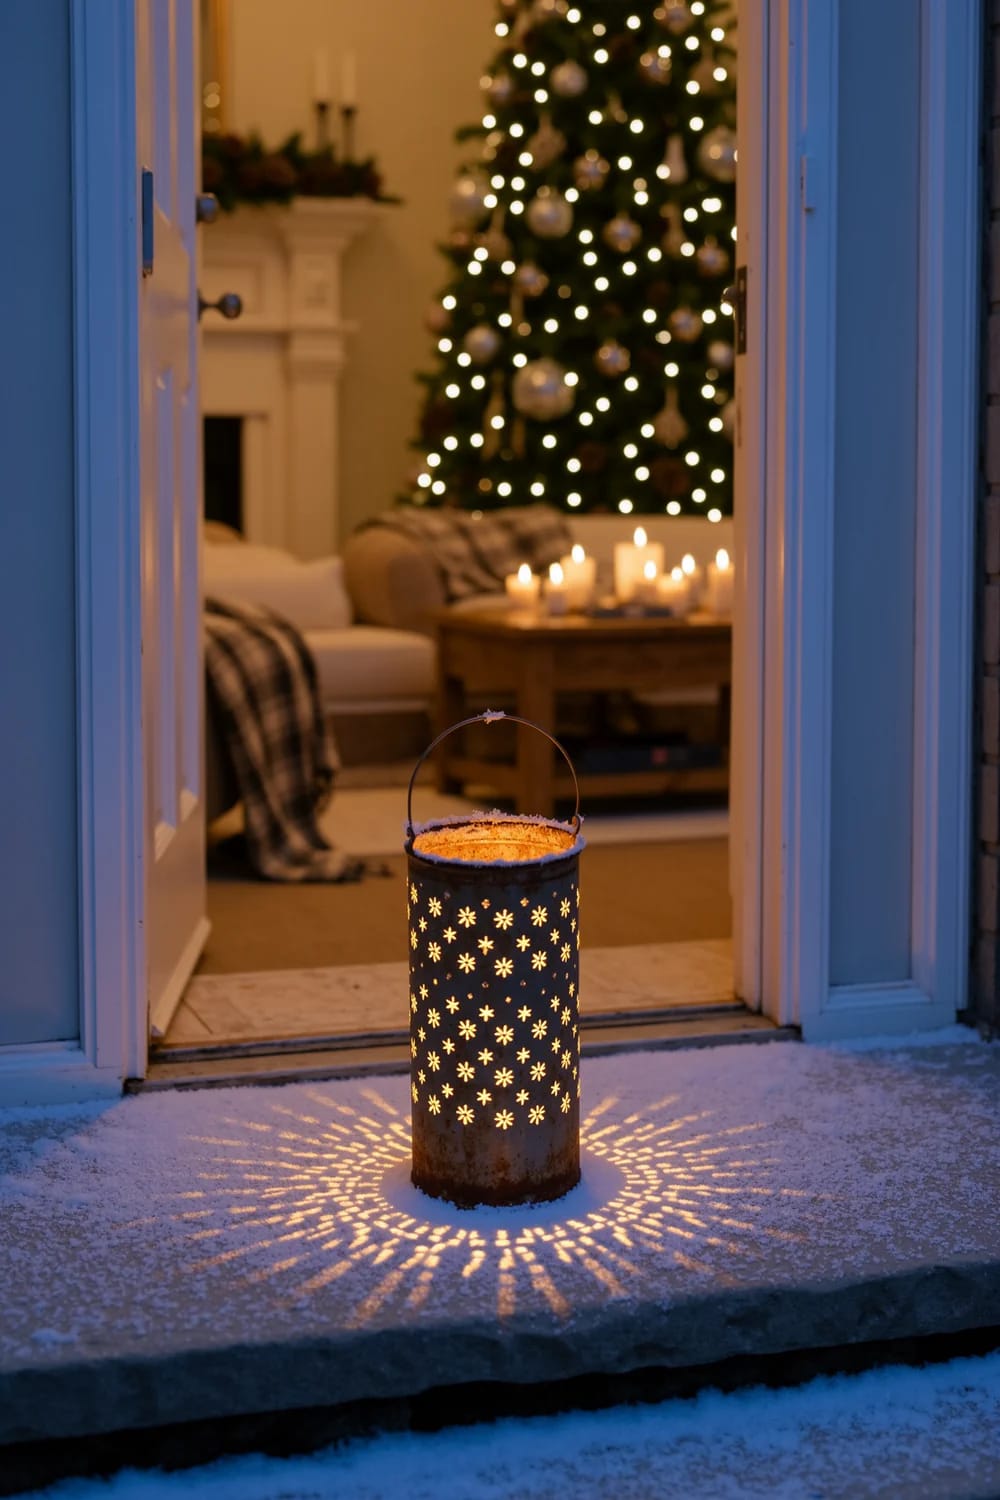
This is the one people mean when they say punched tin: a can worked over with small holes in a repeating star or snowflake grid, so the light reads as a constellation rather than a lamp. It is also the most forgiving to start with, because a grid of dots hides small mistakes that a clean curved line would expose. The look leans rustic and old-fashioned, which suits a cold outdoor setting far better than anything glossy.
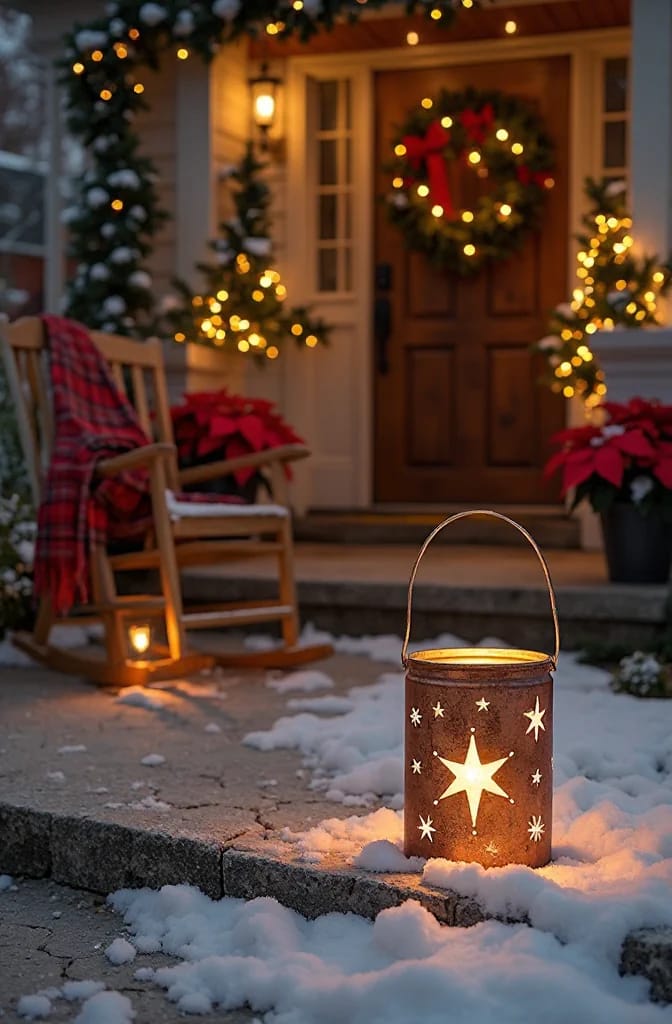
Transfer the pattern before you punch a single hole
Wrap the can in a strip of paper, draw or print your star grid on it, and tape it in place; you punch straight through the paper and peel it off after. Freehand only if you genuinely don't mind the wobble. A metallic paint pen marks frozen cans well if you'd rather skip the paper.
Do this
- Keep holes a few millimeters apart so the wall between them stays strong.
- Work the pattern top to bottom, resting the can on a folded towel.
- Tap with a light hammer. You want the nail to pierce, not the can to dent.
Avoid
- Holes punched edge to edge, which tears the thin steel into a slit.
- A big claw hammer. It flattens the cylinder faster than you’d think.
- Skipping the ice (see below) and wondering why the can crumples.
Why the water goes in the freezer first
A hollow can collapses the moment you drive a nail into it. Fill it with water and freeze it solid, and the ice backs the wall from inside, so every strike lands clean and the cylinder stays round. This is the whole trick, and it is the difference between a crisp pattern and a crushed can.
Fill the clean can to about an inch below the rim; the gap gives the ice room to expand without bulging the seam.
Freeze solid, roughly 8 to 24 hours depending on can size.
Set the frozen can on a towel to stop it sliding, and mark or wrap your pattern.
Punch with a nail or a spring-loaded center punch and light hammer taps.
Let the ice melt, tip it out, then dry the inside so it doesn’t flash-rust overnight.
A hammer and a fat nail genuinely work here, so don't feel you need to buy anything. That said, a spring-loaded punch sets each dimple with one press and no hammer, which saves your wrist across a batch of twenty. The old TEKTON one is cheap and, per more than one reviewer, bites straight through thin tin.
TEKTON 6580 spring-loaded automatic center punchNOEL or JOY spelled across a row of cans

One letter per can, lined up so the row spells a short word: JOY, NOEL, or a name across four or five tins. It photographs better than a single fancy can because the eye reads the word before it reads the craft, and it scales down to a doormat-sized greeting or up to a porch-rail run. Block capitals punch cleaner than script, whose thin strokes leave almost no metal between holes. Keep the letters chunky and centered on each can, with a good margin top and bottom.
A skyline of graduated-height can lanterns

Save cans in three or four sizes (tuna, soup, large coffee) and group them so the heights step up and down like rooftops. A few pierced squares near the top read as lit windows, which is enough to suggest a village without carving anything fancy. Clustered in an odd number, they hold a corner of the yard far better than a single can lost in the dark.
Tree and reindeer silhouettes cut into the tin

Instead of an allover pattern, punch a single silhouette (a tree, a star, a leaping reindeer) as a dense cluster of holes, leaving the rest of the can solid so the shape glows alone. Simpler outlines win outdoors, where fine detail disappears past a few feet. You'll see people suggest cutting these with a Cricut; it won't cut a steel can, so ignore that and stick with a punched dot-outline from a printed template.
A painted palette instead of bare metal


Bare steel is the default, but a coat of matte spray paint drops the cans into a real color story: forest green, cranberry, and cream reads Christmas without a single bow. Punch after the paint dries and the holes ring themselves in bright bare metal, a small detail that catches the light. Use an outdoor-rated enamel like Rustoleum and give it a scuff-sand first, or the paint peels the first freeze-thaw. Matte holds up better than gloss, which shows every water spot on a porch.
Gold-leafed and copper-toned luminaries for the front door
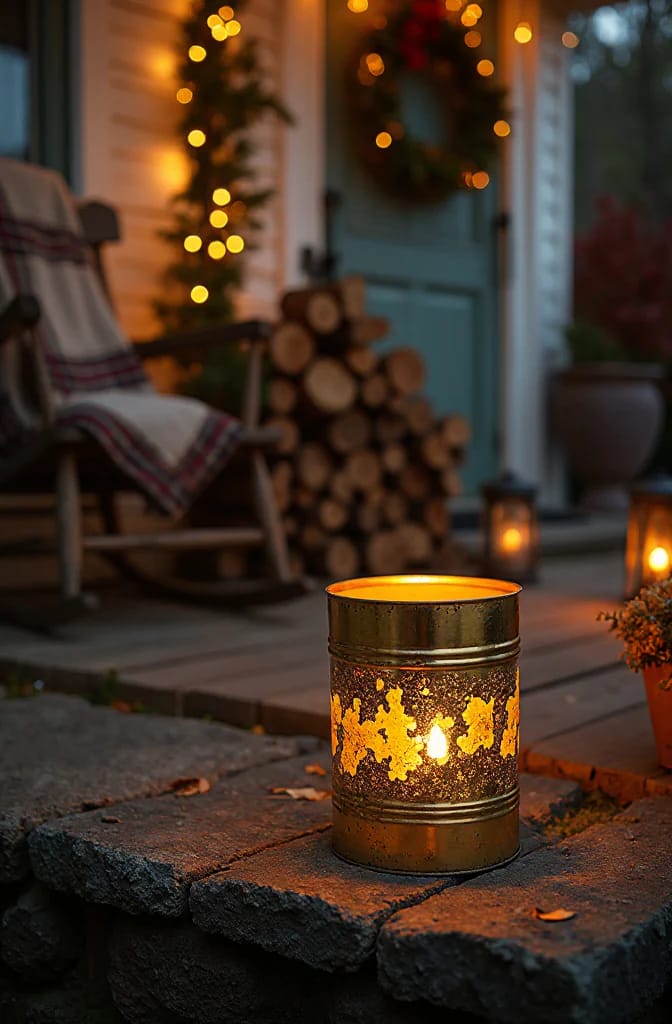
For the one or two cans people actually walk past at the door, imitation gold leaf or a copper metallic finish turns a recycled tin into something that looks bought. Brush on gilding size, lay the leaf, seal it, then punch a narrow band of holes so the glow rims the top while the metallic body catches ambient light. It is more work than it sounds and not worth doing to a whole run, but a single leafed can by the threshold pulls its weight. A composition-leaf kit with adhesive and sealer in one box saves the fiddly sourcing.
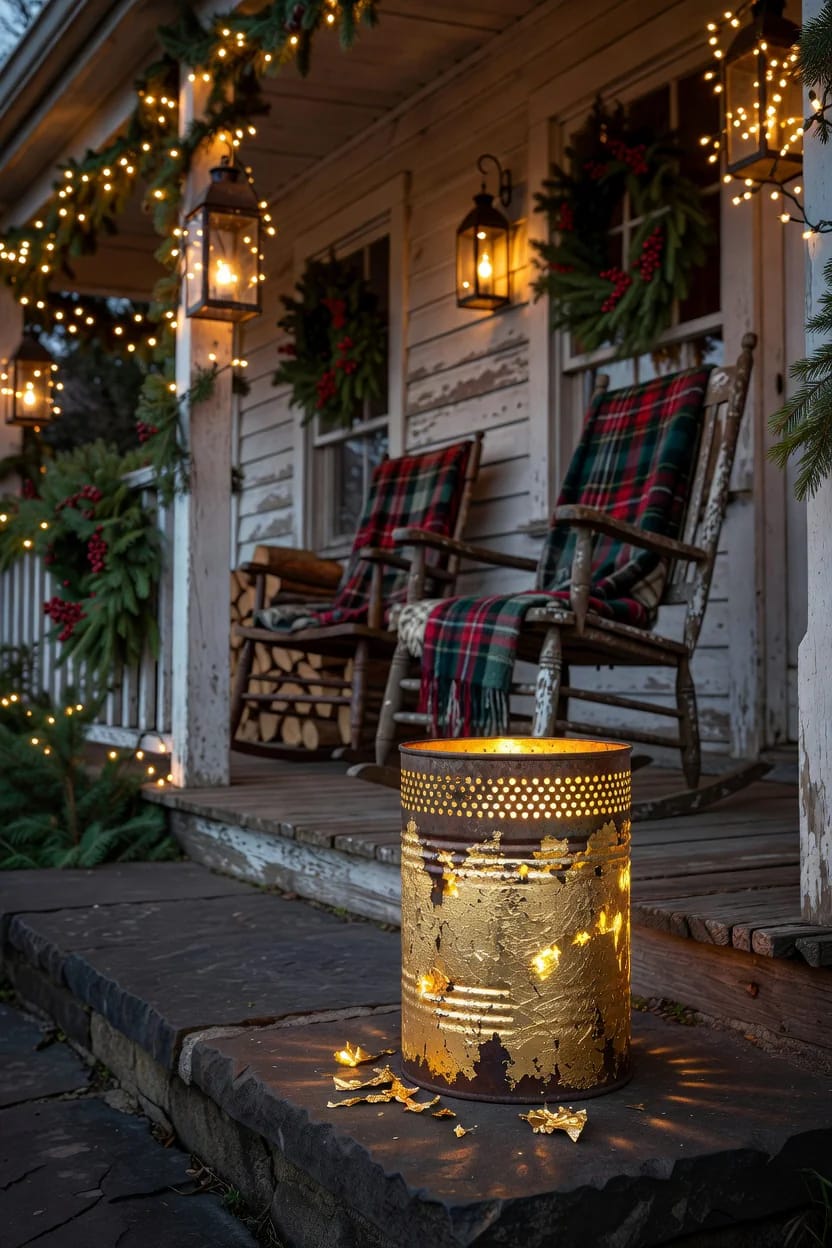
Everything for a first gilding job in one box: 25 composition sheets, brush-on adhesive, and the sealer that keeps imitation leaf from tarnishing outdoors.

Hanging tin lanterns strung from a shepherd's hook

Punch two holes opposite each other just below the rim, thread a loop of galvanized wire, and hang the cans instead of standing them. Off the ground they clear the snow, dodge splashback, and read from farther away. A shepherd's hook, a bare branch, or a porch bracket all work; just weight or shelter them if your yard gets real wind, because a swinging can on a gusty night is more anxious than charming.
Ombré light from graduated drilled holes
Swap the nail for a drill and vary the bit size, small at the base and larger toward the rim, and the can fades from a dim speckle to a bright band of light. Round drilled holes read a little more machined than hand-punched triangular pierces, which some people won't love, but they're faster and far more even, which matters when you're making a dozen.

Match the bit to the gradient
Three bits are plenty: roughly 1/16", 1/8", and 3/16", mapped bottom to top. Clamp the frozen can or grip it in a towel, drill slowly so the bit doesn't skate, and knock the burrs off the inside with a larger bit spun by hand.
Solar-converted cans that never need a match
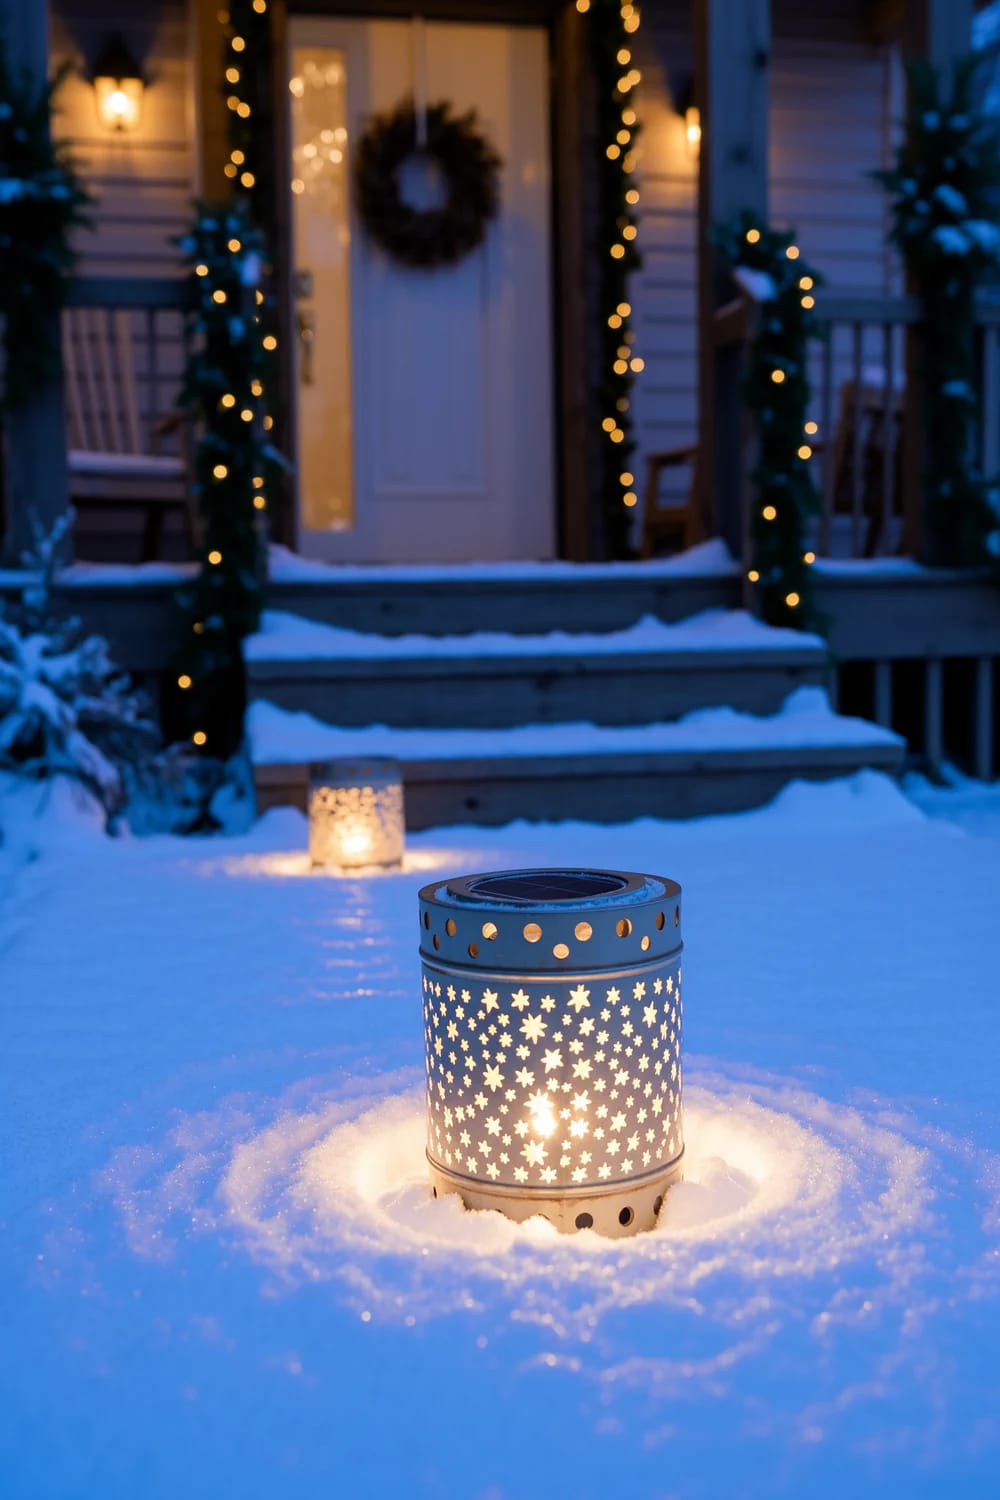
Pop the top disc off a cheap solar stake light and drop it into the mouth of the can; the panel charges by day and the LED lights the punched pattern at night, hands-off. It is the most weatherproof option here and the one I reach for on a path I won't want to fuss over. The glow is cooler and dimmer than a warm tea light, so buy warm-white solar tops if you can find them.
A full run of punched tins lining the walkway

The single can is a craft; the run of fifteen down a path is the effect worth chasing. Spacing matters more than the pattern here: set them roughly a stride apart, about two feet, so the pools of light nearly touch and the eye follows the line to the door. Sink each can an inch into the snow or soil so a gust can't tip it, and keep the pattern identical down the row, because mixed designs at path scale just read as clutter. This is also the cheapest big gesture in the season. The cans are free from your recycling, and if you light them with reusable LEDs the whole run costs a few dollars, once.
Random constellation pinholes, no template required

If patterns stress you out, scatter same-size pinholes at random and let the can throw a field of stars. It is the most forgiving design in the list, genuinely kid-safe at the marking stage, and it never looks wrong because there's no grid to misalign. Cover the whole can, top to bottom, so it glows evenly rather than in a stripe.
What goes inside, and whether it survives the winter
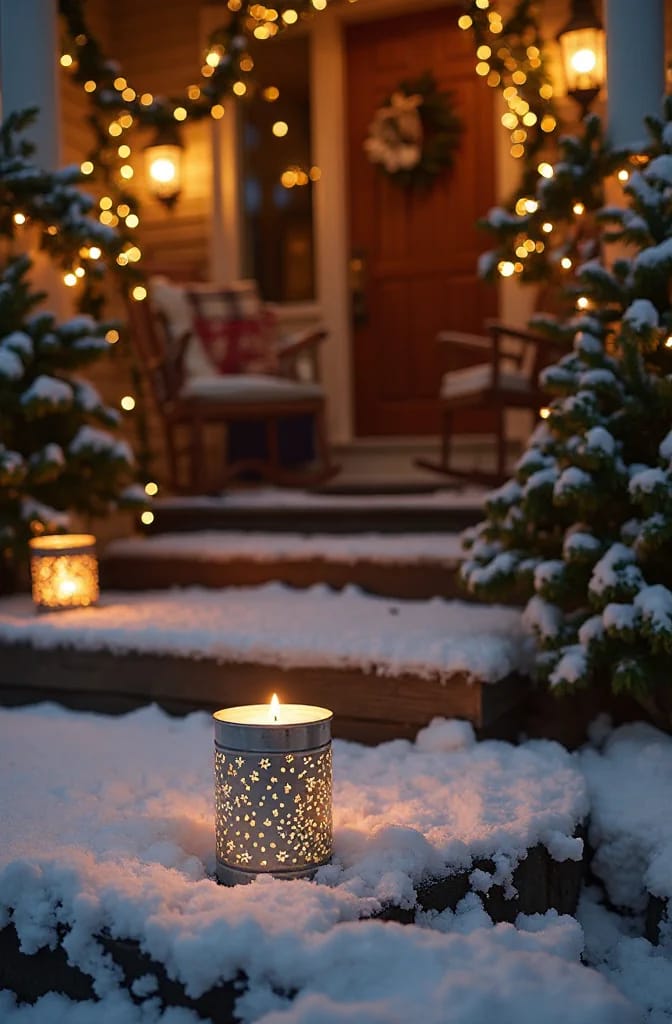
This is the decision that actually determines whether your luminaries last past the first storm, so it gets the most space. Lead with the answer: for anything living outdoors, use flameless LED tea lights, and treat the metal against rust before the season starts.
Real flame or flameless outdoors
Real tea lights are romantic in theory and frustrating in practice outside. A breeze snuffs them, a metal can concentrates and reflects the heat, and you spend the evening relighting instead of enjoying the glow. Flameless LEDs solve all of it: they don't blow out, they run for a couple of hundred hours on a coin cell, and the flickering warm-white ones look convincing from three feet, which is as close as anyone gets on a path. Buy a version with a built-in timer if you can, so the whole run switches on at dusk on its own.
| Light source | Wind | Below freezing | Rain or snow | Look |
|---|---|---|---|---|
| Wax tea light | Blows out | Fine | Wick soaks, dies | Warmest, real flicker |
| Flameless LED | Unaffected | Battery weakens slightly | Fine if water-resistant | Warm-white, convincing flicker |
| Solar puck | Unaffected | Charges less in winter sun | Built for it | Cooler, dimmer |
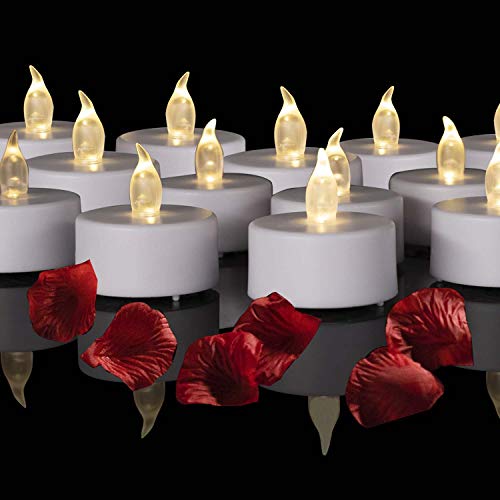
Warm-white flicker that reads like a real flame at path distance, on a coin cell good for a couple of hundred hours. Buy more than you think; you’ll want one per can.
Rust is the real winter enemy
Bare steel cans will rust where they sit in wet snow, sometimes within a week. Some people like the weathered patina and let it happen; if you don't, hit the inside and outside with a clear enamel spray before you set them out, and dry them fully after the ice-punch step so they don't rust from the inside. Painted and leafed cans are already sealed. For a hard freeze-thaw stretch, there's no shame in bringing the door cans in and leaving the pathway run to fend for itself.
An open flame inside a metal cylinder on a windy night is mostly a way to waste matches, and the can gets hot enough to be a real burn risk if a child rights a tipped one. And an untreated can left in slush rusts fast, staining the snow orange beneath it. Flameless light plus a clear sealer removes both problems for the price of a coffee.
Conclusion
If you're making a batch, do the boring part in bulk first: freeze and punch a whole run of star-pattern cans in one session, because setting up the freezer and the towel once is far less tedious than doing it fifteen times. Save the gold leaf for the single can by the door where someone will actually see it, drill the ombré fade only if you've got a drill out anyway, and line the walkway last, once you know how many you actually made.
The thing that separates a set that comes back every December from a soggy pile in January is entirely the unglamorous half: flameless light so nothing blows out, a coat of sealer so nothing rusts, and cans sunk far enough into the snow that the first gust doesn't flatten your skyline. Get that right and the punching is just the fun part.