
A standard shipping pallet gives up five to seven top deck boards, each one a few inches wide, weathered grey on one face and often still blond on the other. That is the whole material budget for most of what follows. These eleven projects are sorted into four groups by what you are actually making, from the leaning porch tree that takes an afternoon down to the ornaments you can batch in front of a movie, and every one of them is chosen because a first-timer can finish it with a handsaw, a drill, and paint you already own. The one thing standing between a beginner and a build that reads as reclaimed rather than as a craft-store kit is knowing which board to reach for and which finish to leave off, so that is threaded through each section rather than saved for the end.
Look on the stringer or the corner blocks for the IPPC mark. A pallet stamped HT was heat-treated and never touched chemicals; that one is fine to cut, sand, and bring indoors. A pallet stamped MB was fumigated with methyl bromide, a pesticide that has been banned from pallet treatment for years but still turns up on older wood, and it should never go near a saw, a child, or a fireplace. Skip anything with no stamp at all, and skip the darkest, oiliest-looking boards even when they look the most rustic. If a board smells chemical or has a glossy sheen, put it back. There is a short, plain rundown of the markings at Earth911.
The big builds that anchor a room or porch
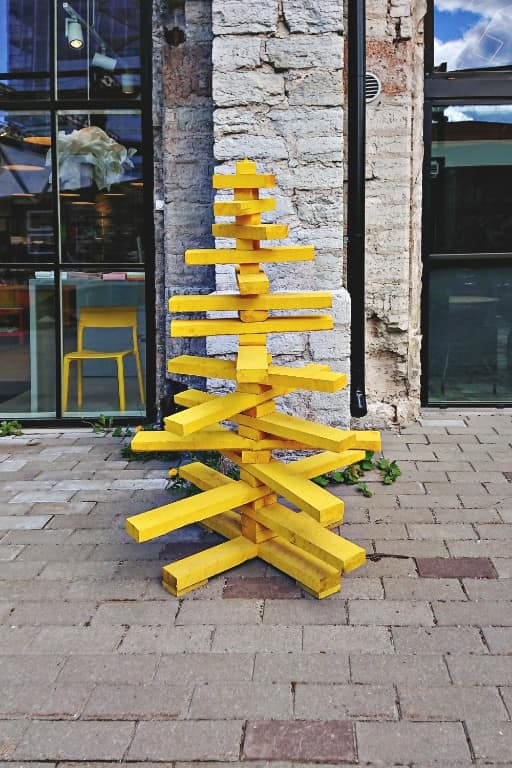
Leaning pallet Christmas tree for the porch
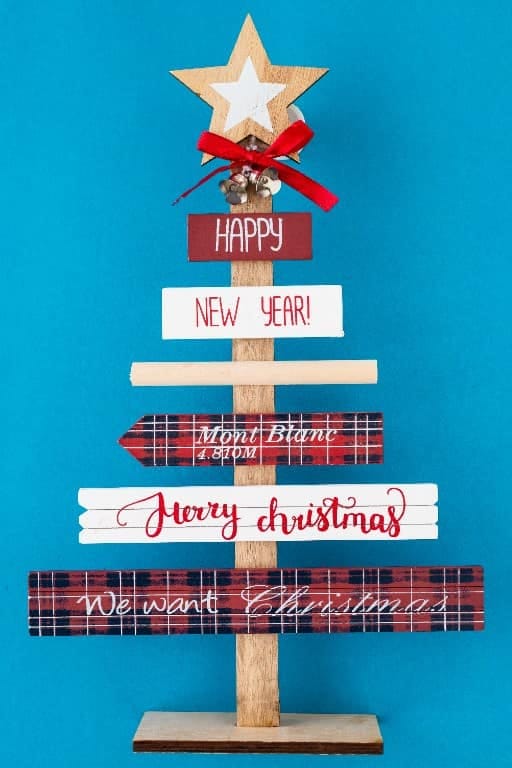
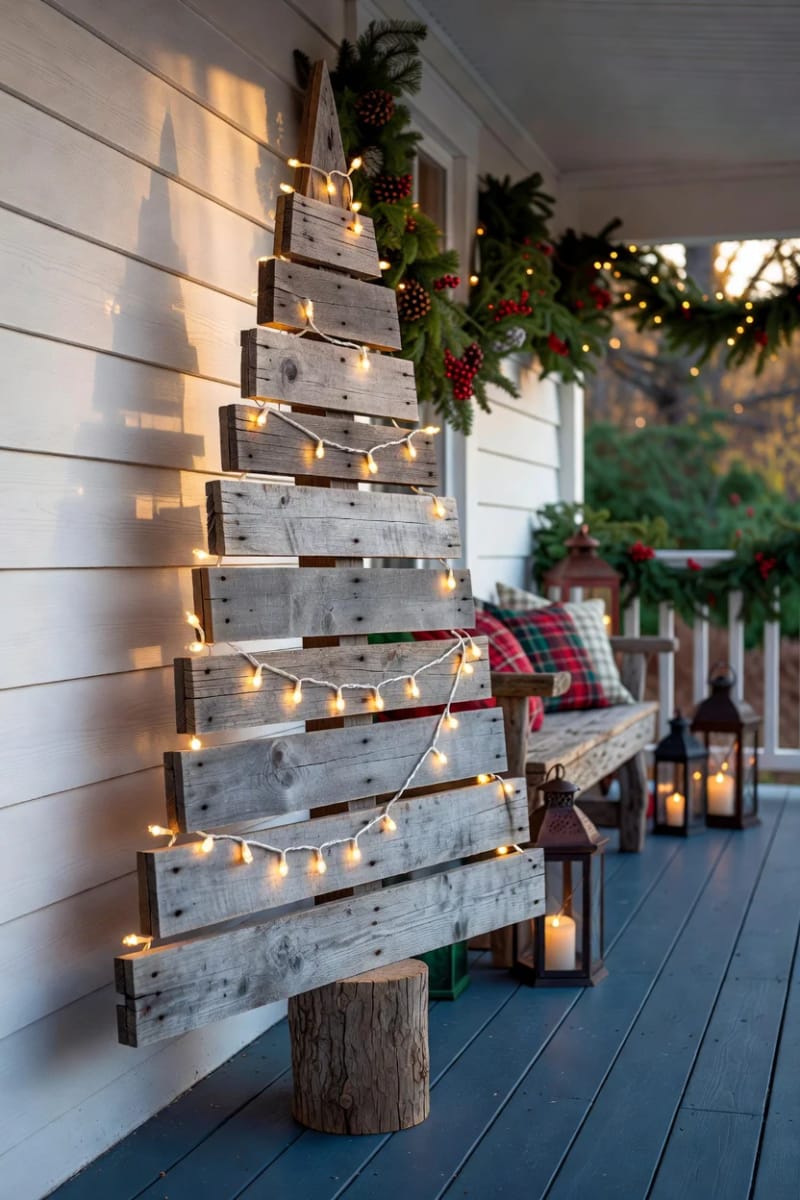
Cut five or six deck boards to descending lengths, screw them to two vertical battens on the back, and you have the shape in under an hour. The build is forgiving because gaps between the boards look intentional; nobody expects a stack of reclaimed slats to sit tight. That said, the tree lives or dies on proportion, so before you fasten anything, lay the boards out on the floor and get the taper right: each board should be roughly two inches shorter than the one below it, or the silhouette turns into a ladder instead of a tree. Leave the wood bare for a barn look, or drag a nearly-dry brush of white across the grain so the ridges catch the paint and the low spots stay dark.
For the porch, add a single strand of warm-white lights and stop there. The oversized version people save on Pinterest is usually four to five feet tall and lit with one strand, not five.
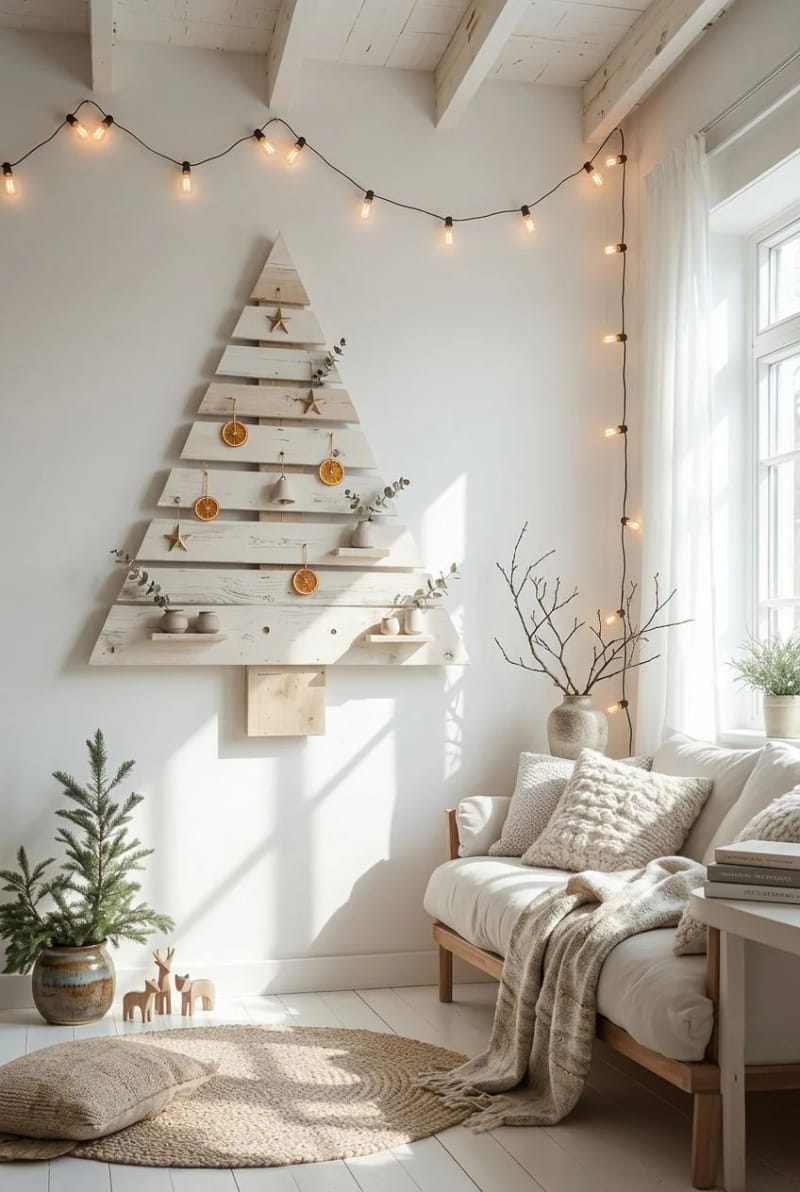
Slat-wall Christmas tree with a card ledge

This is the tree for anyone with no floor to spare. You mount the slats flat against the wall in stepped rows, so it projects less than an inch into the room and stores flat behind a wardrobe the other eleven months. The clever part is a single slat fixed horizontally across the lower third to act as a ledge for holding cards, which turns a decoration into something that does a small job. Command strips hold the whole thing if you are renting and can't put screws in the plaster; the wood is light enough that two strips per row carry it.
Stacked-board pallet snowman
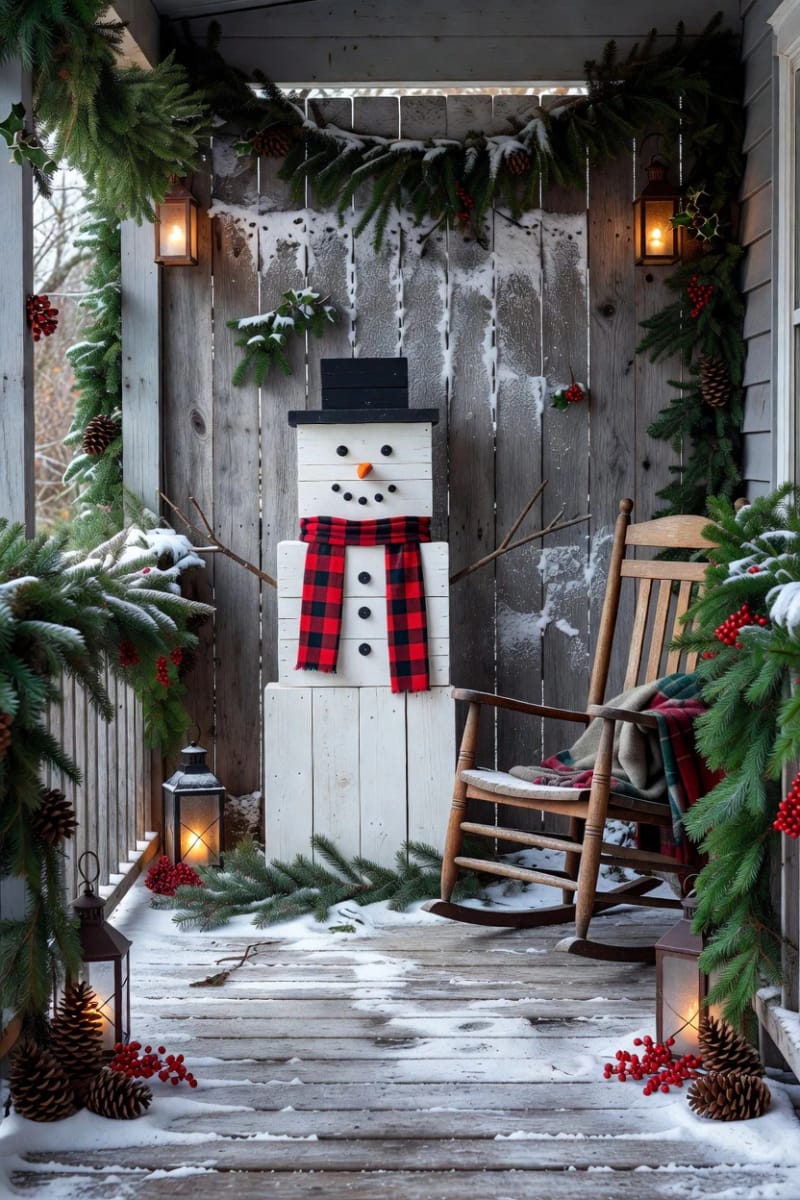
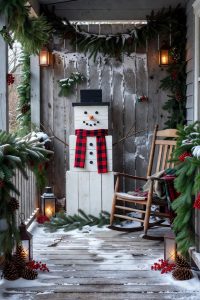
Three short boards stacked and painted white is the entire snowman, which is why it shows up on every beginner list. Round the top board's corners with a bit of sanding if you want a head, or leave everything square for a blockier, more graphic look that photographs better on a porch. Craft acrylic at a dollar or two a bottle covers it; matte, not gloss, or the white goes plasticky and kills the reclaimed feel. The scarf does most of the personality work, so raid the fabric scrap bin before you buy anything.
Signs and silhouettes for the door and wall
Stenciled pallet Christmas sign
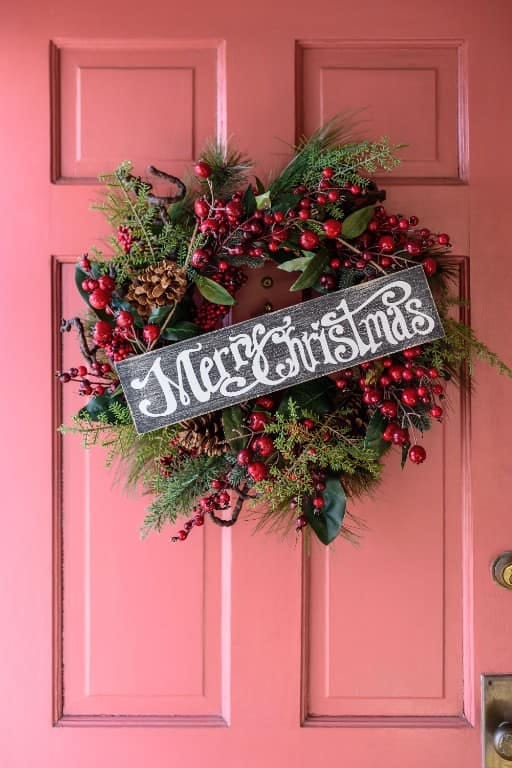
The sign is where most beginners overreach, so here is the flat rule: do not letter it freehand. On rough, open pallet grain a freehand brush stroke wicks along the fibers and feathers at every edge, and what you meant as script comes out as a smudge. A reusable stencil set runs about eight to fifteen dollars and pays for itself the first time. Tape it down with painter's tape, load your brush light, blot most of it off on a paper towel, then pounce straight down onto the wood rather than dragging across it. Dry-brushing this way keeps the paint from creeping under the stencil edge.
Two or three glued-up boards make the panel; a strip of scrap on the back holds them together and gives you something to hang from. Keep the message short. "JOY" or "NOEL" in a tall serif reads across a room, where a full sentence in a thin font disappears into the grain from six feet away.
Cut-out reindeer from pallet boards
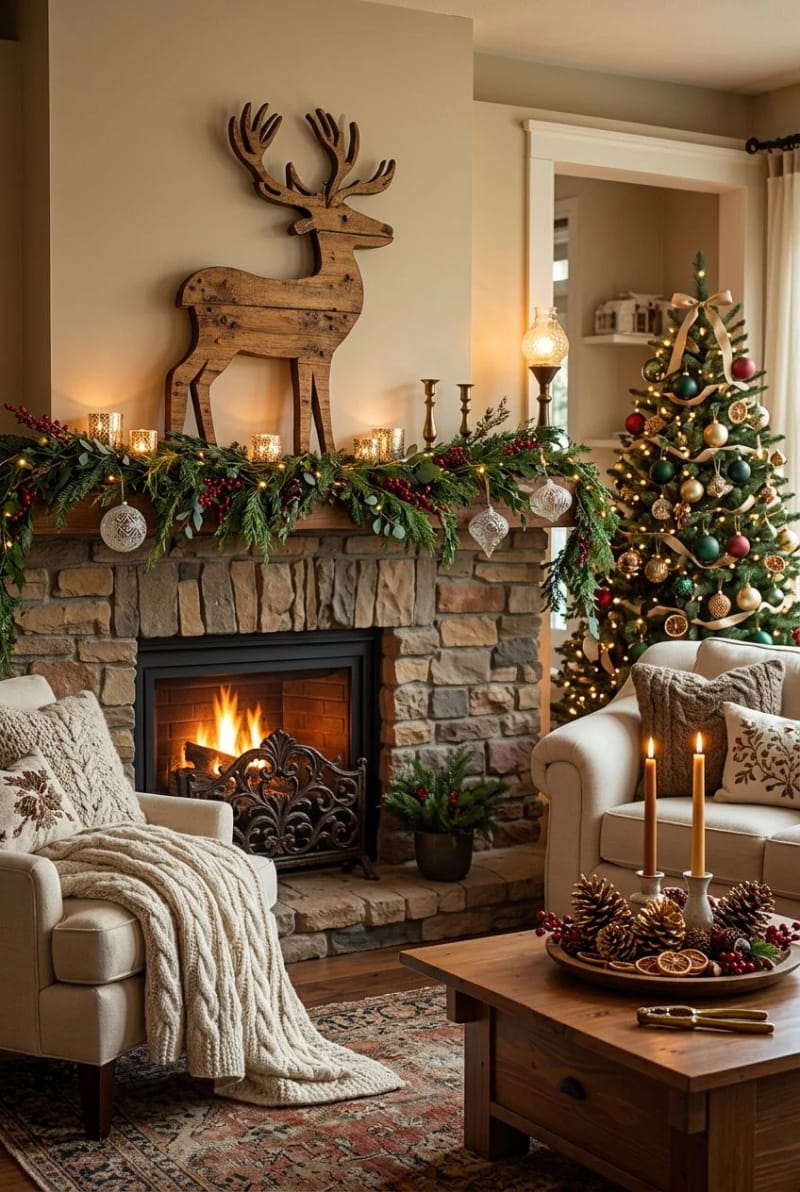
A reindeer is the first project that needs a jigsaw, and it is the reason to buy one. An entry-level corded jigsaw is roughly thirty to sixty dollars and opens up every silhouette on this list. Print a template, tape it to the widest single board you have, and follow the line; a reindeer's simple outline hides wobbles that a snowflake would expose. The catch is the antlers. Thin projections snap along the grain, so either thicken them on your template or cut them from a separate small piece and screw them on, which is what most makers quietly do.
Oversized pallet star for the gable


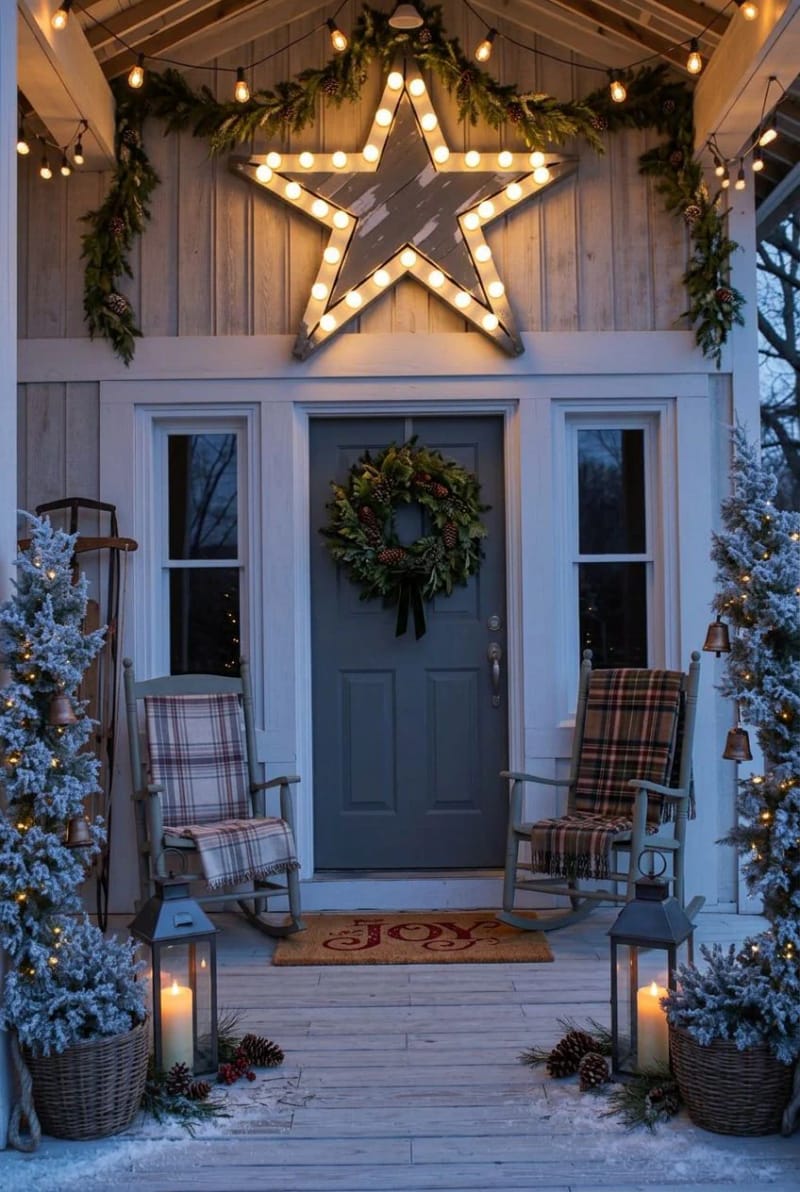
Five straight slats lapped over each other make a star with no curved cuts at all, which makes it the least intimidating silhouette here. Mark where the slats cross, notch a shallow half-lap so they sit flush, and glue plus a screw at each joint holds it. Staple a strand of round bulbs along the front edges and it works on a gable, a porch post, or a bare interior wall. Left unlit and unpainted, it also reads fine as plain barn-wood geometry in daylight.
Small hangs you can batch in one evening
Pallet-wood snowflakes
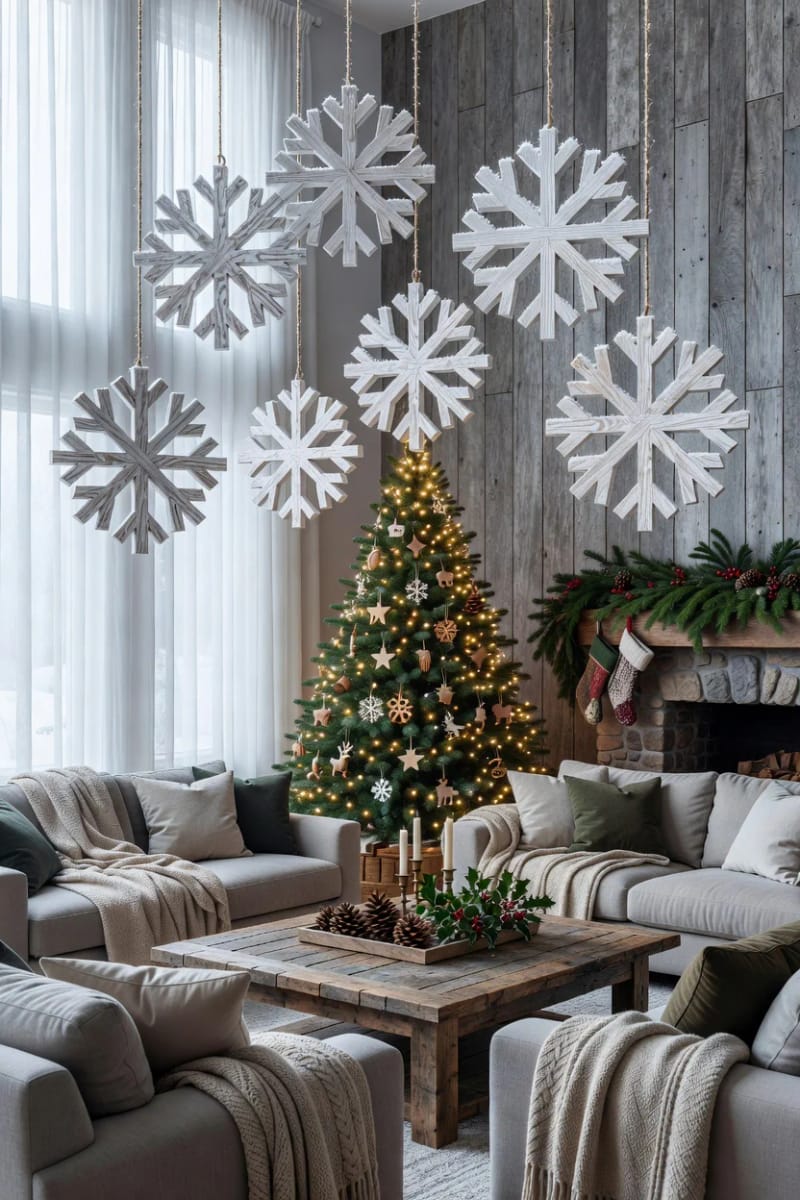
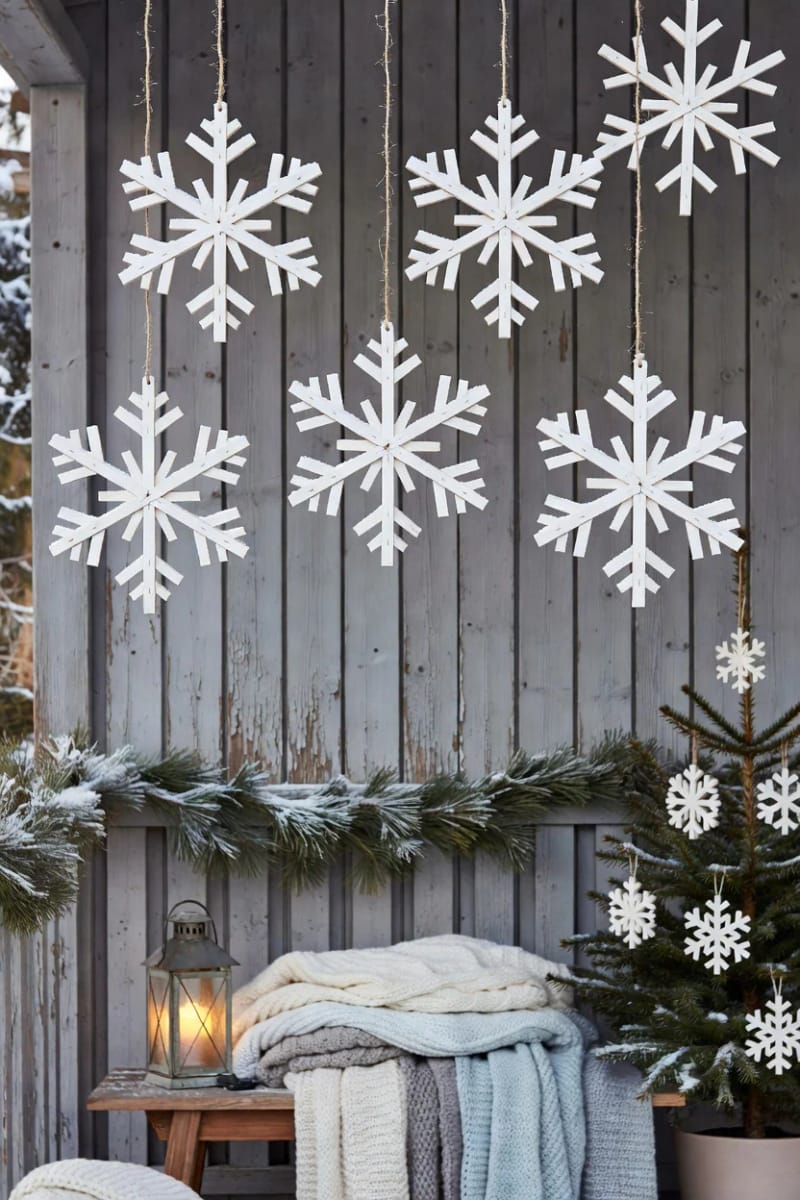
Here is the counterintuitive part: snowflakes are where you stop using pallet boards and switch to the thin off-cuts, because a full-thickness deck board makes a clumsy, heavy flake. Rip a few strips down narrow, cut them into short lengths, and glue them into a six-point radial. No two need to match, which is the whole appeal for a first-timer. Whitewash them or leave the grain bare and hang them on twine. This is the batch project of the group; cut a pile of strips once and you will assemble a dozen in an evening.
Mini slat ornaments and gift tags
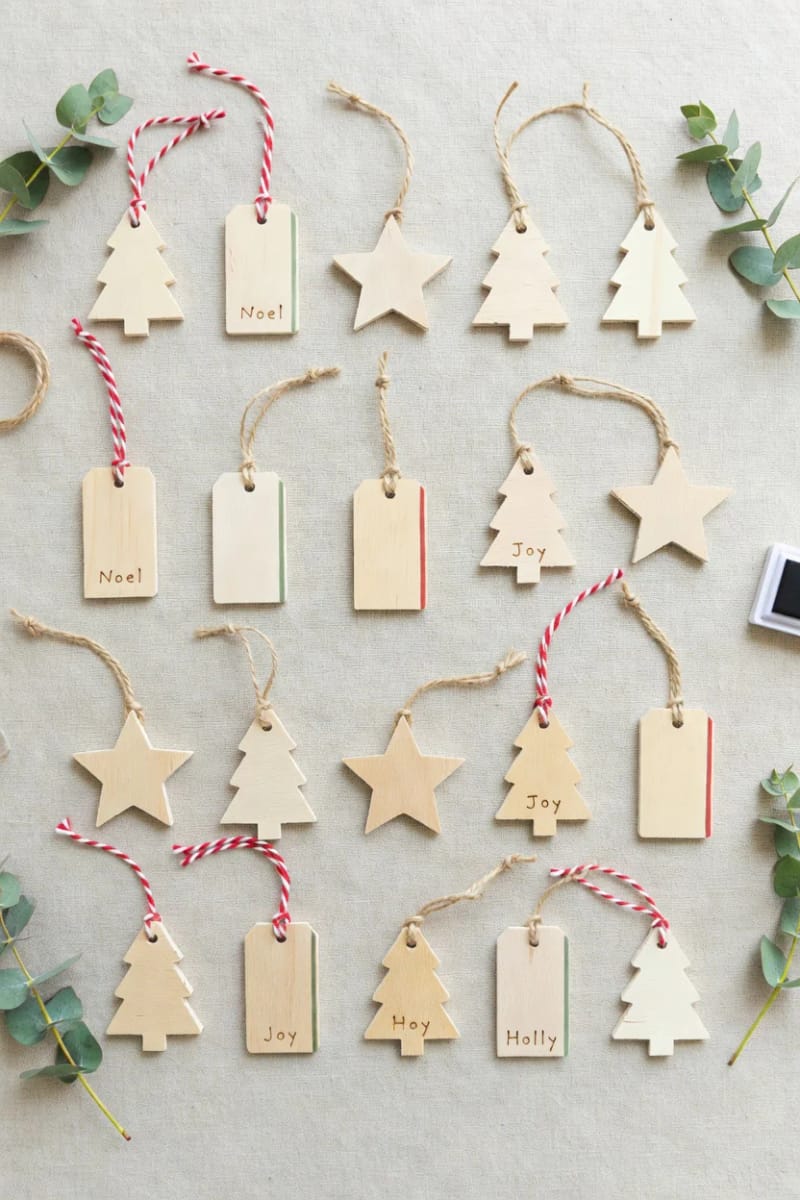
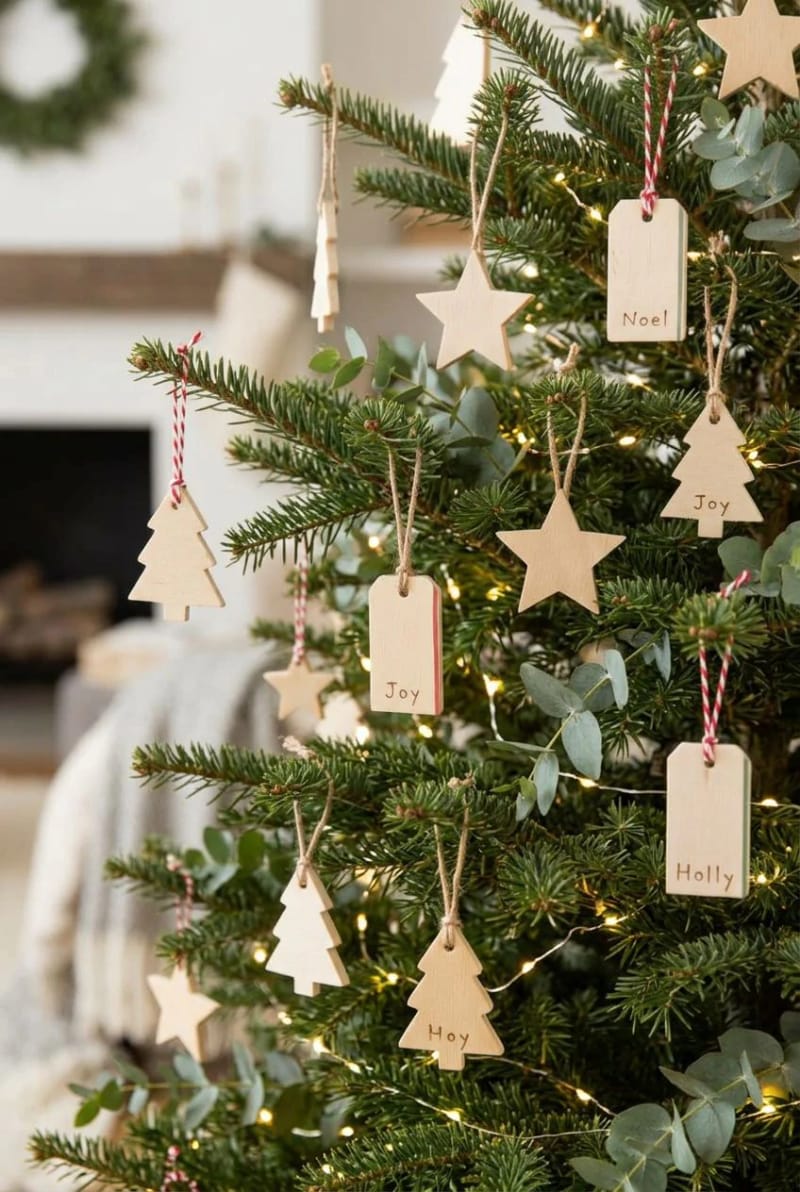
The scrap that is too small for anything else becomes ornaments and gift tags, which is the point of putting this last in the group. Cut a two-inch tag, drill a hole, and either stamp a name with a cheap letter set or paint a single stripe. Tie them to presents with baker's twine and they double as the wrapping and the keepsake. There is no skill floor here beyond cutting a rectangle, so it is the project to hand a kid or an impatient beginner while the glue dries on everything else.
Do this
- Sand only the face you will paint or stamp, and only enough to stop splinters. The grey weathering is the reason the piece reads as reclaimed.
- Seal anything going outdoors with a matte exterior polycrylic; two thin coats, sanded lightly between.
- Drill pilot holes near board ends before you drive a screw.
Avoid
- Sanding the wood to furniture-smooth. It flattens the grain and the whole thing starts to look like a store kit.
- Glossy paint on white pieces; the sheen turns snowmen and signs plasticky.
- Nailing straight into the end grain. Pallet slats split down their length with almost no warning, and a split near the end is the most common beginner write-off.
Pieces that keep working after the tree comes down
Pallet candle riser and display tray
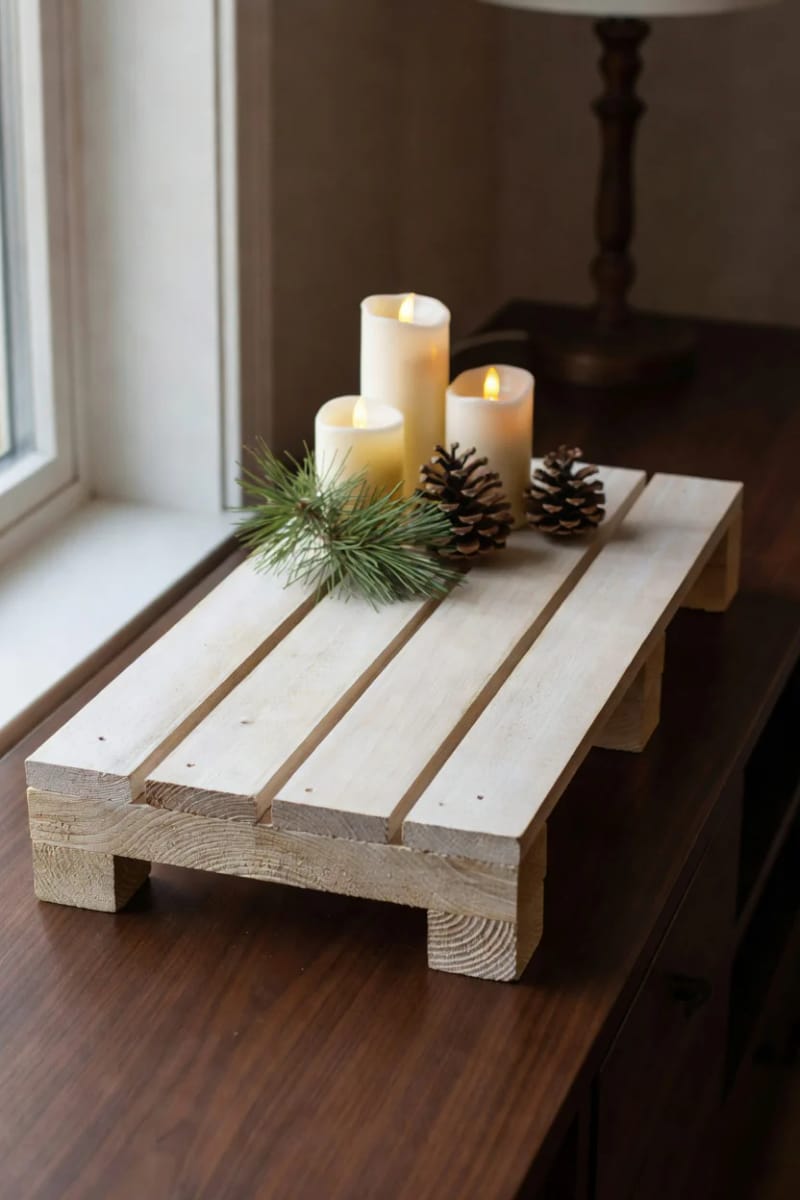
A slat top on four block legs is a riser you build once and reuse every season, which is why it earns a spot over another one-note holiday piece. Three boards laid with small gaps between them, screwed to four sawn blocks, gives you a raised tray for candles and greenery on a console or mantel. Use flameless LED pillars and nothing else on this one; a real flame on a whitewashed pallet top with dry pine tucked around it is a genuine hazard, not a styling choice. Strip the greenery in January and it becomes a bathroom or kitchen riser for the rest of the year.
Pallet advent calendar
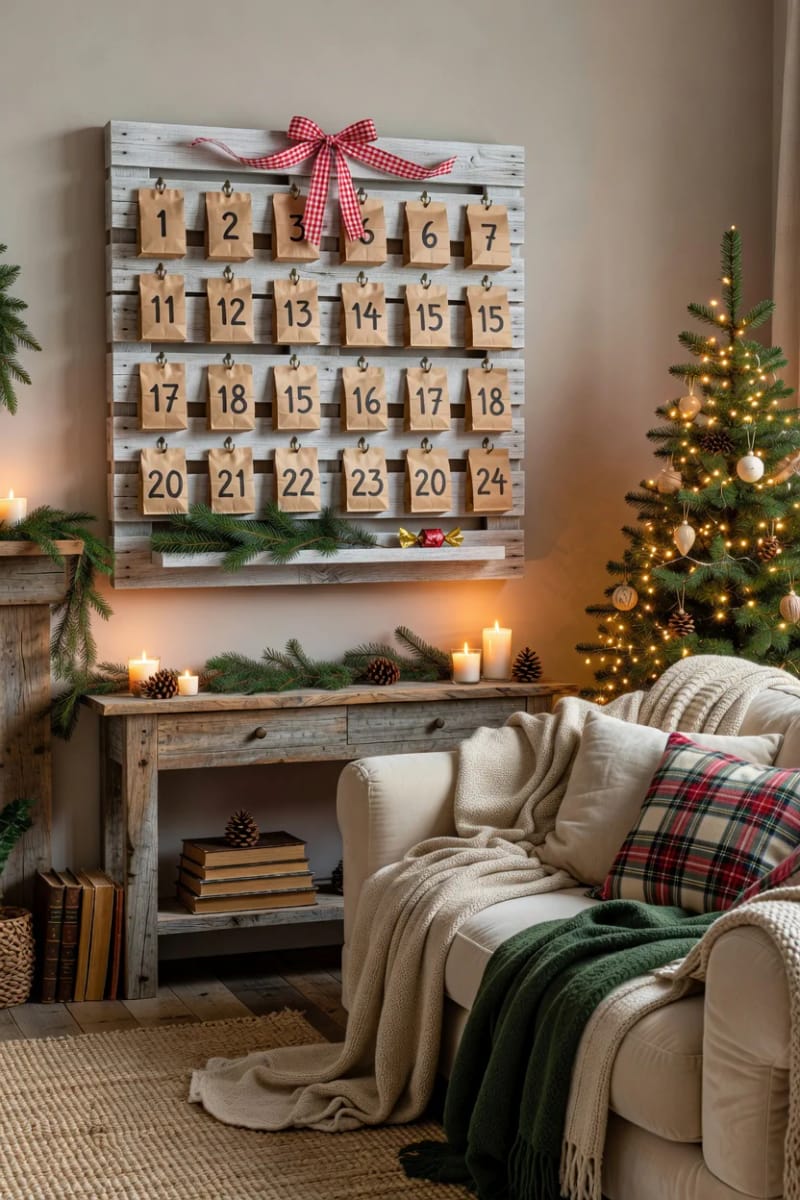
An advent calendar sounds ambitious and is mostly patience: one board, twenty-four little cup hooks, and twenty-four numbered kraft bags. Screw a grid of hooks into a whitewashed panel, stamp the numbers, and fill the bags with chocolate or notes. The build is easy; the layout is the only fussy part, so measure and pencil the grid before you drive a single hook, because twenty-four crooked hooks are twenty-four holes you can't hide. Unlike everything else here, it comes back out every December for years, so it is worth the extra half hour of squaring up.
Slat-ring pallet wreath
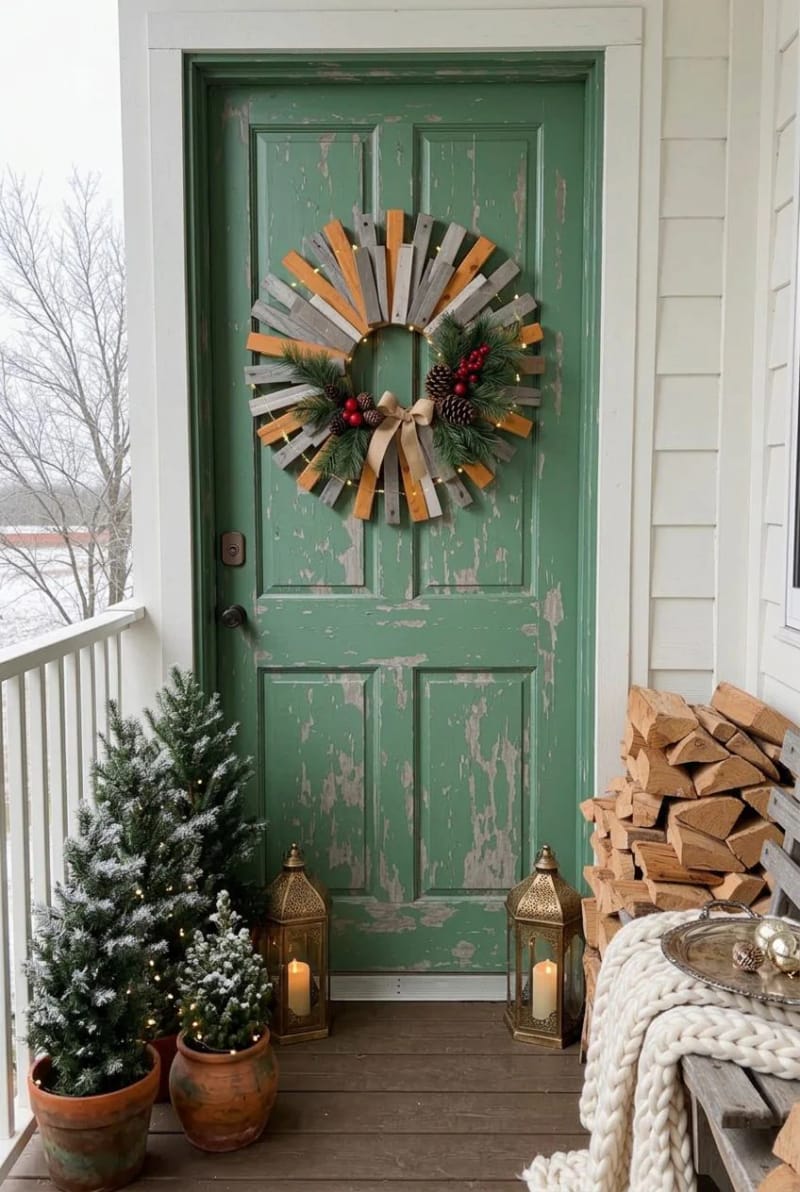
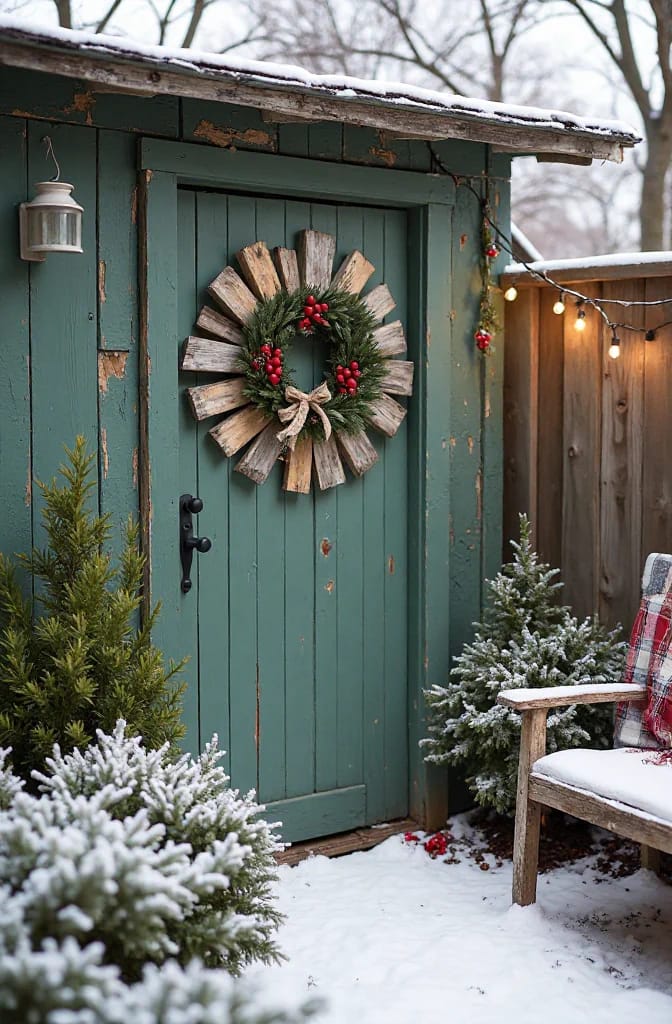
A wreath built from slats instead of greenery is the piece that lasts past the season and past the compost bin. Cut a dozen short off-cuts with a slight taper, arrange them radiating from a small plywood ring so the outer edges form a rough circle, and hot-glue them down in overlapping layers. A single cluster of real pine and a jute bow at the four or seven o'clock position is all the greenery it needs; the wood does the rest. When the pine dries out you pull it off and the slat ring stays up as plain rustic geometry.
Conclusion
The reason pallet wood suits beginners is not that it is free, though it usually is. It is that the material forgives you. Gaps read as intentional, saw marks read as character, and a slightly crooked cut disappears into wood that was already knocked around in a warehouse. The projects that trip people up are the ones fighting that: the freehand sign that needed a stencil, the reindeer antler cut too thin, the snowman gone glossy.
If you are starting cold, build in this order. Make the stenciled sign first to get comfortable with paint on rough grain, then the leaning porch tree for the confidence of a big finished object, then buy the jigsaw and cut the reindeer and star once you trust your hands. Save the advent calendar for last, when squaring up a grid of twenty-four hooks feels like patience instead of a chore, and check every board's stamp before the saw touches it.