
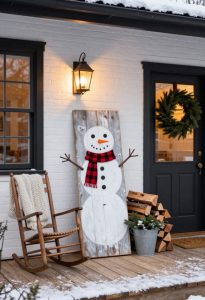
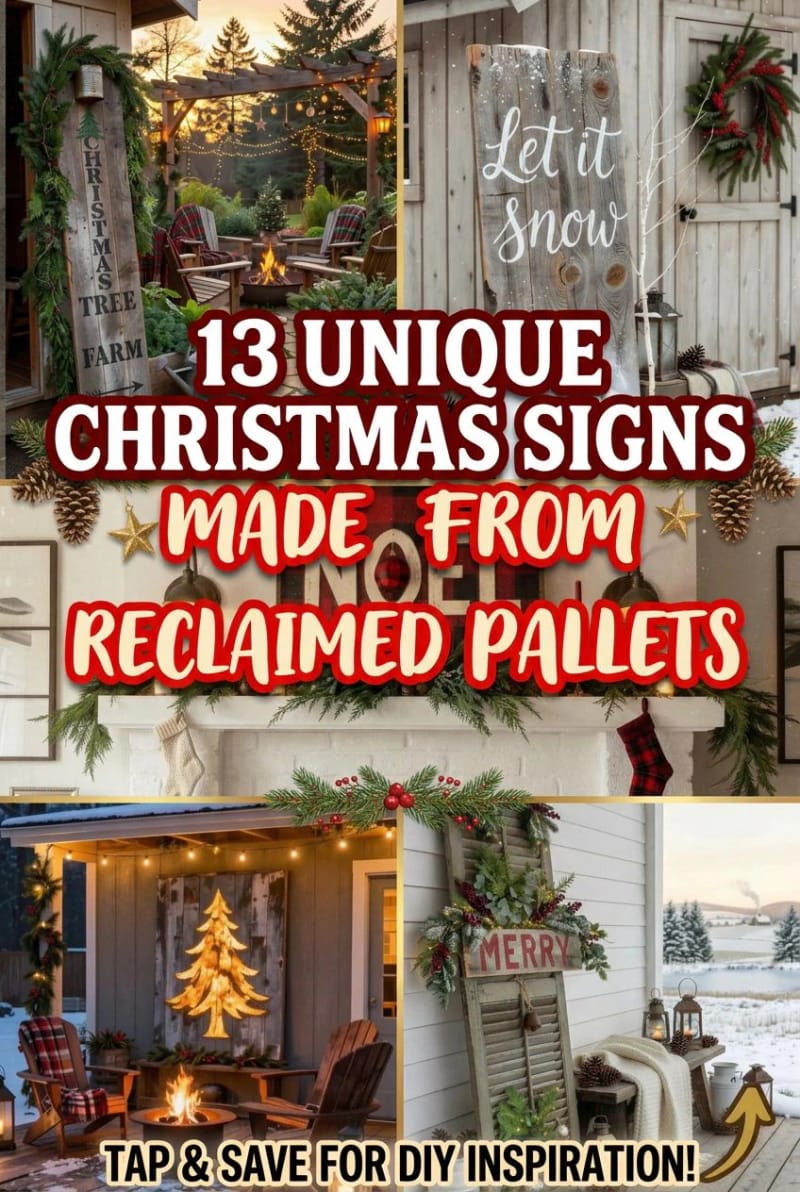
The farmhouse Christmas sign has a formula, and the formula is the problem: break down a pallet, sand it smooth, whitewash it grey, then stencil a word in a font that ships on ten thousand other porches. Skip most of that. The signs below keep the split boards rough, let a knot or an old nail hole sit where it lands, and lean on the wood doing the talking instead of a perfectly kerned MERRY; a couple of them (the flip sign at number two, the backlit cut-out at seven) quietly solve a storage or lighting problem while they are at it.
One caveat before you raid the loading dock behind the hardware store: not every pallet is safe to cut, and the stamp on the side tells you which. That is covered under the first idea, along with why you might skip pallets for fence pickets entirely. Everything here assumes reclaimed or free lumber, a jigsaw or a handsaw, and paint you probably already own.
1. Vertical JOY porch leaner on reclaimed pallet boards
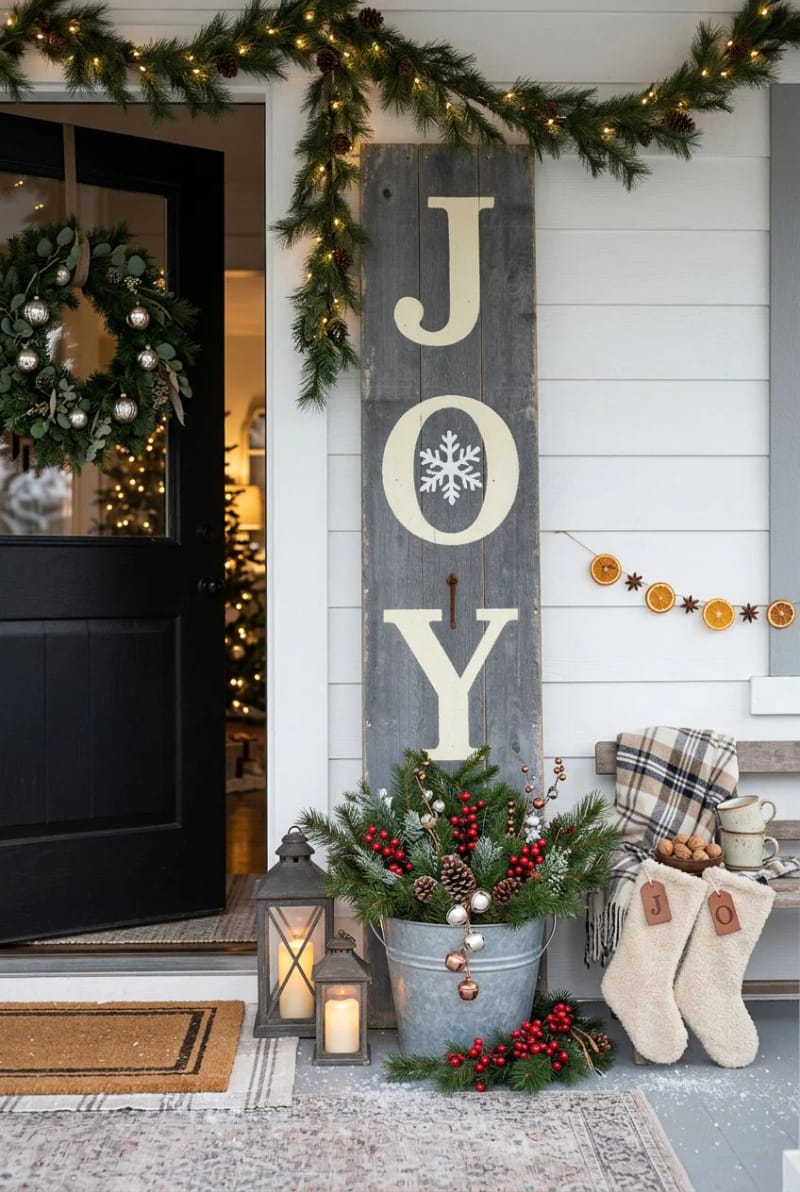
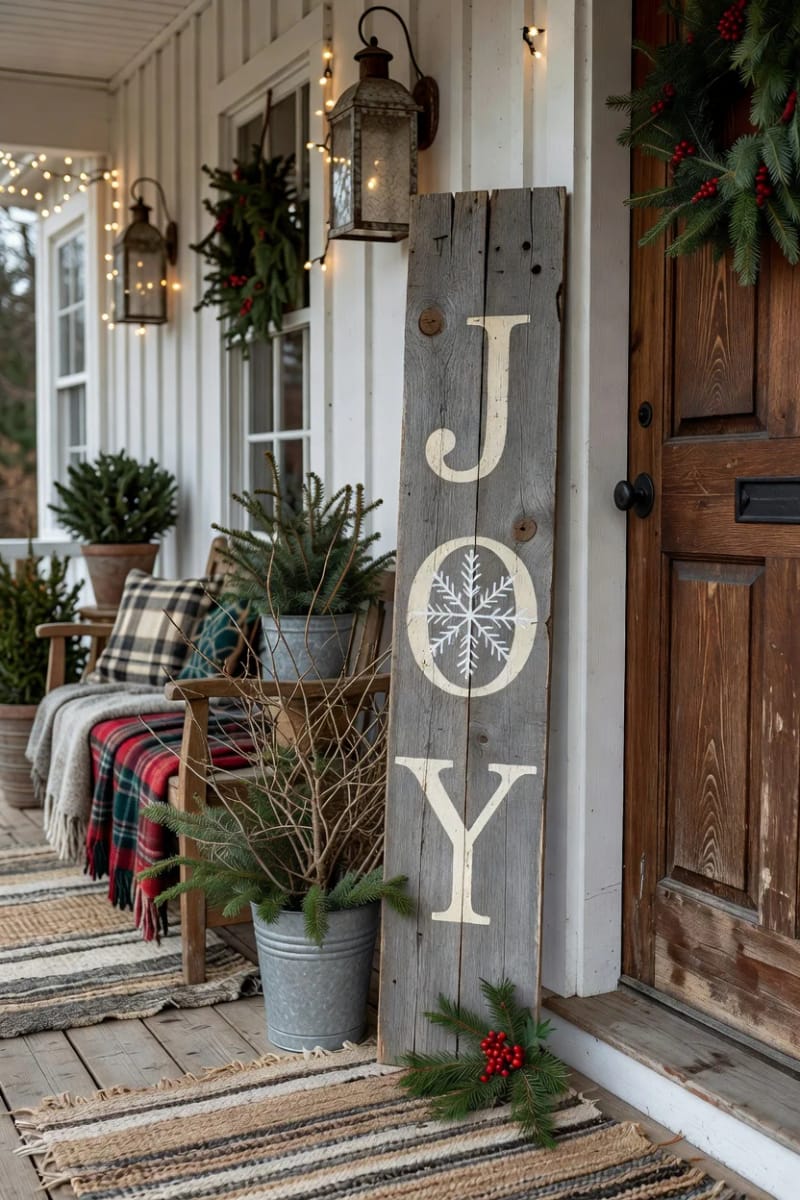
A tall three-letter word leaned against the door frame is the highest-impact sign here for the least work, because JOY, NOEL, or PEACE fills a board without any careful letter spacing to get wrong. Donna Williams of Funky Junk Interiors, a former sign painter who now sells the vertical stencils half of Pinterest uses, favors leaners for a plainer reason: they stand on the floor, so there is no hanging hardware and they eat almost no space. Her version swaps the O for a stencilled snowflake, which is the single detail that keeps JOY from reading like a dollar-store decal.
Reach for chippy, already-grey boards rather than fresh pallet slats; the weathering is the whole point, and paint settles into old grain in a way it never does on a sanded face. If your only boards are too clean, drag a dry coat of grey chalk paint across the grain and you have faked ten winters in about ten minutes.
Look on the stringer for the IPPC mark. HT means heat treated and safe to work; MB means methyl bromide, a fumigant you should never cut, sand, or burn. MB has been off the books since the mid-2000s and is genuinely rare in North America, and what little residue remains dissipates in open air, so the panic online is overblown, but there is no reason to gamble when HT boards are everywhere. Skip anything painted solid red or blue (those belong to PECO and CHEP and are not yours to take), and skip unmarked mystery wood that smells chemical or oily. Honestly, the cleanest source is not a pallet at all: old fence pickets and barn boards cut without the nail-fighting and carry the same grey.
2. Double-sided pallet sign that flips from Christmas to plain winter
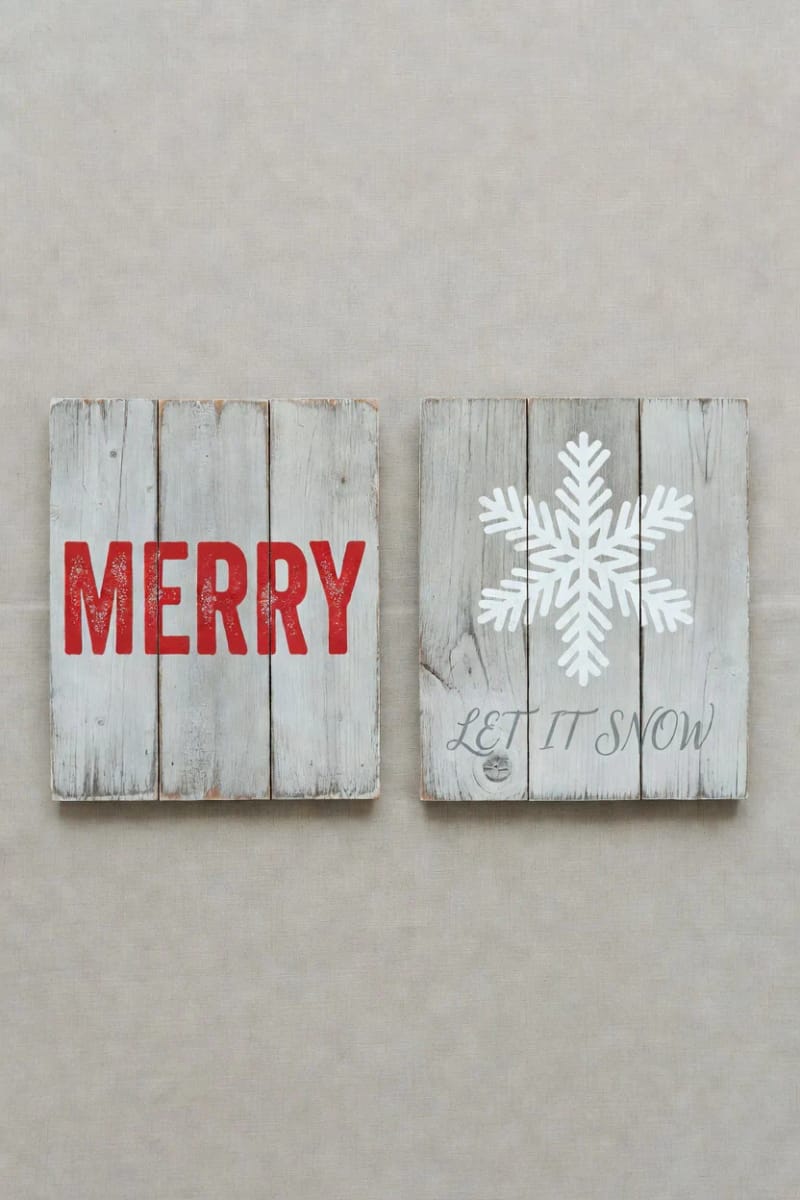
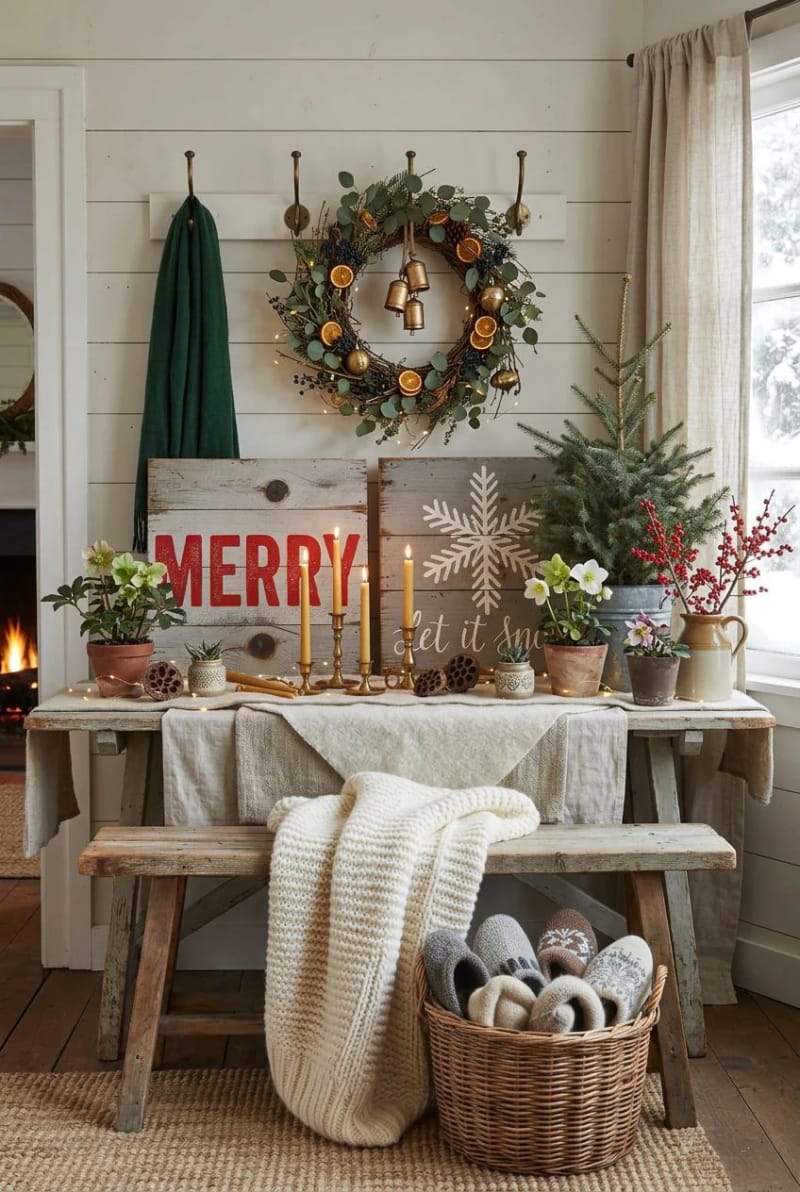
Paint both faces and one sign covers two seasons, which means it never goes back in the attic. Funky Junk makes the same argument: decorate both sides and you get a festive option and an everyday one with zero storage cost.
What goes on each face
Front gets the loud December message, MERRY or JOY. The back gets something that survives January into March: a lone snowflake, a stencilled LET IT SNOW, or a bare snow scene. When Christmas is over you turn it around instead of hauling it downstairs.
Hinges vs. a simple flip
For a leaner you need no hardware at all; spin it and set it back down. For a hanging sign, screw a sawtooth hanger onto each end, or run a single eye-hook and cord so the board rotates on the nail. Keep the fittings small so neither face shows the other's mounting.
3. "Cut Your Own Tree" farm leaner from pallet slats
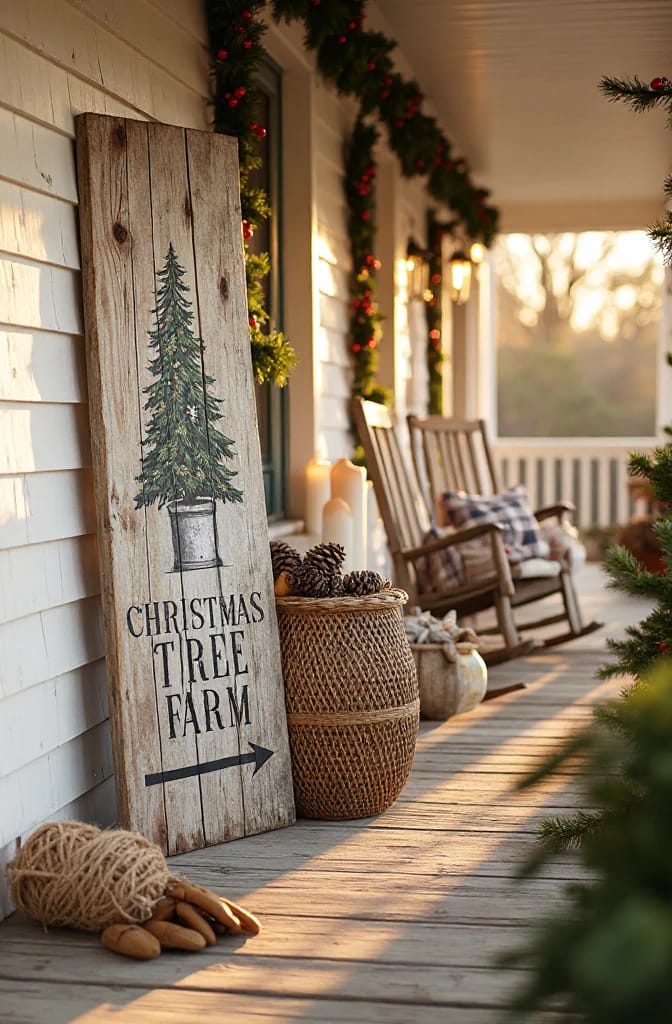
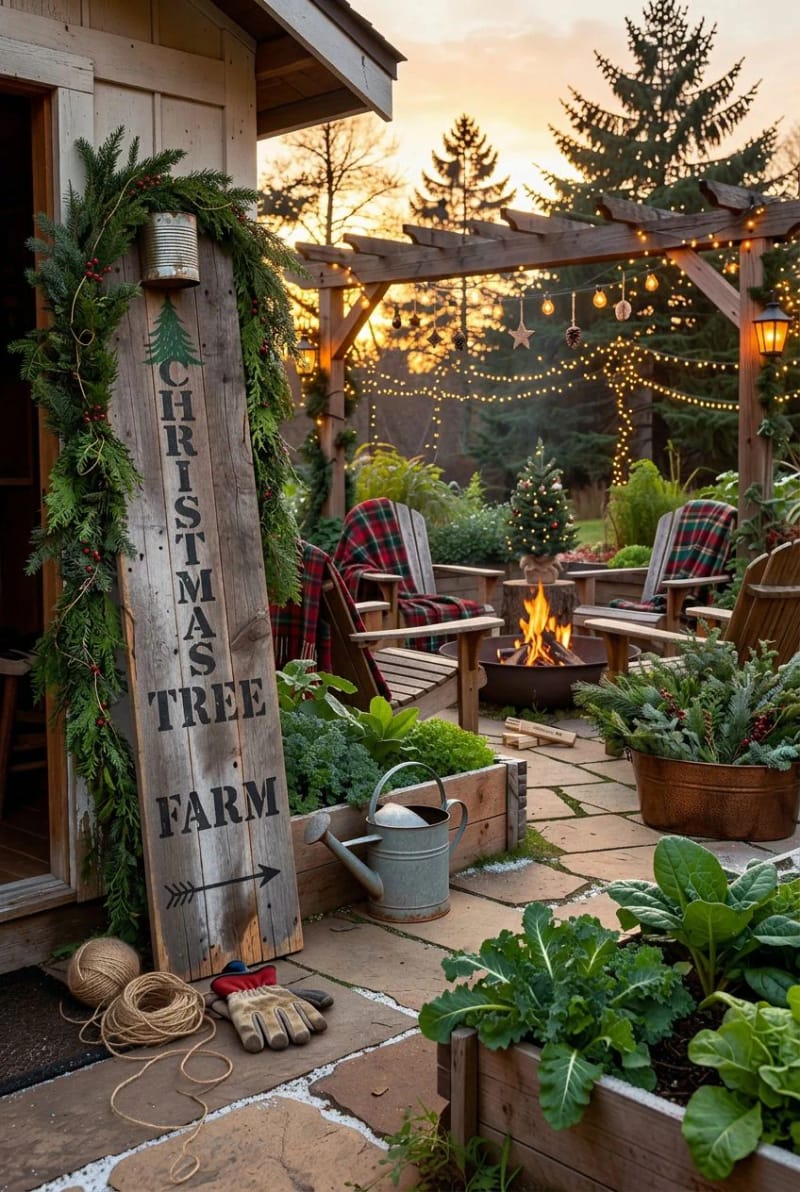
A tall plank reading CHRISTMAS TREE FARM with a directional arrow turns a leftover board into the one sign guests actually read. Add a small stencilled tree in a tin can at the top for the vintage nursery look, or paint the whole thing taupe instead of gluing on wood: Funky Junk fakes the strips with Milk Paint by Fusion in Almond Latte on her tree-farm version. It wants height more than detail, so a single narrow board four feet tall beats a wide one.
4. Distressed "Merry Christmas" pallet board for the mantel

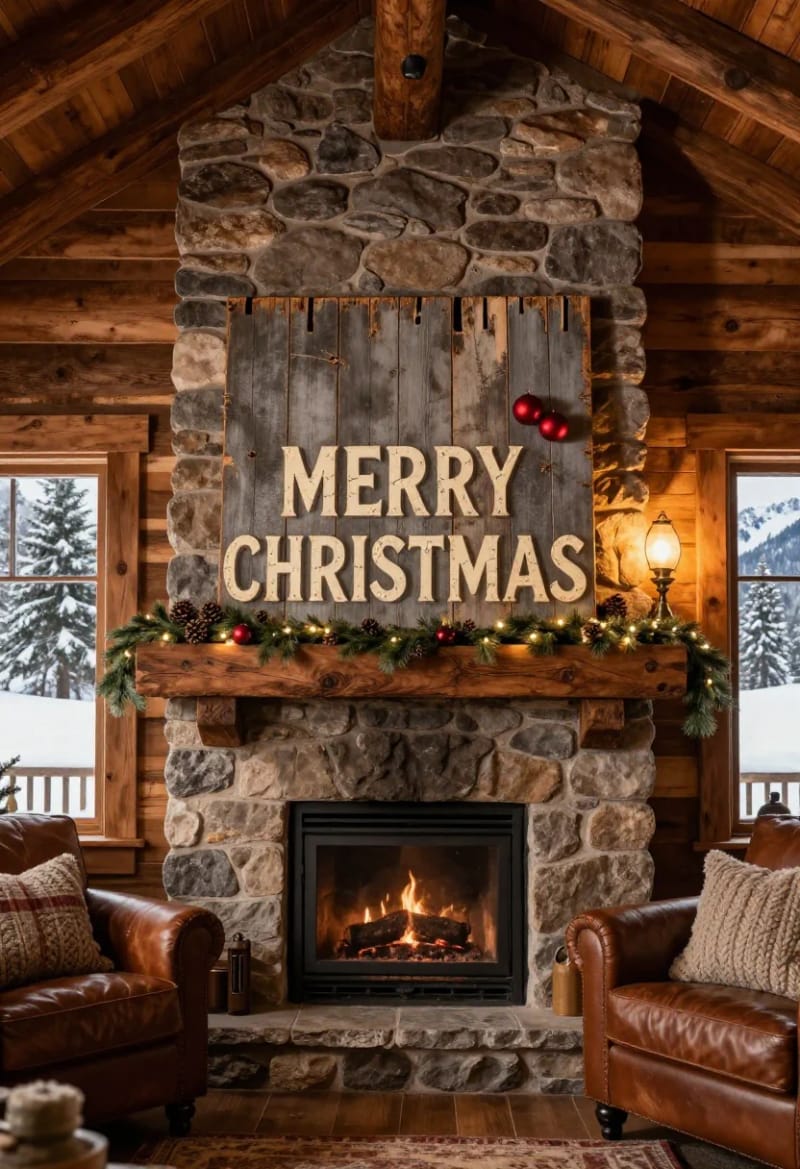
Lead with an off-white letter, not a bright one; cream or bone reads aged, while pure white reads new and kills the reclaimed effect instantly. Keep the message short and the board wide so the words stretch out with air around them, the way an old shop sign would. (The printed-MDF "reclaimed" signs in the big-box holiday aisle are pretending to be oak, and the dead-flat seams give them away every time.)
5. Slat-built pallet Christmas tree sign
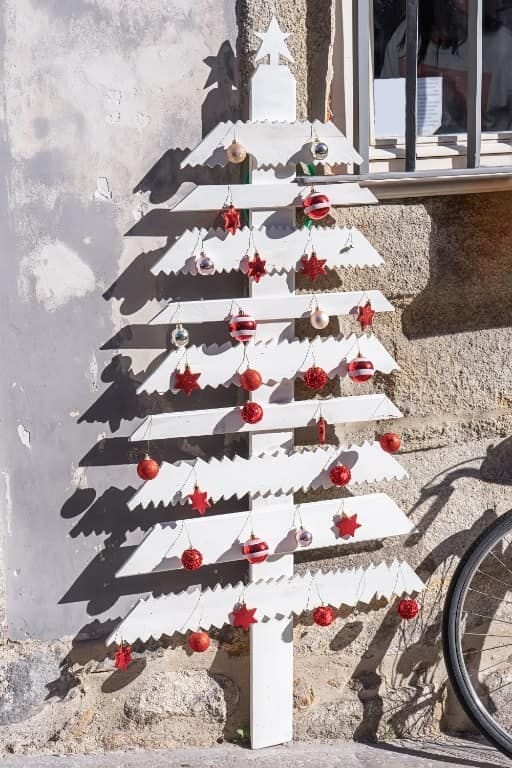
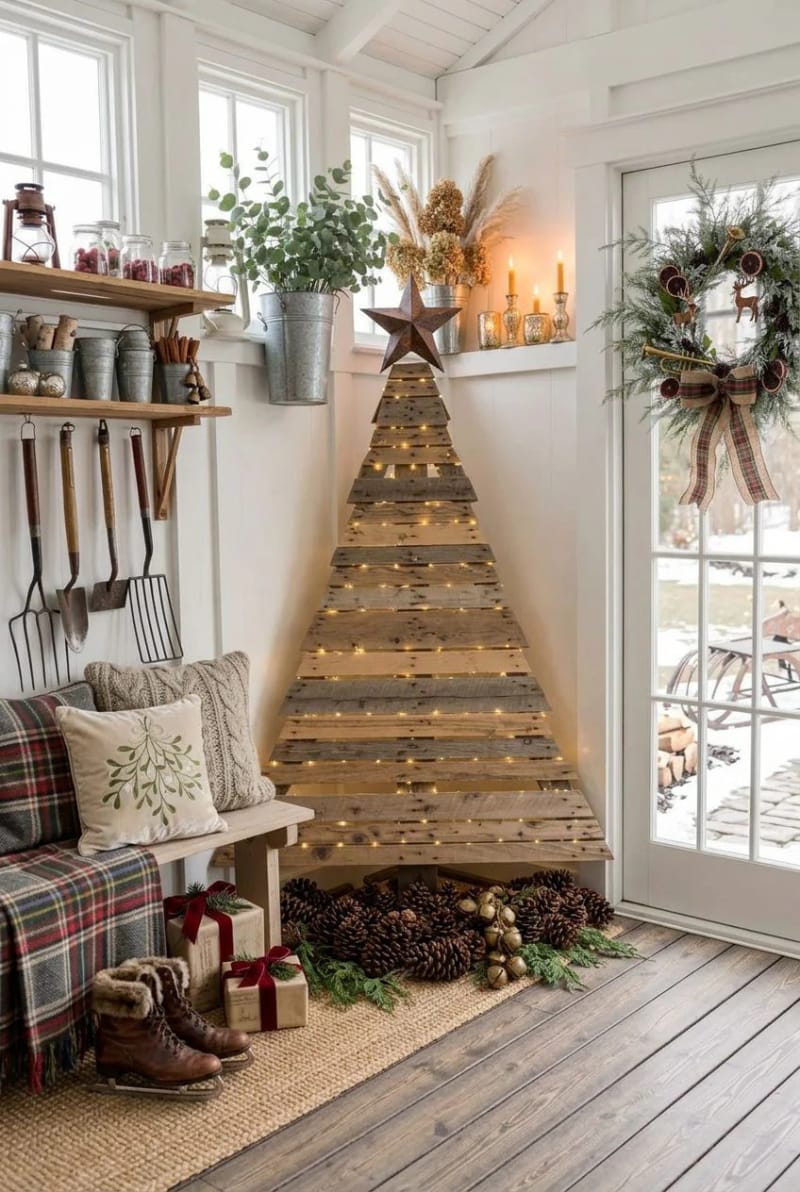
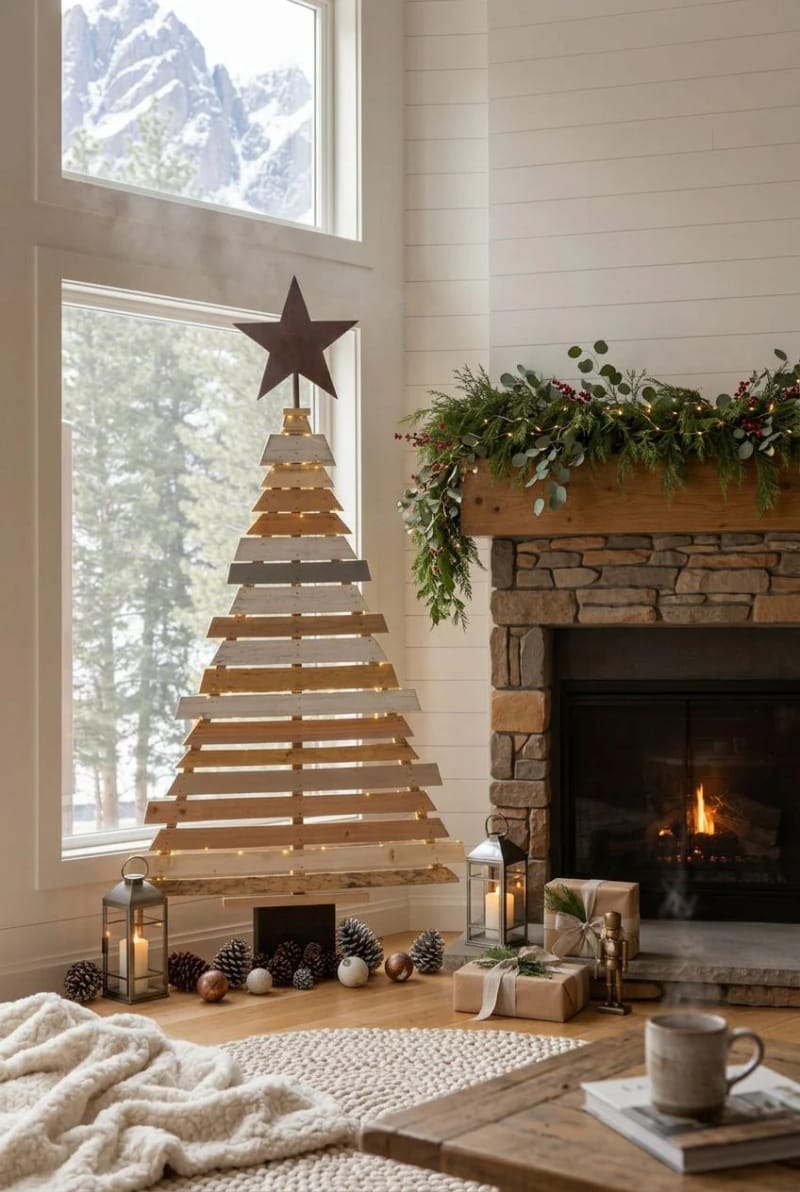
Build the tree from offcut slats stacked widest at the bottom and it reads as a tree from the street; paint a flat tree on one board and it reads only up close. The 3D route is Funky Junk's: hot-glue 1.5-inch cedar strips over a stencilled outline, or, if you want it flat, paint the board a wood-tone taupe to imitate the strips. Either way the trunk is a short dark block and the star is a single galvanized or rusty-metal cutout.

| Finish | Look on reclaimed wood | Effort | Rough cost |
|---|---|---|---|
| Raw, lightly sanded | Grey barn patina, knots and cracks on show | Lowest; a quick sand and done | Free |
| Dry-brushed white | Chippy whitewash, grain still reads through | Low, but easy to overdo | Paint you own |
| Milk paint, taupe (Almond Latte) | Fakes cedar-strip tone on a flat board | Medium; two thin coats | Around $25 a pot, lasts years |
| Stain plus dark wax | Deep, even, less “salvage,” more furniture | Highest; wax needs buffing | $15 to $30 |
My honest steer: stop before the whitewash column if the wood is already grey. People reach for white paint by reflex and end up sanding it back off because the raw board looked better to begin with.
6. Hand-painted snowman on a single wide pallet plank
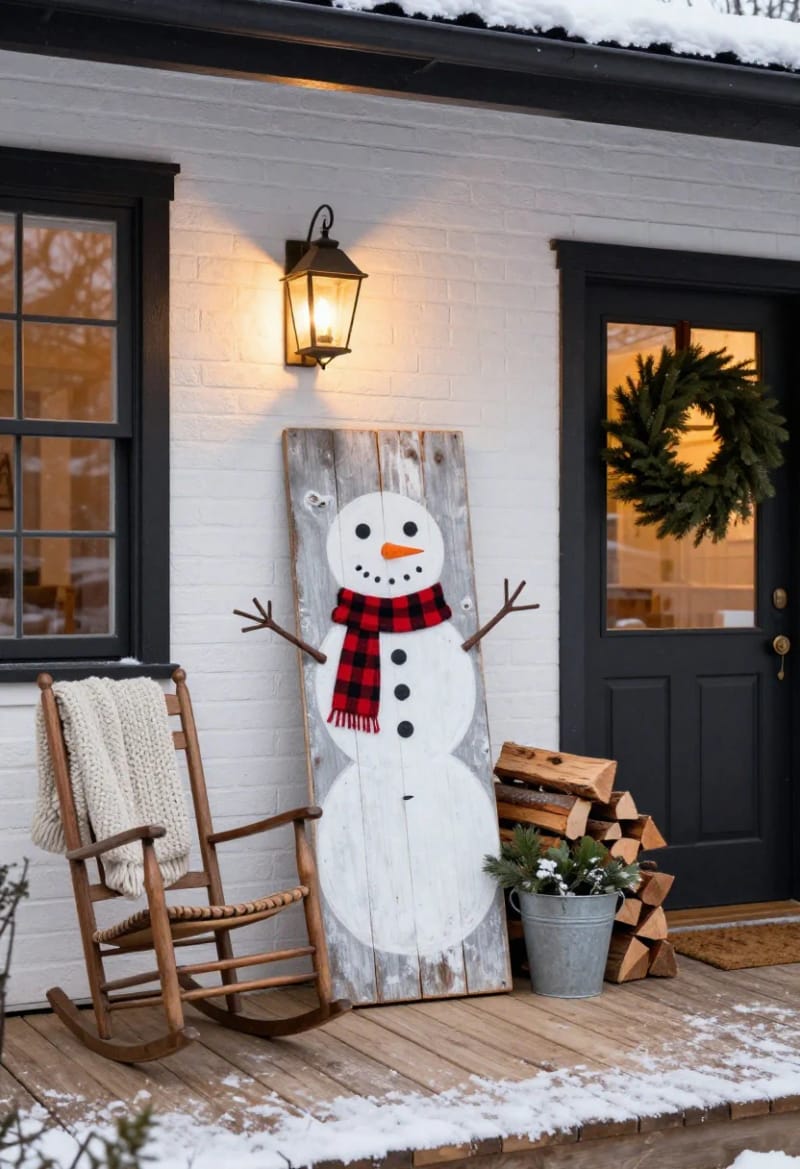
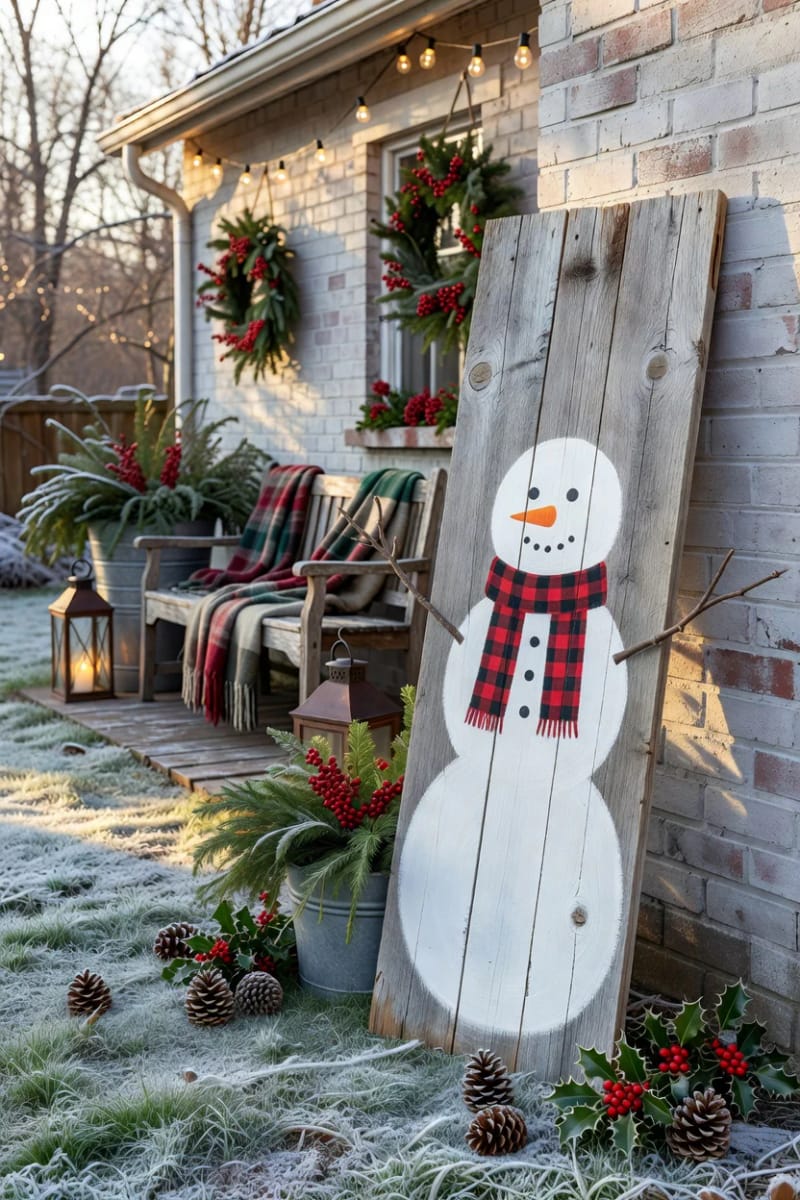
One wide board, one tall snowman, and the sign is basically finished; the vertical plank gives you a natural body shape without cutting anything. Keep the face to two coal eyes, a carrot, and a crooked stick smile, because an over-detailed snowman drifts into craft-fair kitsch fast. A twig arm poking off the edge of the board is the one three-dimensional touch worth adding.
7. Backlit pallet sign with a cut-out tree silhouette
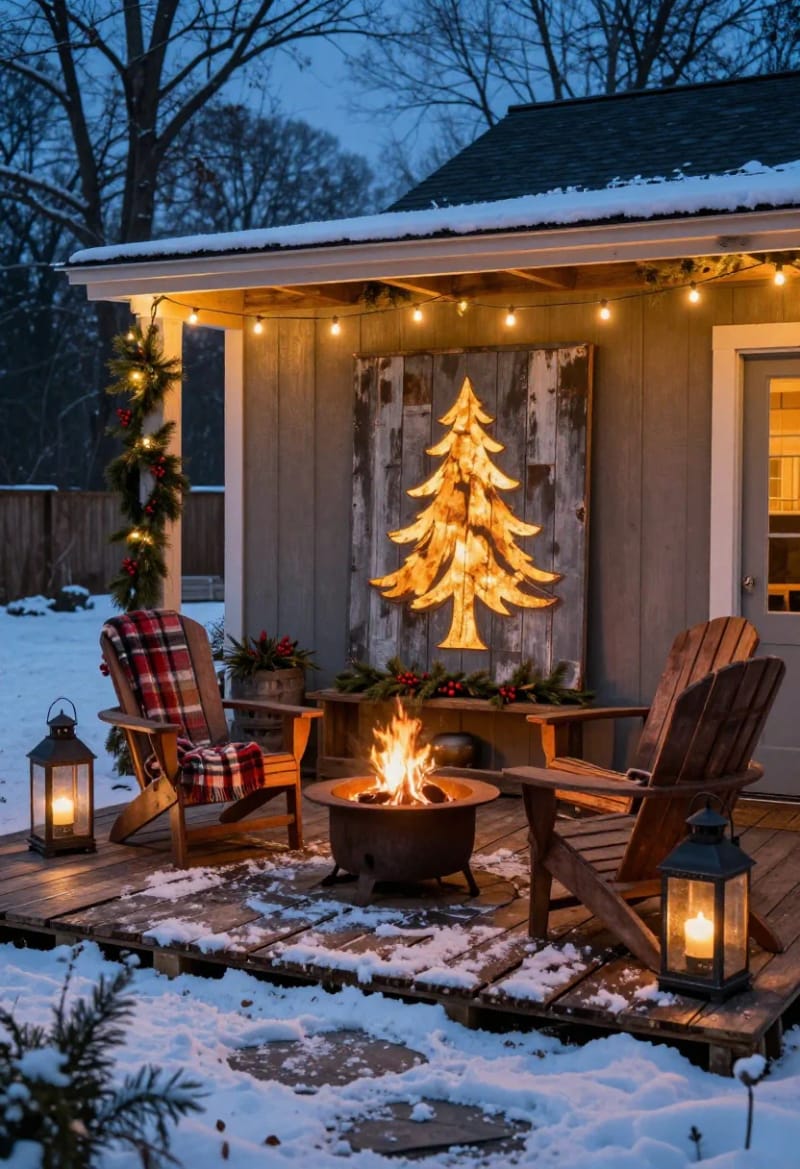
Jigsaw a tree or a star clean out of the boards, back the opening with a warm LED strip, and the negative space glows after dark while the sign reads normally by day. This is the one project on the list that earns a spot outdoors at night, and it photographs far better than a flat painted board.
Cutting the silhouette clean
Drill a starter hole inside the shape, feed the jigsaw blade through, and cut slow so the grain does not tear out; sand the inside edge afterward so the glow reads as a crisp shape. If a big cut feels like too much, Funky Junk's shortcut is to drill a dense grid of small holes and slip mini lights through each one, no silhouette required.
Where the light strip hides
Mount a warm-white strip on a thin spacer behind the board so the bulbs sit back from the opening and never show as dots. For a leaner, velcro the battery box to the back; for a wall sign, run the lead out a drilled hole at the bottom. Warm white only, since cool white turns the whole thing into a gas-station look.
8. "Let It Snow" pallet sign with a real snow line
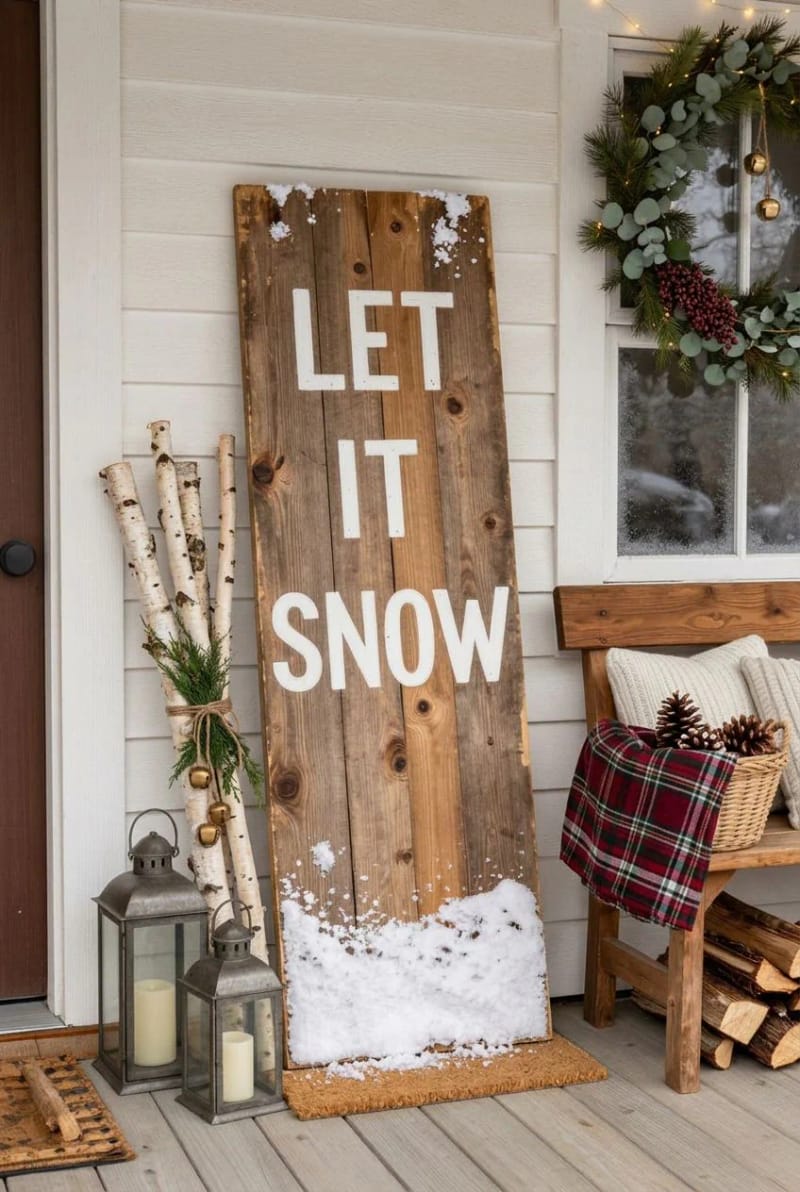
Paint a drift of snow fading up from the bottom third and set LET IT SNOW just above it, and the board tells a small scene instead of just spelling a phrase. Drybrush the white heavier at the very bottom and let it thin to nothing as it climbs, the way snow actually piles. The letters can sit half-buried in the drift for the same reason.
9. Old shutter turned Christmas sign
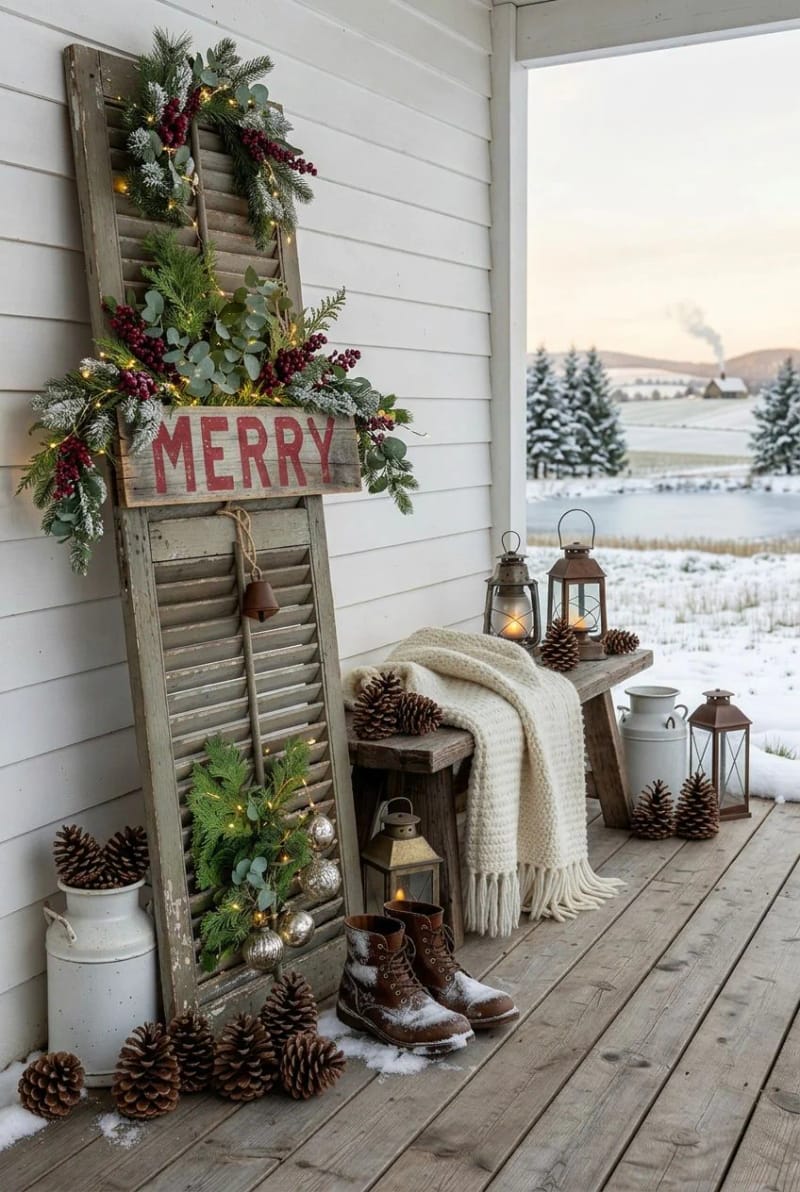
A louvered shutter is already a farmhouse sign before you touch it, so the work is just adding a message and greenery rather than building anything. Screw a small MERRY or NOEL board across the middle, tuck cedar and a rusty bell between the slats, and lean it by the door. The slats also hide a light strand's cord if you want it lit.
10. Buffalo-check background behind a pallet "NOEL"
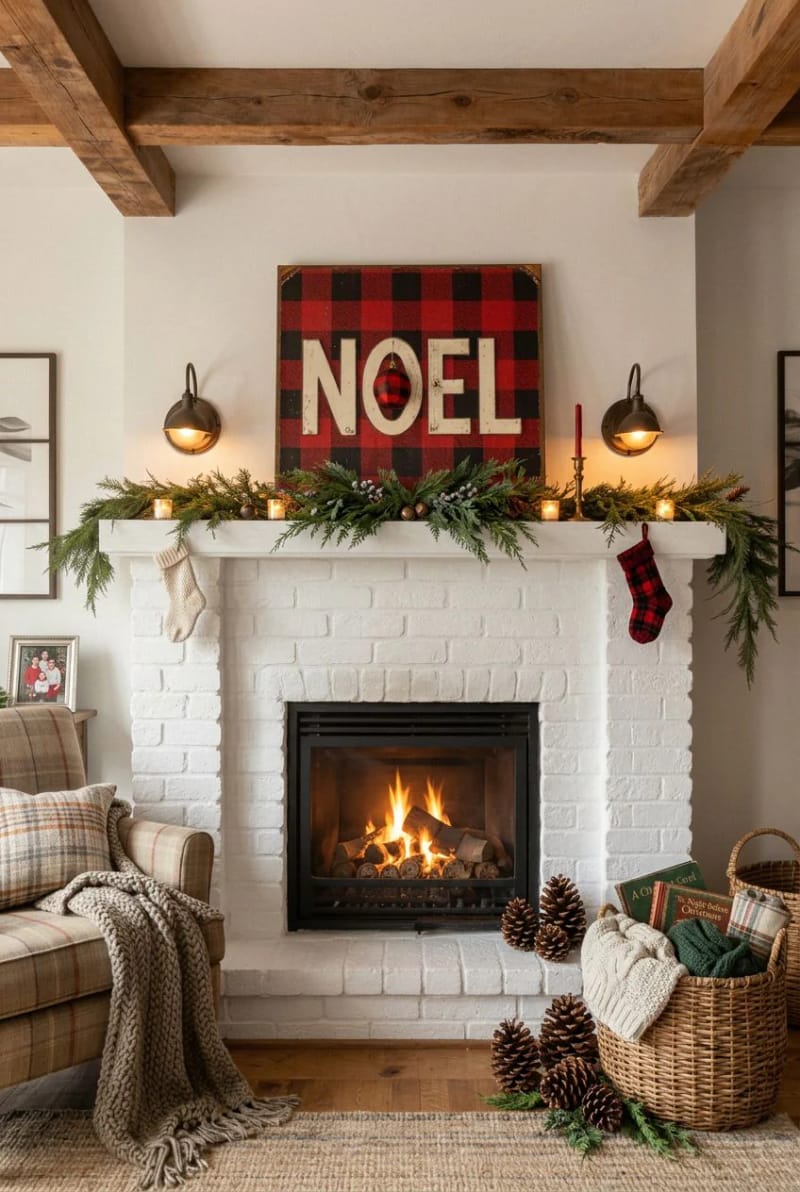
Paint a red-and-black check across the board first, then set the word over it, and a plain plank turns into the most recognizably farmhouse pattern there is. Tape off the grid in stages and let the wood grain show through the red squares so it still reads as reclaimed, not as fabric. Funky Junk's twist is to drop the O and slot in a checked ornament in its place, which saves you painting the trickiest letter.
11. Santa's "Merry Mail" North Pole pallet sign
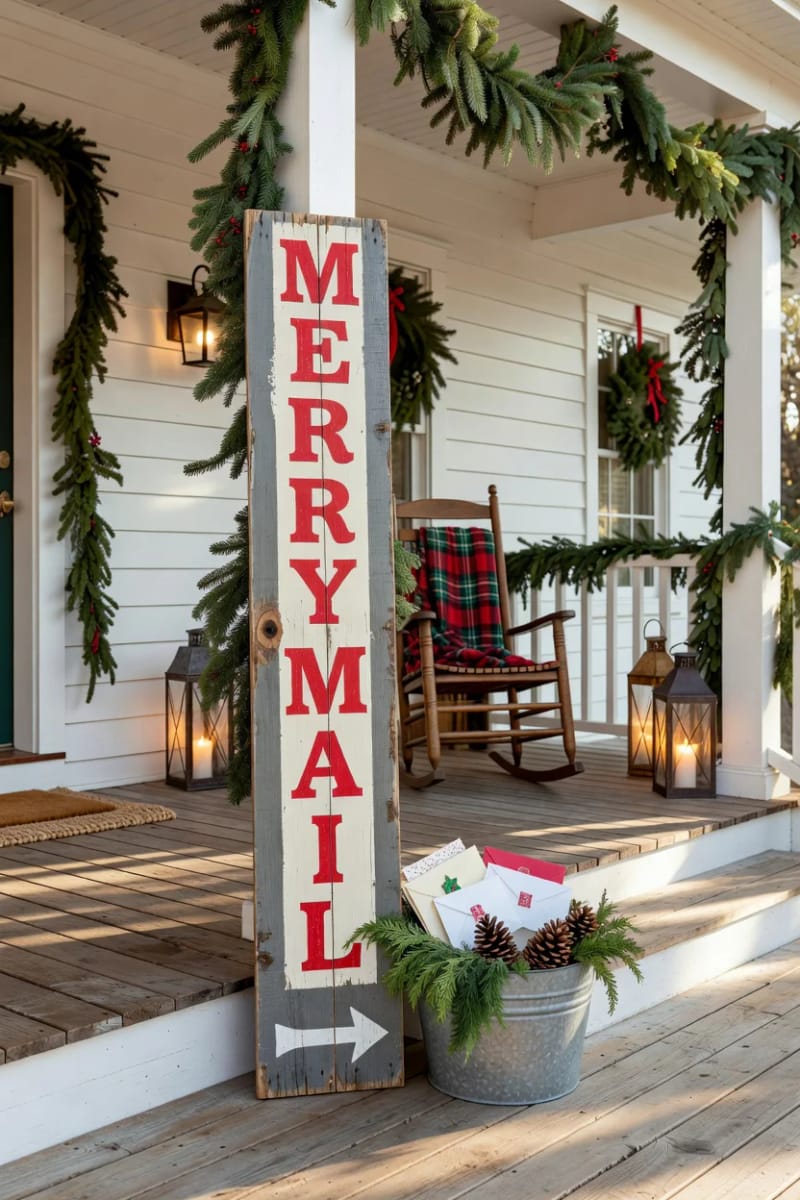
A vertical post-office-style sign reading MERRY MAIL or NORTH POLE with a little arrow gives kids something to find, and it pairs with a galvanized bucket as a card drop. Keep it to red lettering on cream over grey boards, and paint a thin arrow at the bottom pointing off toward the door. It is a small idea that does a lot of work on a porch full of quieter signs.
12. Advent countdown pallet board with a number window
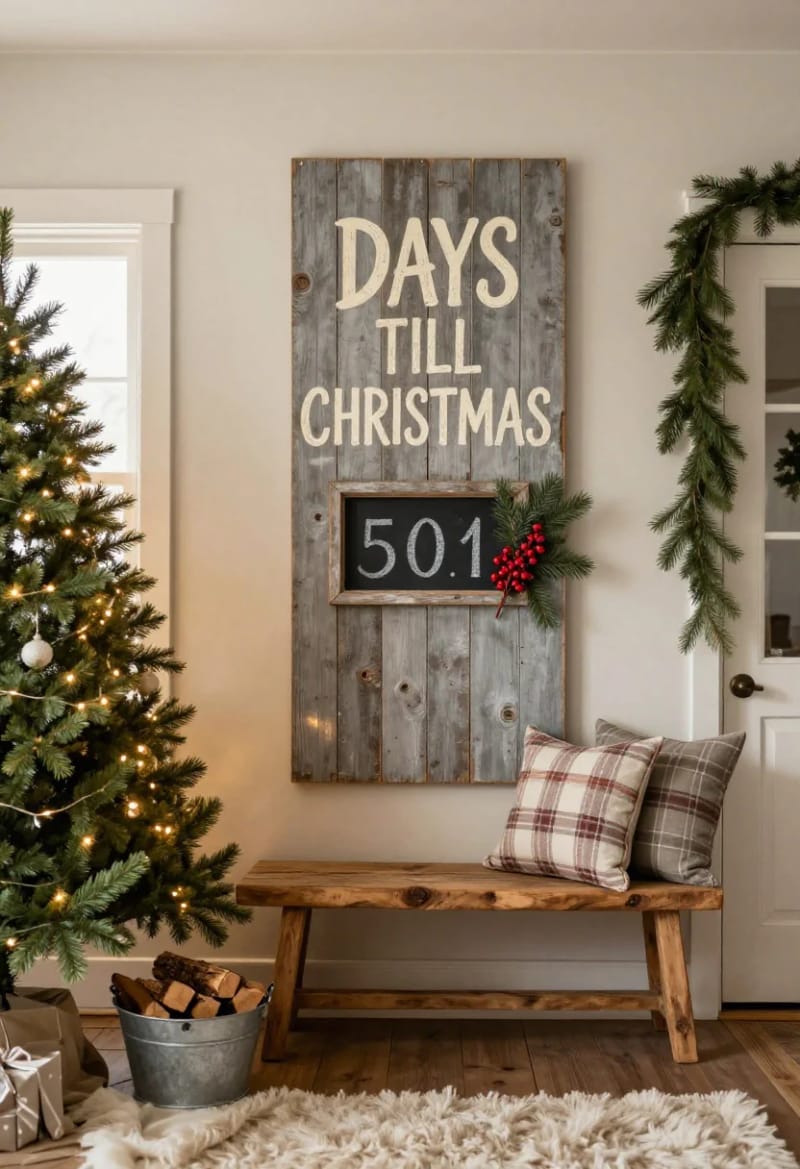
A board that counts down to the 25th earns a month on the wall rather than a week, which is the whole argument for making one.
The little number window
Cut a small square opening and back it with a scrap of chalkboard, or mount a mini chalkboard on the face, and flip the number by hand each morning. The alternative is 25 tiny hooks or clips in a row for a sprig or a tag, but the chalkboard version is the one you reuse every December without repainting.
Filling 24 days without the clutter
Resist gluing a trinket to every day; a countdown board reads best as a number and one sprig, not a bulletin of two dozen glued baubles. Chalk keeps it different each year for free, and it stores flat with the rest of the flat signs.
13. Grain-led lettering that lets the boards break the words
Instead of centering text in a tidy block, let the gap between two boards and the position of a knot decide where letters fall; a word split across a plank seam looks made by hand, not printed by a machine. This is the detail that separates a sign someone built from a sign someone bought, and it costs nothing but planning the layout on the actual boards first.
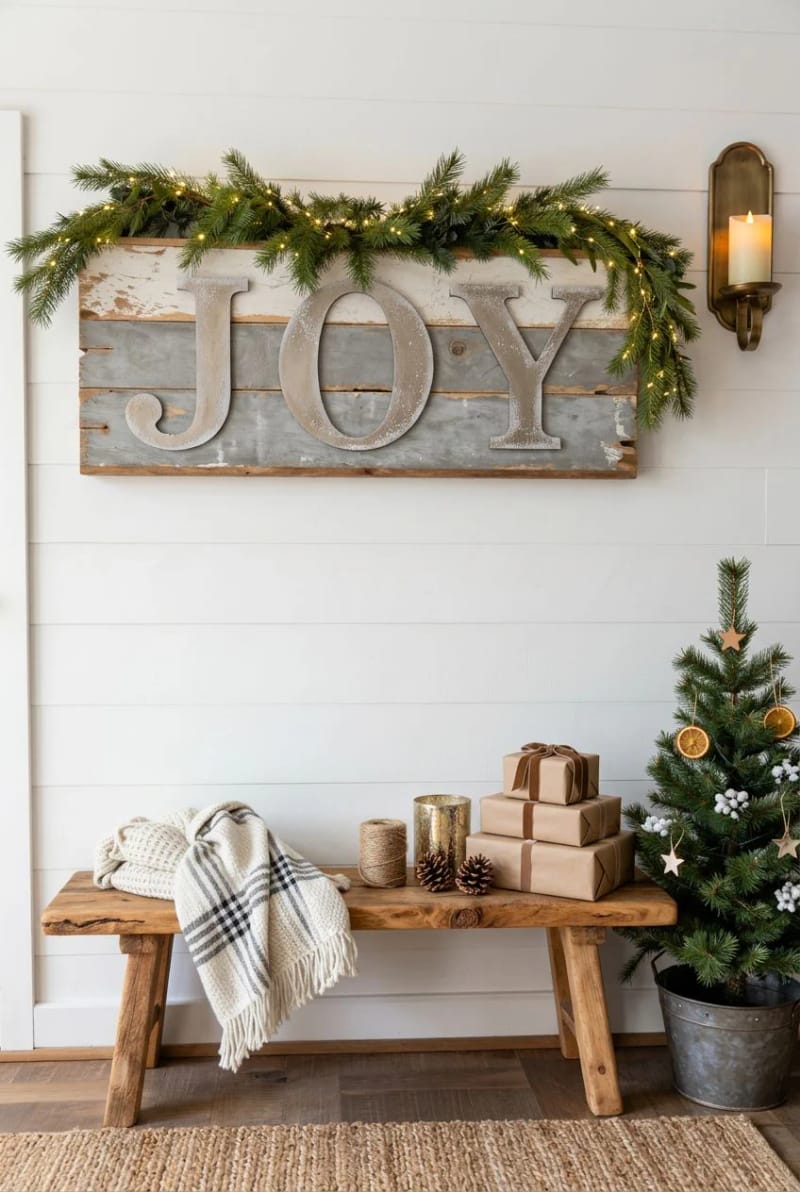
Do this
- Lay the letters out on the real boards before you paint, so the seams and knots land where you want them.
- Use a chalk pencil to rough in the word first; it wipes off and it forgives a shaky hand.
- Thin your paint so the grain shows through the strokes.
Avoid
- Reaching for a perfect vinyl stencil here. When the point is imperfection, a crisp mask fights you.
- Bright white on grey wood; it reads new every time.
- Cramming the whole message onto one clean board and losing the split-plank effect entirely.
Conclusion
If you only make one, make the vertical JOY leaner at number one; it is the fastest, it needs no hardware, and it is the sign people photograph. Do the HT-stamp check before you cut anything, then, if you have a jigsaw and one free evening, the backlit cut-out at seven is the piece that turns your porch from decorated into worth-stopping-for after dark. Save the whitewash for boards that actually need it, and let the grey barn boards you already found stay grey.