
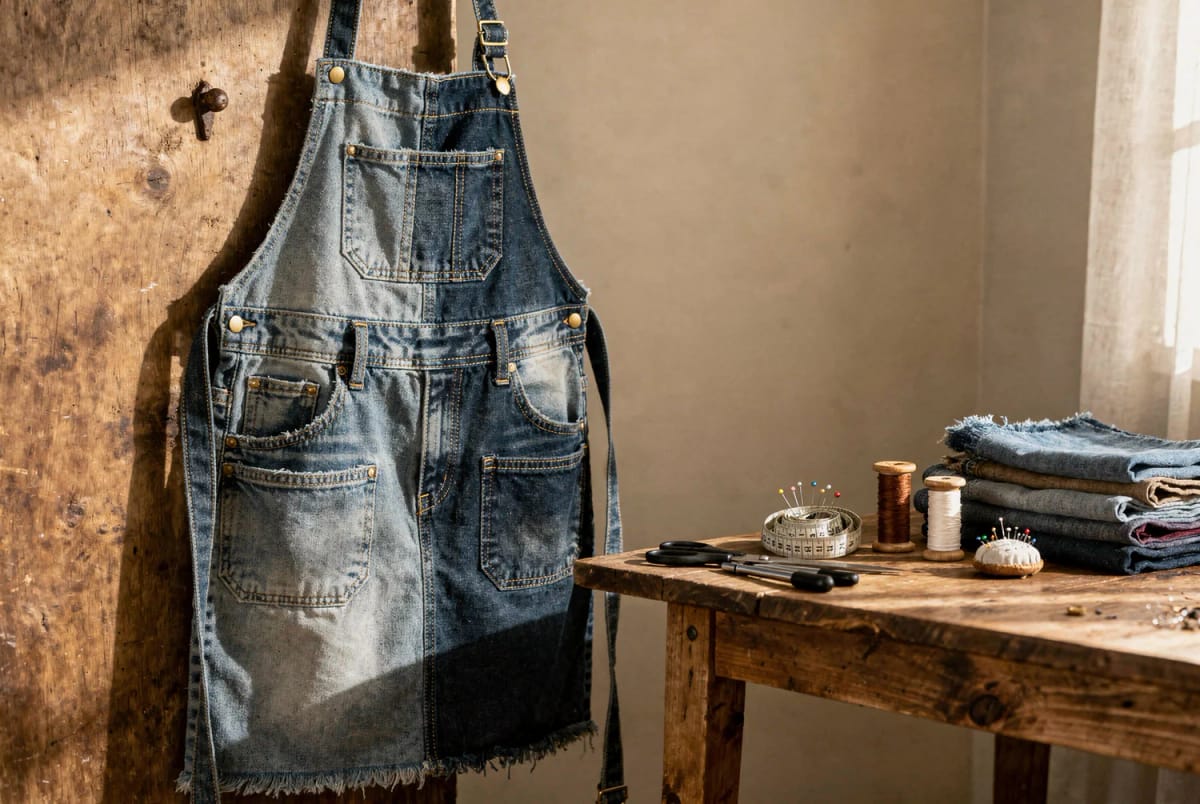
Nearly every denim apron tutorial opens by cutting up the legs, which is the narrowest part of the garment and the one with the least structure in it. The legs are long and thin; the apron you want is short and wide; and the single piece of a pair of jeans that is already short and wide, already reinforced along its top edge, and already carrying two pockets is the seat. Build the apron around the seat and the waistband, and the project gets easier as it goes rather than harder.
What follows is one apron out of one pair of adult jeans, roughly two evenings of work, with cotton webbing for the straps because a pair of jeans does not contain 69 inches of anything. It assumes a domestic machine and a jeans needle rather than an industrial walking foot. If your whole pile is women's size 4 skinnies, read the sizing section before you cut, because two pairs is a different build.
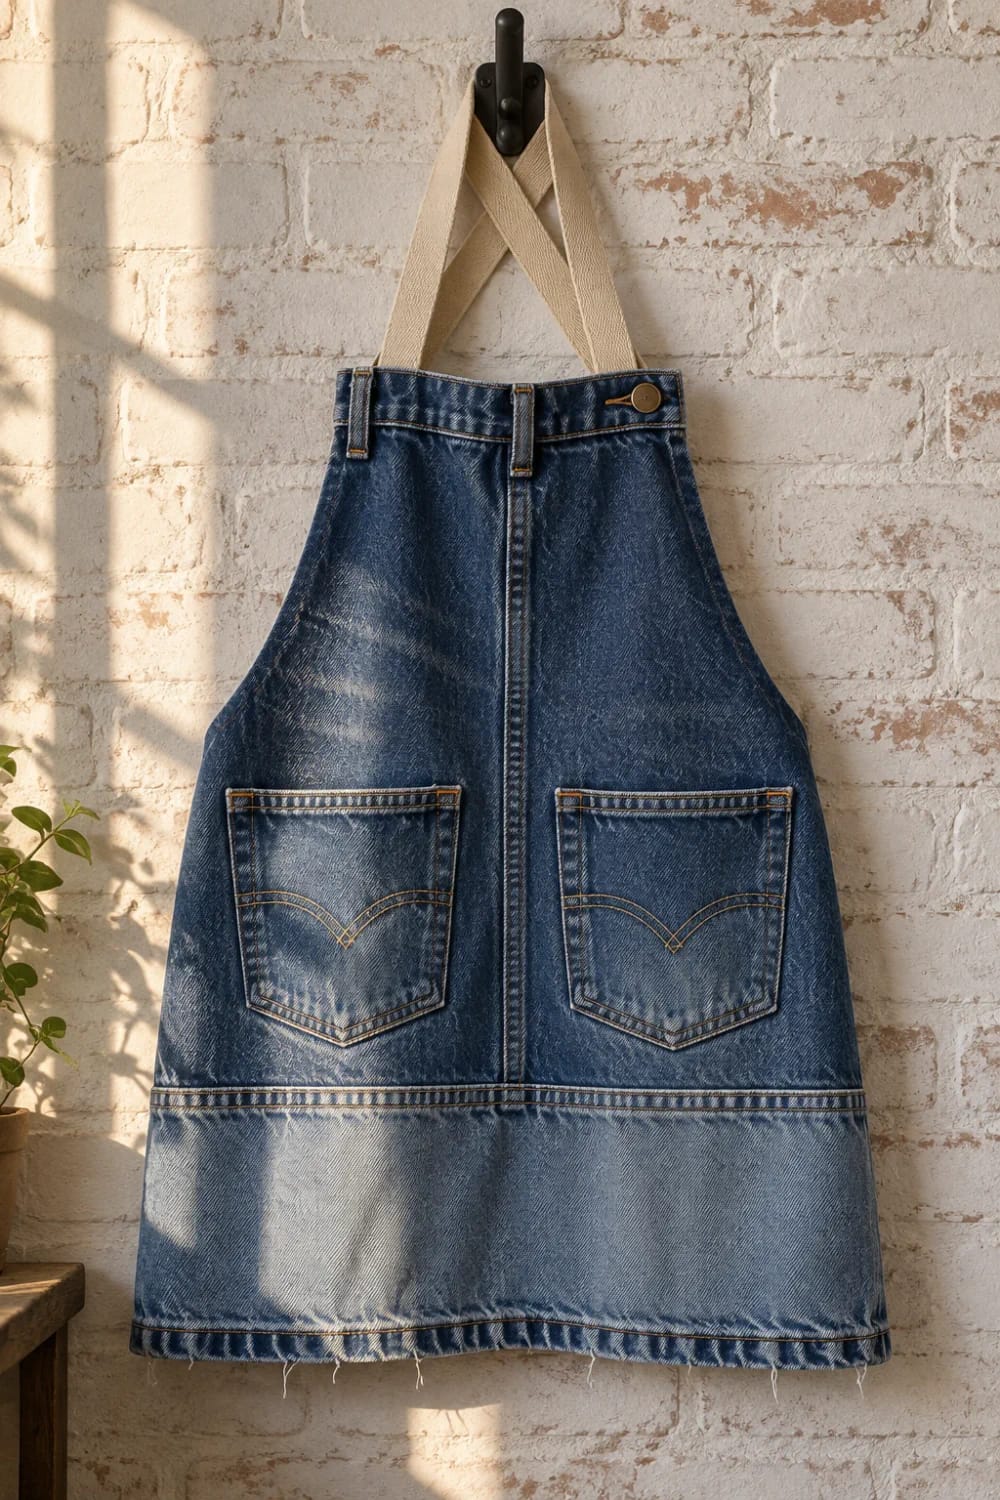
The seat is the apron, the legs are the hem
Measure a pair of men's size 34 jeans flat and the numbers settle the design for you. The back half, from waistband down to the crotch, comes out around 20 to 22 inches across and 13 to 15 inches deep, with the waistband running along its top edge and two pockets already stitched to its face. A leg opened flat is a different shape entirely: 11 to 13 inches wide at the thigh, tapering to 8 or 9 at the cuff, and 30 inches long.
A standard adult bib apron is 28 inches wide by 32 long, and the butcher version runs 28 by 34. No single piece of a pair of jeans gets near 28 inches, which is exactly why the usual advice produces a narrow apron that slides sideways off your hip. Two leg panels joined down the middle reach 22 to 26 inches, and that is the whole trick: the seat gives you width and strength at the top, the legs give you length and a finished hem at the bottom, and one horizontal seam puts them together.
Everything that makes this worth doing at all is structural rather than decorative. The waistband is four layers with a stitched edge and a button already in it. The belt loops are bar-tacked at both ends to take a belt’s worth of load, so they will take a pair of snips. The back pockets were built to hold a phone through a thousand sit-downs. It is the same argument behind most of the better upcycled jeans decor projects worth the machine time, which is that the useful parts of a pair of jeans are the parts a pattern would make you build from scratch.
Seat panel: cut across both legs 14 inches below the waistband, then split both outseams. The back half yields roughly 20 to 22 by 13 to 15 inches, waistband intact, two pockets attached.
Front half: same width, with the fly down the centre. This is the bib, or a second pocket panel.
Leg panels: split one inseam per leg and press flat. Each gives 11 to 13 inches of usable width above the knee, narrowing below it.
Finished hem: the original cuffs become the apron’s bottom edge, so the longest straight hem in the project is one you never sew.
Leftovers: below-knee denim, the crotch gusset, the zipper, the rivets, the labels.
Which jeans to cut up, and which to leave in the drawer
The pair you want failed at the knee. Knees go first on almost every pair of jeans, and a blown knee leaves the seat, the waistband and the pockets untouched, which is the entire apron. Weight matters next: 10 to 12 ounces per square yard is midweight and 14 plus is heavyweight, and an apron that takes a hammer wants the upper half of that range.
Cut these up
- Midweight to heavy 100 percent cotton denim, 11 oz and up, worn through at the knee
- Size 32 waist and above, where the seat panel lands past 20 inches wide
- Straight or bootcut legs, which stay wide further down than a taper does
- Dark indigo if you want the gold topstitching to read from across a room
- Anything already washed fifty times. Used denim has done all the shrinking it is going to do, which is the one real advantage over buying fabric off a bolt
Leave these alone
- Stretch denim with 2 percent elastane or more: a loaded pocket stretches the panel and it does not go back
- Jeans under a size 30, which give a seat panel too narrow to span a hip
- Pairs thinning at the seat, because the apron’s strongest panel is already half gone
- 8 oz summer denim. It hangs limp and creases into soft folds a tool will catch on
- Anything you would still wear
One pair is enough for the hip version. If your pile runs small, pull two pairs in washes a shade apart and let the joining seam be visible, because a deliberate two-tone panel looks decided and a grudging one looks short. Whatever is left over still has a queue of jobs waiting for it, and there are 57 other ways to use the rest of the pile once the apron is off the machine.
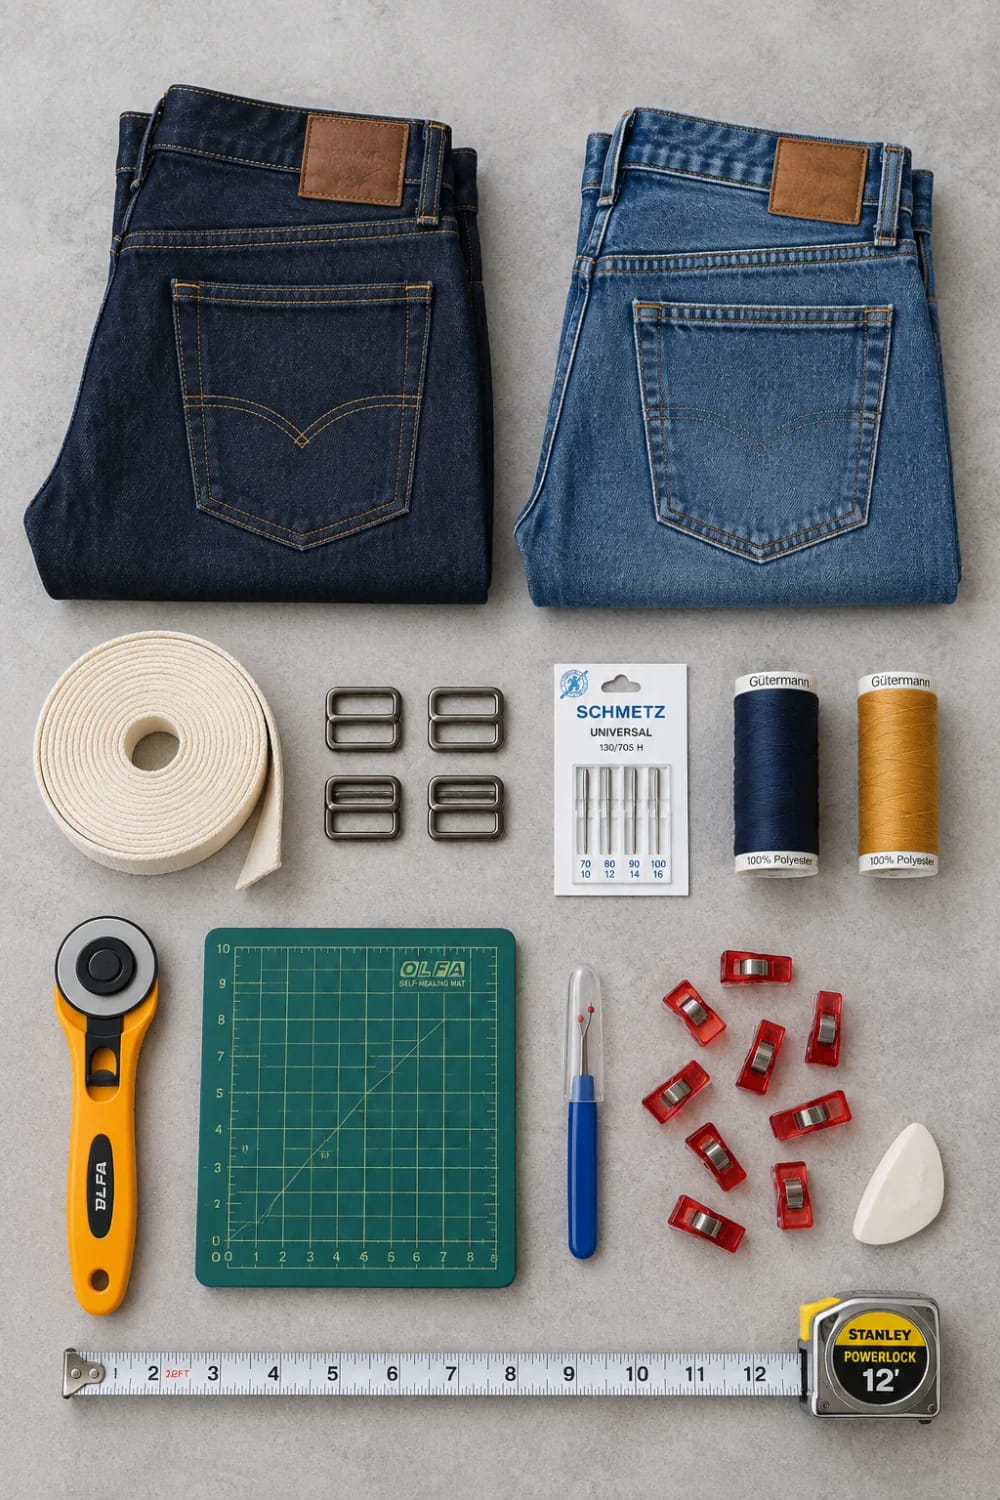
Materials and tools
The jeans are free, the marking tool is a sliver of dry soap, and the hem is already sewn. Almost all of the cost below is in tools you keep, so the second apron runs you about eleven dollars in thread and webbing.
Materials
| Qty | Item | Spec | Price |
|---|---|---|---|
| 1 pair | Old adult jeans | 11 to 14 oz cotton denim, size 32 or larger, blown at the knee | Free |
| 1 | Gutermann Extra Strong polyester thread, 100 m | No. 40, for every construction seam and bar tack | $4 to $7 |
| 1 | Gutermann Top Stitch thread in gold, 33 yd | No. 30, topstitching only, needs a 100/16 or larger needle | $4 to $6 |
| 1 card | Schmetz Jeans needles, size 100/16 | 5 needles, system 130/705 H-J, reinforced shaft | $5 to $8 |
| 2 to 3 yd | Natural heavy cotton webbing, 1.5 in | sold on a 10 yd roll, enough for four aprons | $10 to $16 |
| 2 | Metal tri-glide slide buckles, 1.5 in | 10 pack, gunmetal, for adjustable straps | $7 to $10 |
| Materials subtotal | $30 to $47 | ||
Tools
| Qty | Item | Spec | Price |
|---|---|---|---|
| 1 | Fiskars 3-piece rotary cutter set, 45 mm | cutter, folding self-healing mat, 6 x 24 in ruler | $25 to $40 |
| 1 pack | Clover Wonder Clips, 50 count | replaces pins, which bend in four layers of denim | $12 to $18 |
| 1 | Dritz Jean-A-Ma-Jig | 1/8 in and 3/16 in steps, levels the presser foot over seams | $5 to $8 |
| 1 | Dritz Deluxe seam ripper | hardened steel, large handle, for opening outseams | $4 to $6 |
| 1 | Steam iron and a spray bottle | household, for setting felled seams | $0 |
| 1 | Sliver of dry soap | draws a clean white line on indigo and washes out | $0 |
| Tools subtotal | $46 to $72 | ||
Total
| Everything bought from scratch | $76 to $119 |
| If the cutter, clips and iron are already in the house | $30 to $47 |
Prices are approximate ranges as of September 2026; verify before purchase.
Three versions, and the one I would build
Build the cross-back. A neck loop puts the whole loaded weight of the apron, plus whatever is in the pockets, on one strip of webbing across the back of your neck, and the standard cross-back instead runs a 69 inch wrap over both shoulders and ties at the front, with nothing on the neck at all. For a kitchen apron it barely matters. For an apron holding a hammer and a folding rule it matters by the end of the first hour.
| Version | Coverage | Jeans | Straps | Machine time |
|---|---|---|---|---|
| Hip apron | Waistband to mid-thigh, about 26 in long | 1 pair | Two 32 in webbing ties, threaded through the belt loops | 60 to 90 min |
| Bib with neck loop | Chest to mid-thigh, about 32 in | 1 pair, bib cut from the front half | One 37 in loop, one tri-glide | About 2 hr |
| Cross-back bib | Chest to knee, about 34 in | 2 pairs | 69 in wrap, two tri-glides, ties at the front | 5 to 3 hr |
The hip version is the honest beginner build and the one that uses the jeans hardest, since the waistband becomes the apron's waistband and you sew no ties to anything. (I know the internet loves a no-sew version of this project. A no-sew apron is a bib.)
Before you cut anything, run your own waist through the panel sizes. Jean rises vary by more than an inch between cuts, so the calculator gives you the shape of the thing and your own jeans give you the last half inch.
Denim apron cut calculator
Rounded estimates. Cut sizes include a 1 inch seam allowance on every edge. Measure your own jeans flat at the hip before you cut.
Take the jeans apart without killing the waistband
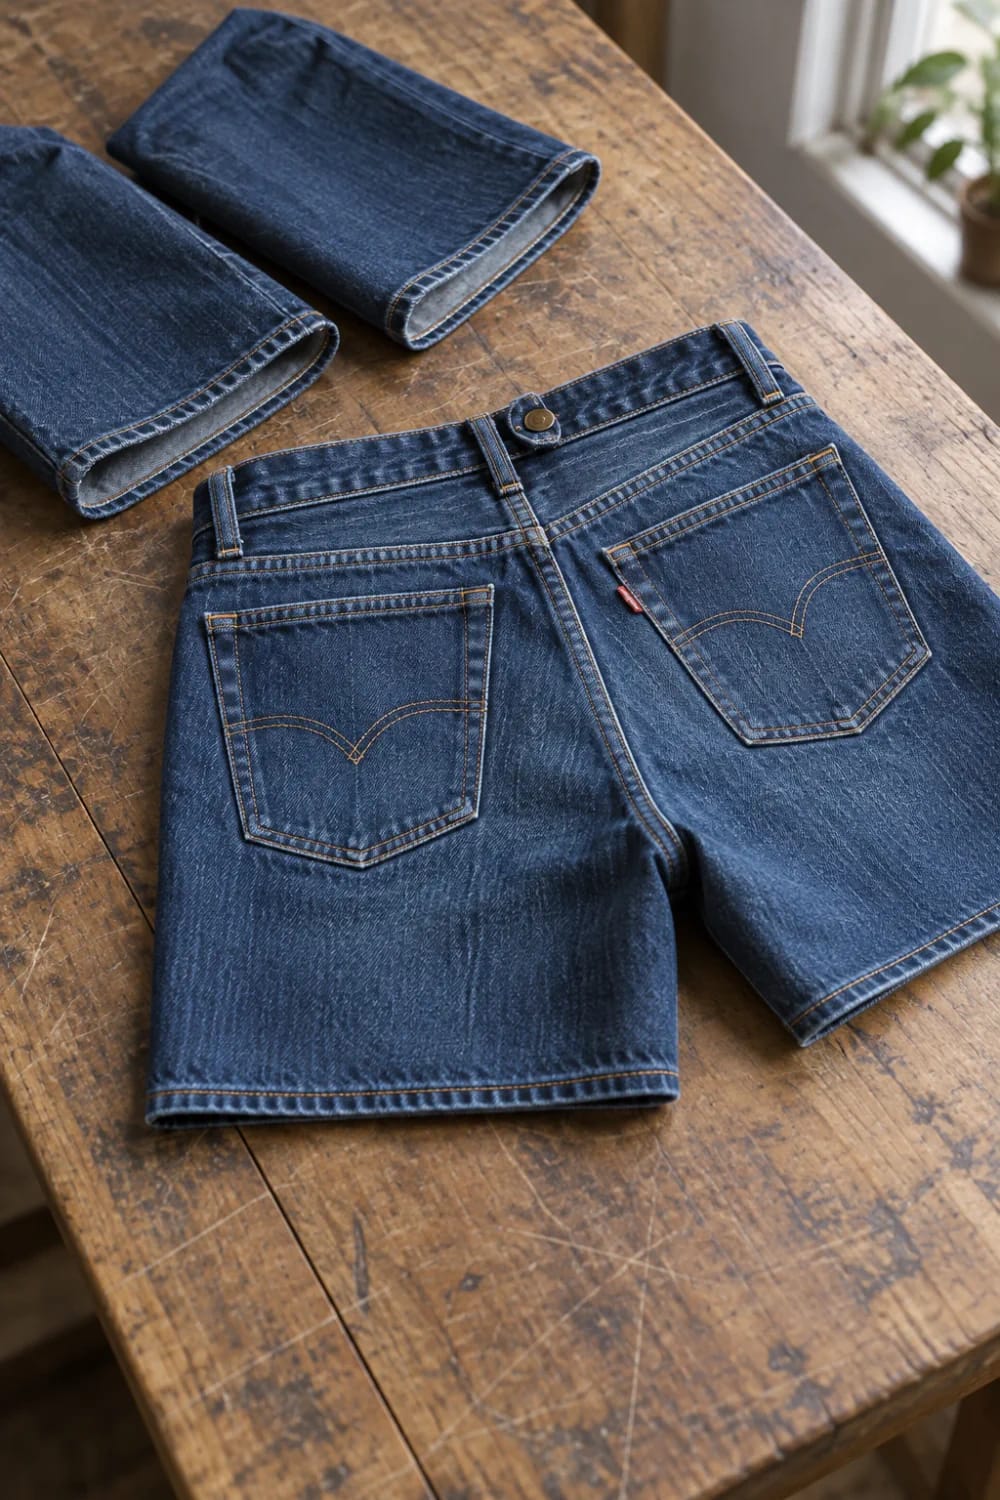
Wash and dry both pairs first, even if they came out of the closet clean, because road grit in a cuff will take the edge off a rotary blade in two passes. Then work in this order, which keeps the one irreplaceable piece whole until the end.
- Mark the cut line. Lay the jeans flat, front up, and draw a straight line across both legs 14 inches down from the top of the waistband with the soap. On most adult pairs that lands an inch or two below the crotch seam.
- Cut across. Rotary cutter against the long ruler, both layers at once. You now have a denim skirt and two tubes.
- Split the outseams of the skirt. Seam ripper, not scissors, working from the cut edge upward. Stop at the waistband and leave it joined. You get a front half with the fly and a back half with the pockets, still hinged together at the top.
- Open one inseam per leg tube. Inseams are usually a single felled seam and come apart fast. Leave the outseam alone: that gold felled line is the strongest edge on the panel and it looks like a design decision once the apron is built.
- Press everything. Steam, spray bottle, hard pressure. Denim that has been folded in a drawer for three years holds its creases through a wash, and a creased panel measures short.
If the knee you cut through is thin but not holed, that panel is still fine for the lower half, worn side out, with the wear treated as a feature rather than hidden. Stitching over a thin patch is the same move as putting embroidery on a worn spot instead of patching it, and it reinforces the fabric while it is at it.
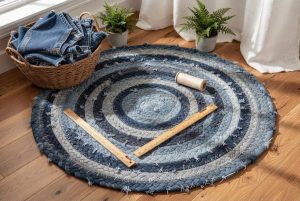 How to Make a Braided Denim Rag Rug From Old Jeans The one denim project that eats the below-knee offcuts this one leaves behind.
Join the lower panel with a flat-felled seam
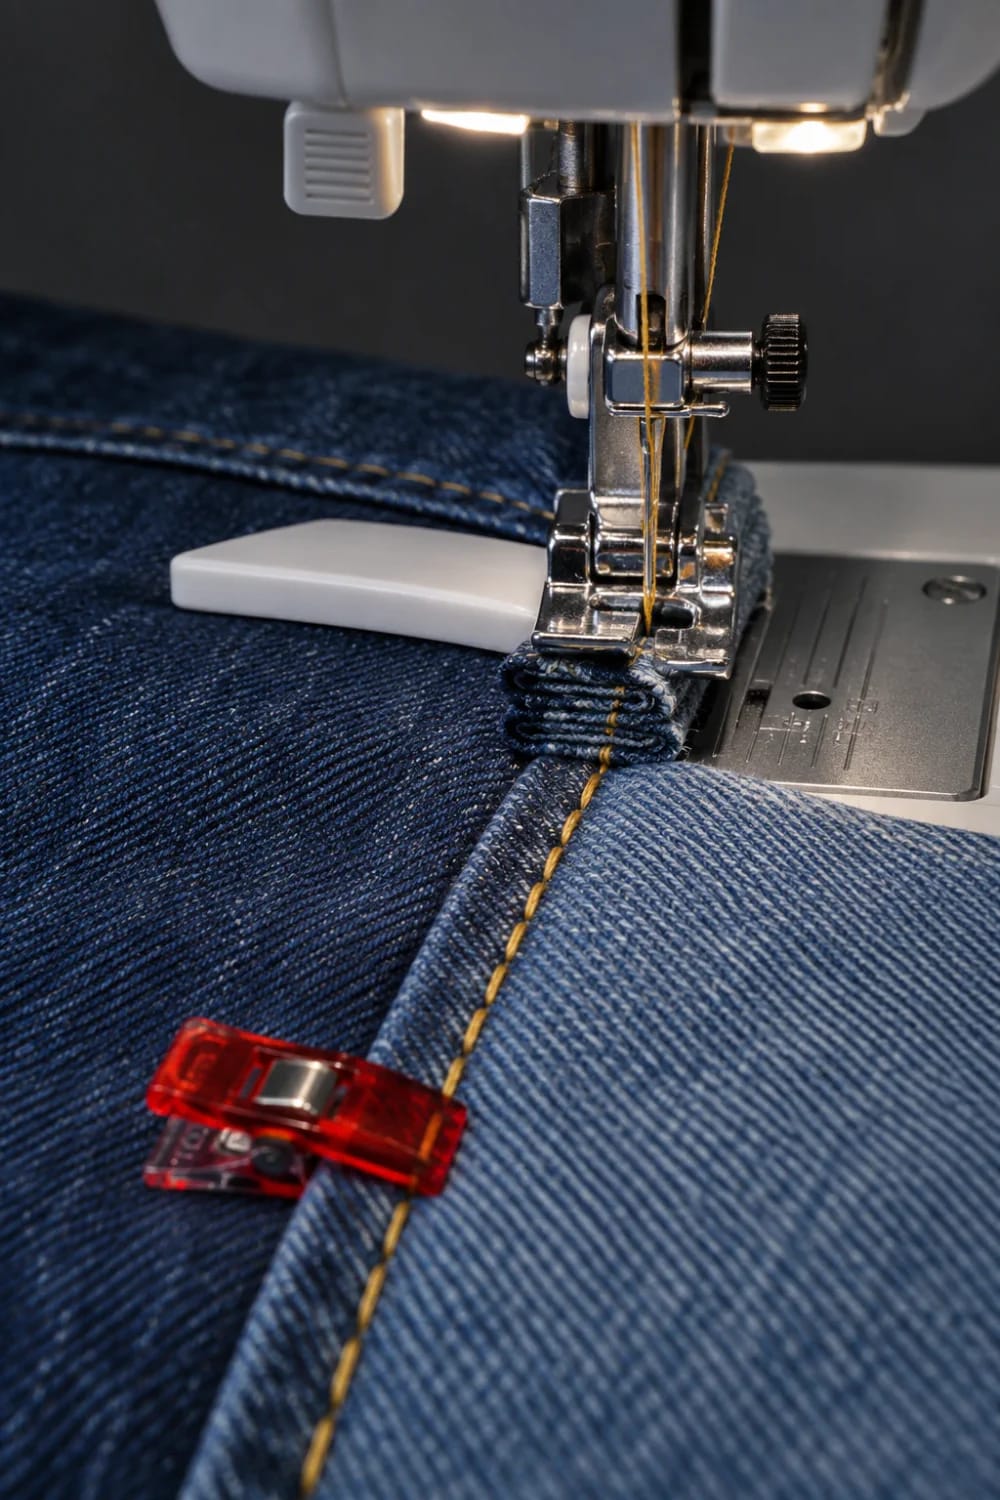
Set the machine up before you touch the denim: jeans needle size 100/16, stitch length 3.5 to 4 mm, No. 40 polyester in the bobbin, and the gold No. 30 on top only for the visible rows. A universal needle bends on the first felled seam and then starts skipping stitches, which looks like a tension problem and is not one.
Lay your two leg panels side by side, widest ends up, and join them down the centre with a flat-felled seam: stitch the first row at 5/8 inch, trim one allowance to a quarter, fold the wide one over the narrow one, press it flat to one side, and run the second row a scant eighth from the fold. That gives you a seam with four layers and no raw edges, which is the same construction holding the original jeans together. Then attach that pieced panel to the bottom edge of the seat panel the same way, and press the finished seam downward so it does not collect sawdust.
The two places that break needles are the intersections, where your new felled seam crosses the jeans’ original outseam. You are asking a domestic machine to climb six to eight layers of 12 oz cotton in one stitch. Stop an inch short, slide the Jean-A-Ma-Jig under the back of the presser foot so the foot sits level, hand-walk the wheel through the hump one stitch at a time, then pull the aid out and carry on. Skip this and you get a skipped stitch at the exact point of highest stress, or a snapped 100/16 and a mark in the denim you cannot press out.
Granted, a 110/18 makes those intersections easier. It also punches a visibly larger hole, and some older domestic machines will not take one at all, so try the 100/16 on a doubled scrap of the same jeans first.
Put the pockets where your hands actually are
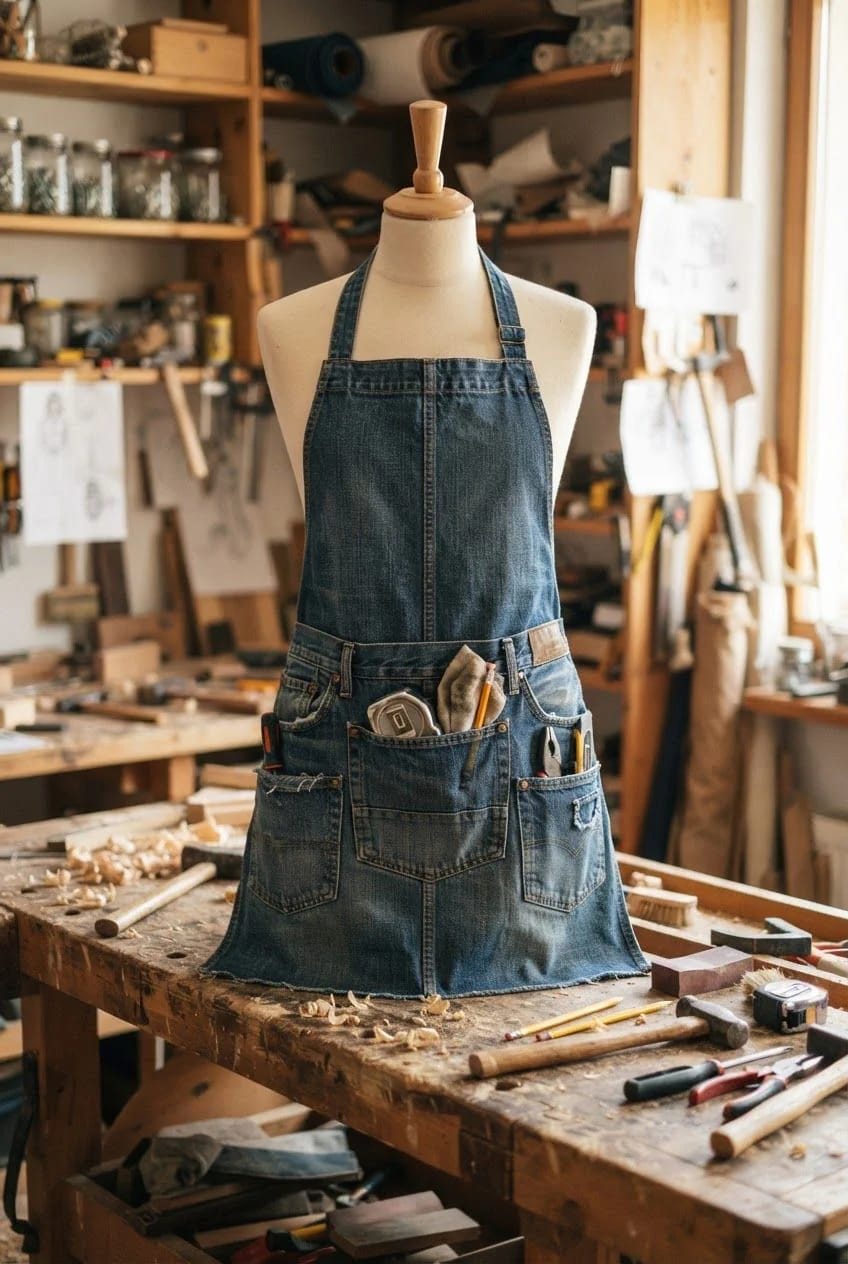
The pockets end up too high if you leave them where the jeans had them. On a worn pair they sit at the top of the seat panel, which on the finished apron is roughly at your navel, and nobody reaches up to put a pencil away. Cut each back pocket free with half an inch of denim around it, reposition both about four inches below the waistband and three inches in from the sides, clip them down, and edge-stitch around three sides in gold.
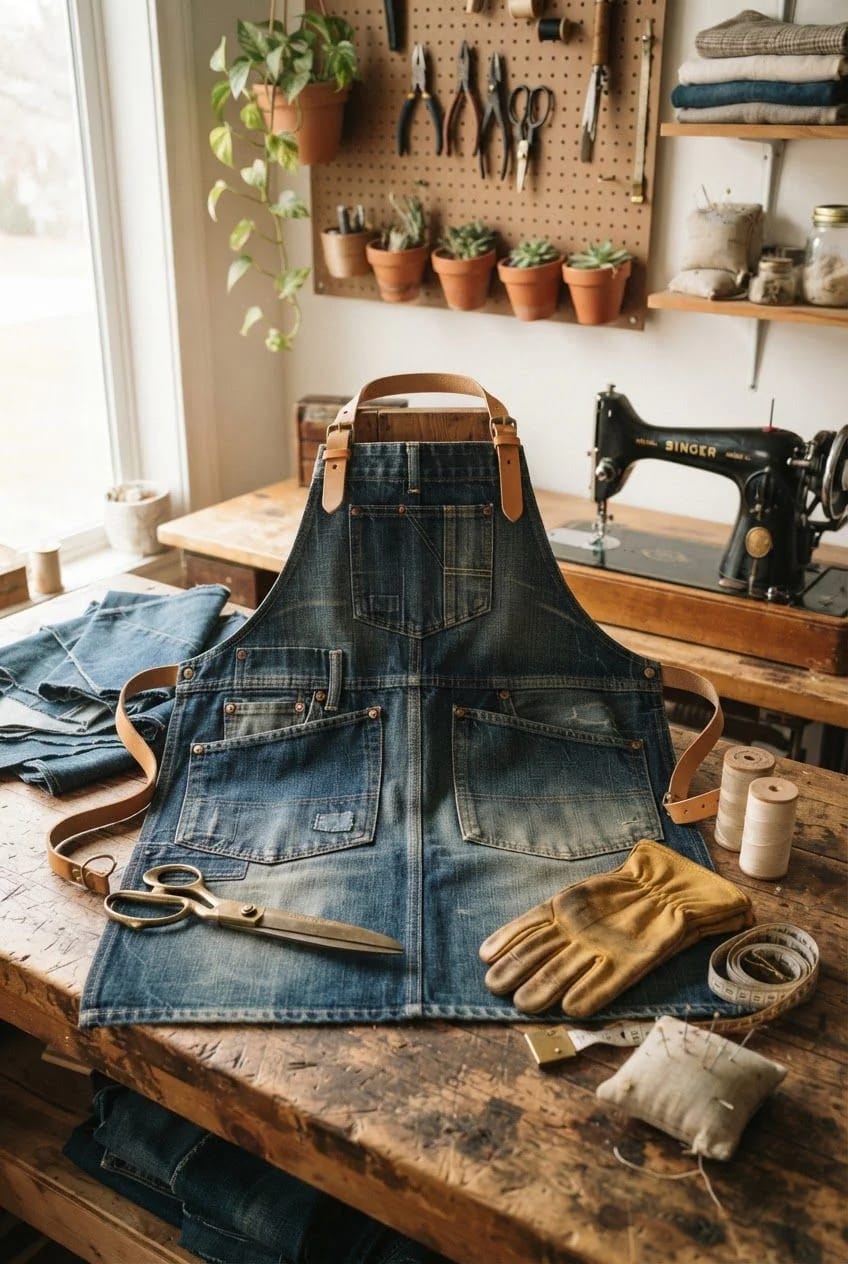
Then bar-tack the top corners. A pocket fails at its top corners, always, because that is where the load concentrates when something heavy swings in it: drop the stitch length to nearly zero and run a quarter-inch block of stitches at a 45 degree angle across each corner, twice. Reusing a back pocket as a working front pocket is the oldest move in denim upcycling and it carries projects far sillier than a work apron, but it only survives real use if the corners are tacked.
Two more things worth five minutes each. The belt loops are already bar-tacked at both ends, so leave every one of them on: they hold snips, a folding rule, a pencil, a tape measure clip. And if you kept the front half, the fly with its stitched placket makes a narrow slot pocket that holds a pen upright and will not let it fall out when you bend over.
Hang it on webbing, not on your neck
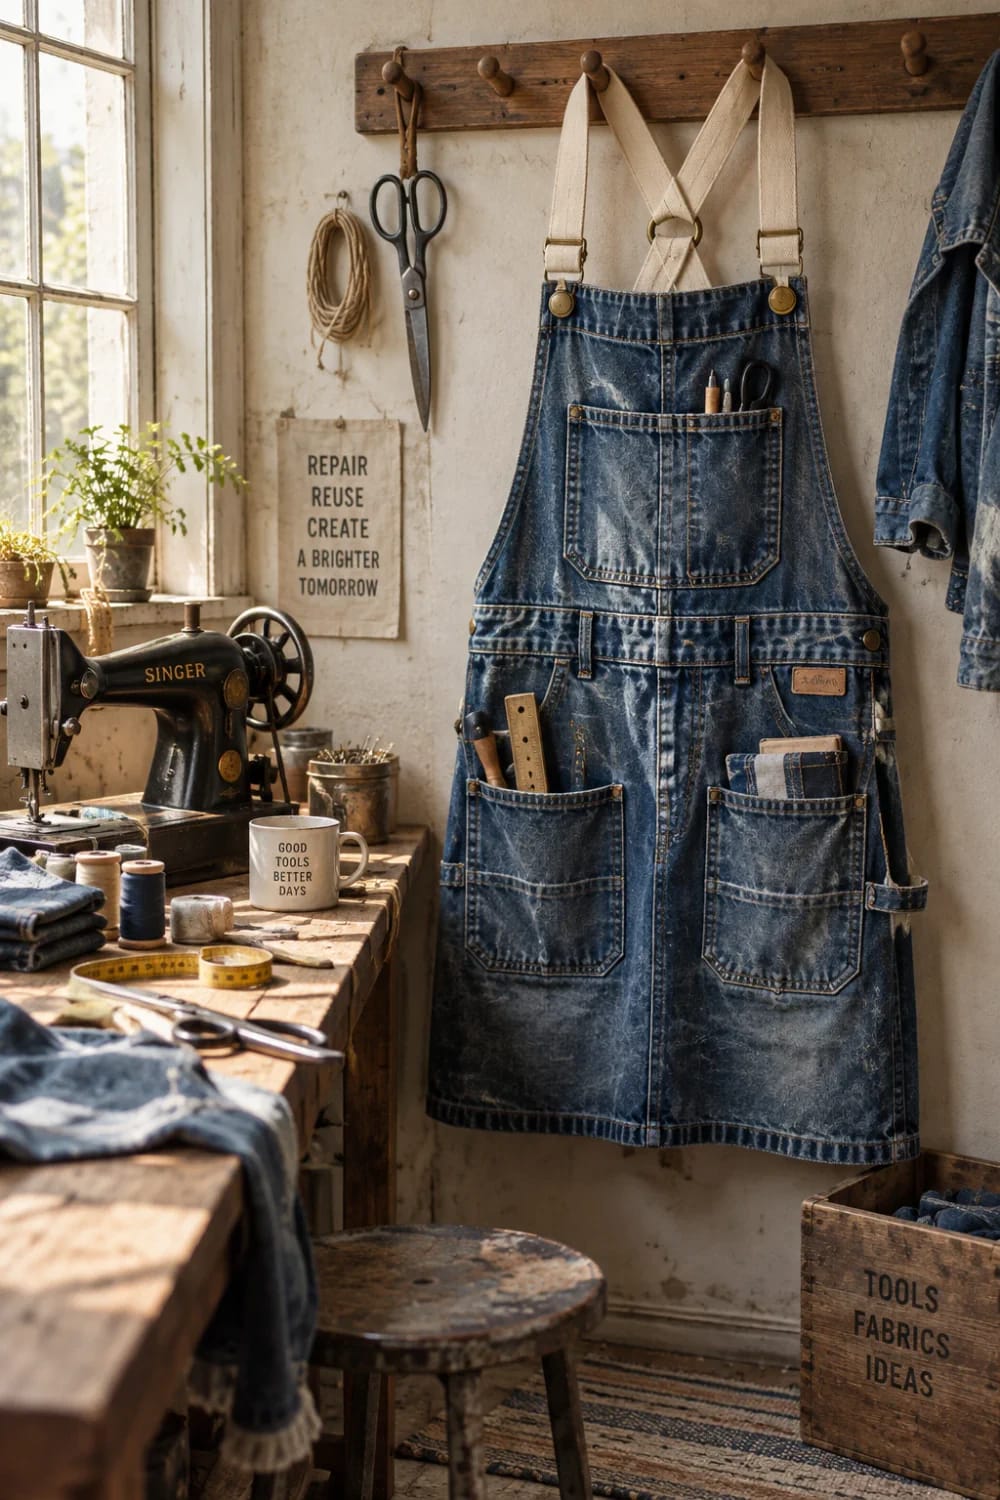
Cut the webbing to the lengths the calculator gave you, fold each cut end under twice, and stitch it down; cotton webbing frays steadily and there is nothing to melt, so a lighter does nothing here except scorch it. Anchor each strap to the waistband with a box-and-cross stitch, which spreads the load across the webbing's full width instead of putting it on one line of thread.
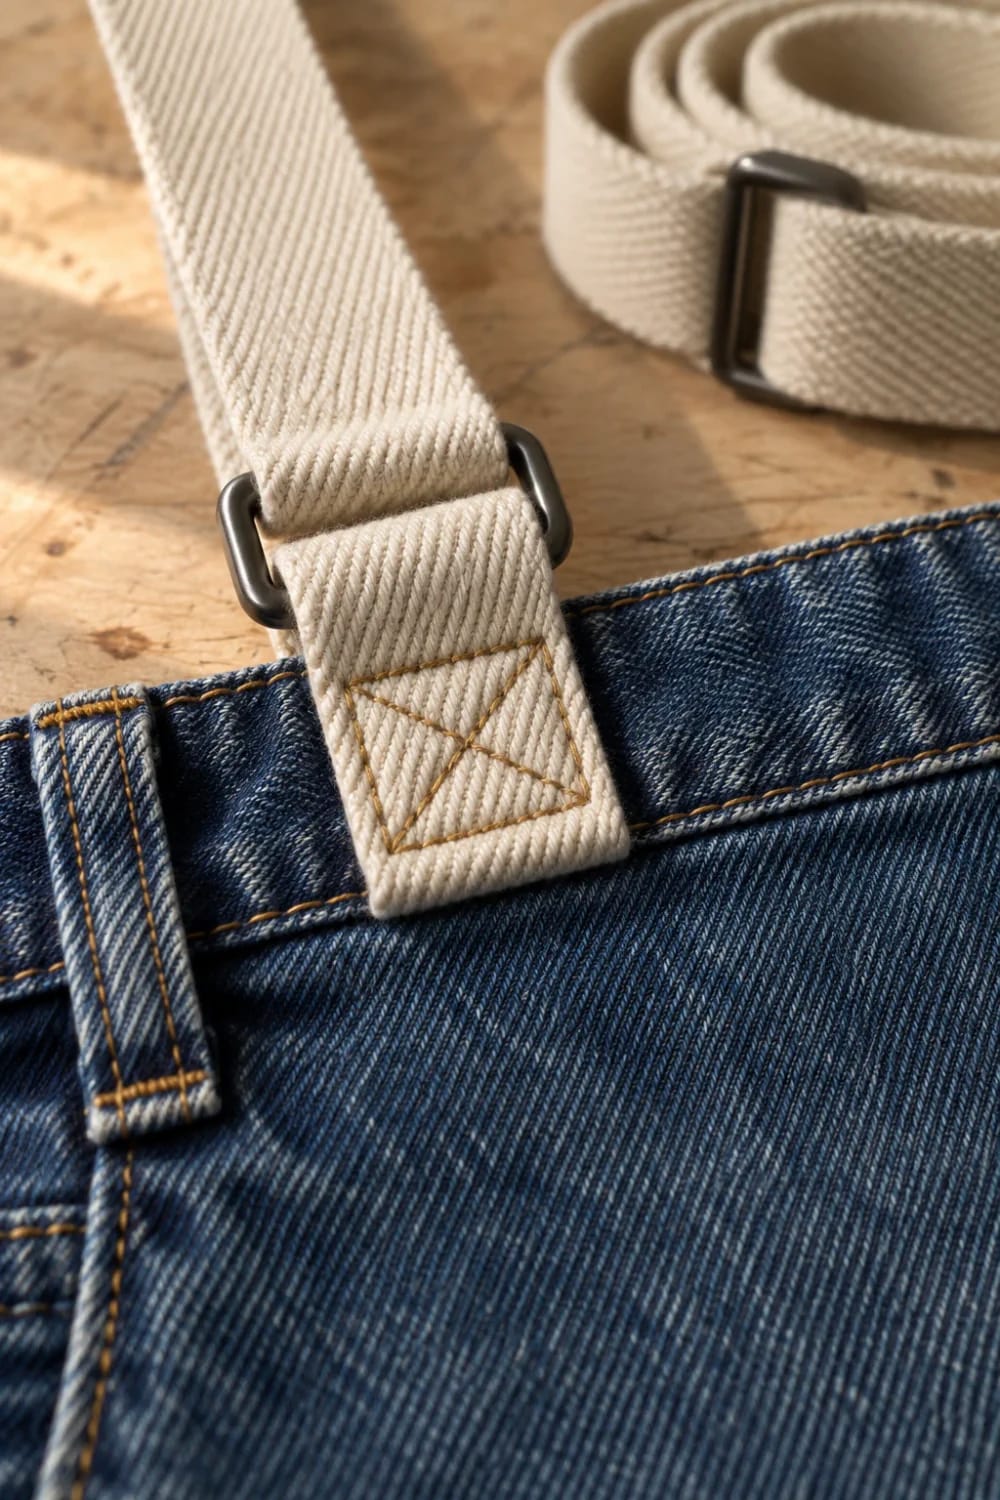
For the cross-back version, thread a tri-glide onto each shoulder strap before you sew the second end down, then cross the straps behind your back and tie them to the waist ties at the front. I would not build the neck-loop version for anyone planning to hang a hammer on it.
 How to Make an Upcycled Jeans Messenger Bag From Old Denim Uses the same webbing, tri-glides and waistband trick on a bag instead of an apron.
Build-day sequence
Evening one, about 45 minutes
- Wash and dry the jeans, then empty the cuffs of grit
- Mark and cut across 14 inches below the waistband
- Open the outseams of the skirt and one inseam per leg
- Press every panel flat while it is still small enough to handle easily
- Cut the seat and lower panels to the widths the calculator gave you
Evening two, about 75 minutes
- Join the two leg panels down the centre, felled seam, press
- Attach the pieced panel under the seat panel, felled seam, press downward
- Reposition both pockets, edge-stitch, bar-tack all four corners
- Cut, fold and stitch the webbing; set the tri-glides
- Last pass of gold topstitching along the waistband and the joining seam
Before you wear it
- Hot iron over every felled seam one more time
- Load the pockets with the heaviest thing you will actually carry, then look at the top corners
- Adjust the tri-glides standing up, not sitting down
Mistakes that ruin a denim apron
- Cutting the waistband off first. It is four layers, a finished edge, a button and a set of bar-tacked loops, and it is the only part of this project you could not reproduce in ten minutes.
- A universal needle. It deflects in dense twill, starts skipping, then snaps. The jeans needle exists because of the reinforced shaft and the medium ball point.
- Topstitching with construction thread. All-purpose thread at 2.5 mm reads as a repair. No. 30 topstitch thread at 3.5 to 4 mm, in a needle large enough to carry it, reads as a garment.
- Setting the pockets before joining the panels. Then your joining seam has to dodge the pocket bag, or it sews the pocket shut, and you find out at the ironing stage.
- Stretch denim. Two percent elastane grows under a loaded pocket and stays grown.
- A neck loop on a heavy apron. Covered above, worth repeating: the cross-back wrap costs you twenty minutes and one more tri-glide.
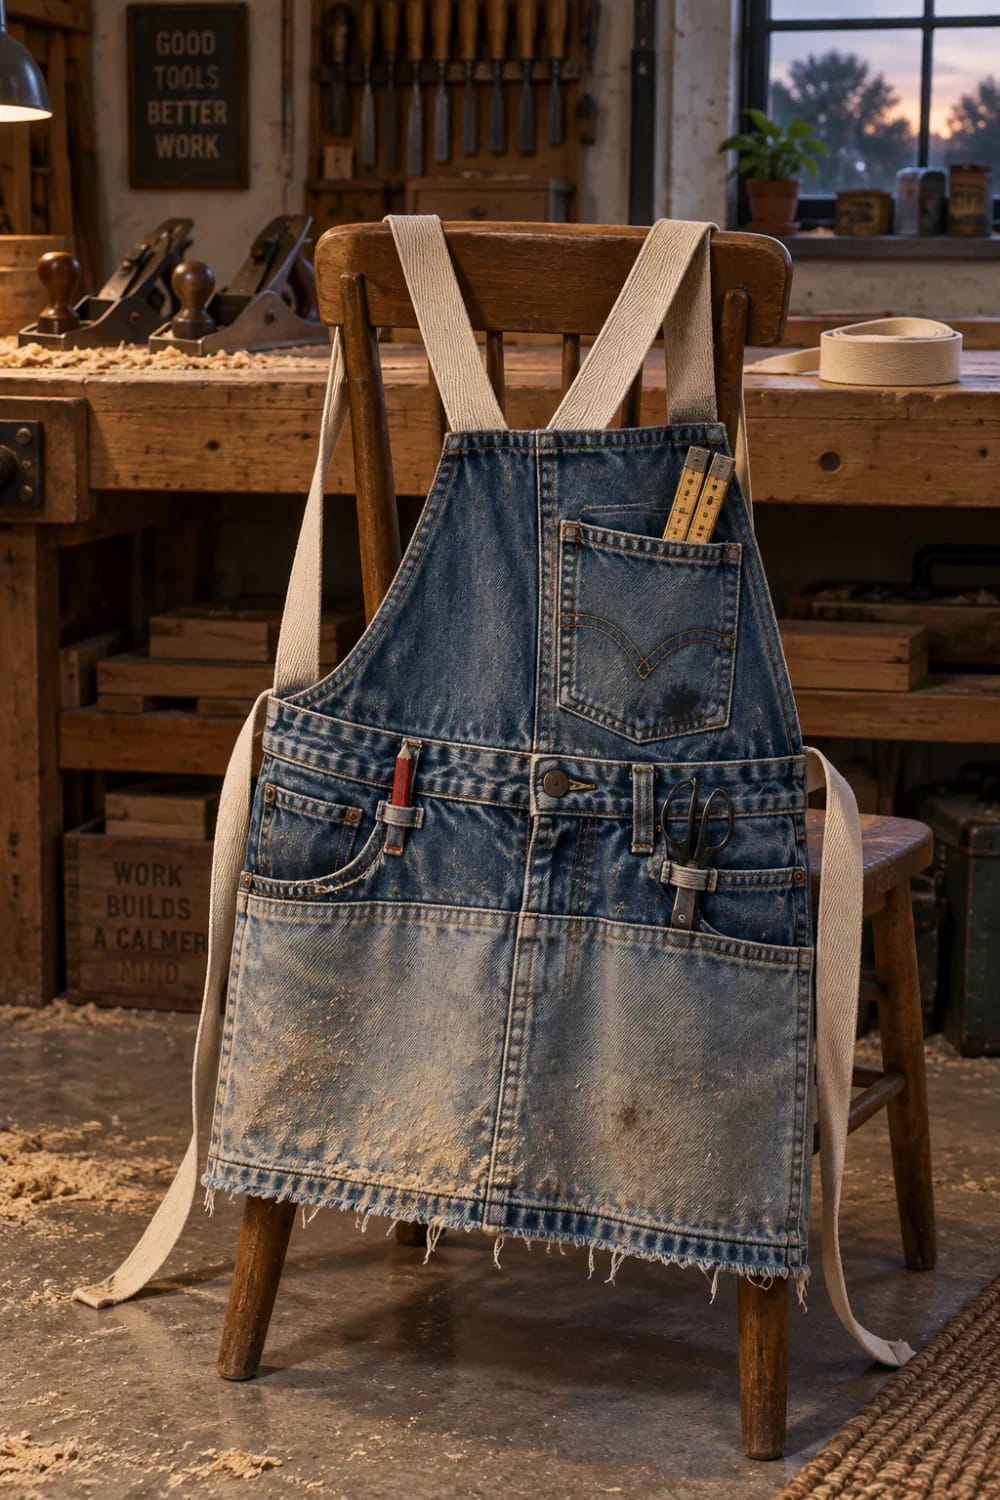
Where the extra ten minutes go
Spend them on four bar tacks: two at the pocket mouths, two where the webbing meets the waistband. Every other part of this apron was engineered by somebody else and has already survived a few hundred washes, so those four inches of stitching are the only places where your work is carrying the load rather than the jeans' work. The gold topstitching along the joining seam is worth the thread change too, though that one is for you rather than for the apron, and it assumes your machine will take a 100/16 needle with No. 30 thread through it, which not every older domestic will.
Related Posts
- How to Make a Braided Denim Rag Rug From Old Jeans
- How to Make an Upcycled Jeans Messenger Bag From Old Denim
- Upcycled Denim Christmas Ornaments From Old Jeans
- 10 DIY Denim Christmas Garland Ideas to Make From Old Jeans
- How to Make Stunning Angel Wings from Old Jeans for Your Home
- 13 DIY Denim Christmas Stockings From Old Jeans