
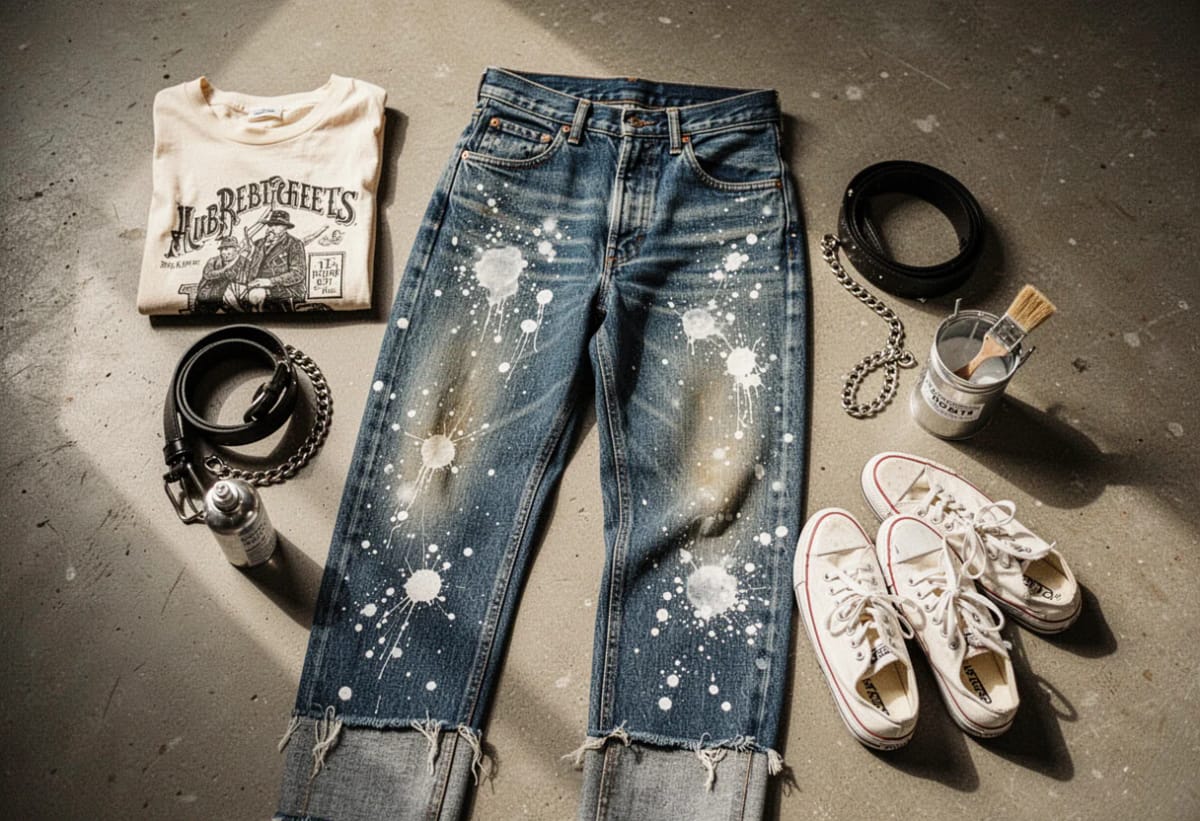
The difference between bleach splatter jeans that look bought and bleach splatter jeans that look like an accident in the utility room is decided before the bottle is open: where the marks land, how dense they get in one zone, and whether the denim underneath was ever going to lift toward white in the first place. Splatter only looks like a random process.
Worth saying plainly on a site about sustainability, because household bleach is not a gentle material: the industry is moving the other way. UNEP has documented denim finishers phasing out hypochlorite and potassium permanganate in favour of lower-impact alternatives, and the same story puts the water cost of one new pair at roughly 7,500 litres. Doing this once, outdoors, to a pair you would otherwise bag up for the charity shop is a very different decision from buying pre-distressed denim off a rack.
Thirteen patterns follow, sorted less by difficulty than by what each one asks of the fabric. Several need nothing but an old toothbrush and a piece of cardboard. Two of them are arguments against reaching for chlorine at all.

Fine Freckle Splatter Is the Pattern That Forgives a Bad Aim
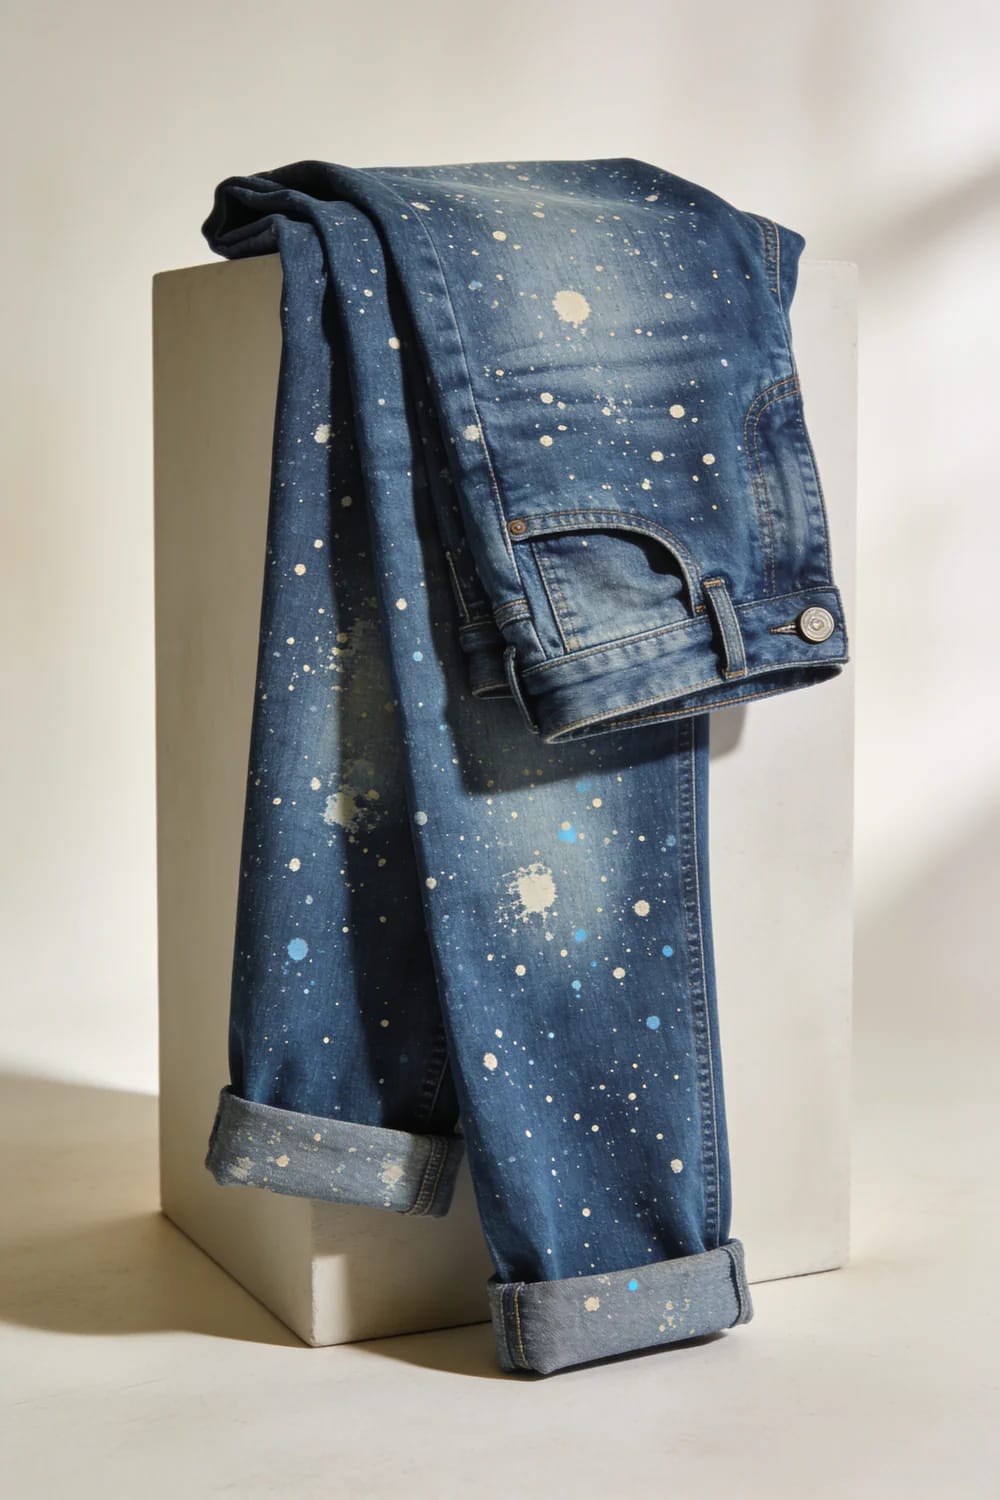
Start with freckles, because freckles are the one pattern where a misfire vanishes into the field. Dip an old toothbrush in the diluted solution, hold it bristles-down about ten inches off the denim, and drag your thumb backwards across the bristles so the droplets throw forward instead of falling in fat blobs. Slide a sheet of cardboard inside the leg before you begin. Without it the bleach wicks straight through the twill and prints a soft ghost of the front pattern onto the back, which reads as a laundry mishap rather than a decision.
Dilution is the lever you actually control; dwell time is the second one; the rest is aim and patience. Denim also looks two shades darker wet than it dries, so judge nothing until you have blotted a spot with a white towel.
| Bleach to water | Dwell before rinse | What lands on mid-indigo |
|---|---|---|
| 1 : 5 | 10 to 20 minutes | Warm sand haze, soft edges, buildable over several passes |
| 1 : 3 | 8 to 15 minutes | Mid-blue lifts to biscuit, edges still feathered |
| 1 : 1 | 5 to 10 minutes | Hard pale spots with a gold rim, high contrast |
| Undiluted | Under 5 minutes | Near-white spots, and a measurable loss of fabric strength |
Rinse cold, never warm, then neutralize before the pair goes anywhere near a washing machine. Dyers use an anti-chlor for this: sodium metabisulfite or sodium thiosulfate, sold as bleach stop by any dye supplier, and Paula Burch’s reference page on stopping bleach damage is the clearest explanation of why the rinse alone is not enough. A 1:10 solution of drugstore hydrogen peroxide in water does the same job with what is already in the bathroom cabinet.
Vinegar is the single most repeated piece of bad advice in bleached-denim tutorials. Acid plus hypochlorite releases chlorine gas, which is a hospital visit rather than a craft mishap, and it does not neutralize anything. Peroxide or an anti-chlor. Outdoors or beside an open window either way.
Mass the Bleach on One Thigh and Leave the Rest of the Denim Clean

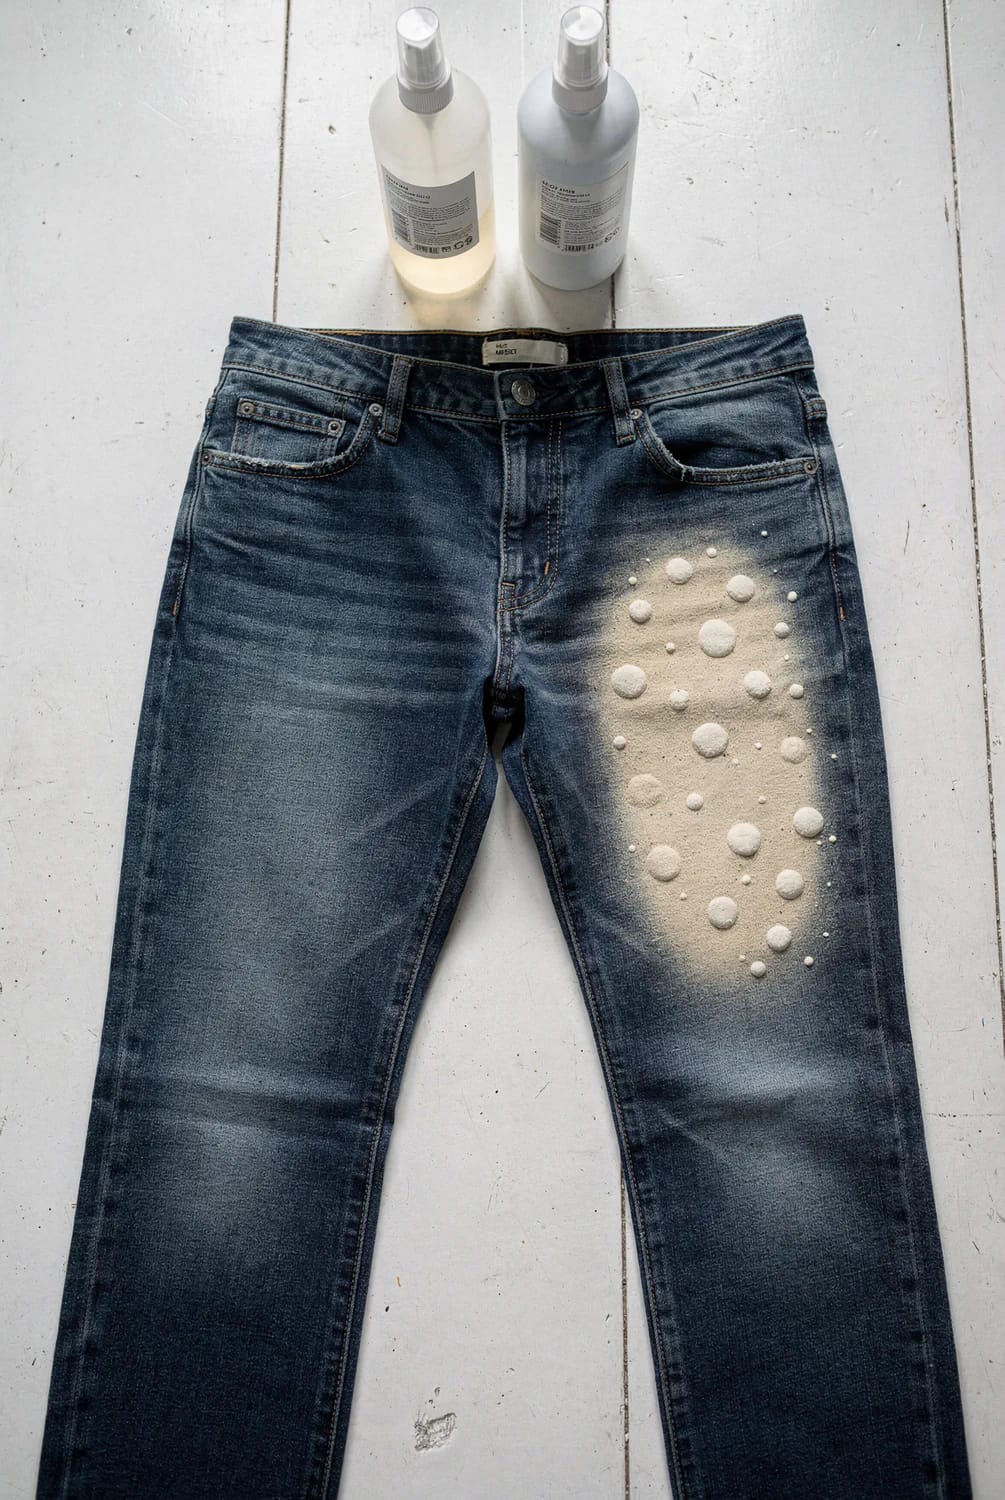
Density beats coverage, and the fastest way to make a home job look like a factory job is to scatter evenly over both legs. Put around seventy percent of your marks in one zone, front of one thigh, hip to just above the knee, then let the count drop off hard toward the hem and the back. What you are copying is paint that landed on someone while they worked, and paint does not distribute itself politely.
Granted, this only holds if the rest of the pair stays genuinely clean. Three stray freckles on the opposite calf undo the whole effect, so mask the second leg with a bin bag rather than trusting your aim.
Denim that takes it
- Rigid 100% cotton, ideally 11oz or heavier, where the indigo sits on the surface of the warp yarn and lifts predictably
- Mid-indigo washes. They have the most room to travel before they hit the bare cotton core
- A pair already gone pale at the seat and knees, which tells you exactly how this denim fades
- Test the inseam allowance first. Every pair has an inch of hidden fabric in there.
Denim that will let you down
- Anything with 1 to 2% elastane. Bleach degrades the spandex core, and the leg comes back crisp, baggy at the knee, and permanently out of shape
- Resin-coated or waxed black denim, where the coating goes patchy and tacky before the colour moves at all
- Jeans you currently like. Nobody has ever regretted practising on a thrifted pair first.
Never let bleach meet vinegar, ammonia or any other cleaner, because the mix gives off toxic gas. Work outside or by an open window, wear gloves and eye protection (flicked bleach goes where it likes), and lay the jeans flat rather than splattering them while you wear them. When the marks are done, rinse thoroughly or use a bleach neutraliser. Otherwise the bleach keeps eating the cotton, and those freckles turn into holes a few weeks later.
 57 Innovative Upcycled Jeans Ideas: Transform Your Old Denim into Chic Fashion and Home Decor Fifty-seven other things to do with denim once it is no longer wearable, from bags to wall pieces.
On Black Jeans, Skip Chlorine Bleach Entirely

Chlorine on black denim gives you rust, not white, and no amount of dwell time changes the outcome. Most mass-market black denim is built as a dark top layer over a sulfur bottom, so the hypochlorite strips what sits on the surface and leaves the underlayer exposed in mustard, ochre and burnt orange.
Which is worth knowing before you copy the pins, because a great many of the bleach-on-black images circulating are showing you rust and captioning it white. Sometimes that warm tone is genuinely the look, particularly on a wide-leg pair with a punk lean. More often it photographs well under a ring light and then reads as a rust stain in daylight, and by then the fabric has already been through the reaction.
For a genuinely cool, creamy discharge, use a reducing agent rather than an oxidizing one. Colour removers work by pulling the dye off in the opposite chemical direction and they land far closer to cream than chlorine ever will. Simmer the pair in a stainless pot, or brush the paste on thick where you want the marks, and expect a long open-window session either way because the smell is sulfurous and it lingers.
The core: undyed cotton, which is what you see if you strip everything above it.
The bottom: on most black denim, a sulfur dye laid down first, typically in a yellow-to-brown range.
The top: the indigo or sulfur black that reads as the garment colour.
Chlorine removes layer 3 far faster than layer 2, so the spot settles somewhere between mustard and rust. A reductive remover works on both, which is why it lands nearer cream.
Thiourea dioxide rather than hypochlorite, so black denim discharges toward cream instead of settling on rust. One 2oz box strips a full pair in a hot bath, or several sessions of brushed-on marks.
Rit Color Remover powder, 2 oz boxA Lace Curtain Makes the Most Convincing Bleach Stencil You Own
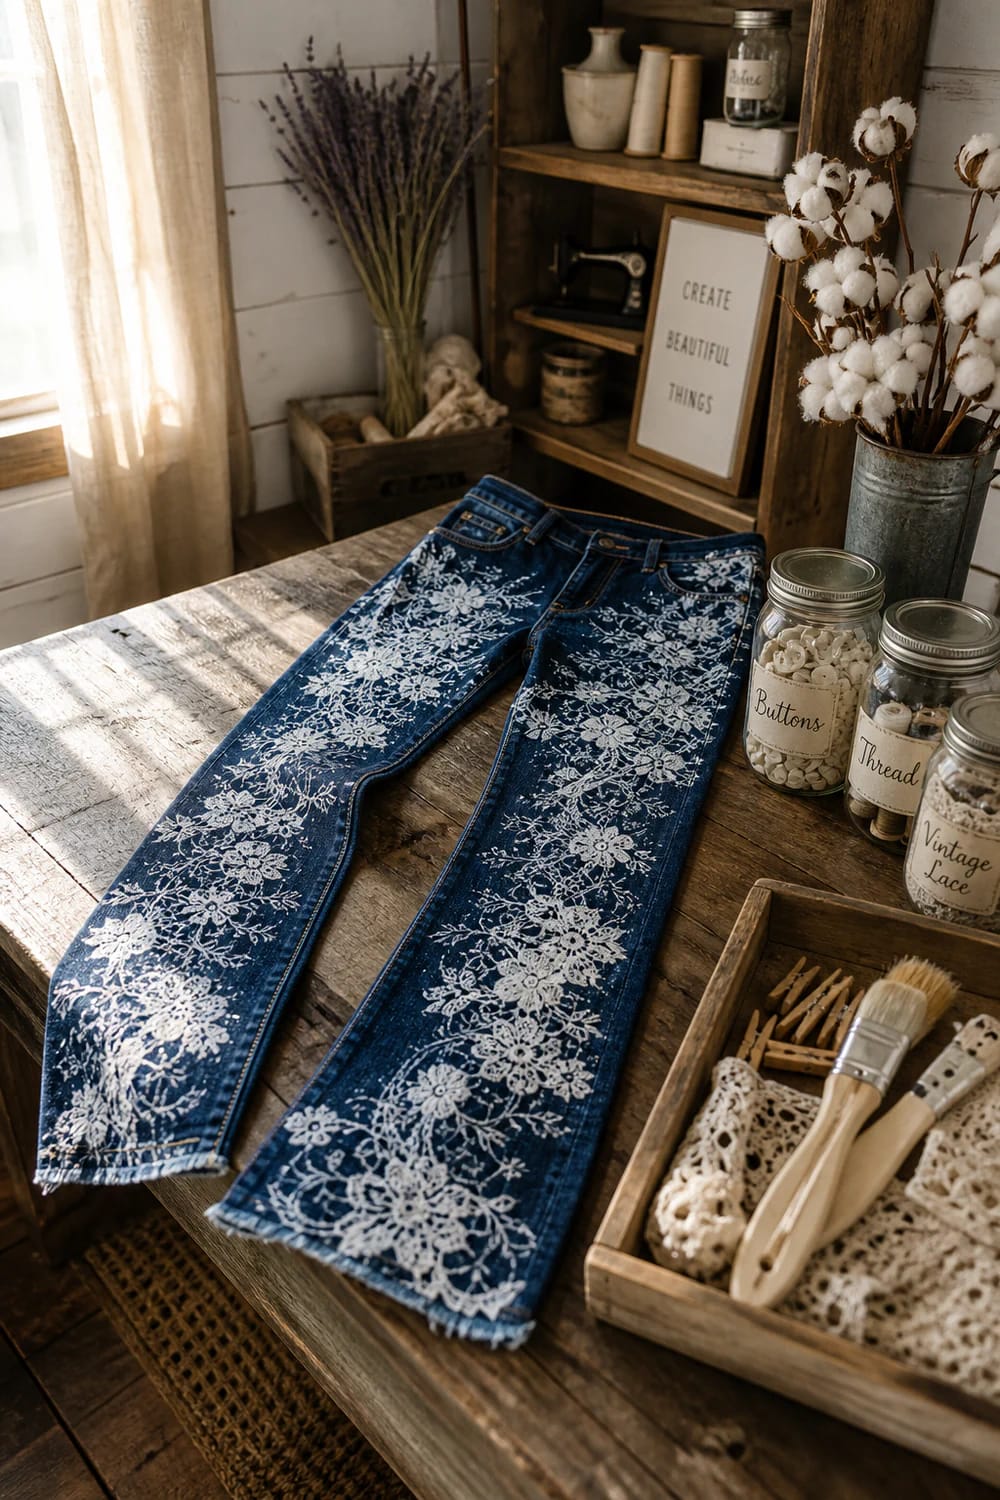
Lay a length of cotton lace over the leg, weight or pin it taut at every corner, and mist lightly from twelve inches so the solution settles rather than pools. The non-obvious part is the lift: pull the lace straight up and off in one movement, never drag it sideways, or you smear the pattern into a blur and lose the reason you used lace in the first place. A charity-shop net curtain gives you a repeat wide enough for a whole thigh, and if you already keep a bag of remnants there are other uses for offcuts that never touch a sewing machine waiting in there too.
Synthetic lace works better than cotton lace here, oddly enough, because it does not absorb and then bleed.
Freezer Paper Gets You Hard Edges Bleach Alone Never Will
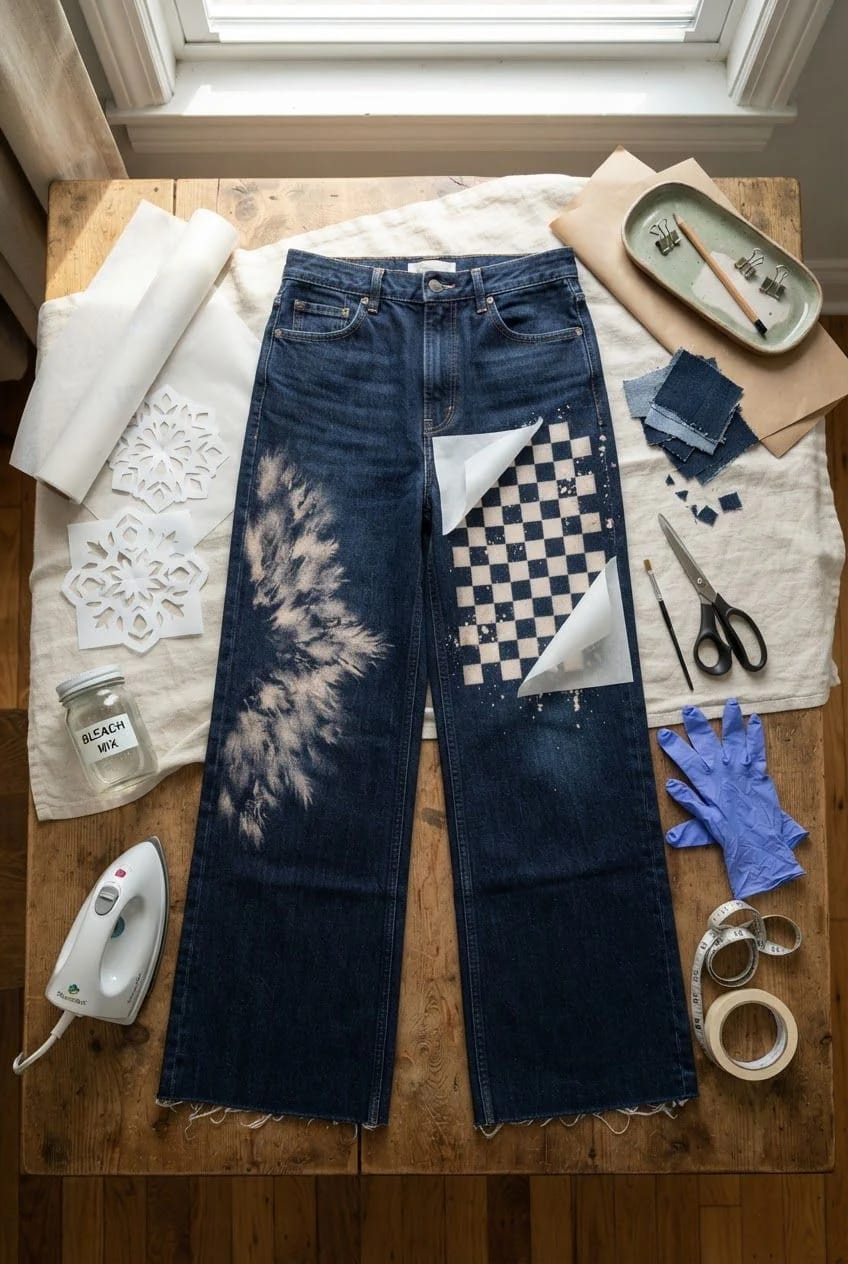
Bleach creeps. Any stencil you simply lay on top will give you a shape with a fuzzy halo, which is fine for lace and useless for a checkerboard or a set of initials. Freezer paper solves it: cut your shape, lay it plastic-side down on the denim, and press with a dry iron on medium for a few seconds until the coating tacks to the fabric. The seal is what buys you a hard edge. Peel it while the fabric is still slightly warm and the paper lifts clean, though you get one use per stencil, so cut two if the design repeats.
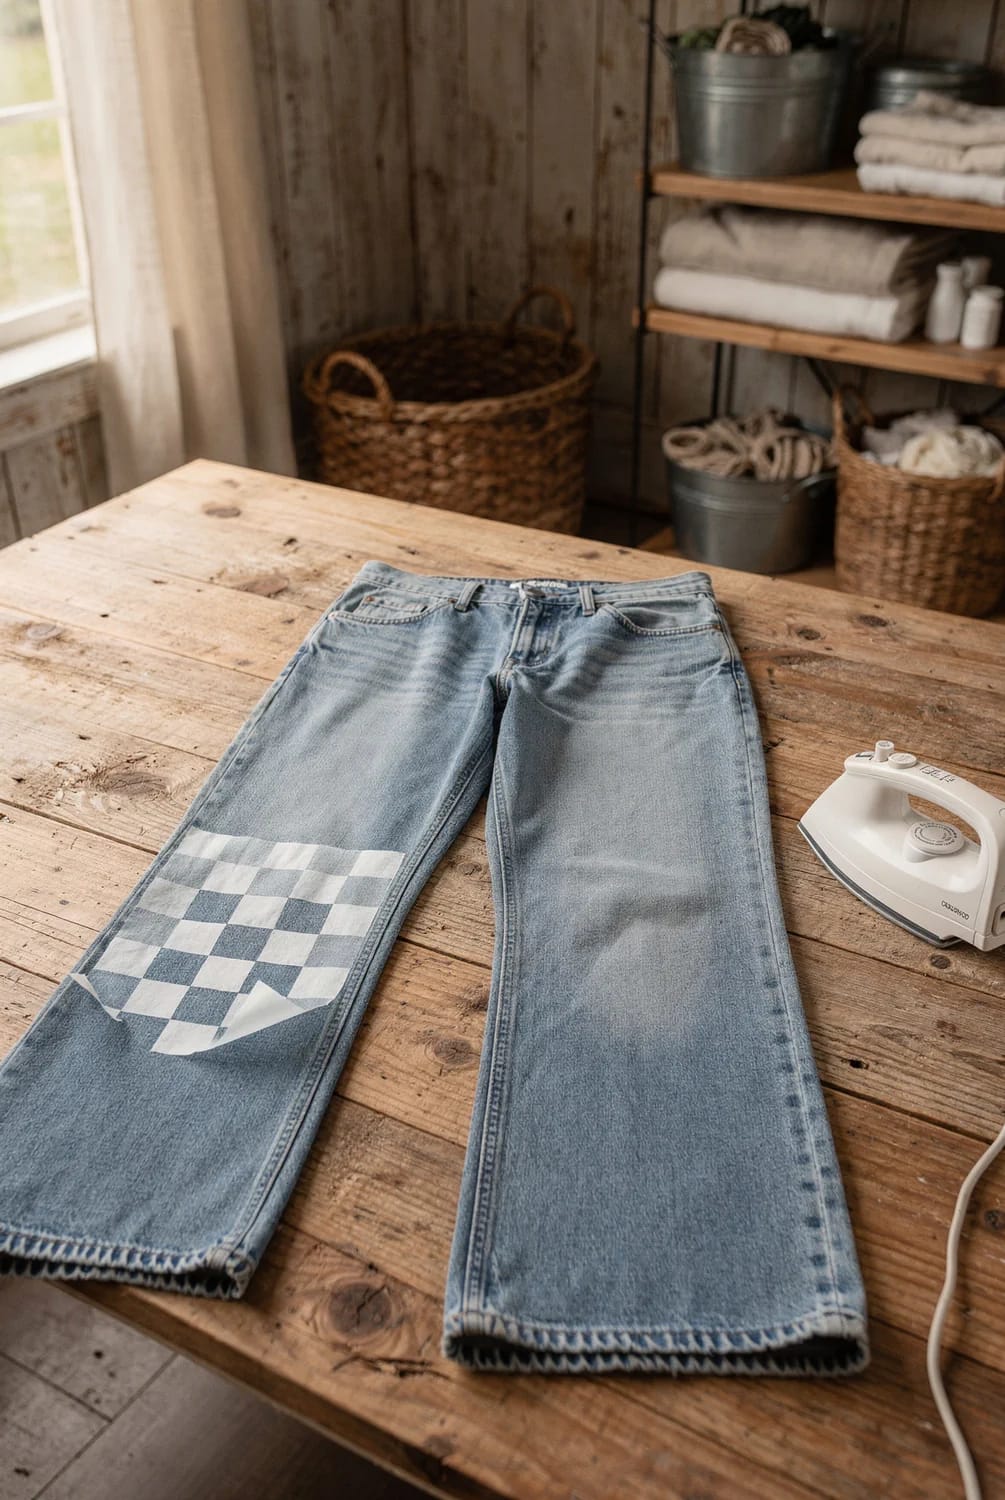
The plastic-coated grocery-aisle roll, not butcher paper. Fifty square feet is enough stencil material to outlast the project, the jeans, and probably the jeans after that.
Reynolds Kitchens plastic-coated freezer paper, 50 sq ft rollBleach Pen Line Work for Constellations, Initials and a Single Stripe
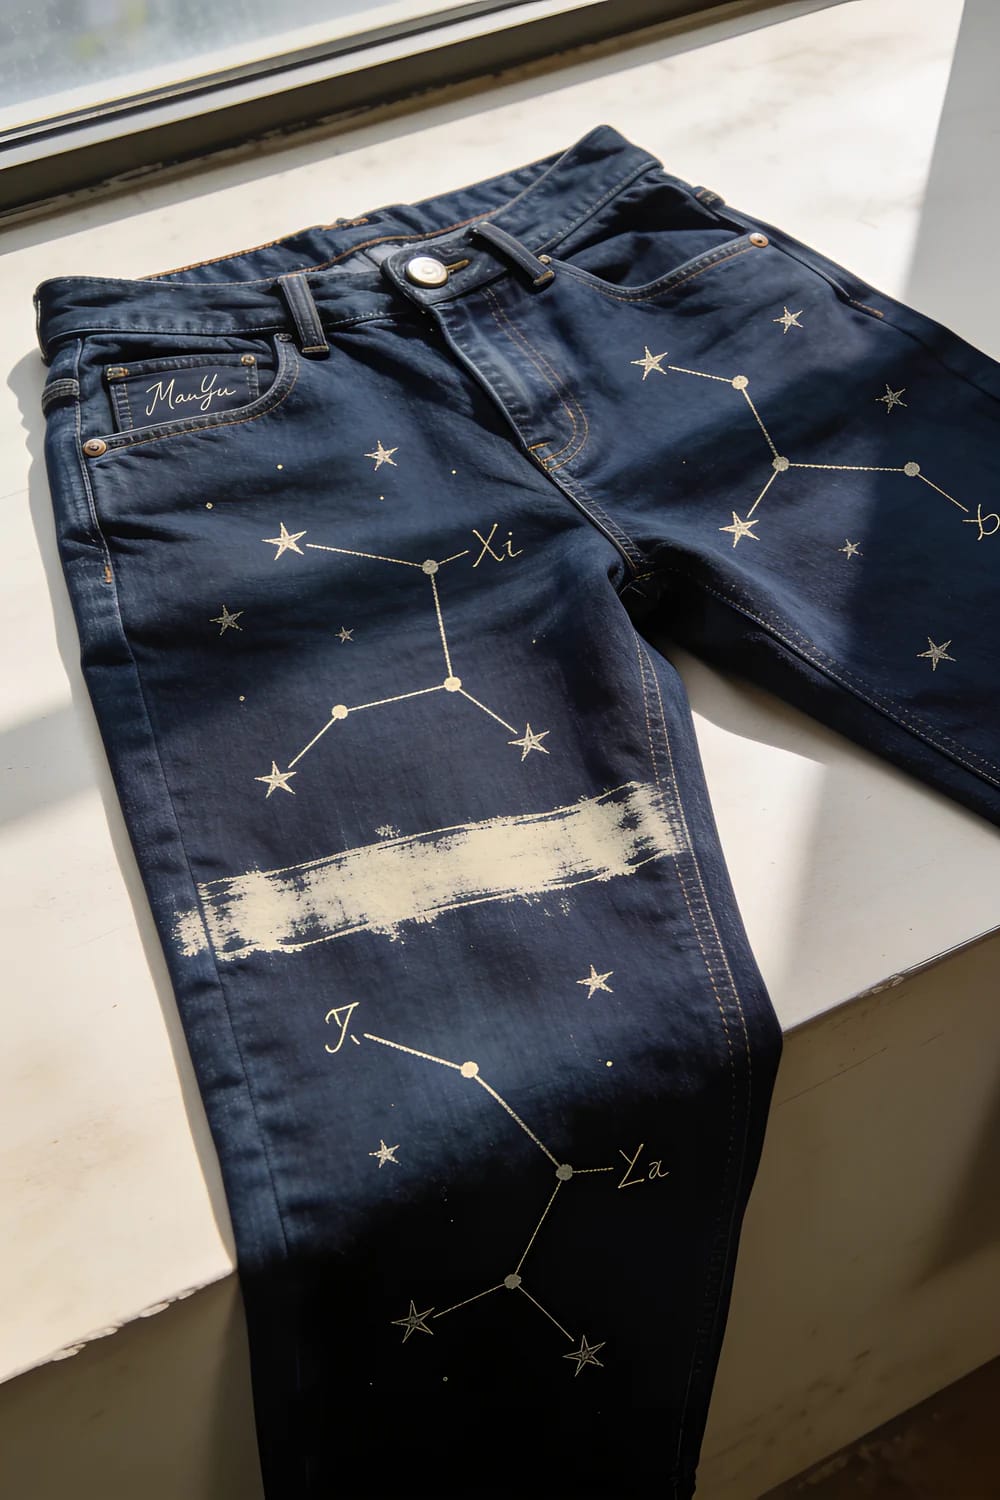
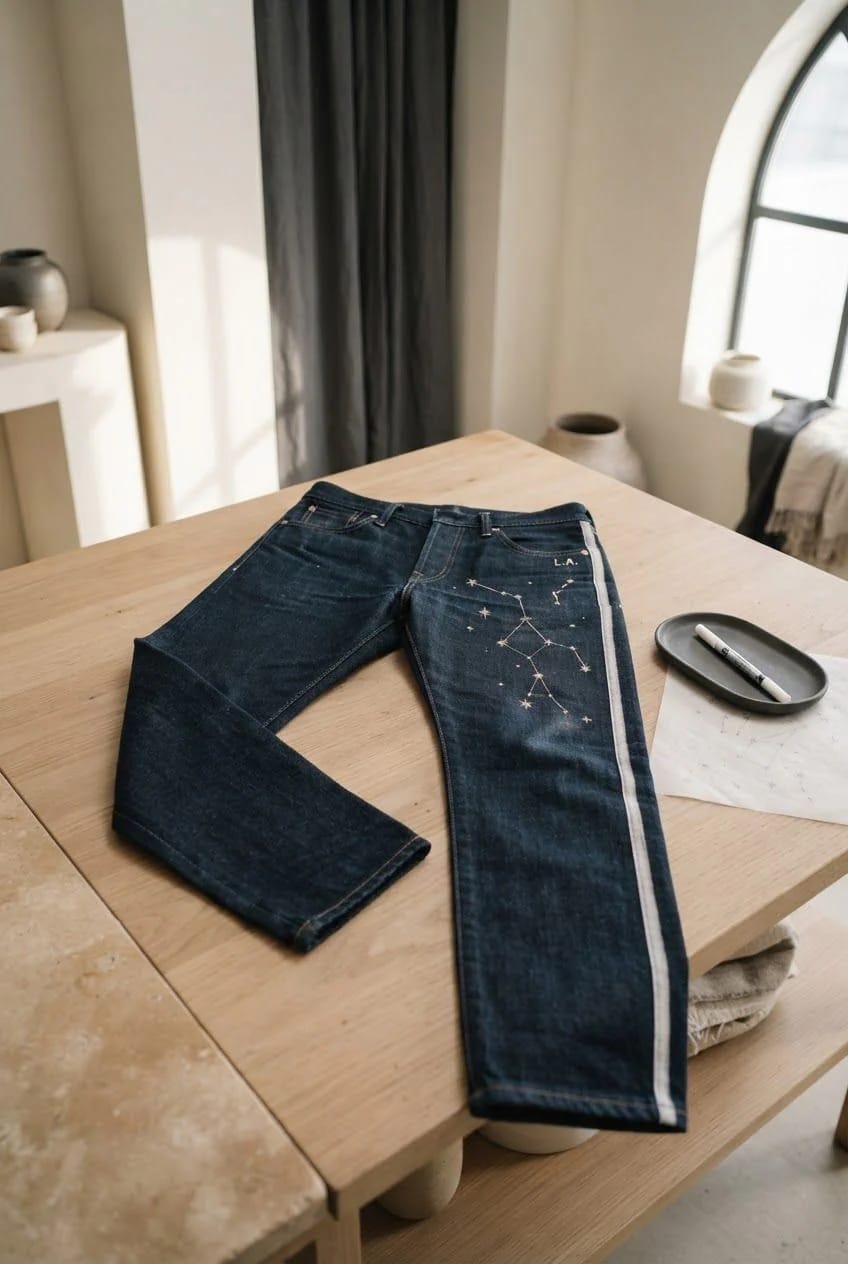
Gel bleach stays where you put it, which is the whole argument for a pen over a spray for anything with a stroke. Draw thin, give it eight to ten minutes on dark indigo, then wipe the residue off with a damp cloth before you rinse so the gel does not travel down the leg with the water. Constellations and initials are the obvious uses; a single hairline down the outseam is the restrained one, and it is the version people actually ask about. Keep a Clorox dual-tip bleach pen gel in the kit for touch-ups on splatter work too, since it is the only tool here precise enough to add one missing spot.
Crumple the Leg First and Only the Ridges Take the Bleach
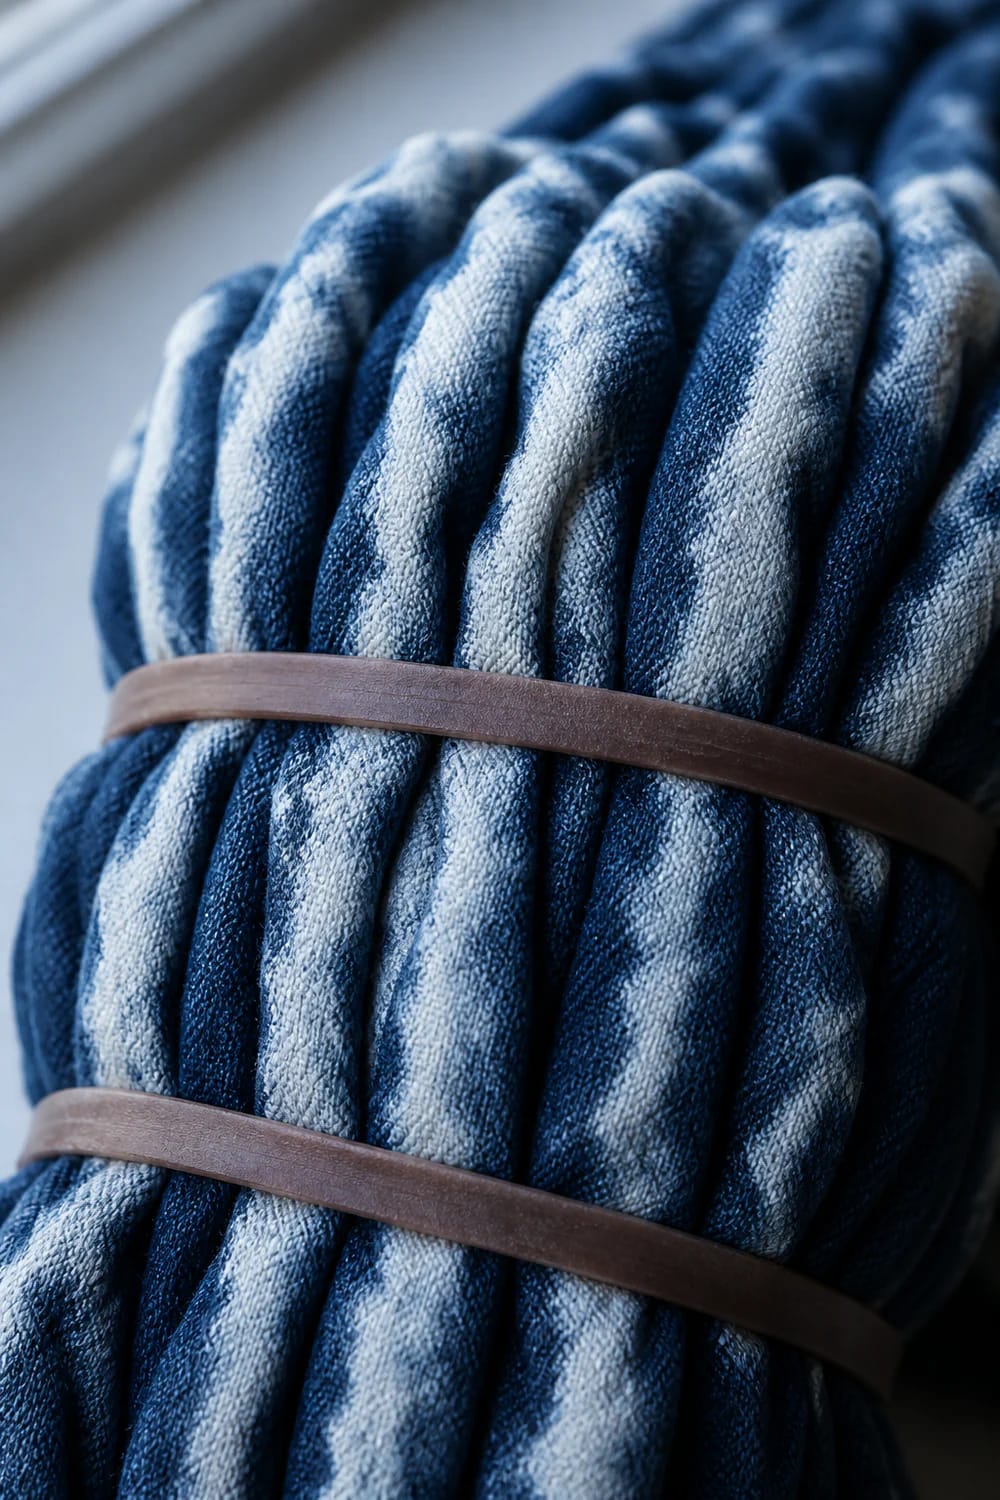
Scrunch the leg into vertical ridges, band it in two or three places, and mist only the crests. The valleys stay dark, the peaks go chalky, and you get a fractured vertical stripe that looks nothing like splatter and takes about four minutes to set up. It is the cheapest pattern in this list and the one most likely to surprise you, because you cannot see what you have made until you cut the bands.
Two Dilutions in One Session Give Splatter Actual Depth
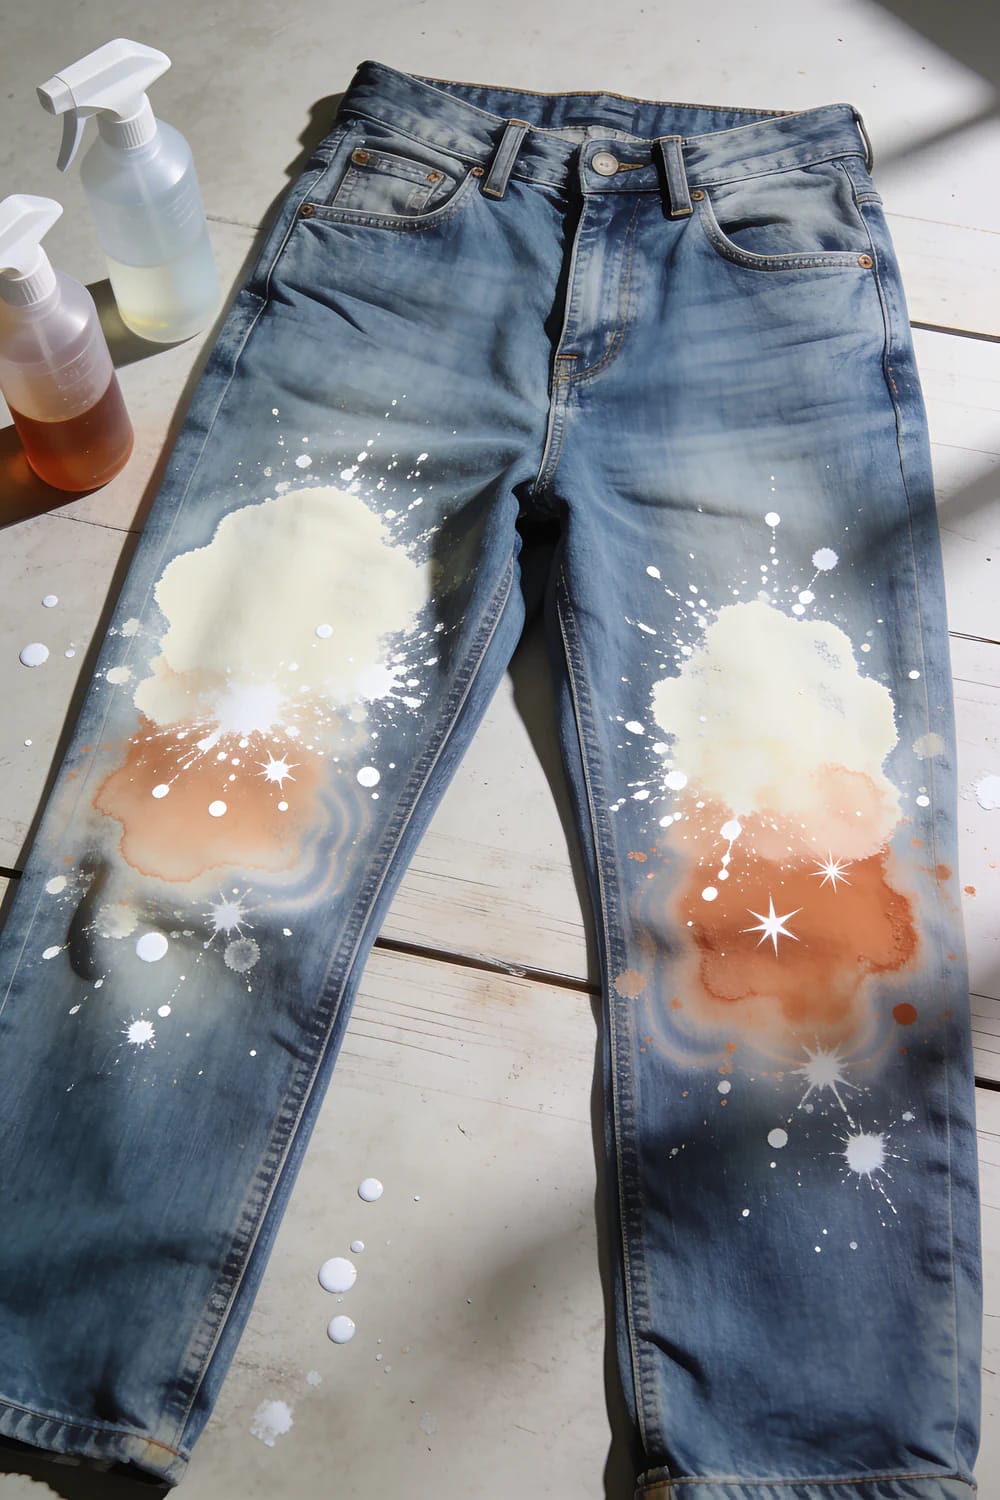
One dilution gives you a pattern; two give you depth. Lay down the weak solution first, roughly one part bleach to five parts water, and let it dry into a soft irregular haze across the zone you chose. Then come back over the same area with the 1:1 mix and throw a much smaller number of hard spots inside the haze.
The result reads as though the marks happened on two separate occasions, which is what real work-wear splatter looks like. Do it the other way round and the weak pass simply softens the strong one into mud.
Bleach the Wear Map Your Jeans Already Have

Here is the call most tutorials will not make: put the bleach where the denim has already faded, not where you feel like putting it. Every worn pair carries a wear map, the whiskers fanning off the hip creases, the pale ovals at the knee, the lightened seat, the stack marks at the hem. Those areas have less indigo left on the yarn, so they lift faster and further with the same solution, and the result reads as time rather than as chemistry.
Work along those lines with a weak mix and a sponge instead of a spray, feathering outward so nothing gets an edge. It is slower than splatter and it is the version that survives being looked at closely.
One consequence nobody mentions: bleached denim dries noticeably stiffer and chalkier than it went in, because you have roughened the cellulose surface. A cold wash with a capful of something mild fixes most of it, and a non-toxic softener that is not just perfume and silicone will take the board-like feel off the first few wears.
Splatter the Denim Jacket Too, but Not to Match
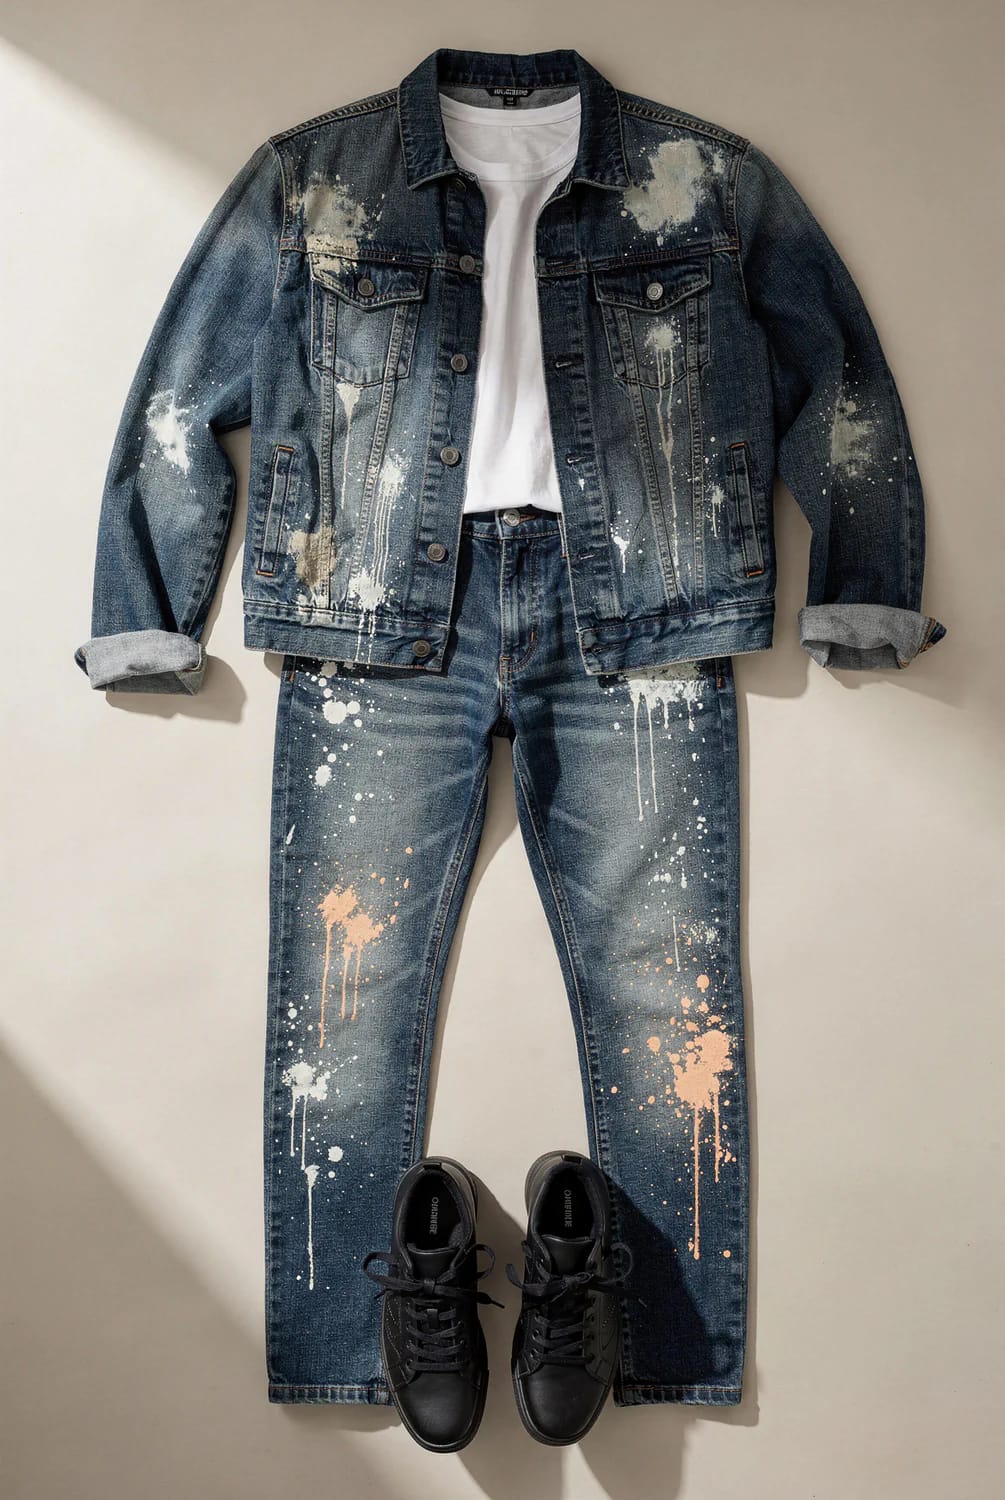
Do the jacket, but go lighter on it. A jacket and jeans splattered to identical density read as a costume, or worse, as workwear issued by an employer; drop the jacket to about a third of the count and confine it to the shoulders and back yoke, and the two pieces look like they were made in the same afternoon by the same person rather than sold as a set. The pair-them-separately logic runs through most wardrobe upcycling projects worth doing, not just this one.
Overdye After Splattering and the Spots Change Colour, Not the Denim
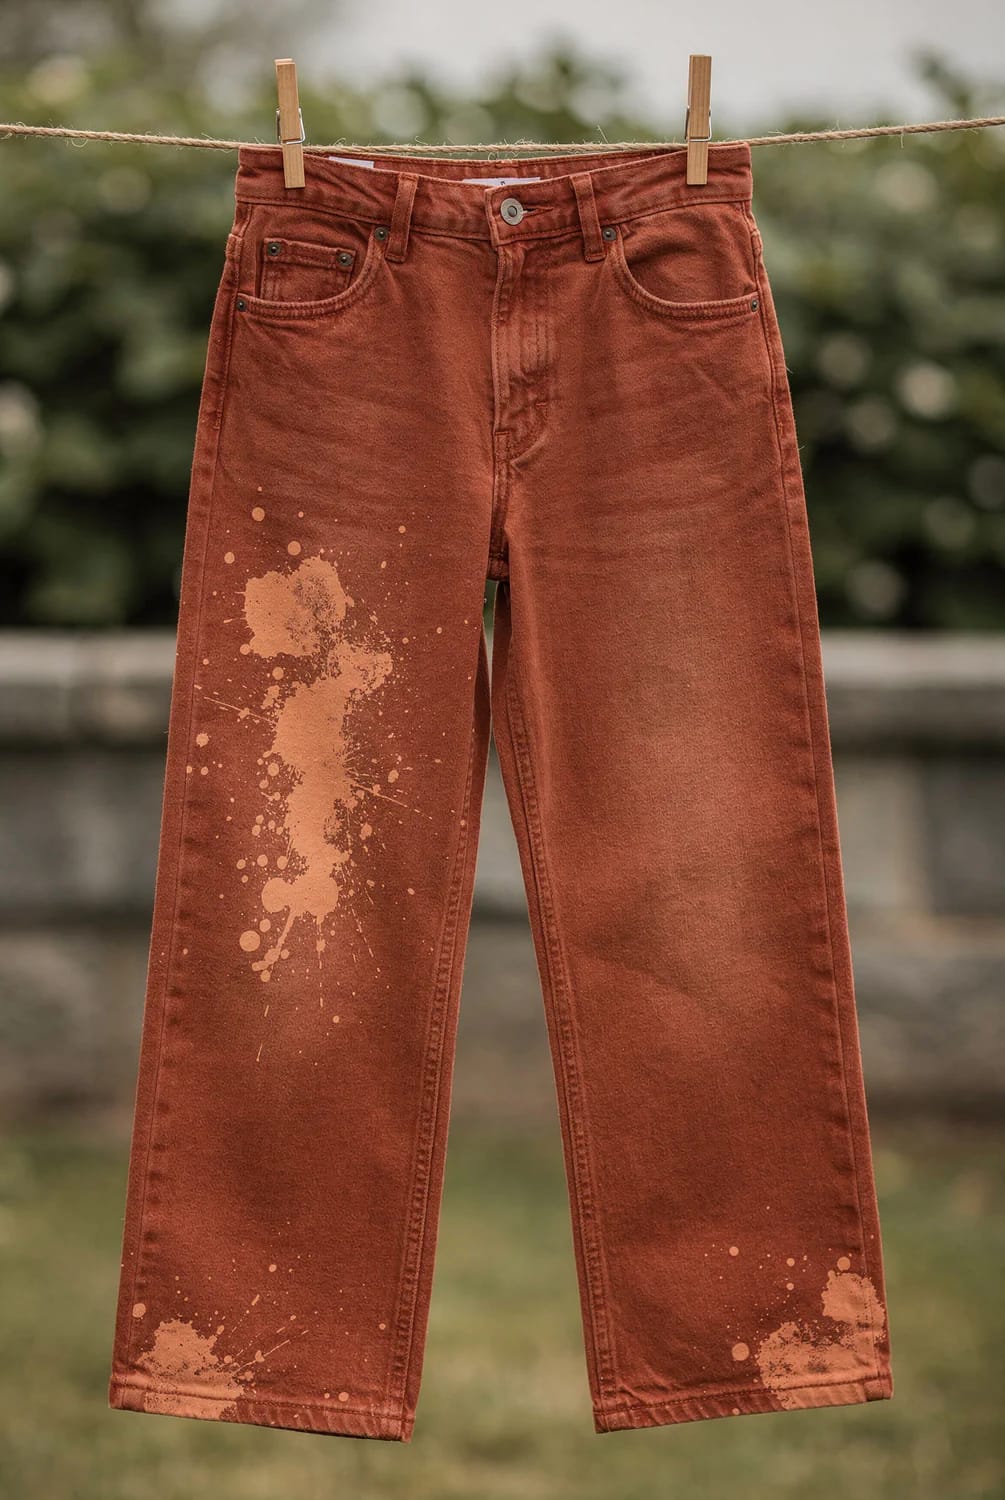
Bleach first, then dye the whole pair a colour, and the splatter stops being white and starts being a second tone of whatever you dyed it. Rust with apricot marks, olive with a pale sage scatter, ink blue with something nearer slate. It sidesteps the whole orange problem on dark denim, because you are no longer asking bleach to produce a colour, only to produce a difference.
Test on an offcut first, because the stripped areas take dye more readily than the untouched twill and the gap between the two tones is not predictable from the bottle. I could not find a reliable rule for how much darker those spots land, and the variables include your water, the fibre content and how far you took the bleach, so a cut-off inch of inseam is worth more than any chart. If you enjoy the process, it opens the door to a stack of other ways to redirect clothes you have stopped wearing.
A Splatter That Went Wrong Is an Embroidery Brief

A splatter that landed wrong is not a failure, it is a placement brief with the location already chosen for you. Stitch over the offending mark rather than around it: dense satin stitch swallows a blotch completely, and a simple running-stitch ring turns a stray spot into something that looks intended. The technique is the same one behind butterfly embroidery placed along the lines a pair of jeans already has, applied to a line you accidentally created.
The other rescue is additive. Opaque white fabric paint flicked over a rust-toned mark pushes it toward the cool white you wanted in the first place, and unlike bleach it stops the moment you stop. Thin it with a fabric medium so the paint stays flexible instead of cracking off the twill at the first wash.
The flat white sneaker-customizers reach for, and it behaves the same on heavy cotton twill. Flick it off a stiff brush for splatter, or brush it on thick to cover a discoloured patch outright.
Angelus acrylic paint in white, 4 oz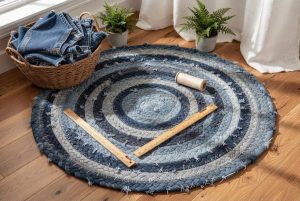 How to Make a Braided Denim Rag Rug From Old Jeans The one denim project that eats a whole pile rather than one good pair, including the legs you have chemically ruined.
Splatter the Inside of the Turn-Up and Nobody at Work Notices
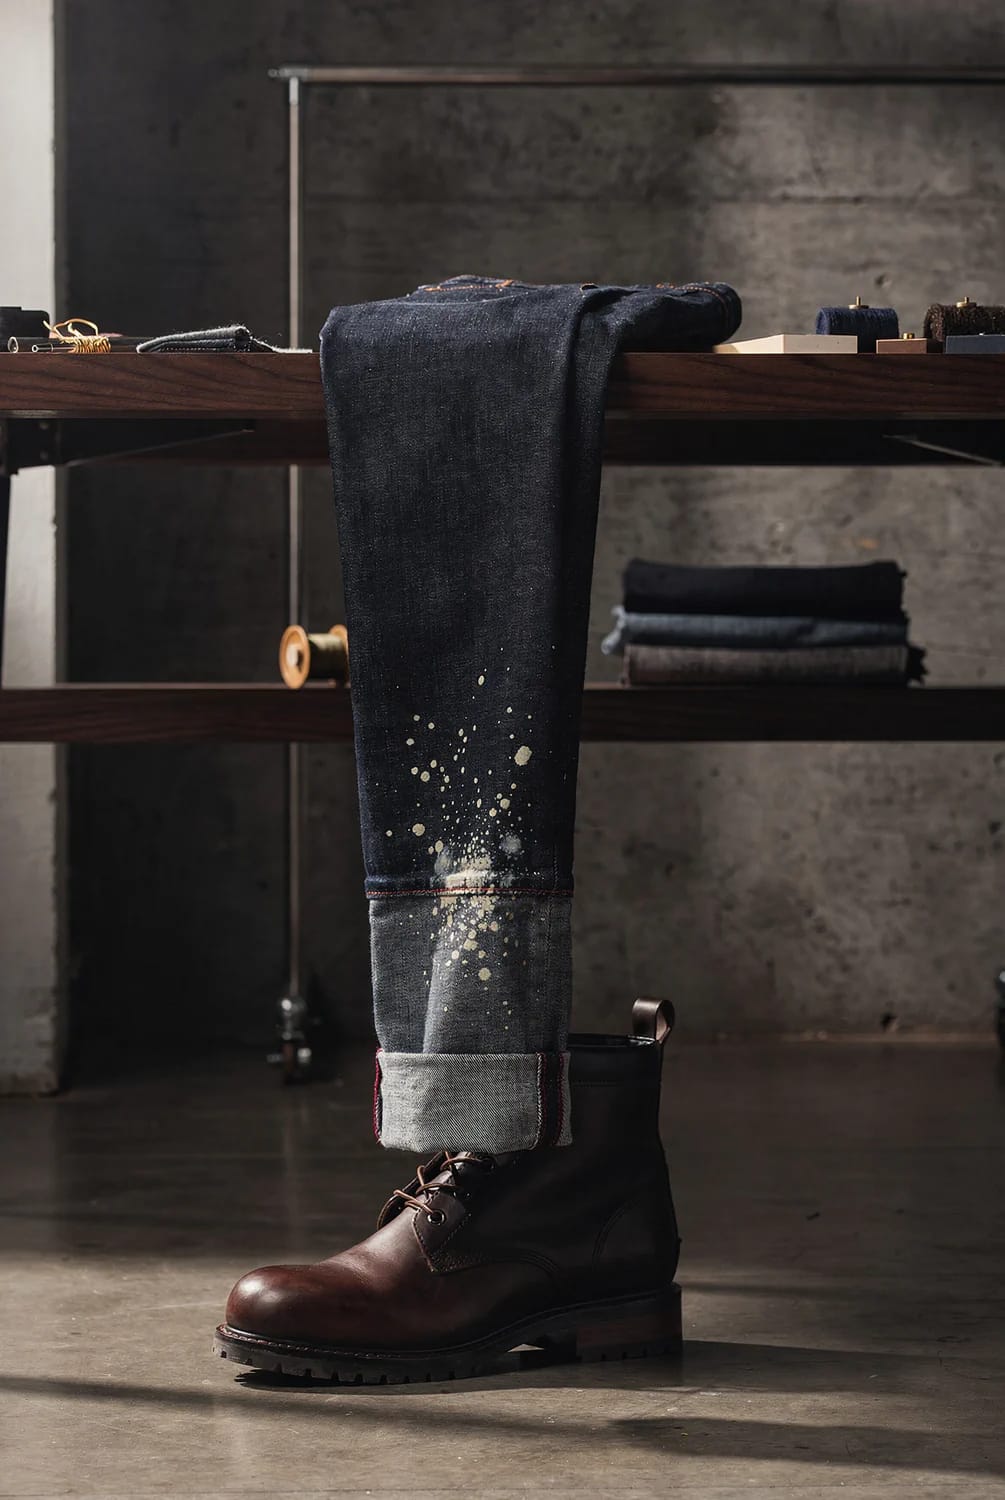
For anyone whose office will not take a splattered leg, the whole pattern can live on the inside of the hem. Turn the cuff up two inches, splatter only that band, then let it down for work and roll it back at the weekend. The selvedge sits along that fold on rigid denim, which means the speckles land next to the one detail people already look for. It is a small, slightly smug piece of tailoring, and it is the version of bleach splatter jeans you can actually wear on a Tuesday.
Related Posts
- Butterfly Embroidery Jeans: Ideas Worth Stitching Onto Denim You Already Own
- 11 Upcycled Jeans Decor Ideas for the Pile You Can’t Toss
- How to Make a Braided Denim Rag Rug From Old Jeans
- 57 Innovative Upcycled Jeans Ideas: Transform Your Old Denim into Chic Fashion and Home Decor
- Upcycled Denim Christmas Ornaments From Old Jeans
- 13 DIY Denim Christmas Stockings From Old Jeans