
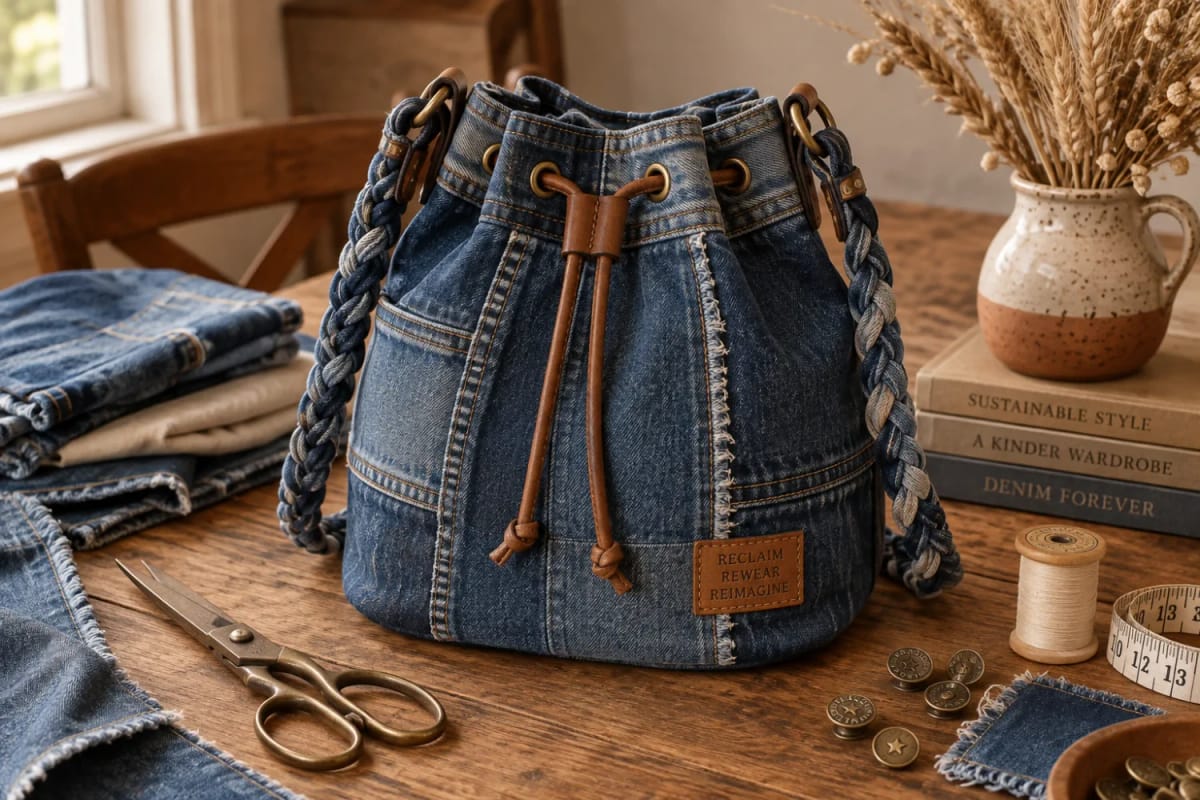
A jean leg is already a tube. That one fact deletes the pattern, the side seam, and most of the fiddly part of bag construction, because what you cut out of the leg is a finished cylinder with two flat felled seams already sewn and already topstitched in gold. What is left to build is a base, a lining, a top band and a strap, and the leg’s own taper decides how wide that base is allowed to be, which is why the measuring on this project happens before the scissors rather than after.

The leg is already two-thirds of the bag
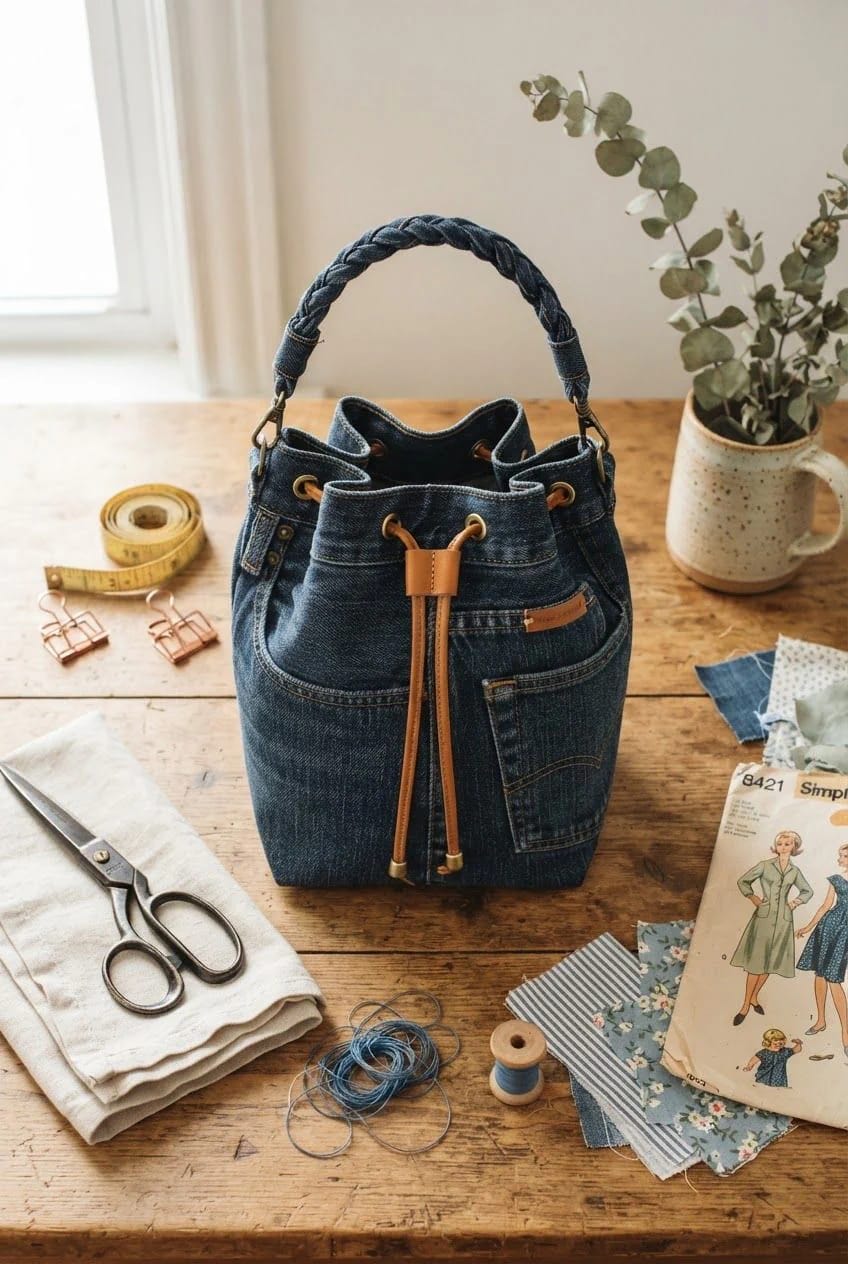
Cut a section out of a jean leg and leave it intact as a tube, and you have the body of a bucket bag with zero side seams to sew. The taper even runs the correct direction: a leg narrows toward the hem, so with the knee end up, the bag is wider at the opening than at the base, which is the shape a bucket bag has always had.
That taper is also the constraint. The circumference at your lower cut line fixes the base diameter at roughly a third of it, because a circle’s diameter is its circumference divided by pi, and no amount of wishing changes that. Cut low on a straight leg and you get a base around five inches across. Cut at the knee on a regular fit and you get closer to six and a half. This is the whole reason the sizing section sits before the cutting section here, and it is also why so many denim bucket bags online look like tall thin sacks: their makers cut where the fabric was convenient. The two felled seams you inherit are worth more than they sound, too, because they give the bag vertical lines that read as construction rather than craft, which is the same argument for building from the parts that actually make denim denim rather than treating a dead pair as blue yardage.
Materials and tools for the bag
One adult pair supplies the body, the strap and the base. Everything else is small, and if you sew at all you own half of it already.
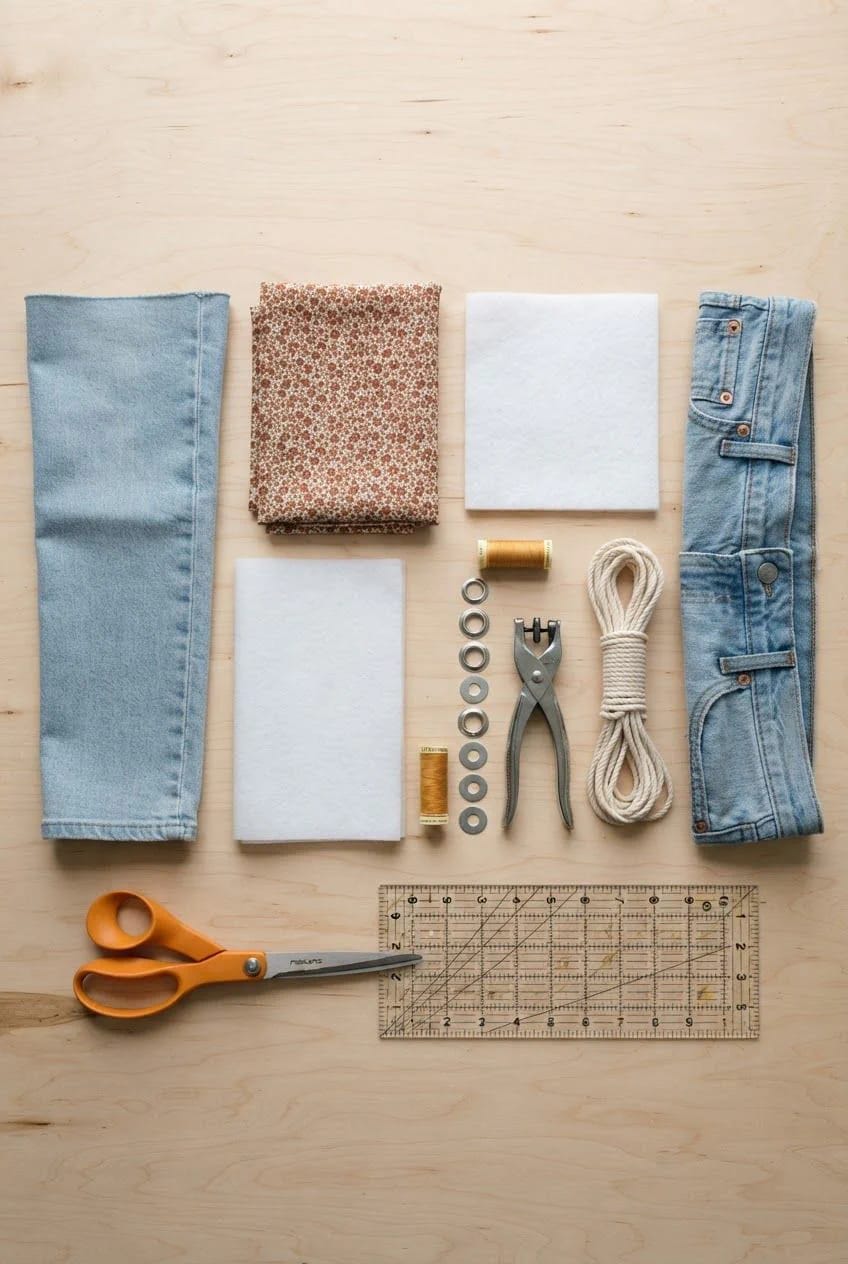
Materials
| Qty | Item | Spec | Price |
|---|---|---|---|
| 1 pair | Old jeans | Adult, 12 oz or heavier, straight or bootcut leg | Free |
| 1/3 yd | Cotton lining fabric | Quilting-weight cotton, 44 in wide; a pillowcase works | $0 to $9 |
| 1/2 yd | Pellon SF101 Shape-Flex fusible woven interfacing | Cotton, one-sided fusible, 20 in wide | $5 to $9 |
| 1/4 yd | Pellon 987F fusible fleece | Low-loft polyester, 45 in by 60 in pack | $7 to $12 |
| 1 spool | Gütermann jeans thread in gold | 100 yd, polyester, for topstitching only | $4 to $8 |
| 6 to 10 | Half-inch grommet kit with setting tool | 1/2 in inside diameter, 100 sets plus cutter and mandrel | $10 to $17 |
| 1 | Twisted natural cotton rope, 1/4 in | 50 ft coil; you need about 40 in of it | $9 to $15 |
| Materials subtotal | $35 to $70 | ||
Tools
| Qty | Item | Spec | Price |
|---|---|---|---|
| 1 card | Schmetz jeans and denim machine needles | Size 100/16, 5 needles; buy two cards if you are new to denim | $3 to $7 |
| 1 pack | Clover Wonder Clips | 50 count; pins will not close on this many denim layers | $11 to $17 |
| 1 | Dritz Jean-a-ma-jig seam-height tool | Plastic, 1/8 in and 3/16 in steps, fits any machine | $4 to $9 |
| Shears or rotary cutter, quilting ruler, chalk, iron, hammer, seam ripper | Already in the drawer | $0 | |
| Tools subtotal | $18 to $33 | ||
Buying every line from scratch lands around $53 to $103. Prices are approximate US ranges as of September 2026; verify before purchase.
Which jeans to cut up, and which to leave in the pile
Pick the heaviest non-stretch pair you own that still has good fabric below the hip. Denim weight is measured in ounces per square yard, and jeans at 12 oz and up sit in the mid-weight band, which is the floor for a bag that holds its shape without a plastic insert. Anything under about 10 oz drapes instead of standing — and a bucket bag that drapes is a drawstring pouch with ambitions.
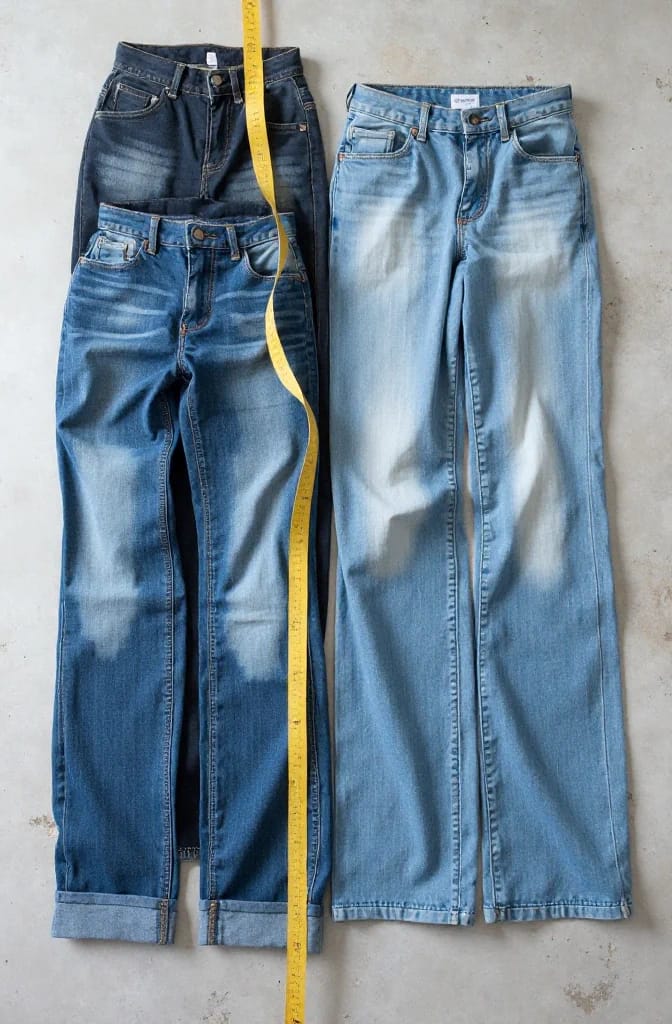
The leg style matters more than most tutorials admit. A straight leg runs roughly 16 inches around at the hem and keeps a similar width at the knee, which is a gentle enough taper to give you a base worth having. Bootcut usually measures 16 to 18 inches at the opening and flares out below the knee, so the taper actually reverses on you. Skinny jeans come in at 12 to 14 inches, and 13 inches of circumference divided by pi is a base a little over four inches across. You can make that bag. It will hold a phone and a set of keys.
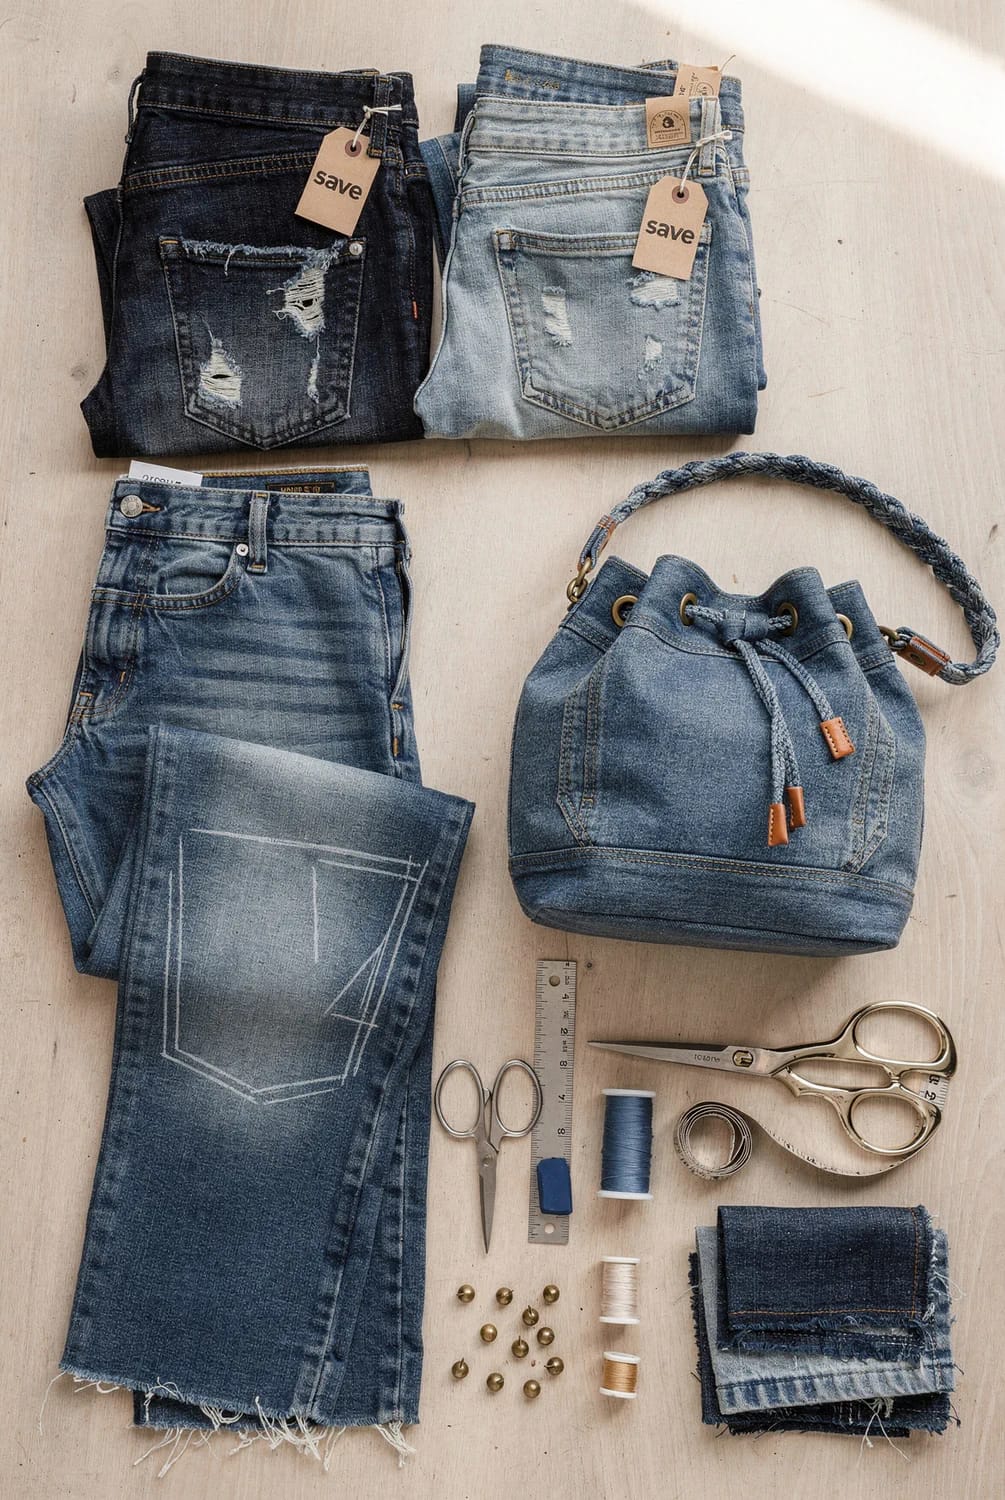
Color is the only decoration this thing gets, so choose the fade deliberately. The pale whiskered section at the front hip and the chalky knee panel are the two places a single pair already carries three or four different washes at once, and positioning one of them on the front face of the bag is free styling. I would take a faded pair over a dark one every time, and not only for looks: dark indigo on a small object reads as a flat navy blob from six feet away, which is exactly where people see a bag.
Do this
- Use 12 oz or heavier denim, the kind that stays standing when you drop the folded leg on a table.
- Pick a straight or relaxed leg and cut the body high, at or just below the knee, where the tube is widest.
- Check the outseam is properly felled and topstitched. That seam becomes visible structure on the finished bag.
- Keep the waistband intact in one strip when you dismantle the pair. It is the strap, and it is already finished on both edges.
Avoid
- Stretch denim above roughly 2 percent elastane. The tube goes slack and the base seam ripples no matter how carefully you sew it.
- Distressed pairs with a rip inside the section you want, unless you enjoy patching before you have started.
- Skinny legs, for the reason above: a four-inch base is a pouch.
- Selvedge over about 16 oz if your machine has a plastic body. It will sew it right up until the seam crossings, and then it will not.
 57 Innovative Upcycled Jeans Ideas: Transform Your Old Denim into Chic Fashion and Home Decor A long list of other places a dead pair can go, so the good jeans get matched to the right project.
Do the base math before you cut anything
Lay the leg flat, smooth it, and measure straight across at the line where the bottom of the bag will sit. Double that number and you have the circumference the base circle has to match, which fixes its finished diameter at circumference divided by pi, plus two seam allowances for the cut edge. The calculator below runs that and the rest of the cut list from your own two measurements.
Bucket bag cut list from your own jean leg
Measure the leg laid flat at the lower cut line, not around it.
Every figure is rounded to the nearest quarter inch and is an estimate. Cut the base circle a touch large and trim it to the tube; denim does not forgive the other direction.
The capacity line is the one worth staring at before you commit. A seven-inch flat measurement and an eleven-inch height gives a bag of roughly 2.8 liters, which takes a wallet, a phone, keys, sunglasses and a paperback, and not a water bottle standing upright. Push the flat measurement to nine inches and you are near five liters, which is a day bag. Push the height instead and you get a tall narrow thing that swallows objects and never gives them back.
Wash hot, then find your two cut lines
Wash and tumble dry the jeans on the hottest cycle they will survive before you cut anything, because denim shrinks and you would rather it did that now than the first time the finished bag gets rained on. Press the leg flat afterwards. Then mark both cut lines with chalk, square to the felled outseam, and measure the flat width at the lower one before you cut it.
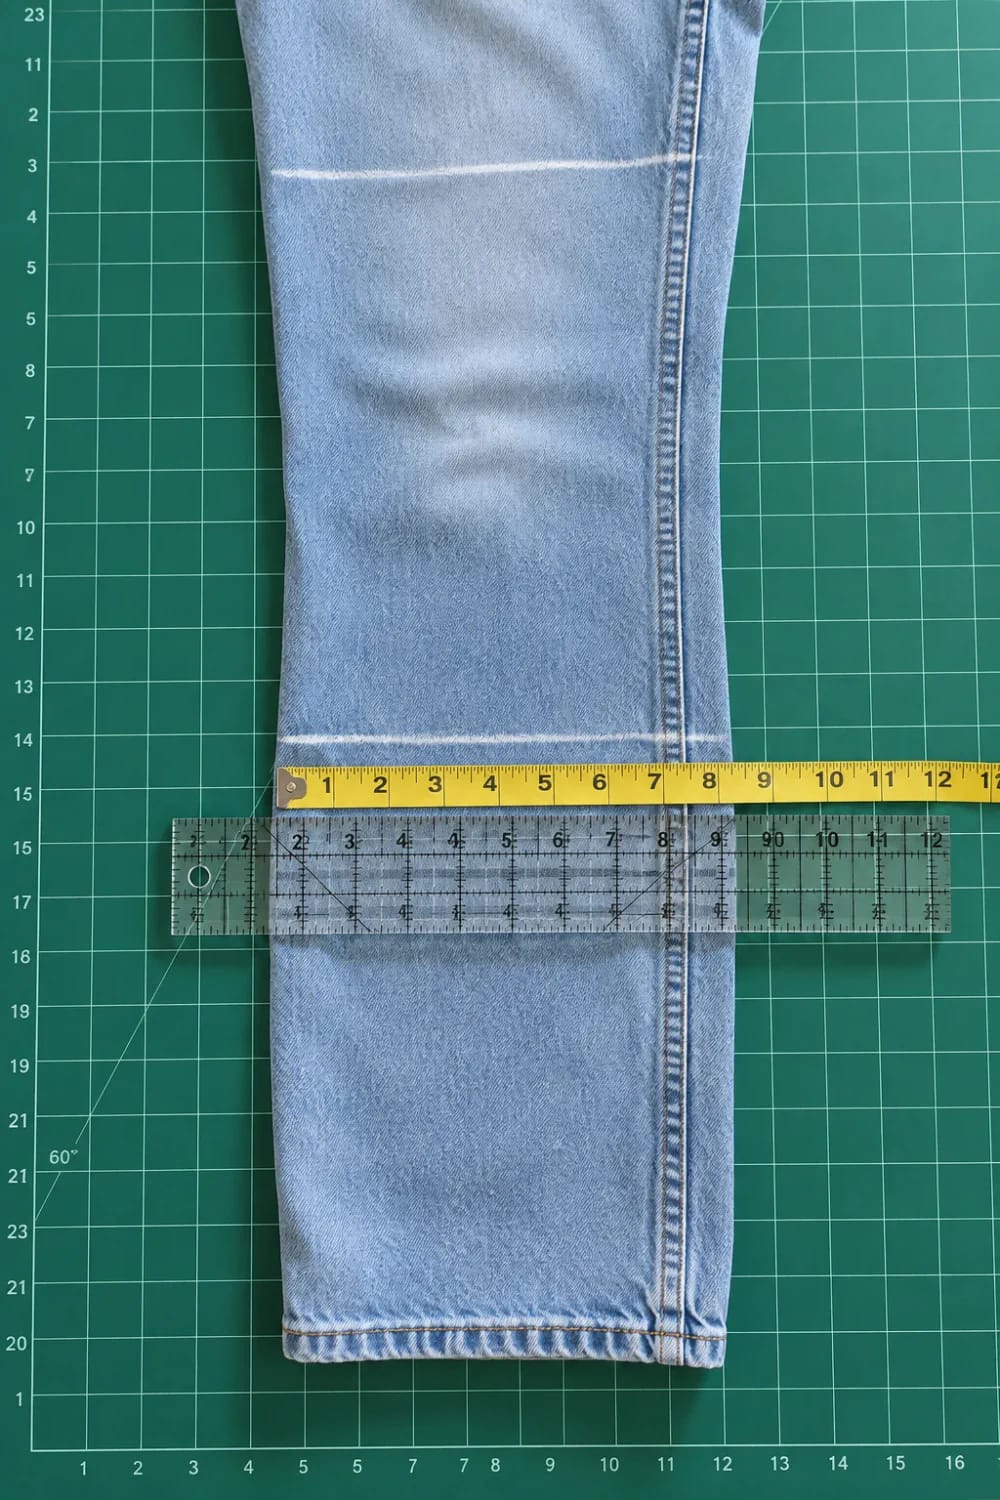
- Cut the legs off at the crotch seam, both of them. One becomes the body, the other becomes the base circle and any pocket you want to add.
- Cut the waistband off in one continuous strip, slicing just below the band’s lower topstitching. Leave the belt loops on for now.
- Mark the upper cut line at or just below the knee, square to the outseam. Above the knee the leg is wider still, but the crotch seam and the front rise start intruding.
- Mark the lower cut line roughly by eye first, measure the flat width across it, then slide the line up or down until the body height the calculator returns matches the distance between your two marks.
- Cut both lines with a rotary cutter against the ruler, and keep the leftover hem section. It is the best scrap you own for testing stitch tension on the real number of layers.
Cut and stiffen the base circle
Cut two circles at the diameter the calculator gave you, one from denim and one from lining cotton, and fuse a matching circle of fleece to the wrong side of the denim one. Then fuse a strip of woven interfacing around the inside top of the denim tube, about three inches deep, so the rim does not stretch out of round when the grommets go in. Skip that strip — it is thirty seconds of ironing — and the bag goes oval within a month.
Sew the base into the tube, slowly
Turn the tube inside out, clip the denim circle into the lower opening with the raw edges aligned, and sew the full ring with your half-inch allowance. Work with a lot of clips, at least one every inch, because a circle sewn into a cylinder wants to twist and you are correcting it continuously rather than once at the start.
The interesting problem is the two places where the felled seams cross the base seam. A felled seam is four layers of denim folded and stitched, so the crossing is a stack of eight or more, and it arrives under the needle just as the foot is tilting off the flat. That is where needles break. Hammer each crossing flat before you sew, trim the seam allowance inside the felled seam down by half in the last inch, and slide the seam-height tool under the back of the foot when you reach it so the foot stays level. Then hand-walk the wheel through the crossing. It costs maybe two seconds each, and there are only two of them.
Do not sew a seam crossing at speed with the foot tilted. A size 100/16 jeans needle handles eight layers of 12 oz denim, but only when it enters straight down. A tilted foot deflects it sideways into the throat plate, which snaps the needle and, often enough, knocks the timing out on a lightweight domestic machine. Level the foot, slow to a hand crank, and change the needle after every second seam crossing whether or not it looks fine.
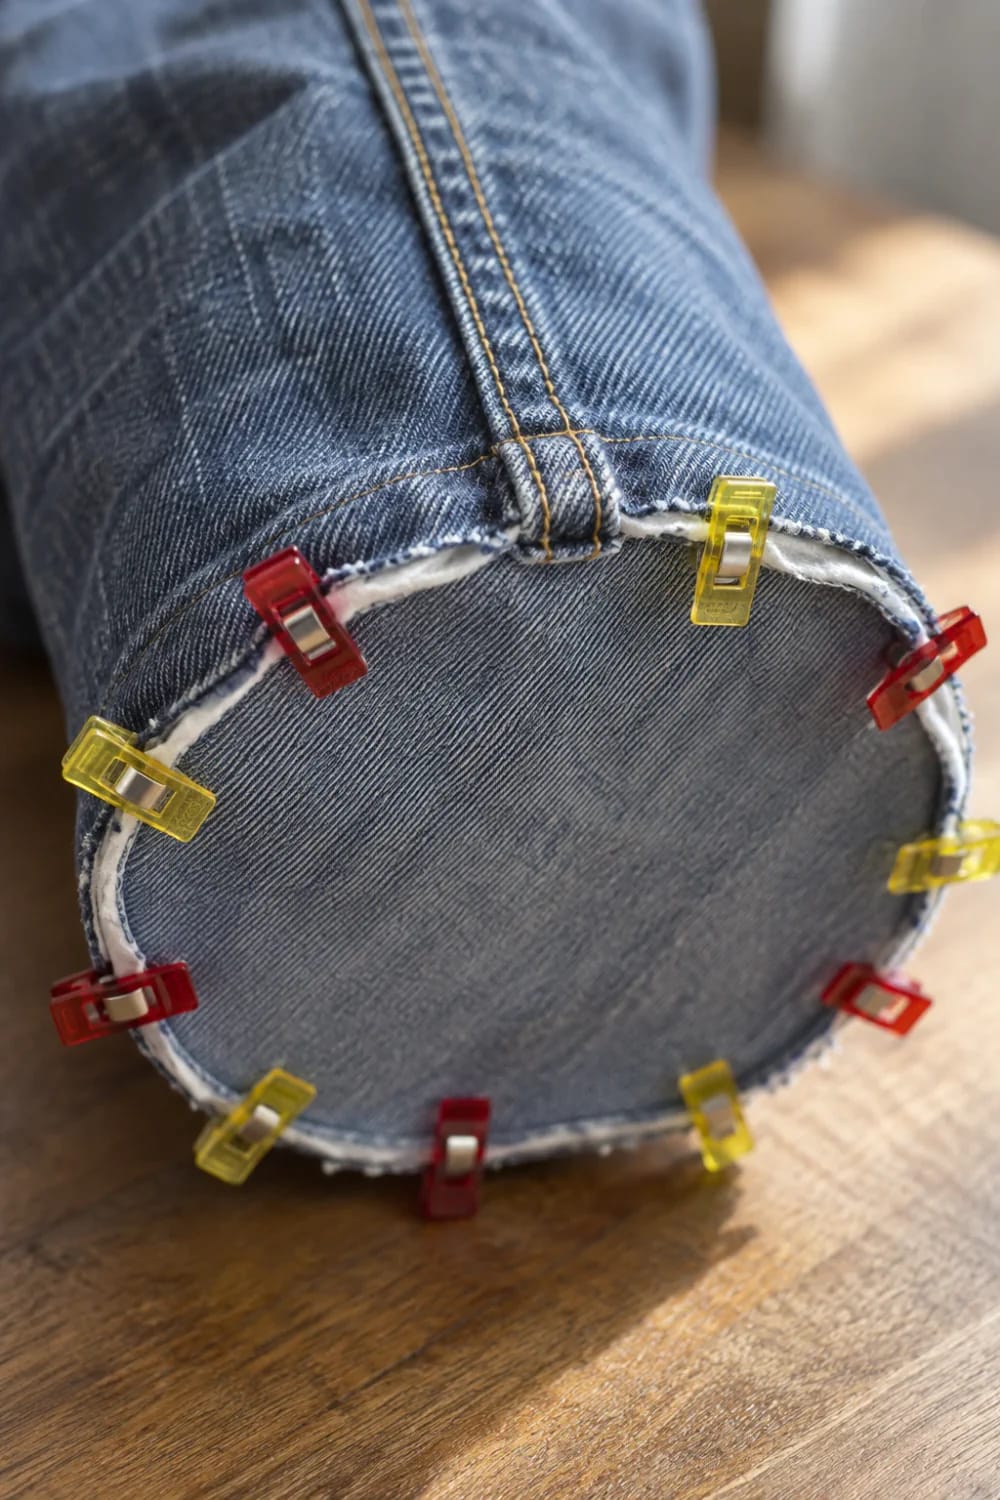
Grade the finished ring afterwards, trimming the seam allowance to a quarter inch and clipping small notches around it so the curve lies flat, then turn the bag right side out and push the base down with your fist until the ring sits square.
Line it with a second, simpler bucket
The lining is the same bag in cotton, built flat instead of inherited. Sew the rectangle into a tube with one seam, leaving a four-inch gap in the middle of that seam for turning later, then set its circle into the bottom the same way. It goes in faster than the denim did by a wide margin, mostly because there is nothing to hammer.
Fold the top band and set the grommets
Fold the denim rim one and a half inches to the inside, press it hard, and topstitch twice in gold thread: once a quarter inch below the fold and again a quarter inch above the raw edge. You now have a doubled band with interfacing inside it, which is what makes a grommet stay put rather than tearing out through a single layer the first time somebody yanks the cord.
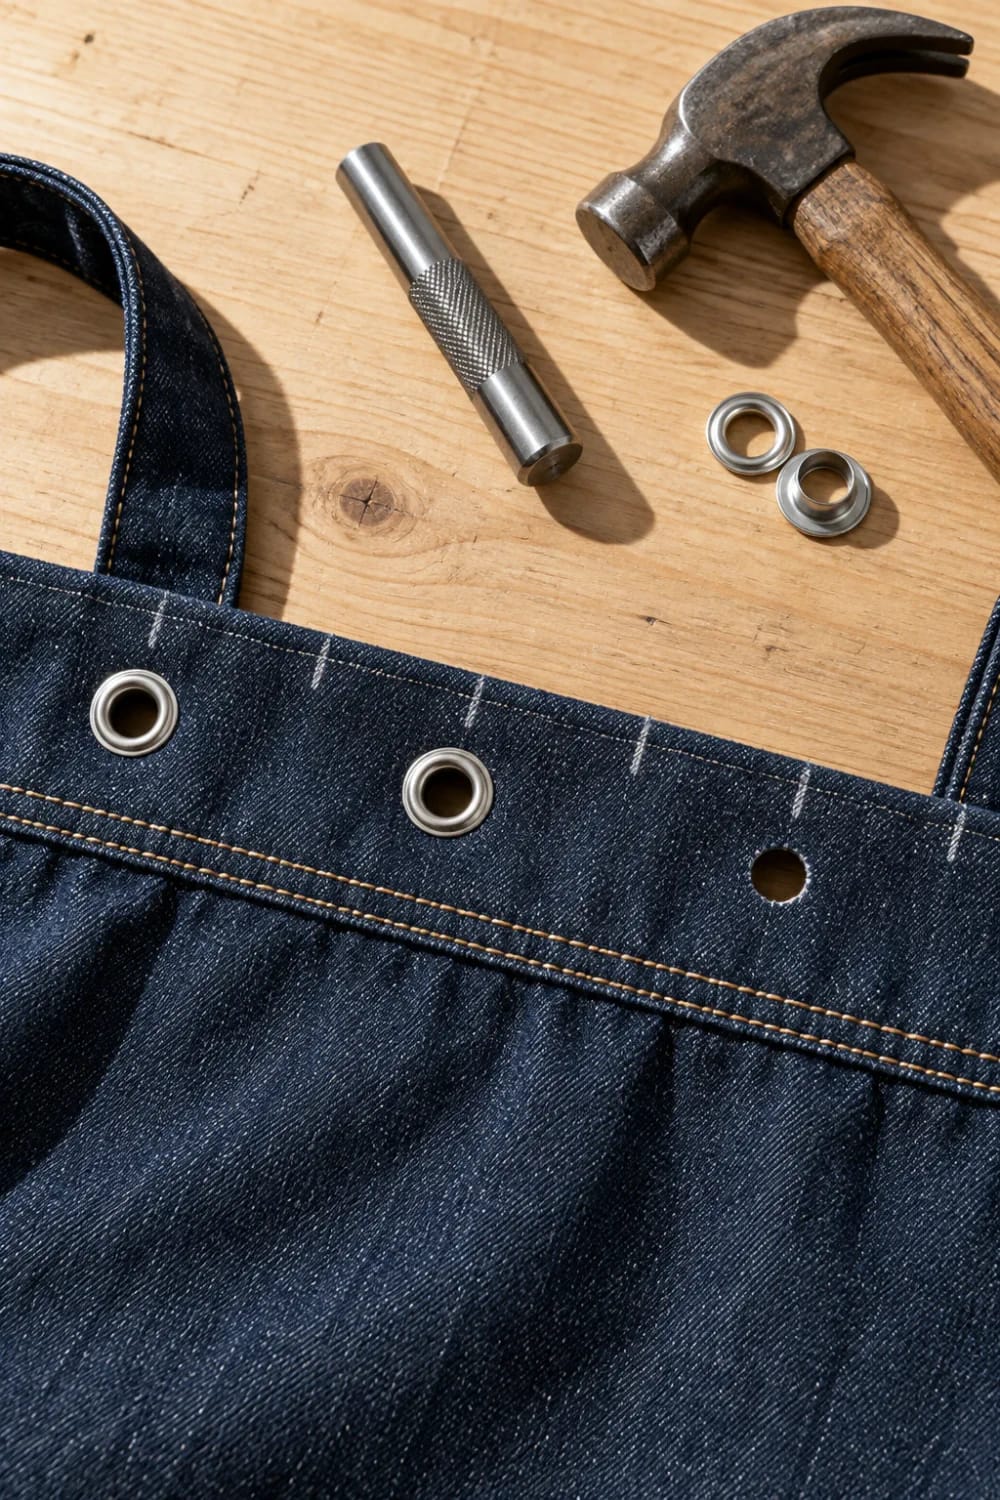
Mark the grommet positions with chalk before you punch a single hole, working around from the two felled seams so the spacing stays symmetrical, and use an even number so the cord exits at matching points. Punch on a piece of scrap pine rather than a cutting mat, which the cutter will destroy. Set each grommet with the mandrel held dead vertical and four or five firm hammer strikes; leaning the mandrel is what produces the ones that spin loose. Then thread the cord through, in and out around the band, and knot both ends together.
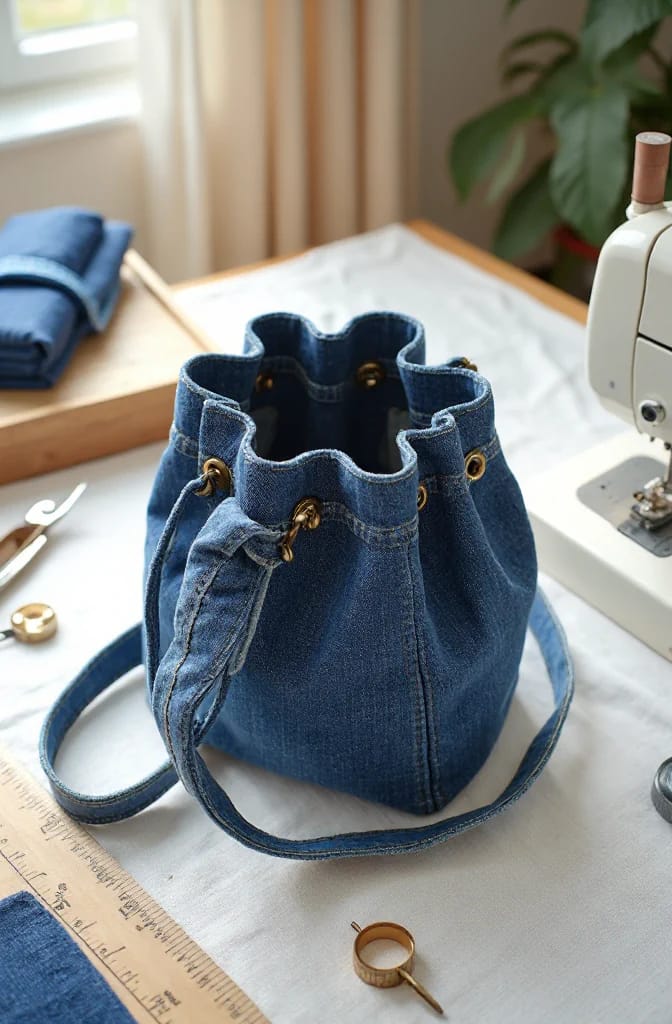
Turn the waistband into a strap, then drop the lining in
The waistband is already a finished, interfaced, double-topstitched strip, which is a better strap than anything you would sew from flat denim. Unpick the belt loops, open the buttonhole end and the button end, trim both to square, and turn a half inch under at each. On a size 32 to 34 pair you end up with something around 36 inches, which is a shoulder strap with a comfortable drop. It is not a crossbody strap, and I would rather say that plainly than have you discover it at the end: a crossbody drop needs roughly 45 inches of total strap, so you would be splicing in a second waistband — or a length cut from the outseams, which are the only other finished-edge strips the pair contains.
Position each strap end on the outside of the bag directly over a felled seam, top edge half an inch below the rim, and box-stitch it with an X through the middle. That lands the strap load on the strongest vertical line the bag has. Then push the lining inside wrong sides together, hand-stitch its top edge to the inside of the band just below the lower row of topstitching, and close the turning gap. The seam-height tool earns its place again on the strap boxes, which are about as thick as anything on the project.
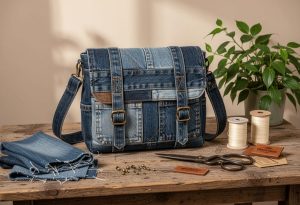 How to Make an Upcycled Jeans Messenger Bag From Old Denim The same waistband-as-strap trick, applied to a flat bag that uses the jeans’ finished hem as the flap.
How the build splits across two sessions
Active sewing time is around two to two and a half hours. The only reason it crosses a day is the wash.
- Evening before, 20 minutes. Wash and tumble dry the jeans hot. Cut the legs off and take the waistband in one strip while the machine is still running.
- Session two, first 30 minutes. Press, mark both cut lines, measure the flat width, cut the tube. Cut and fuse the base circles and the rim interfacing, and cut the lining.
- Next 45 minutes. Base into the denim tube, hammering and hand-walking the seam crossings. Then the lining, which is quick.
- Next 30 minutes. Fold and topstitch the band, mark, punch and set the grommets.
- Last 20 minutes. Strap boxes, lining drop-in, cord threaded and knotted.
What is left over at the end is the second leg minus a circle, both back pockets, the fly, and a pile of offcuts, which is more denim than the bag consumed. If that keeps happening, a braided rag rug is the one denim project that eats the whole pile rather than one nice pair.
Five ways this bag goes wrong
- The base ripples. Almost always a circle cut larger than the tube’s circumference divided by pi. Measure the tube again, recut the circle smaller, and ease rather than stretch when you clip.
- The rim goes oval. You skipped the interfacing strip inside the top, or used fleece there instead of woven interfacing. Fleece adds loft, not stability, and the two are not interchangeable.
- A grommet pulls out. It was set through one layer of denim instead of the doubled band, or the mandrel leaned. Patch a scrap behind the hole, reset it, and check the others.
- The strap tears at one end. The box stitch missed the felled seam and landed on single-layer denim. Move it onto the seam and add a rivet through the bottom corners of the box if you have any left from the jeans.
- The bag will not stand up empty. Fusible fleece alone is not enough on a base over seven inches across. Cut a disc of heavy stabilizer or plastic canvas a quarter inch smaller than the finished base and slip it between the denim and the lining, loose, so it comes out before a wash.
The offcuts from all five fixes are small, which is the awkward part of denim: the scraps are too heavy to quilt with and too good to bin. Most of them end up in the smallest-offcut projects that need almost no sewing, and the rest sit in a bag under the table, where they will still be next year.
Related Posts
- How to Make an Upcycled Jeans Messenger Bag From Old Denim
- How to Make a Braided Denim Rag Rug From Old Jeans
- Multi Wash Patchwork Jeans From Old Denim Scraps: The Decisions That Make the Pair
- How to Make Stunning Angel Wings from Old Jeans for Your Home
- 57 Innovative Upcycled Jeans Ideas: Transform Your Old Denim into Chic Fashion and Home Decor
- Butterfly Embroidery Jeans: Ideas Worth Stitching Onto Denim You Already Own