
Most guides make this sound like a nail-some-slats-in-a-triangle afternoon, and the result usually looks like exactly that: scrap lumber leaning in a corner with a string of lights thrown over it. The gap between that and a wall tree people actually comment on comes down to a few specific calls, which pallet you start with, where the lights sit, and how the thing holds to the wall. Get those right and the build itself is easy.
These ideas assume a real constraint. A small room, a rental you can't drill into, a pet who reads a floor tree as a chew toy. So everything here works with common tools and a free pallet, not a garage full of clamps.
One thing before you cut anything: the pallet you grab matters more than the design you pick. Read the stamp note in the first idea first.
1. Build the whole silhouette from one dismantled pallet, not a stack of them
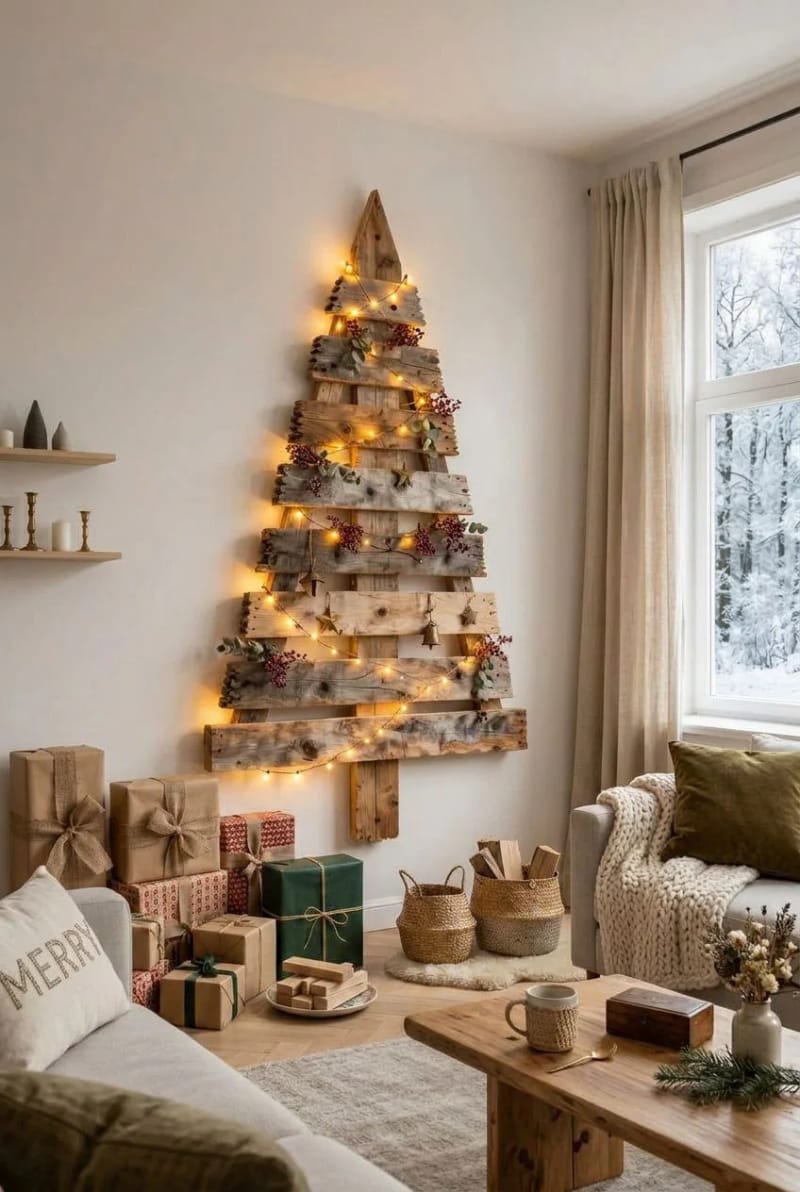
You need one standard pallet's worth of boards, not the three people drag home "to be safe." A common 48-by-40-inch pallet gives up five to seven deck boards once you pry them off, and that is enough for a tree roughly three to four feet tall: longest slat at the bottom, each one above it cut a little shorter, a stub for the trunk. Buying more wood than that is how you end up with a pile in the garage until March.
Which pallet you take is the part worth slowing down for. Look for the IPPC stamp branded into the stringer and check the two-letter treatment code: HT means heat-treated, no chemicals, safe to cut indoors. Anything raw-smelling, glossy, or painted (red is usually PECO, blue is CHEP, both owned and technically not yours to take) goes back.
Avoid any pallet marked MB(methyl bromide), a fumigant the EPA classes as highly toxic. It is uncommon in North America since 2005 and it does off-gas in open air, so the risk is often overstated, but sawing an MB board indoors is not a gamble worth taking when HT pallets are free and everywhere. Skip unmarked pallets too, since you cannot confirm how they were treated. And keep the point in mind that dry reclaimed wood plus lights is a heat question: use LED strings, which run cool, and don’t leave them on overnight.
2. Backlight the slats instead of wrapping lights around the front
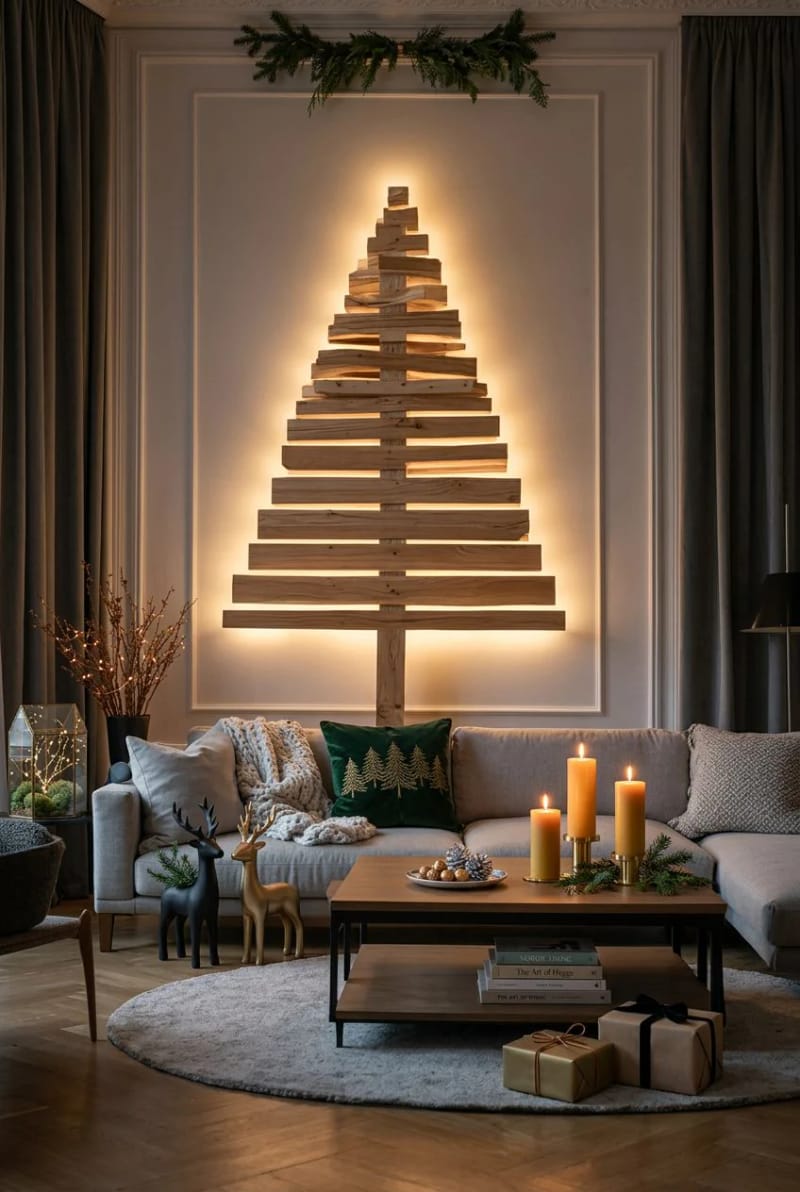
Mount the light string behind the tree, against the wall, so the glow spills around the silhouette instead of dotting the front. This one change is the difference between "modern" and "craft fair." A face wrapped in bulbs reads busy; an outline of light reads like the tree is floating.
Granted, it only works with two things in place. You need a gap between the wood and the wall, which means mounting each slat on a small spacer or a cleat that stands it off by an inch, and you need a pale wall to bounce the light. On a dark wall the halo dies and you are better off going back to lights on the front.
3. Whitewash the wood for a pale wall, leave it raw for a dark one
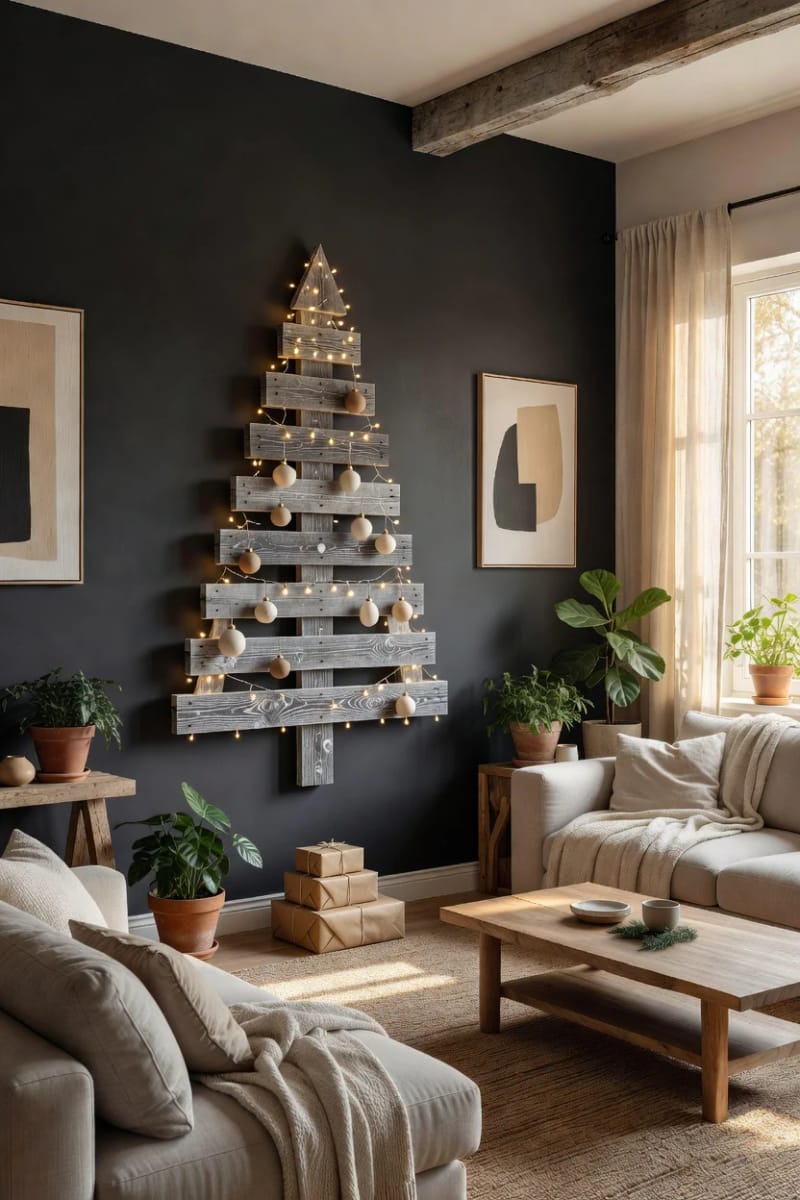
Match the finish to your wall, not to a mood board. Raw sanded pallet wood almost disappears against a beige or grey wall, so if that is your room, a whitewash (white paint thinned about half with water, brushed on and wiped back) lifts the grain and gives you contrast. On a dark or moody wall, do the opposite and leave the wood raw with just a clear matte sealer, because the warm brown against dark paint already carries the whole thing.
Whatever you do, sand before you finish. Pallet boards splinter, and a rough edge at eye level is the detail that gives away a rushed job.
4. Warm-white fairy lights read rustic; colored bulbs read retro
Pick the light color first, because it sets the entire look before a single ornament goes up. Warm white (around 2700K) on thin copper or silver wire is the delicate, farmhouse read that suits raw pallet wood. Cool white looks clinical against brown wood and I would skip it here. Multicolor or large C7 bulbs push you straight into retro territory, which is a real choice, just not an accidental one.
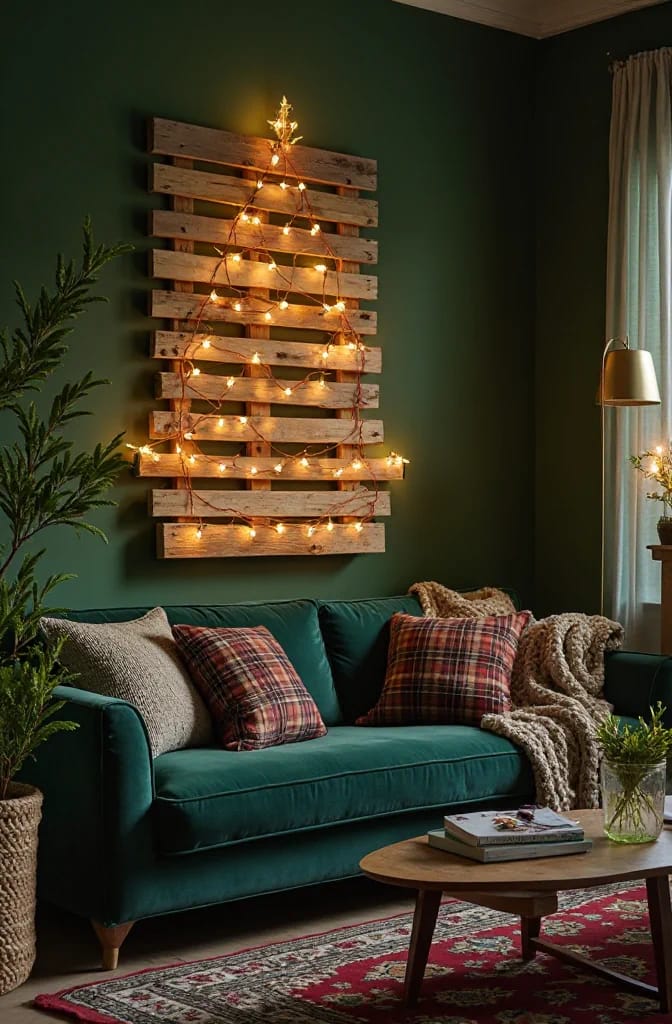
On density, more is not better. A single 30 to 50 bulb strand on a three-foot tree looks intentional; three strands crammed on looks like you were hiding the wood. Copper-wire strings cost little (a few dollars to around fifteen for a decent battery or plug-in set) and disappear into the grain, which is exactly what you want.
5. Turn the pallet tree into an advent calendar with numbered slat pockets
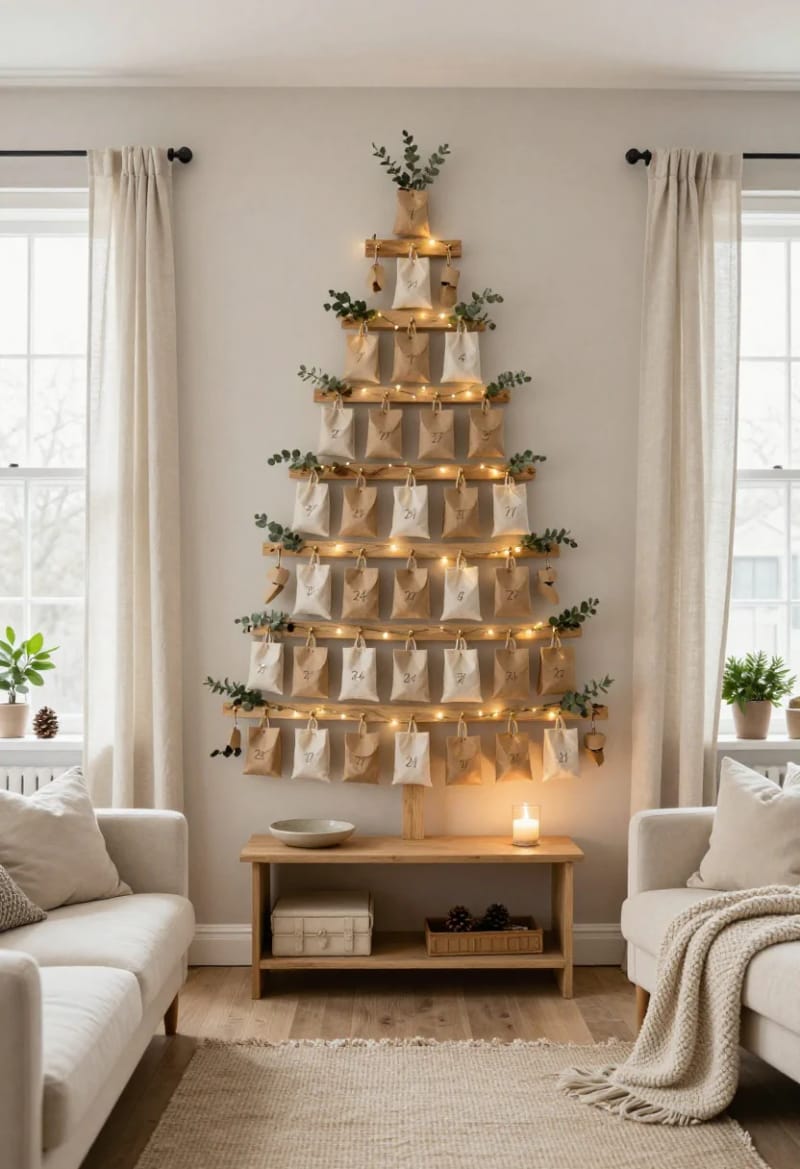
Give the tree a second job by hanging 24 numbered pockets across the slats, one small treat or note per day. The horizontal boards are already a natural grid, so spacing the numbers is easier here than on a normal tree. This is the version that earns its wall space in a kid's room, since it is decoration and countdown at once.
Keep the parts minimal:
- 24 small hooks or brass cup screws, spaced along the slats.
- Numbered kraft tags, muslin bags, or mini envelopes. Anything light.
- One warm-white strand so the numbers stay readable at night.
6. Mount it across a corner to fake a three-dimensional tree

Bend the tree around a corner and it stops reading as a flat cutout. Split the slats so half sit on one wall and half on the other, meeting at the corner, and the silhouette picks up a fold of real depth that a single-wall version never gets. It also uses a spot most rooms waste. Corners are where furniture won't go anyway.
7. Add floating mini-ledges between the slats for real ornaments

Screw a few slim ledges between the slats so the tree holds actual objects, not just hung flat ornaments. A wall tree is otherwise stuck being two-dimensional, and a couple of one-inch shelves let you set baubles, a small candle, or a tiny framed photo out from the surface. It reads more like a styled shelf than a cutout, which is the point if the tree lives in a room you use year-round.
That said, keep the ledges shallow and few. Load every gap and you have built a spice rack shaped like a tree.
8. Step the slats forward for a layered, frameless build
Mount each slat on a spacer of increasing depth and the tree gains dimension without any frame at all. The bottom board sits closest to the wall, each one above it stands off a little further, so the profile steps toward you and throws a soft ladder of shadows when the lights are on. It is the most convincing "3D" look on this list and it needs nothing but scrap blocks behind the wood.

9. Skip the drill and lean it, or use command strips, if you rent
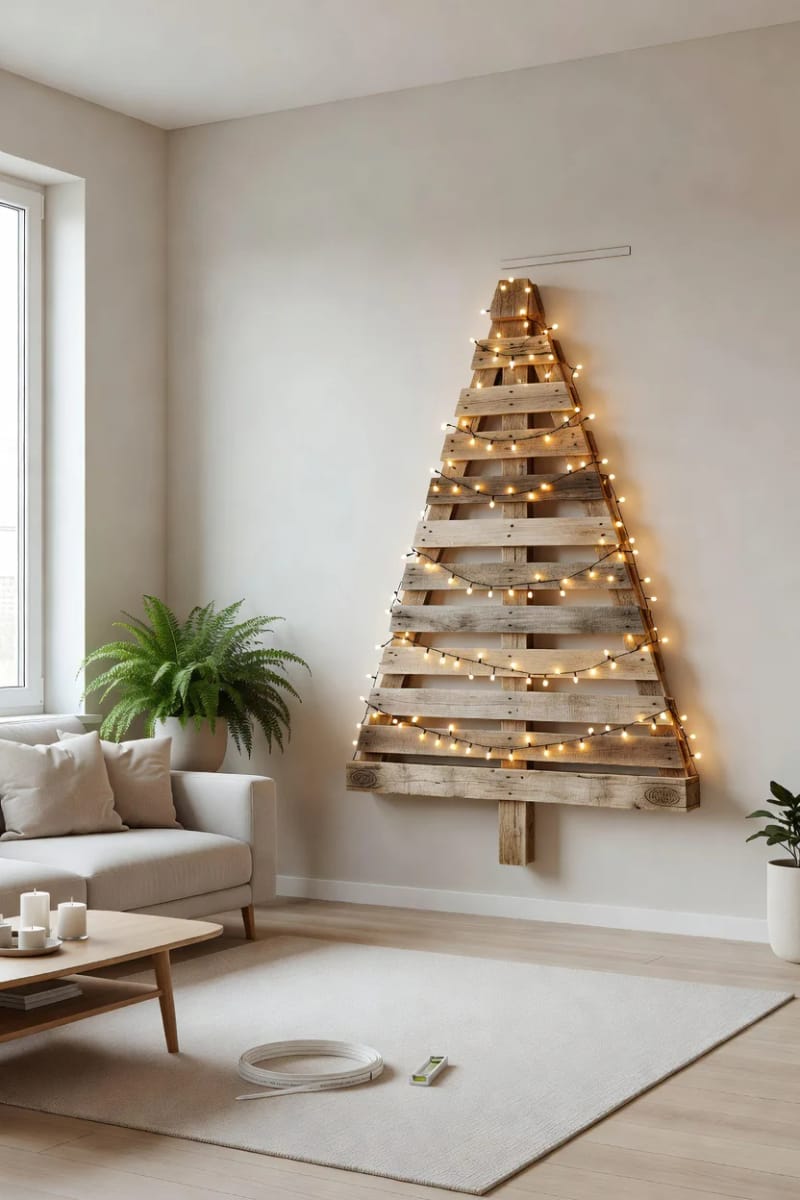
You do not have to drill. A pallet tree is light enough to lean against the wall with its base on the floor, held from tipping by a single small adhesive strip or a discreet strap at the top. For a fully hung version without holes, heavy-duty adhesive wall strips rated well above the tree's weight will carry it, as long as your wall is smooth and clean paint (they peel textured wallpaper, and they fail on anything dusty).
Do this
- Weigh the finished tree, then buy strips rated for double.
- Lean-and-strap for a heavier build. The floor takes the load; the strip only stops it tipping.
- Press strips onto bare, wiped-down paint and wait the full cure time before hanging.
Avoid
- Sticking strips to fresh paint, textured walls, or wallpaper.
- Trusting one strip for the whole weight. Spread the load across several.
- Leaning it near a doorway or a spot the dog patrols.
10. Outline it in neon rope or EL wire for a modern glow
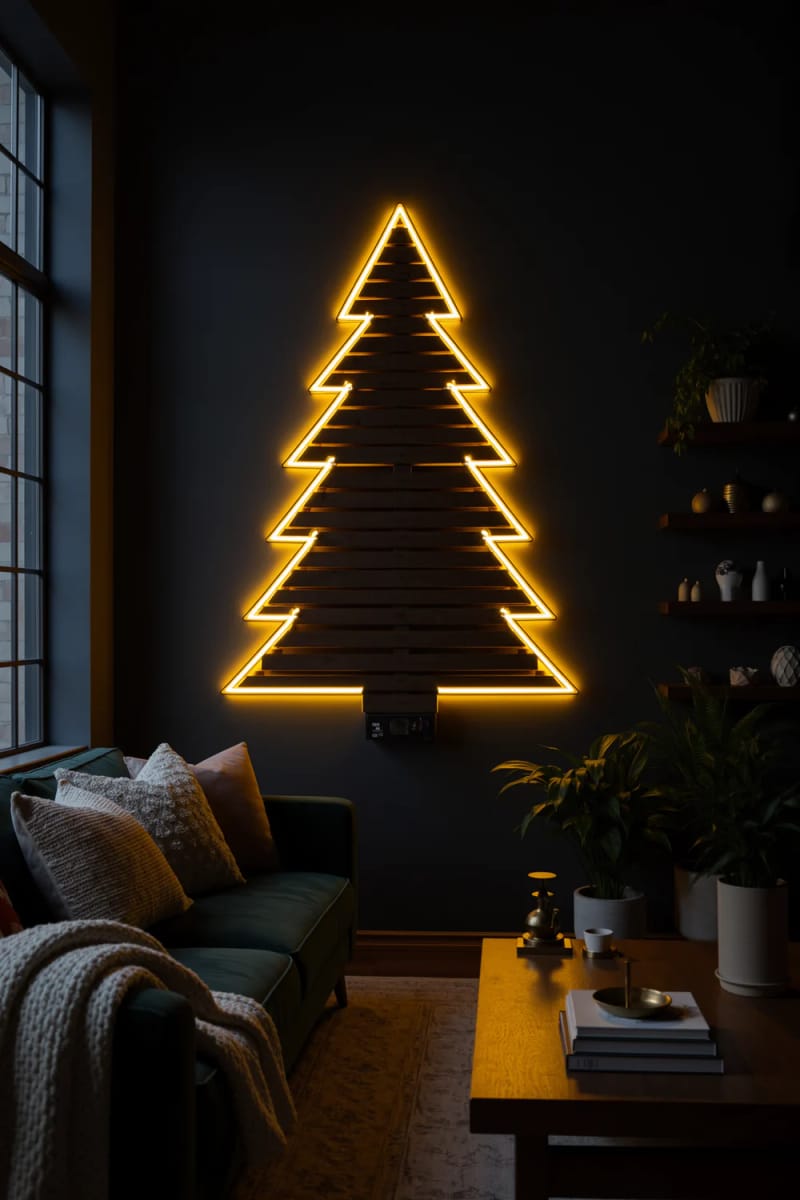
Run a line of LED neon flex or EL wire along the outer edge and the tree becomes a glowing outline, closer to a sign than a rustic craft. It suits a modern or teen room where raw wood alone would look out of place. Both run cool on a low-voltage inverter, so heat against the dry wood is not the worry it is with older bulbs, though the inverter does hum faintly if you get close.
11. Scale it down to a tabletop or up to a lit porch version
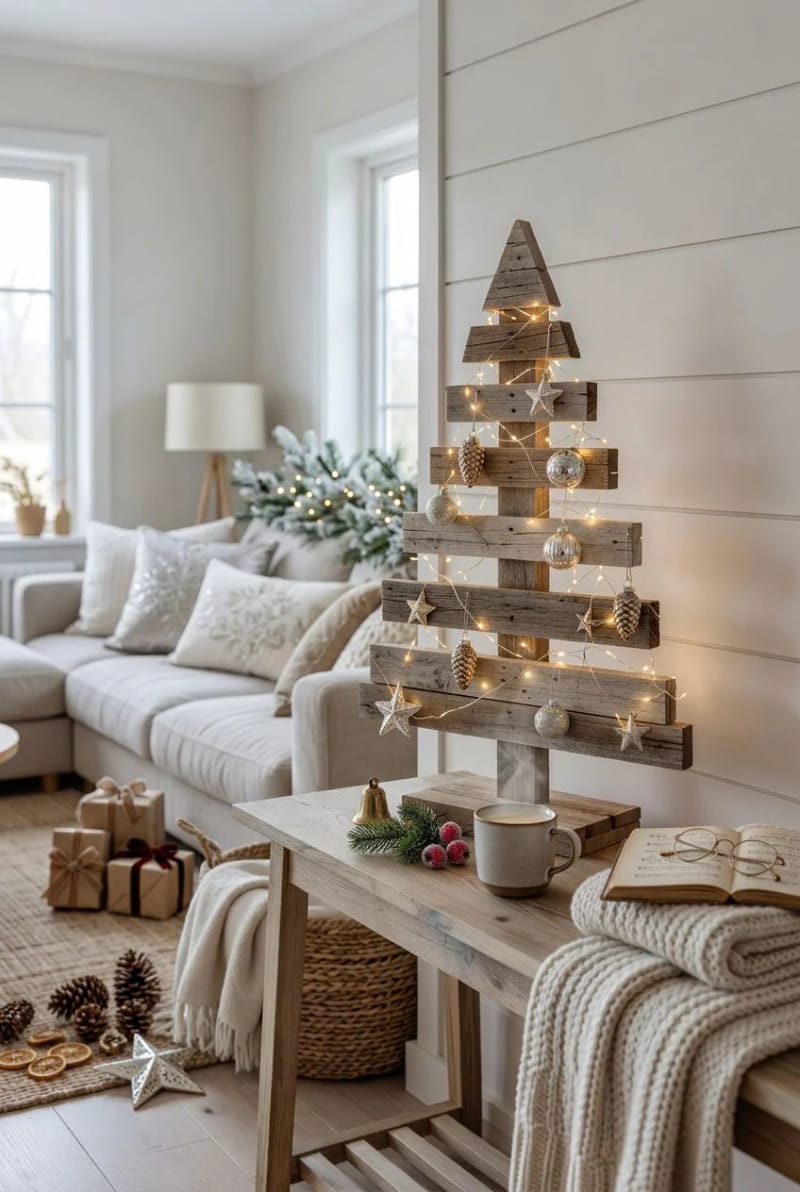
The same silhouette works from 18 inches on a console to five feet on the porch, so build to your space rather than to a photo. A tabletop version from offcuts sidesteps the mounting question entirely and suits a rental or a dorm. For an outdoor porch build, three things change: seal the wood (an exterior spar varnish), use outdoor-rated lights, and start from an HT pallet, since porch damp will find any untreated board fast.
Conclusion
If you build one thing off this list, sequence it like this: confirm the HT stamp before you cut (idea 1), decide backlit versus front-lit while the slats are still off the wall (idea 2) because that choice dictates whether you need spacers, then match your finish to your wall color (idea 3). Renters, sort the mounting question in idea 9 before you commit to a size, not after.
The version that actually draws comments is rarely the busiest one. A raw HT pallet, sanded, one warm-white strand tucked behind it, leaning quietly in a corner will outperform a slat tree buried under three light strings and a shelf of baubles almost every time. Start plain, and add only the ideas your specific room asks for.