
Most guides tell you to run out and buy a case of mason jars, and that is the one thing you should not do. The jar you already rinsed and dropped in the recycling this week, the squat pasta-sauce jar, the wide Oui yogurt pot, the tall passata bottle, usually throws better light on a table than a brand-new mason jar, because the glass is thinner and the shapes are shorter, so the flame sits closer to your eye. What matters far more than the jar is the treatment you put on it and the light you put in it, and the eleven below run from a five-minute salt frosting to a faux mercury finish that looks like it came off an antique dealer's shelf, nearly all of it from things already in the house. I have flagged the two places where a real flame is a genuinely bad idea, and the color of light that quietly ruins the whole effect.
Snow-frosted jars made with Epsom salt and glue
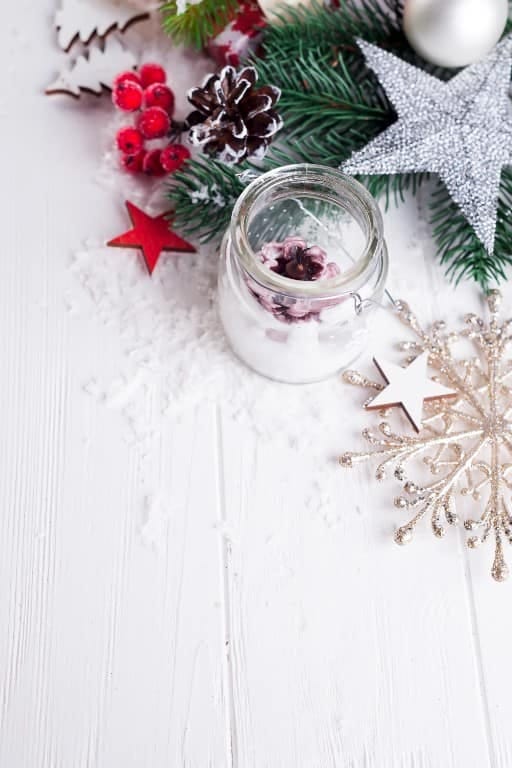
Brush the outside of a clean jar with slightly watered-down Mod Podge (or plain white PVA glue) and roll it in Epsom salt while it is still wet, and you get a snowy, crystalline coat that catches candlelight far more interestingly than smooth glass. The trick everyone skips: leave one vertical band of the jar unfrosted, maybe an inch wide. A jar frosted all the way around goes opaque and swallows the light; the clear stripe gives the glow somewhere to escape, and it reads like a design choice rather than a missed spot. Table salt works in a pinch but the grains are too fine and it flattens into a chalky film. Epsom salt, the big cheap tub from the pharmacy, has the coarse flake you want.
One honest caveat before you commit a whole batch: the finish is water-soluble. A wet glass set down beside it, or a humid porch, and the salt sheds. That said, for an indoor table over a couple of December weeks it holds fine, and a quick second brush of Mod Podge over the top (once the first coat dries) buys you real durability at the cost of a little sparkle.
Do this
- Water the glue down by roughly a fifth so it goes on thin and even instead of gloopy.
- Work over a paper plate and tip the excess salt back into the tub. You will reuse most of it.
- Leave a clear stripe or a clear ring near the base so light actually gets out.
Avoid
- Coating the inside. Glue and salt where a candle sits is both a mess and a fire issue.
- Frosting the top half-inch you will grip when lighting it.
- Rushing the dry. Salt pressed into tacky-but-not-set glue slides off in sheets.
Any jar you have coated in glue, salt, paper, vellum, or twine should get a battery tea light, not a flame. The coatings are combustible, thin recycled glass can crack from a real flame’s heat, and a narrow jar traps enough heat near the rim to scorch anything wrapped there. Battery is also the only sane choice at a place setting where sleeves and napkins move around. And use warm-white LEDs, the ones rated around 2700K: the bluish cool-white “daylight” tea lights turn every one of these projects the color of a gas-station fridge, which undoes all the work.
Faux mercury-glass votives from a can of Looking Glass spray
This is the one that makes people ask where you bought them. Krylon Looking Glass spray (about $18 to $22 for a 6 oz can, and worth every cent because nothing you already own fakes it) lays down a genuine mirror finish; a misting of half water, half white vinegar, blotted off with a paper towel, eats the paint away in speckles so the silver looks aged and pitted instead of chrome. The effect suits a squat jam jar better than a tall one, since the mottling reads best across a wider curve.
Spray the inside, not the outside
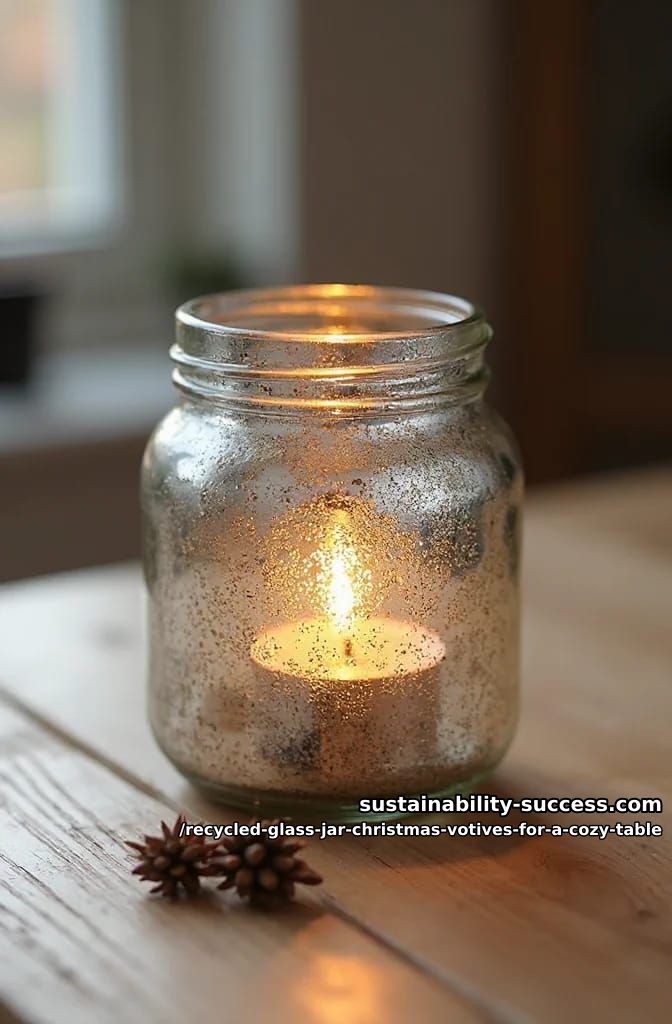
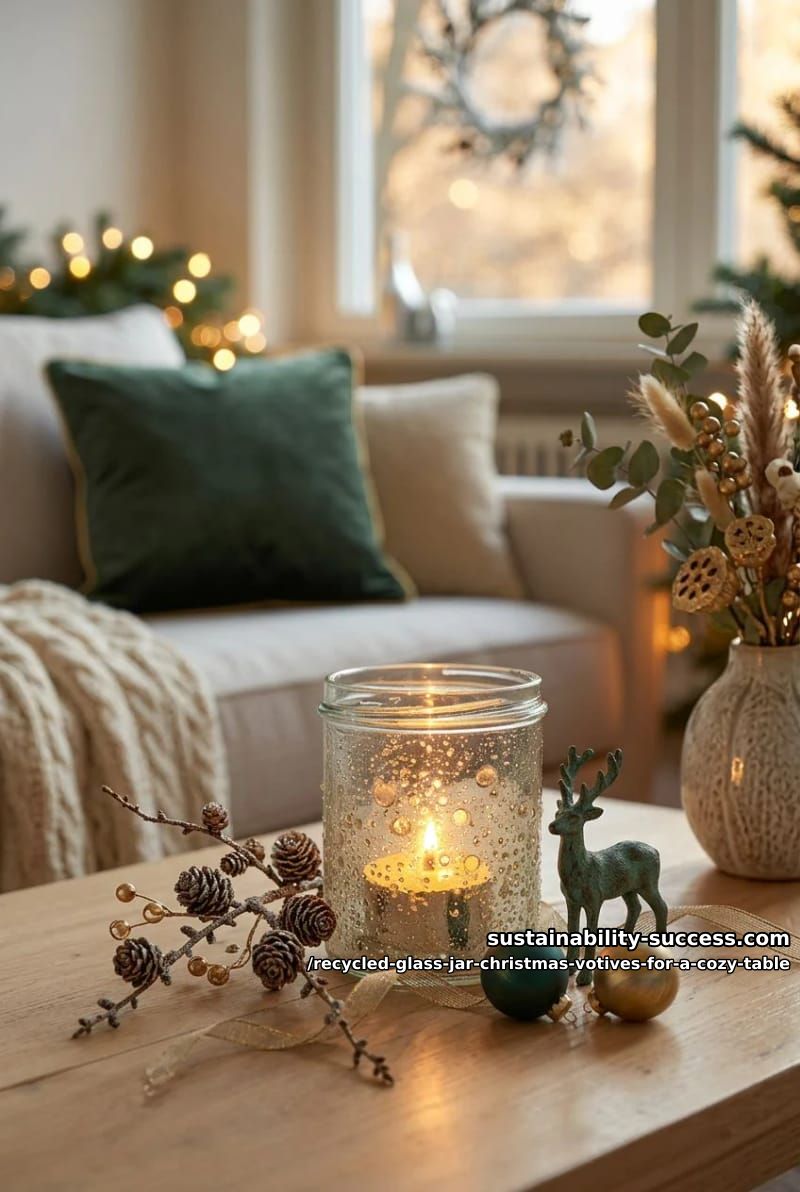
Coat the inside of the jar rather than the outside and the mirror sits behind the glass, protected. It cannot scratch when you wash the outside, it survives being handled, and the finish looks deeper because you are seeing it through a layer of glass. Mask the rim with tape first so the drinking edge stays clear.
Ageing it past the fresh-paint look
Two or three thin coats, each with its own vinegar-blot pass, beats one heavy coat every time; the depth comes from the layers, not the thickness. If it still looks too new and even, a whisper of black or antique-gold acrylic swirled in before the last dry gives you the tarnish real mercury glass has. Work outside or by an open window, because the fumes are strong and they linger in a closed room.
Dried-orange and cinnamon jar lanterns
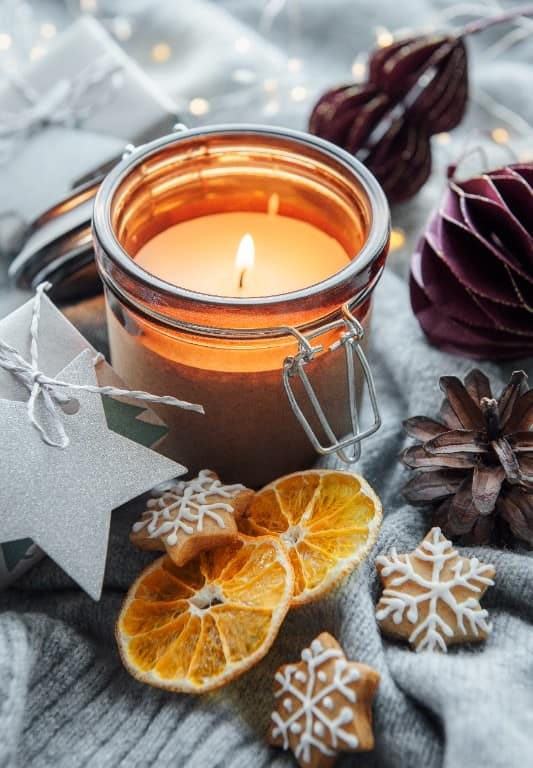
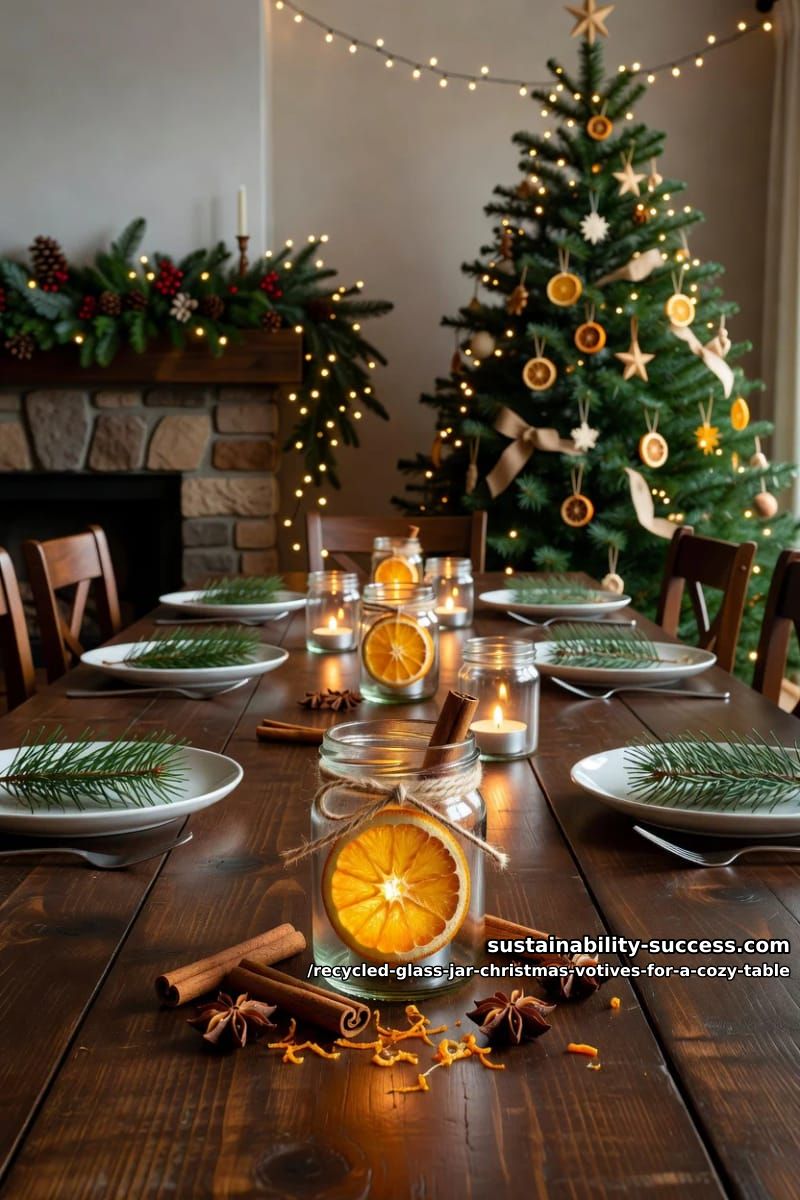
These earn their place because they smell as good as they look, which none of the painted jars do. Bind a dried orange slice and a cinnamon stick to the outside of a straight-sided jar with a wrap of jute, drop in a warm tea light, and the light comes through the orange as a stained-glass amber. Dry the slices yourself: quarter-inch rounds on a rack in the oven at its lowest setting, somewhere around 170 to 200°F, for three to six hours, turning them so they do not brown. Lower and slower keeps the color; push the heat to save time and they go a muddy brown that looks dead against the light.
Jars collared with a eucalyptus or pine sprig
When you want restraint rather than a project, wrap a single sprig around the neck of a plain jar and be done. A short length of eucalyptus, a cutting of pine, or a bit of rosemary tied on with garden wire and finished with twine gives you the Scandinavian look with almost no effort, and because the glass stays clear the light is at its brightest. Fresh greenery lasts about a week before it curls; if the table needs to survive the whole season, preserved eucalyptus or a good faux sprig holds without the drop. Keep the collar low on the jar so it never sits over the flame path, even with a battery light.
Decoupaged vellum jars with a winter silhouette
A silhouette wrapped around a jar turns candlelight into a tiny backlit scene, and it is the cheapest way to get a jar that looks bought. Print a black winter shape onto vellum or tracing paper, a bare tree, a stag, a row of firs, then decoupage the sheet around the glass; lit from inside, the black reads dark against the amber and the whole jar becomes a lantern with a picture on it.
Paper thin enough to glow
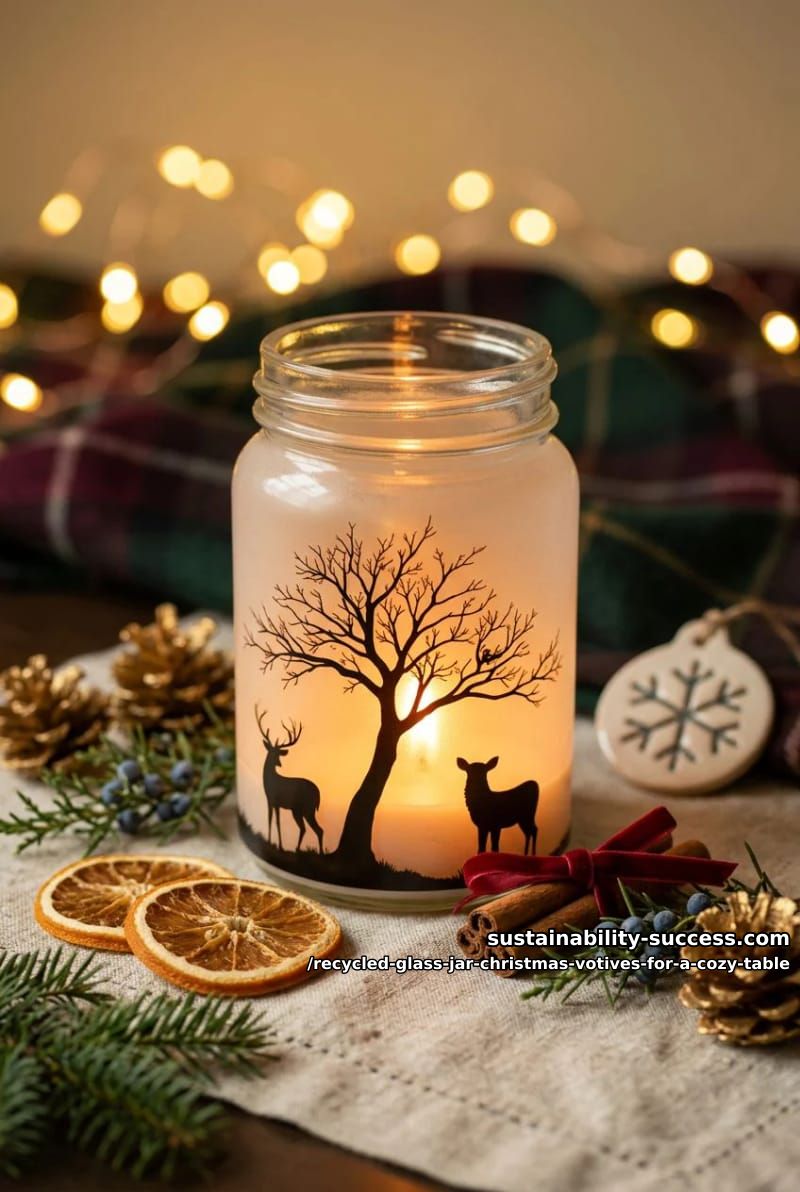
Ordinary cardstock kills the effect: it blocks the light and you get a dark jar with a dim ring at the top. Vellum, tracing paper, or thin white tissue lets the glow through while still holding the ink, which is the whole point. Test a scrap against a lit tea light before you commit; if you cannot see the light clearly through it, the paper is too heavy.
Sealing it without wrinkles
Thin paper wrinkles the instant it meets wet glue, so brush a light coat of Mod Podge onto the glass, smooth the vellum on dry, then seal over the top with a second thin coat, working from the center out to push bubbles to the edge. A plastic card or an old gift card makes a decent squeegee. Overlap the seam at the back where the shadow gap will not show.
Jute-wrapped jars with a small brass bell
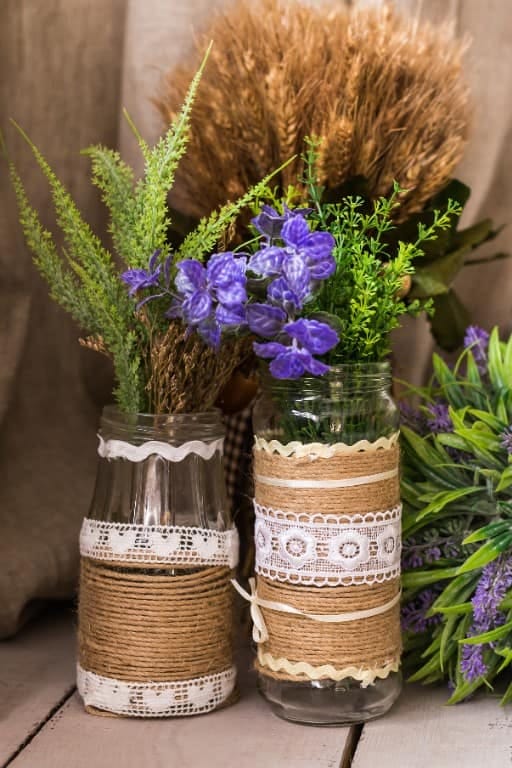
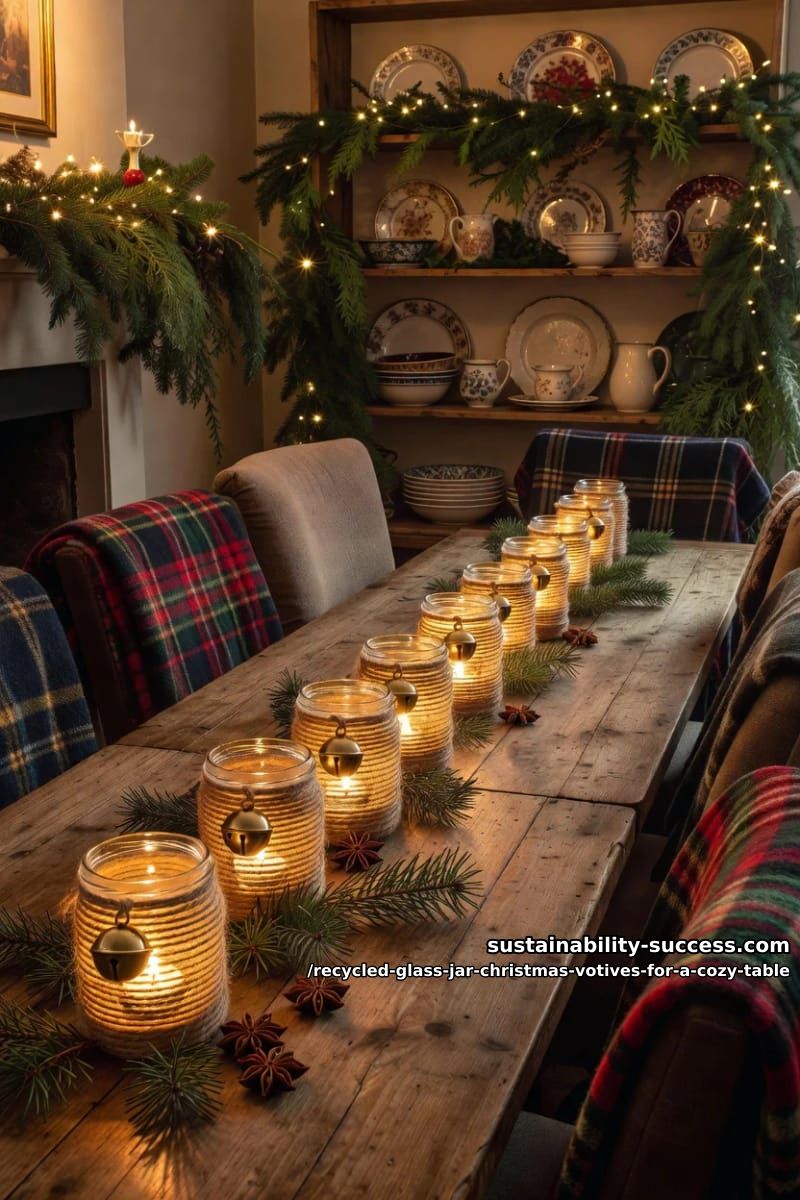
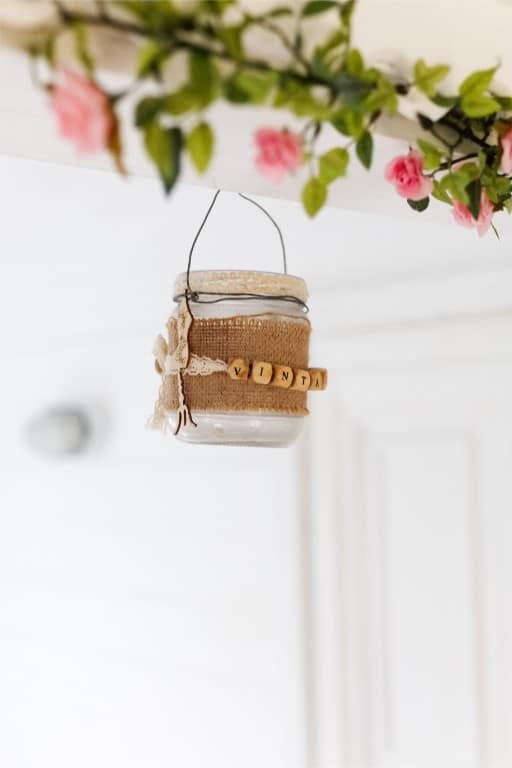
Wind jute or garden twine from base to rim, gluing as you go, and a throwaway jar becomes a rustic votive in about ten minutes; a little brass jingle bell tied at the neck is the detail that stops it looking like a summer-camp craft. Hot glue is faster but leaves visible strings and hard beads under the twine, so a bead of tacky craft glue run in a spiral gives a cleaner wrap if you are not in a hurry. Leave the top third bare for a two-tone look, or wrap the whole thing for a solid rope column.
Frosted-spray jars with peel-away snowflakes
Frosted-glass spray gives an even etched-looking coat in one pass, and if you mask shapes before you spray, those shapes stay clear and light pours through them. Stick vinyl snowflakes (or any sticker) onto a clean jar, spray two light coats of frosted-glass paint, peel the stickers off, and you are left with a frosted jar wearing clear snowflakes that glow when lit. It is faster and more durable than the salt method, and honestly the cleaner-looking of the two, though it lacks the salt's texture.
Stencils you cut or buy
A craft-machine cuts crisp vinyl snowflakes, but a hole punch through masking tape, or small store-bought stickers, works just as well for a first try. Simple shapes read better than fussy ones through frost, so a fat six-point snowflake beats an intricate lace pattern that muddies once the paint softens its edges.
Peel while the frost is tacky
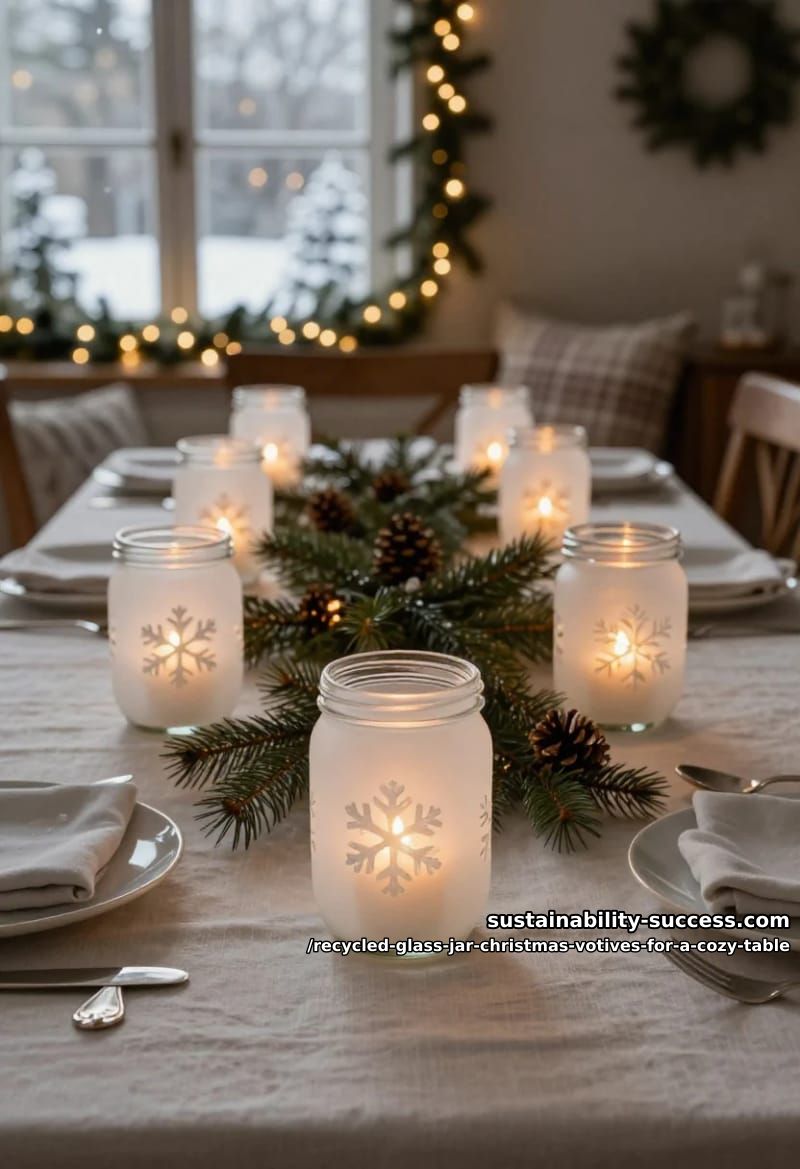
Peel the stencils when the second coat is dry to the touch but not fully cured, usually a few minutes in. Leave them on too long and the paint bonds over the sticker edge and lifts in a ragged line; pull them while everything is rock-hard and you risk chipping the frost around them. A little practice jar first is not a waste.
Bottlebrush-tree scenes sealed in a jar
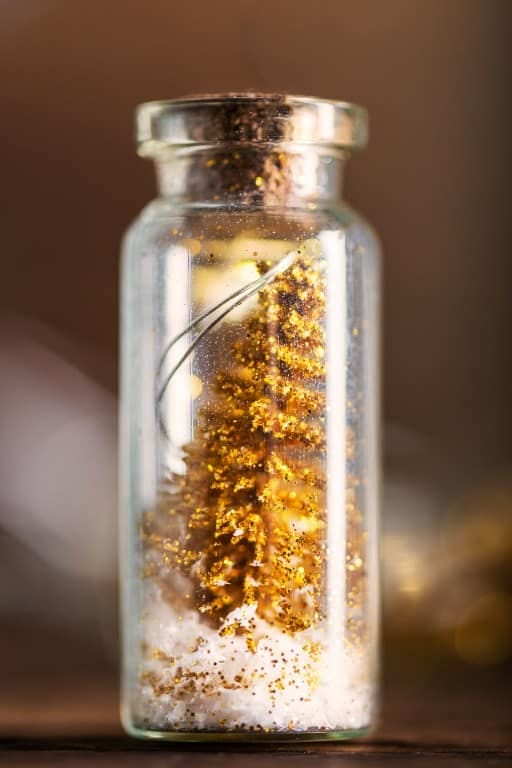
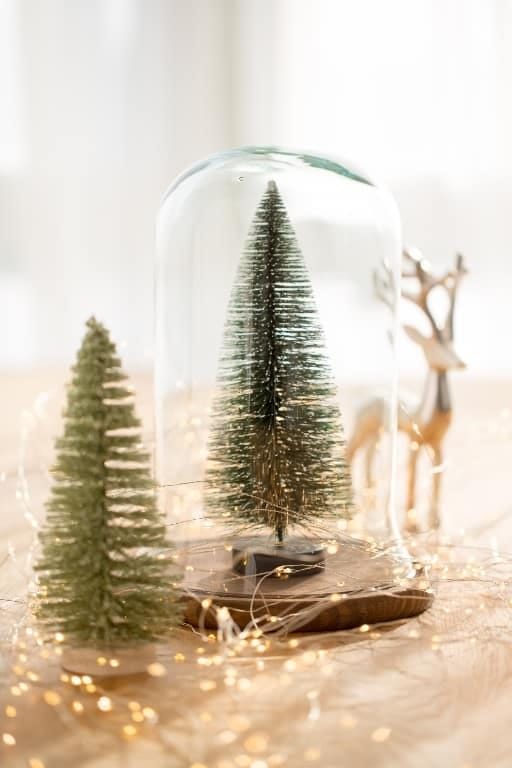
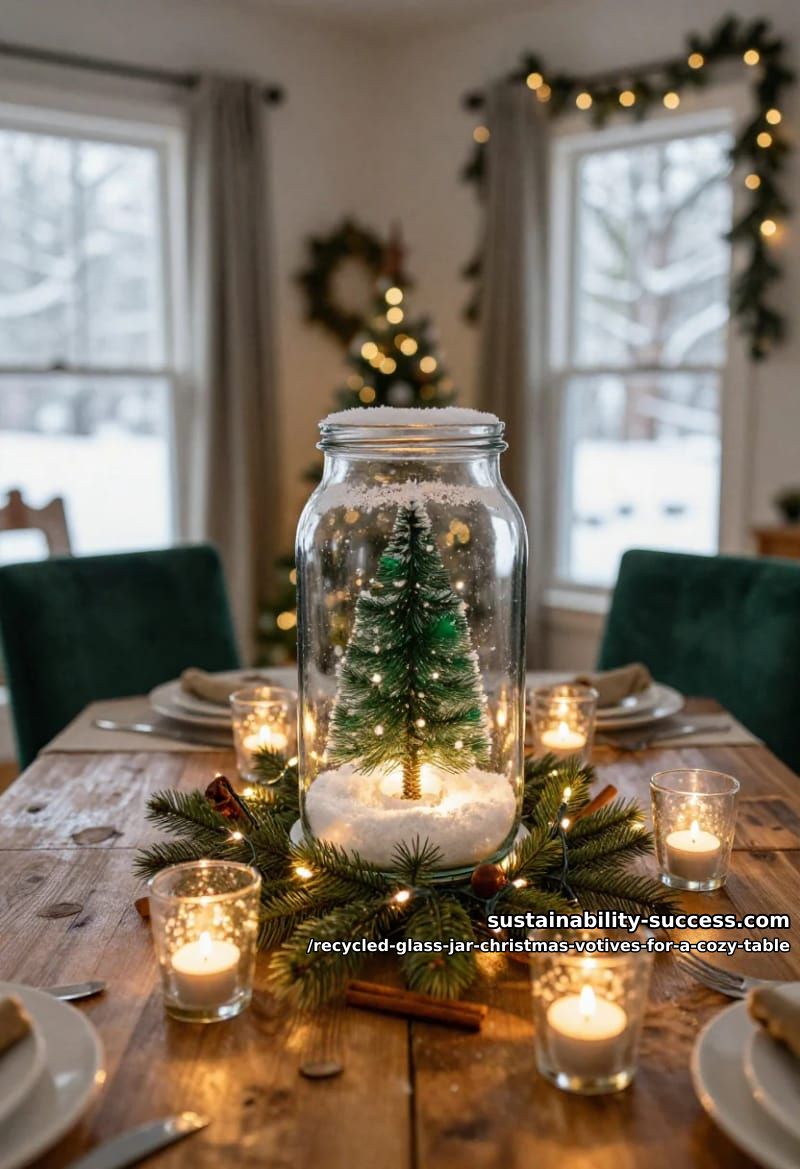
A tiny green bottlebrush tree standing in faux snow inside a wide-mouth jar is a whole winter scene the size of a fist, and it is the most kid-friendly project here. Glue a small tree to the inside of the lid or the jar base, pack white faux snow around it, tuck a battery micro-light behind the tree, and the glass does the snow-globe work. Wide mouths beat narrow ones for this; you need room to get your fingers and the tree inside.
Lace-wrapped jars that throw a patterned shadow
Glue a band of lace or a paper doily around a jar and the light passing through it prints the pattern onto the table and wall behind, which is a different trick from every jar above: here the shadow is the decoration, not the jar itself. It suits a wider glass and a brighter light, so the pattern reads clearly. Leave the lace as-is for a soft, romantic look, or paint the whole jar white over the lace and peel the lace off to leave a raised relief. The bare-lace version is the one that casts the shadow, so pick your effect before you start.
Cranberry-and-water floating votives
Fill a clear jar with water and a handful of fresh cranberries, float a small candle on top, and the red beads refract the light into a jar that glows crimson from the inside; it is the only idea here that leans on color rather than texture, and on a green-and-white table it is the thing people notice. Floating candles are sold cheaply for exactly this, and they sit low enough that the flame stays well above the fruit. Cranberries hold up in water for a good few days before they soften, and you can swap the fruit for sliced kumquats or a sprig of rosemary weighted down with a marble if red is not your palette.
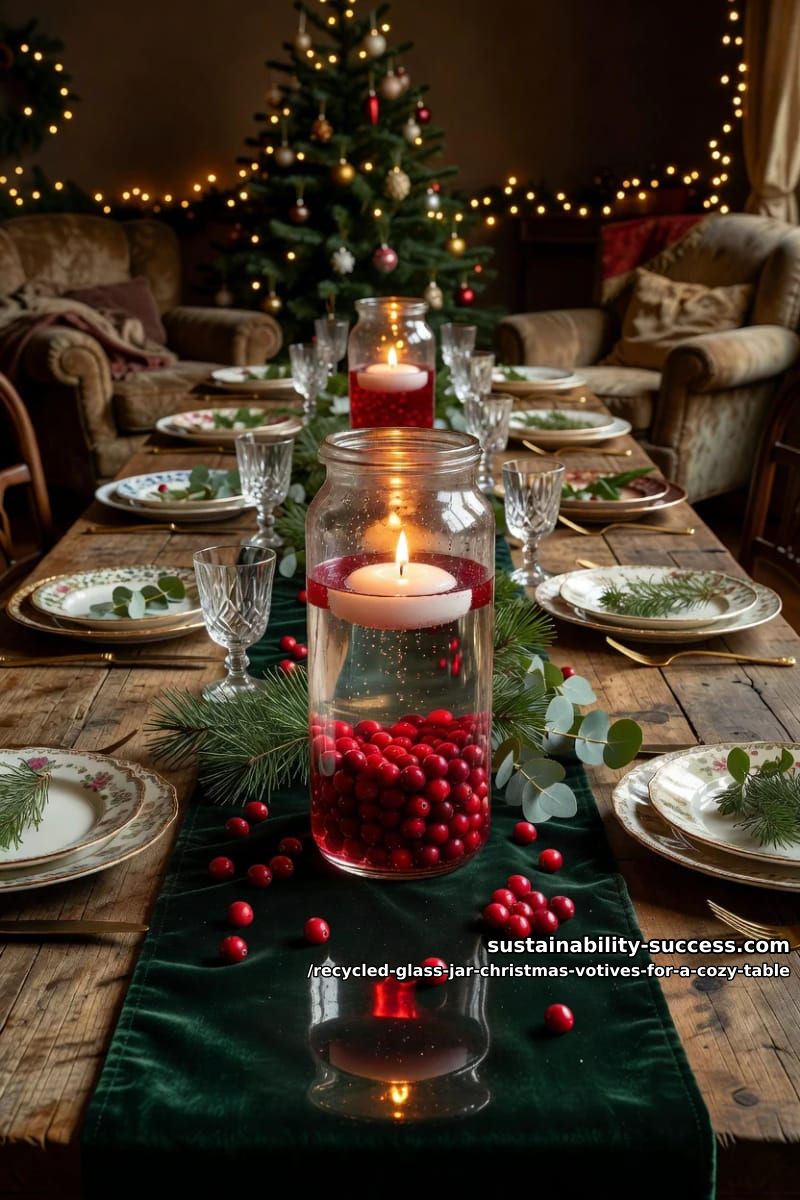
Baby-food jar clusters for each place setting
The smallest jars, Oui pots, baby-food jars, mini jam jars, are the ones most people toss, and a trio of them at each place setting does more for a table than one big centerpiece. Grouped in odd numbers at slightly different heights, frosted or wrapped to match your bigger jars, they carry the same treatment down to a scale that fits between the plates. Because they are tiny, a single battery micro tea light fills each one, and unlit they still read as intentional in daylight if you have frosted or silvered them.
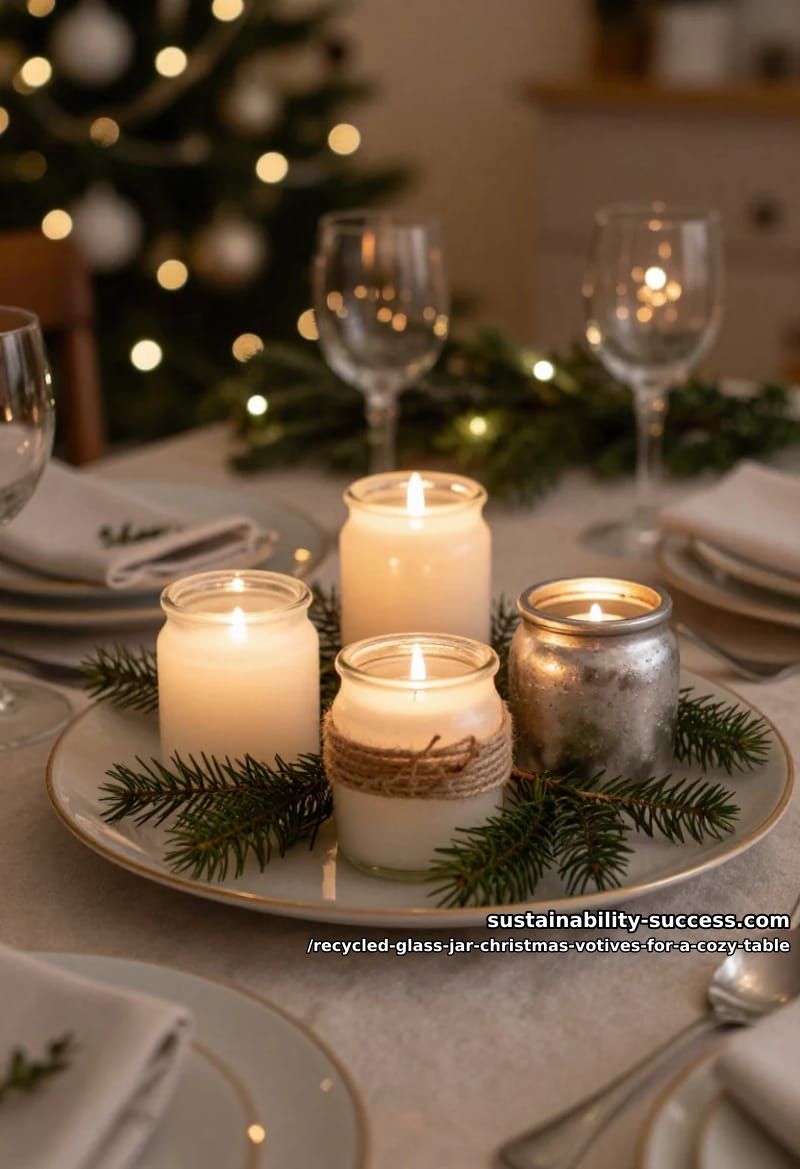
Sizing the jars to their job is what keeps a table from looking either cluttered or bare. Small jars belong at the settings and scattered between dishes; mid-size jars carry the main run down the middle; the tall ones anchor the ends or cluster off to one side so the eye has somewhere to land.
| Jar size | Where it works on the table | Light source |
|---|---|---|
| Small (Oui / baby-food, 2 to 4 oz) | Place settings and scattered between dishes | Single warm-white micro tea light |
| Medium (jam / pasta-sauce, 12 to 16 oz) | The main run down the center | Standard flameless tea light |
| Tall (quart mason / passata, 32 oz) | Anchoring each end, or a trio off to one side | Fairy-light coil or a pillar-style LED |
A cozy table for six, all battery-lit
8 ft table, mixed jar sizes, every light warm-white LED
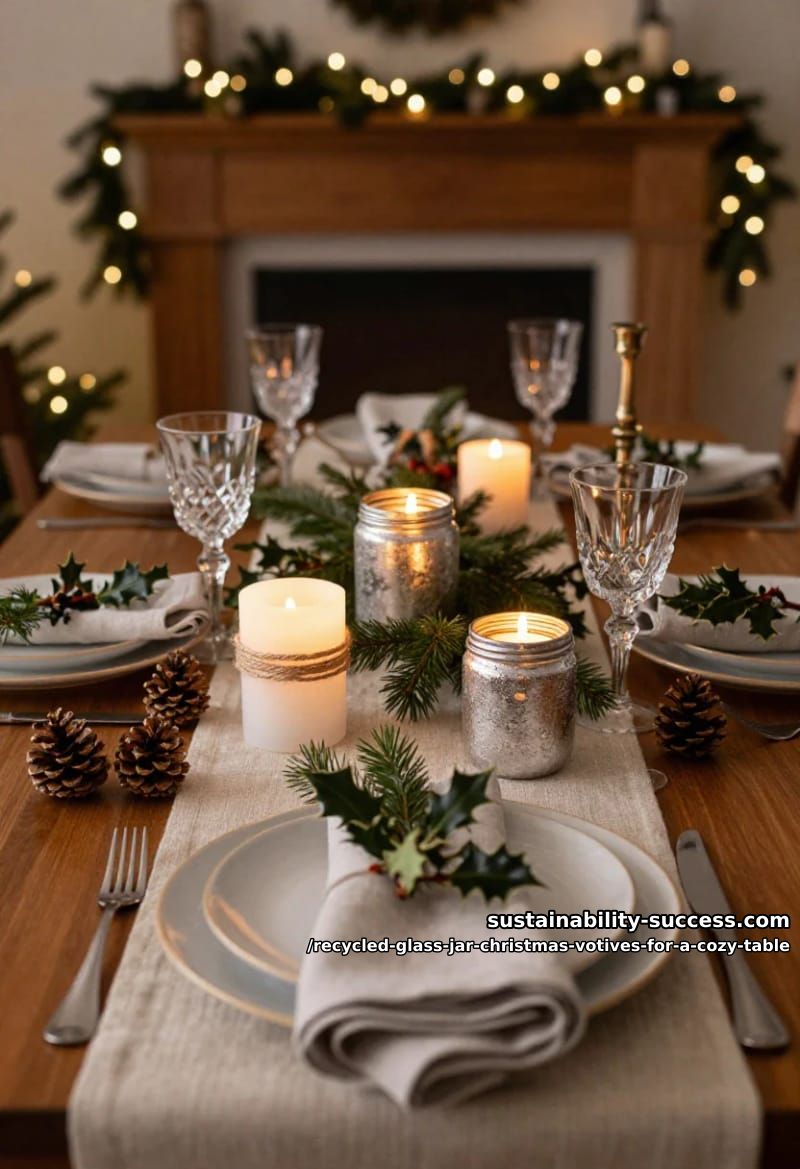
Run five medium frosted jars down the center in a loose zigzag rather than a straight military line, because the offset reads relaxed and a rigid row reads like a banquet hall. Put a trio of tall faux-mercury jars off to one end where they will not block sightlines across the table, and set one small frosted jar at each of the six place settings. Everything on 2700K battery lights, so nobody is leaning over a flame to pass the potatoes, and the frosting and silver keep the jars looking deliberate even before dusk when nothing is switched on. Total spend, if the jars came from the recycling: a tub of Epsom salt, a can of frosted spray, and a pack of tea lights.
Conclusion
If you only try two, make one a salt-frosted jar and one a faux mercury jar; the first is nearly free and takes five minutes, the second costs the price of a can of Looking Glass and looks like it did not. Between those two you cover the whole range from texture to shine, and the rest are variations you can add as the table needs them.
Order matters more than you would think. Do the messy, dry-overnight jobs first, the mercury spraying and the decoupage and the frosting, days ahead so nothing is tacky at dinnertime; save the greenery collars and the cranberry water for the afternoon of, since fresh material wilts and fruit clouds the water within a day or two. And whatever you build, drop in warm-white batteries, not flames and not cool-white: it is the single choice that decides whether the table looks like candlelight or a checkout counter.