
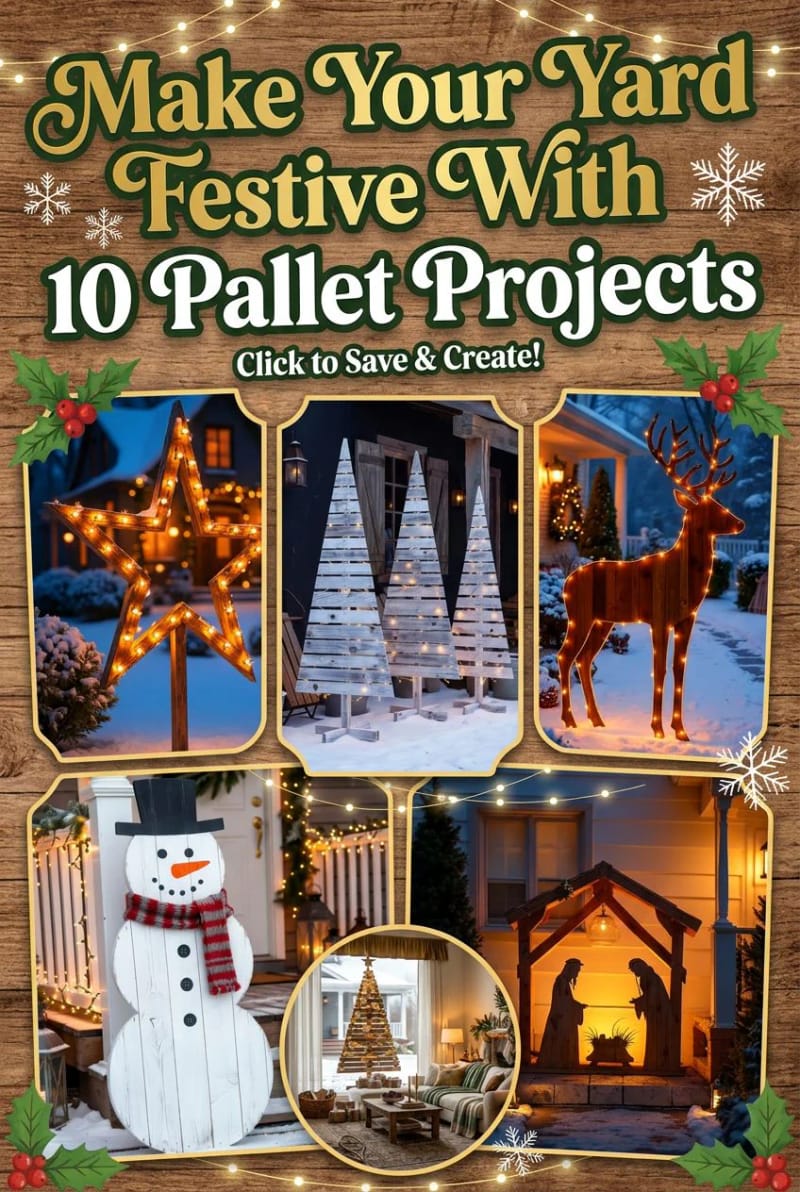
Free wood, one weekend, a yard that reads from the street. That is the appeal, and also where most pallet projects fall apart: the piece looks great on assembly day and warps into scrap by New Year. The ten ideas below are sorted the way a yard actually gets built, trees first, then the figures that carry the scene, then the signage and lighting that make it work after dark, with the weatherproofing and pallet-safety details folded in where they matter instead of saved for a footnote nobody reads.
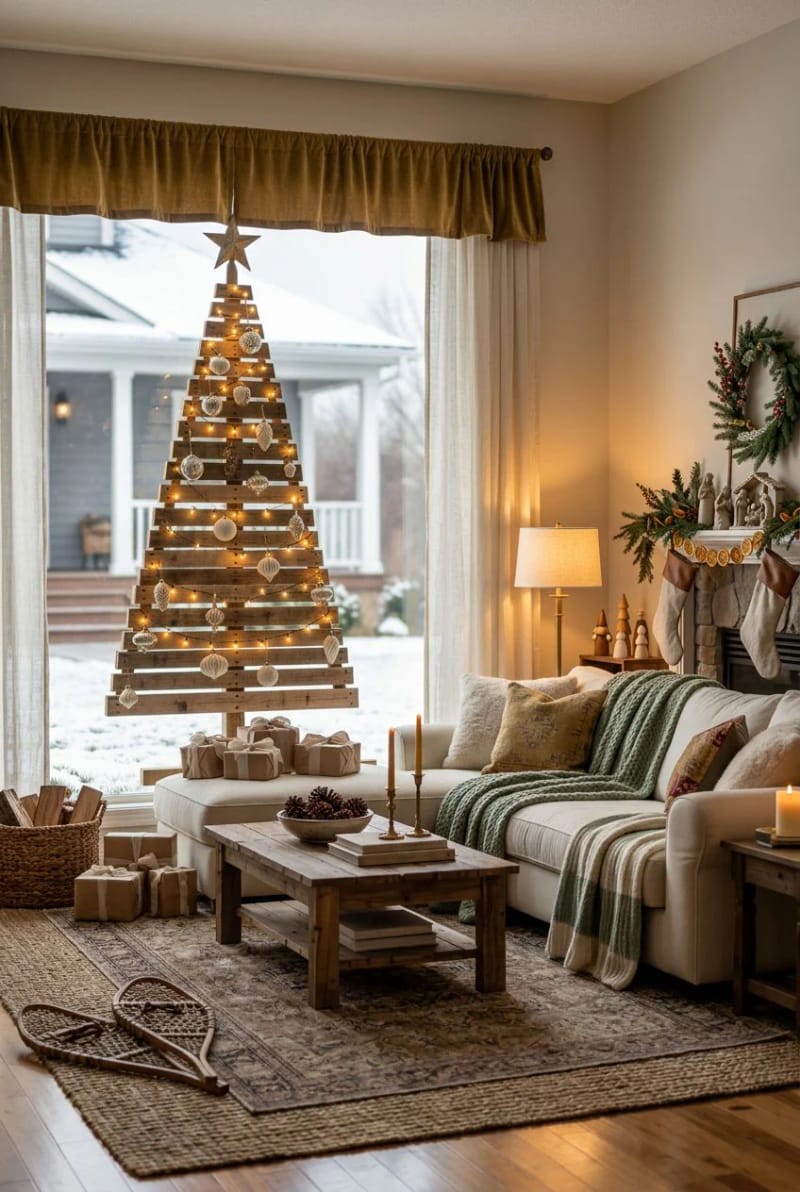
Pallet trees, the centerpiece of the yard
1. The classic stacked-slat pallet Christmas tree

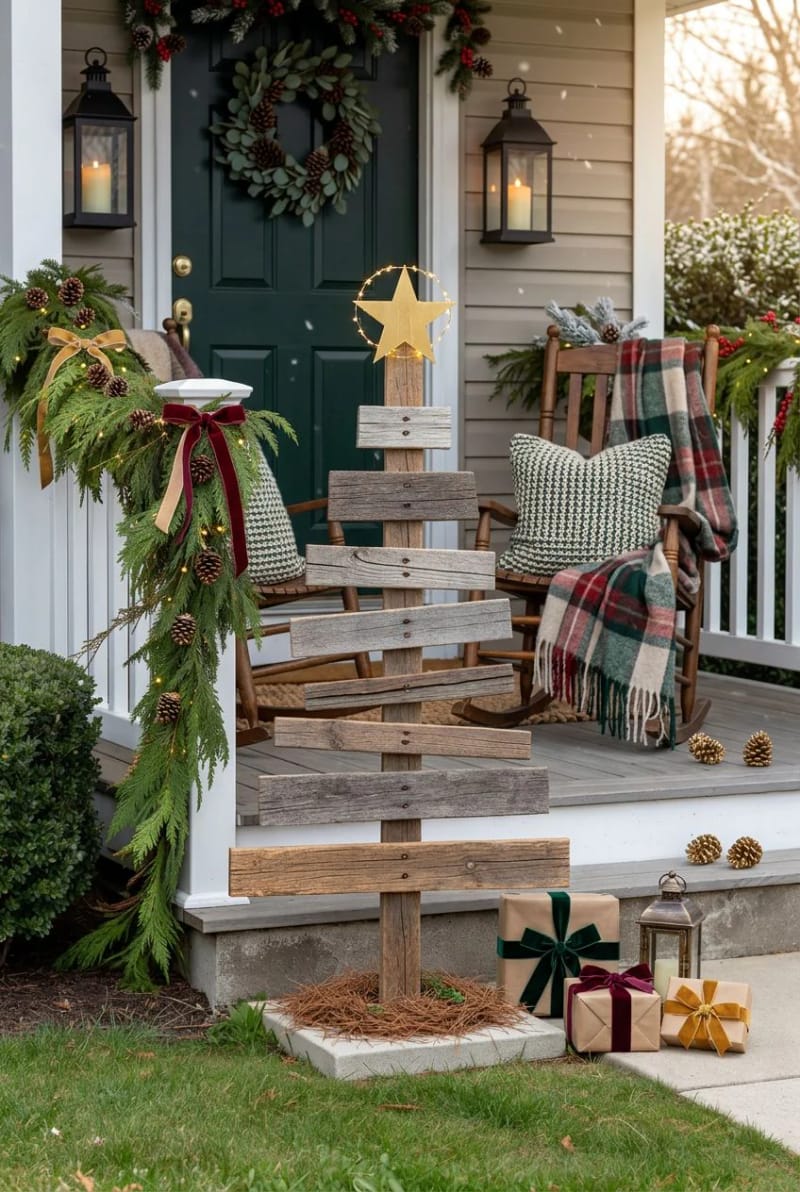
A tree cut from horizontal slats that shorten as they climb is the most recognizable pallet piece in any yard, and the most forgiving to build. Break down one or two heat-treated pallets, cut the deck boards to descending lengths, and screw them to two vertical battens on the back so the whole thing reads as a solid triangle from the curb. Height is the one decision people get wrong: aim for five to six feet. Knee-high trees vanish against a house, and a cluster of small ones just looks like firewood waiting to be stacked.
Raw pallet wood left outside swells, grays, and eventually rots, and heat treatment does nothing to change that (it kills pests, it does not weatherproof). If you want the piece to come back next year, keep it off wet ground on a paver or a stake and seal it with an exterior clear coat before December. Minwax Helmsman spar urethane in satin is the standard choice here because it carries UV blockers and stays flexible as the wood moves; two coats on the faces and end grain is plenty. Or skip it entirely and let the wood silver on purpose, which is a legitimate look if your palette leans coastal or farmhouse.
Look for an HT(heat treated) mark inside the IPPC stamp, or KD and DB, which are also chemical-free. Never use a pallet stamped MB: that is methyl bromide, a fumigant toxic enough that it is banned for wood packaging in the EU, and you do not want it sawdusting all over your yard or your hands. Skip unmarked pallets and the colored rental ones (blue CHEP, red PECO) too, since you cannot verify what they carried or how they were treated. When in doubt, the Earth911 guide to sourcing safe pallet wood walks through the markings in detail.
2. A pallet Christmas tree wrapped in warm-white lights
Lighting is what makes the tree exist after about 4:30 in the afternoon, which in December is most of the time anyone sees it. Wrap warm-white string lights back and forth across the slats, tucking the runs into the gaps so the bulbs sit proud and the wire disappears. Warm white (roughly 2700K) reads as candlelight against bare wood; cool white makes the same tree look like a parking-lot display.
Do this
- Run everything through an outdoor-rated timer on a GFCI outlet so it lights at dusk and shuts off on its own.
- Zip-tie the light leads and the extension-cord junction to the back of the tree, off the ground.
- Stagger three trees at different heights for a small “forest,” which reads far better than one tree standing alone.
Avoid
- Multicolor or blinking strings on raw pallet wood. The rustic surface and the carnival lights fight each other.
- Stapling through the cord jacket, which is how a fun project becomes a fire report.
Granted, the timer-and-GFCI setup only matters if the tree lives outdoors for weeks, but that is exactly the case here, so treat the power side as part of the build rather than an afterthought you improvise with an indoor cord on night one.
3. Whitewashed pallet trees for a Nordic, birch-look palette
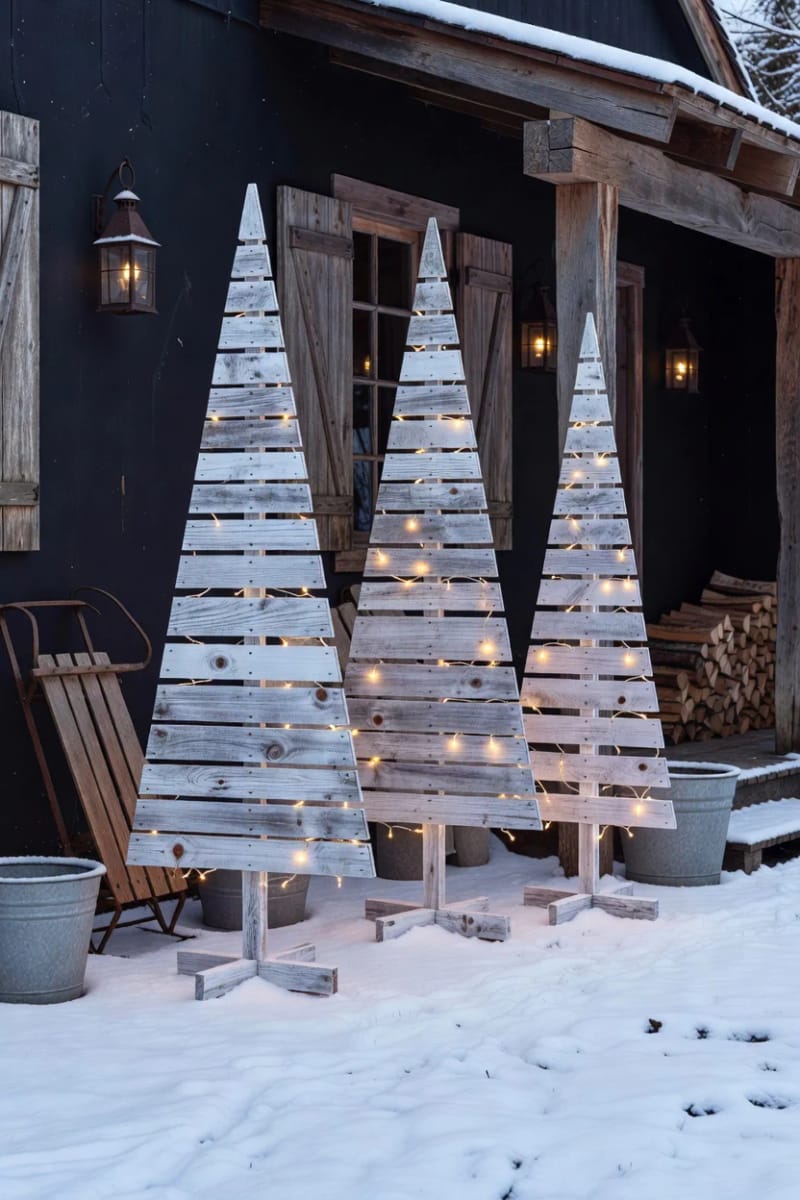
A thinned white wash over the slats turns orange-toned scrap into something closer to a birch grove, and it is the easiest way to escape the default pine-yellow that makes every pallet project look the same. Cut latex paint with water until the grain still shows through, brush it on, wipe it back. The look lands hardest against a dark brick or navy house, or set out on snow where the trees nearly disappear and the lights seem to float.
Figures that read from the street
4. A pallet snowman leaning by the porch
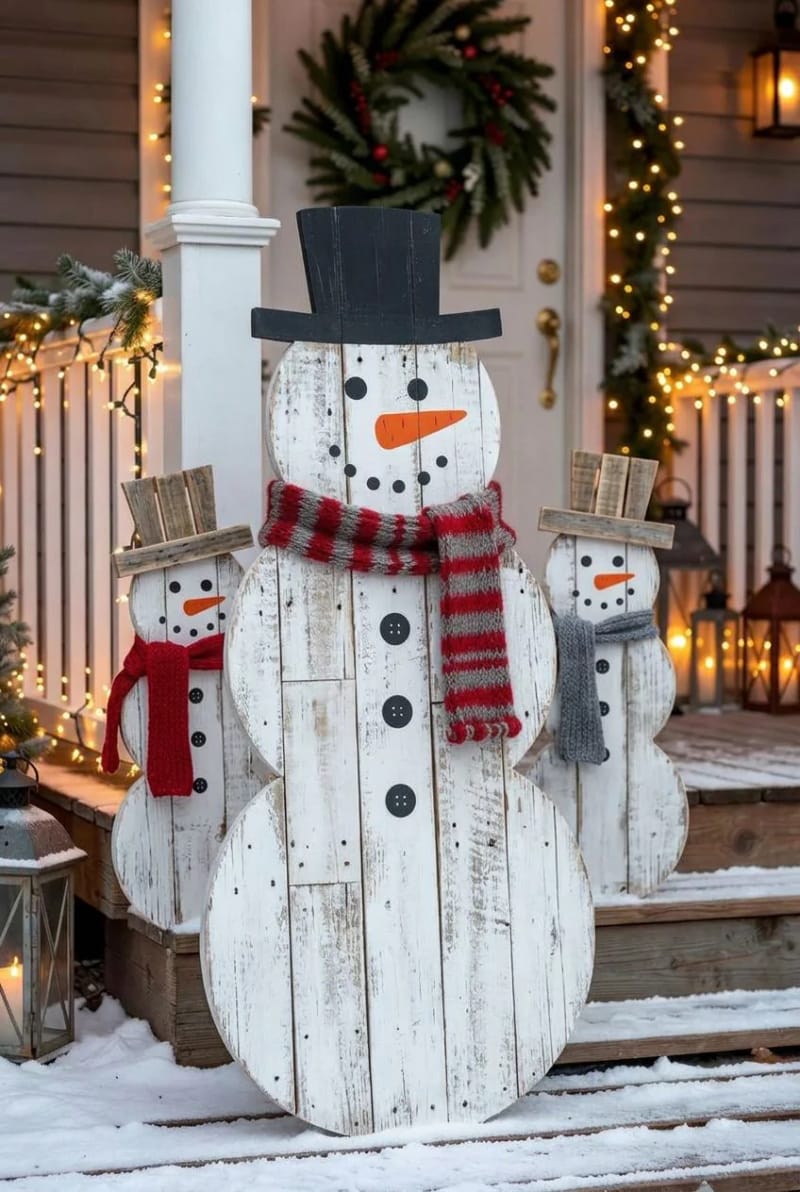
Three or four fence pickets nailed edge to edge, painted white, given coal eyes and a real scarf, and the leaning snowman practically builds itself in an afternoon. Prop him against a porch post or the mailbox rather than staking him dead upright; the lean is what gives him the charm and keeps him from reading as a road sign. This is the friendliest piece for a small yard because it needs no footprint, just something to rest against.
5. A standing pallet reindeer silhouette
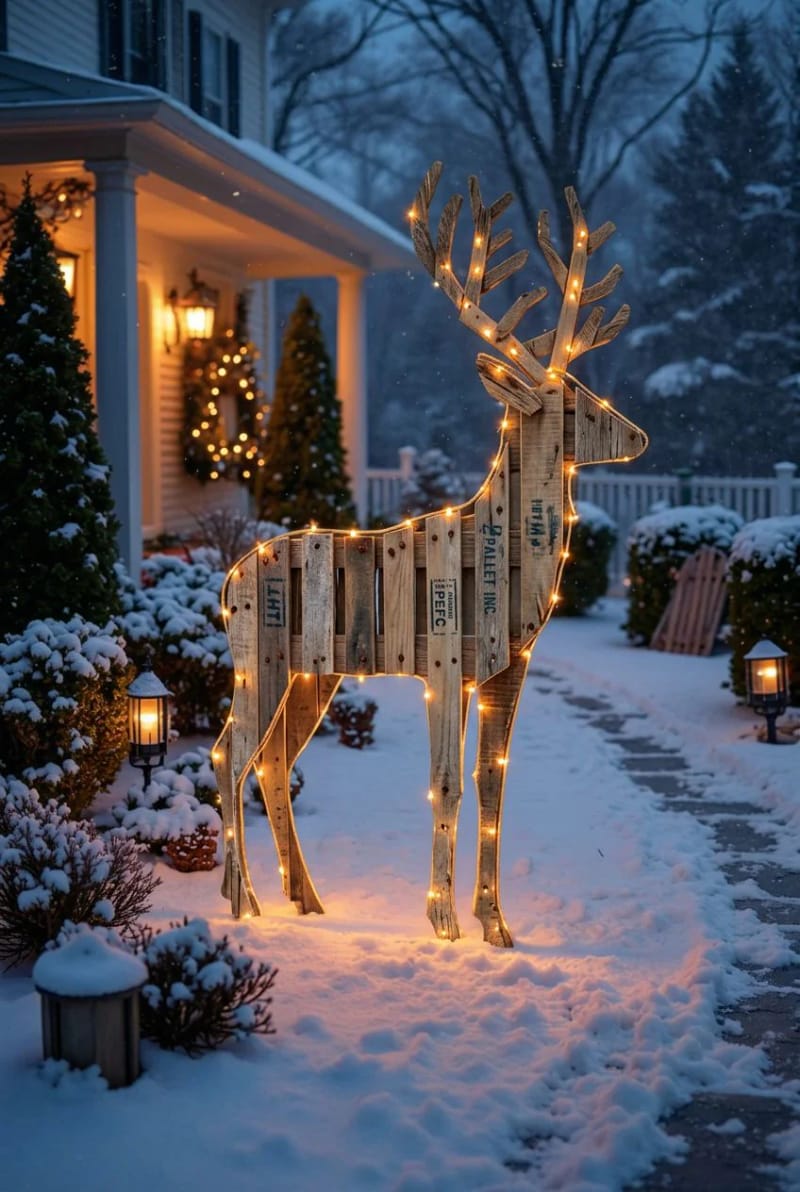
A reindeer works as a flat silhouette, not a detailed figure. The outline is what your eye recognizes from across a lawn and at night, so all the effort should go into a clean profile: legs, back, neck, and a good rack of antlers cut from a single glued-up panel of pallet boards. A jigsaw and one printed template scaled to about four feet does it. Brace it upright with a diagonal kickstand screwed to the back and a stake through the base so a gust does not fold it flat.
Here is the call most yard displays get wrong: one four-foot reindeer beats five knee-high ones. A single strong silhouette holds the whole scene, while a herd of small figures turns into visual clutter that photographs like a yard sale. If you want it to read after dark, outline just the profile with a warm-white string, or drill one hole for a single red bulb where the nose goes and leave the rest to shadow.
6. A pallet nativity silhouette
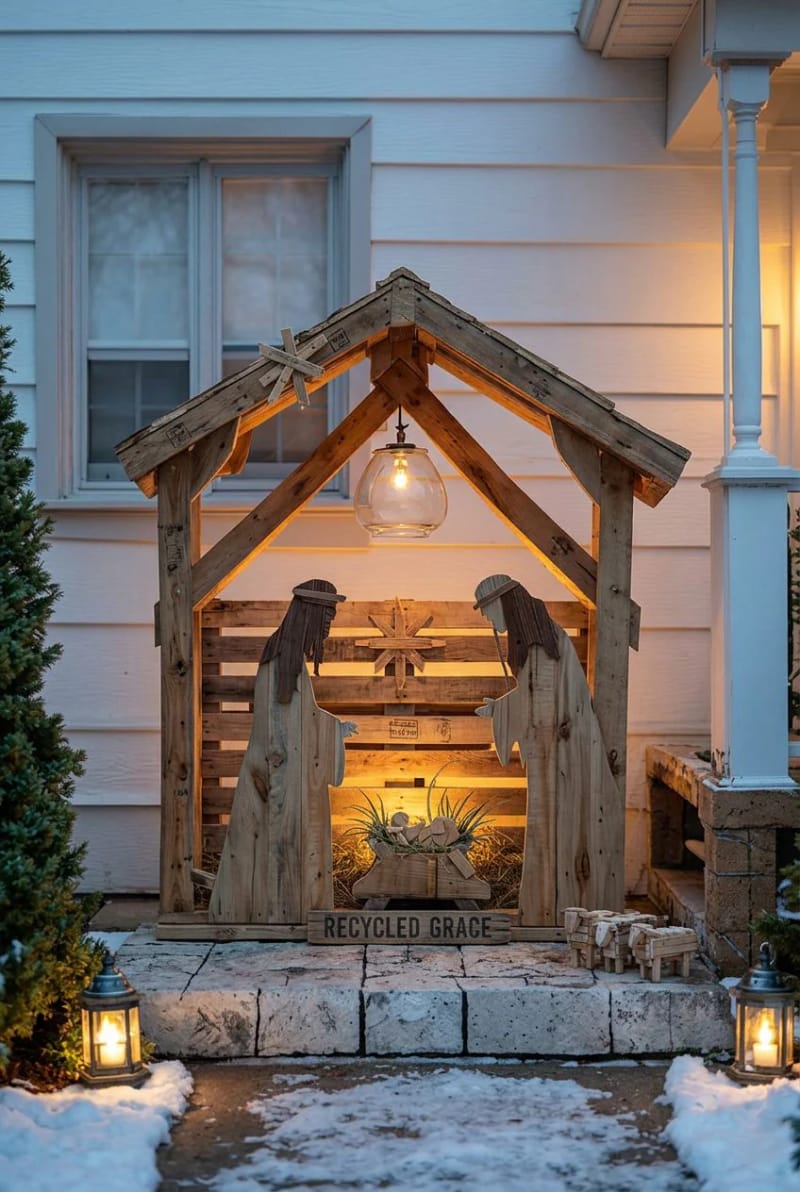
Three flat cutouts, the standing figures and a simple stable roofline, edge-lit or backlit against the house, give you a nativity that stays quiet and reverent instead of cartoonish. Cut them from a glued panel the same way as the reindeer, stain them dark, and set a warm-white floodlight low behind them so they throw a soft halo on the wall. It is a distinct choice on a street full of inflatables, and it scales down to a single Holy Family group if the yard is small.
Signs, stars, and fence-line pieces
7. An oversized pallet yard sign spelling JOY or NOEL
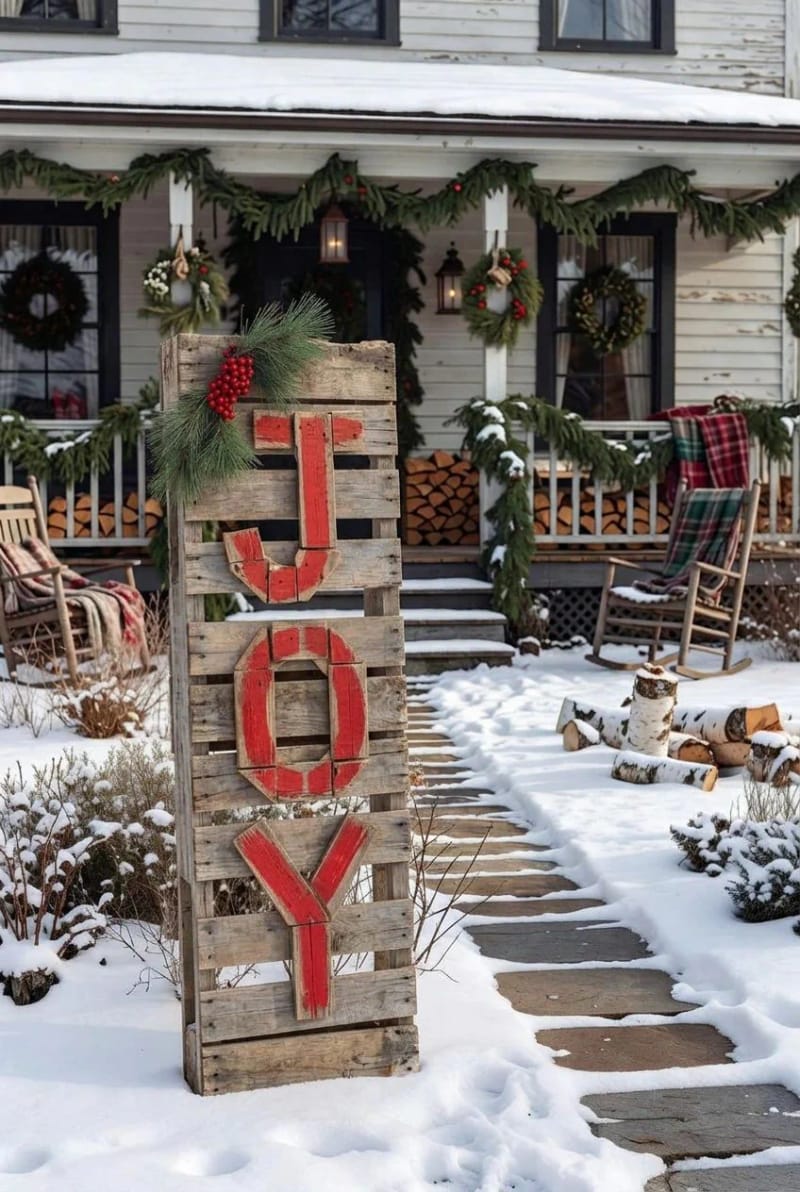
One tall word in big letters does more than a whole cluttered display, and it is the cheapest piece here. Join two or three vertical boards, paint JOY, NOEL, or MERRY down the length in tall stenciled or freehand letters, and stake it at the walkway where people pass. Jigsaw-cut standing letters read cleaner up close, but painted letters survive weather better and cost nothing, so this is one place to let the crisp version go.
8. A standalone lit pallet star, staked in the lawn
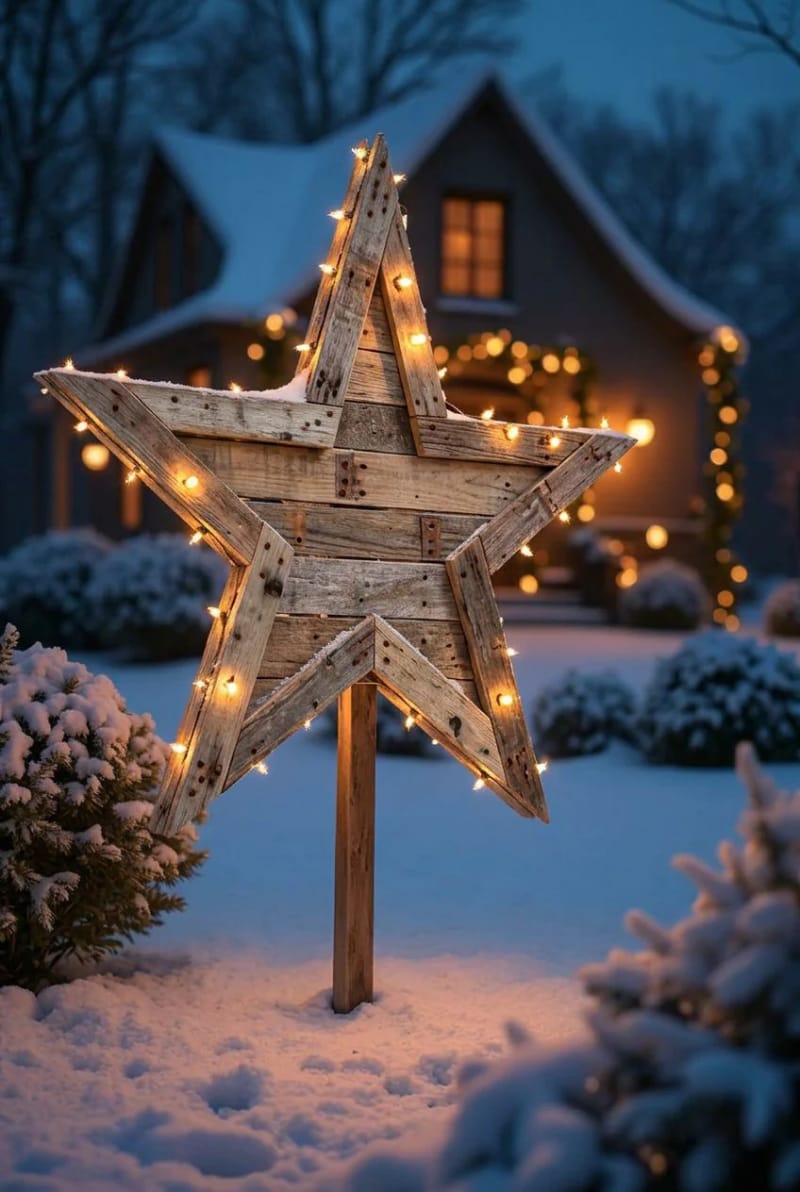
A five-point star cut and lapped from straight slats, then wrapped or backlit, is the piece that photographs best and takes the least wood. Half-lap the five joints so the arms sit flush, stake it at a slight backward tilt so it faces the street, and either wrap the front face in warm-white lights or mount a light bar behind it for a clean glow-around-the-edge effect. It also earns its keep as a tree topper for the big slat tree if you would rather not stake it.
9. Stacked pallet gift boxes wrapped in lights
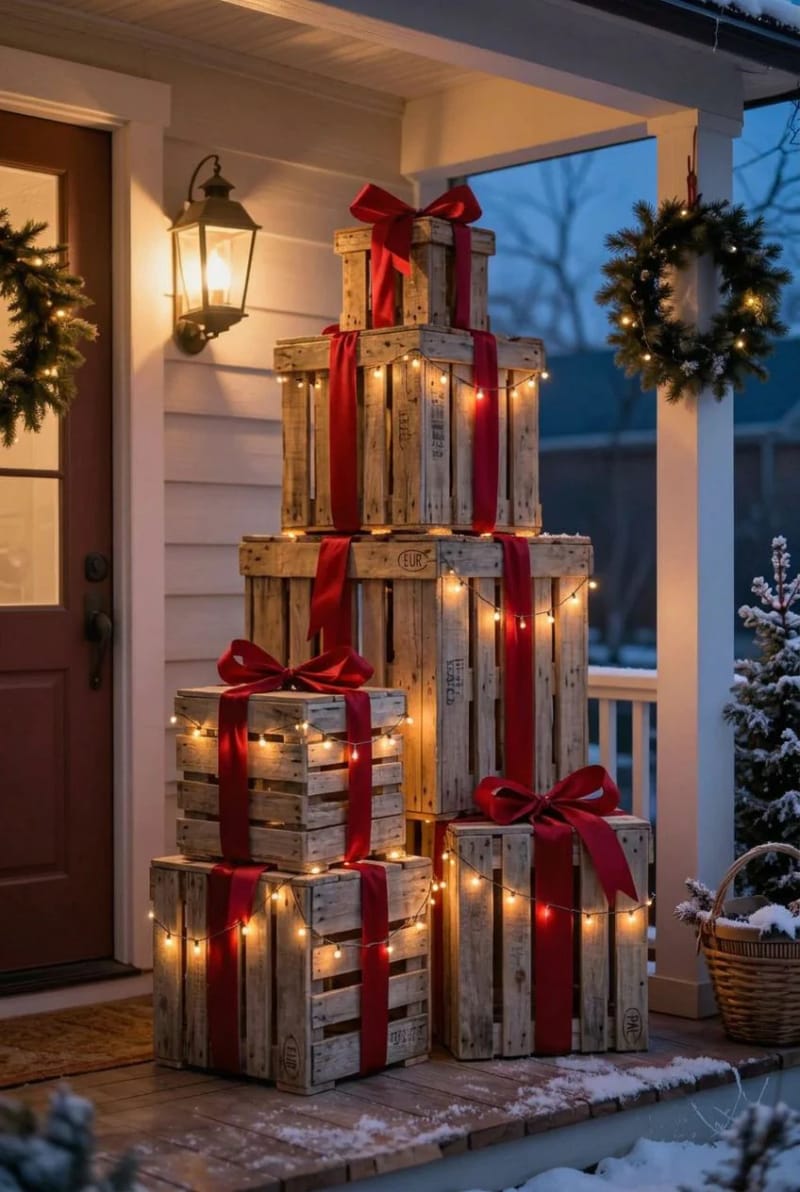
Cube "presents" built from pallet offcuts, wrapped with a wide weatherproof ribbon and a light string, then stacked by the door or under a bare tree, fill the awkward empty spots that a single tall piece leaves behind. Make two or three in different sizes, since a matched set looks stiff and a staggered stack looks like someone actually left gifts out. Use outdoor ribbon or painted-on stripes rather than paper wrap, which turns to pulp in the first rain.
10. A fence-line pallet advent countdown
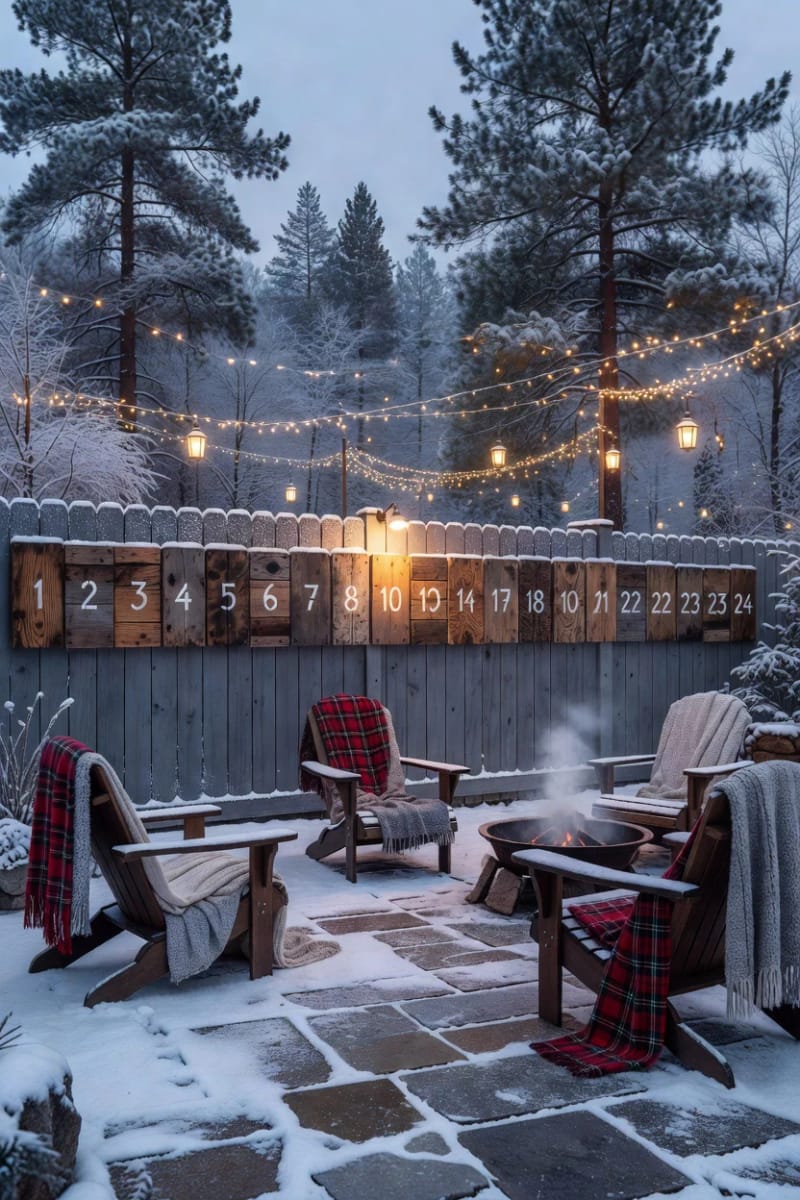
Numbered pallet boards mounted along a fence, one lit or flipped each night through December, turn a plain run of fence into something the household actually interacts with. Stencil 1 through 24 (or 25) on short offcuts, hang them in a row, and clip a small warm-white light to that day's number each evening; kids handle the ritual and the display changes nightly on its own. On a short fence, a single column of numbers works as well as a full run.
Conclusion
Build in the order this list runs. Sort out power first (a timer, a GFCI outlet, outdoor cords), because retrofitting lights onto a finished display is where projects stall. Then set your one anchor piece, the six-foot slat tree or the four-foot reindeer, and let it carry the scene before you add the snowman, the star, and the smaller figures around it. Keep everything warm white, keep it off the wet ground, and seal whatever you want back next year, because the difference between a yard that looks planned and one that looks like a woodpile is mostly restraint and a coat of spar urethane.