
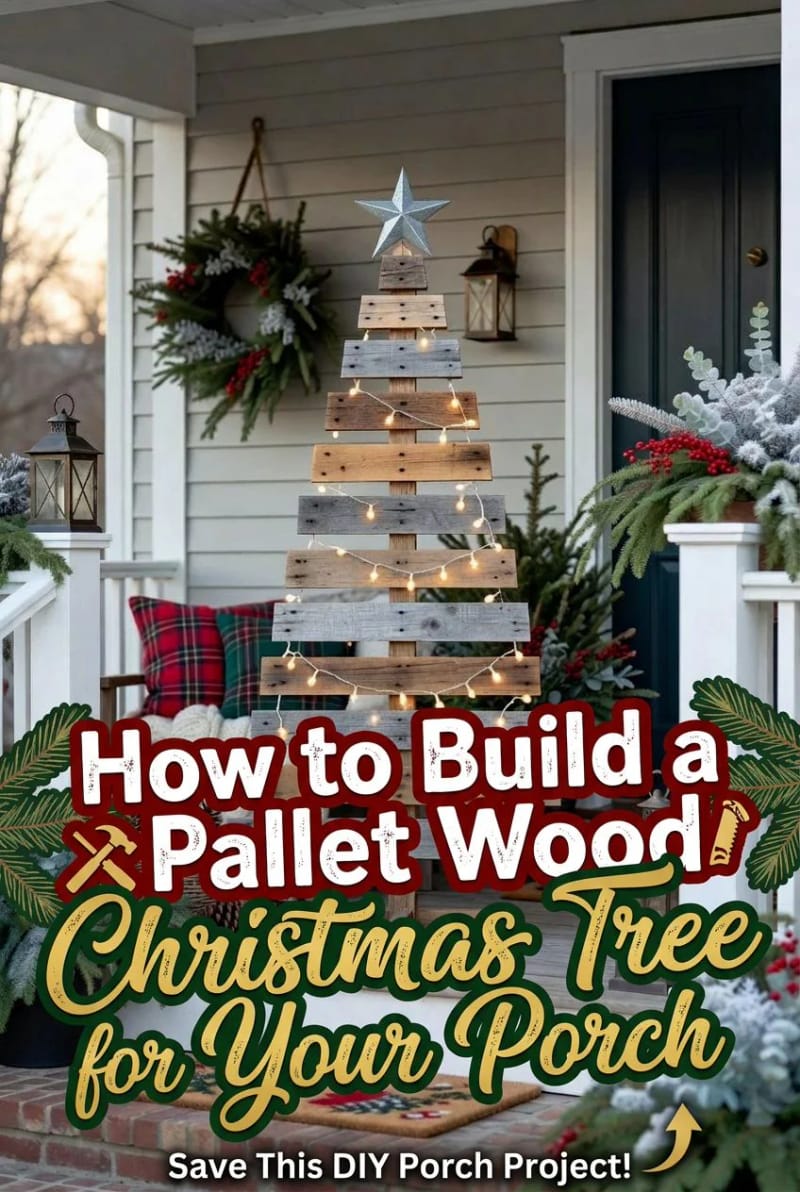
Most pallet-tree tutorials treat this like an indoor craft, which is why so many of them grey out and cup by mid-January the second you move the thing outside. A porch tree has two jobs an interior one doesn't: it has to survive wet wood, freeze-thaw, and wind, and it has to stand up on its own on a hard floor without a wall to lean on. Get the finish and the base right and a reclaimed-pallet tree will read as intentional rustic decor for years; skip them and you've built a firewood rack with a star on top. Below is the full build, including a scalable cut list, a real stand instead of the usual lean, and a finishing schedule that keeps the grain from checking.
Start with the right pallet, not just any pallet
Sort for two stamps and one texture before you drag anything home. On the stringer of a shipping pallet you’ll find a mark: HT means heat-treated, which is what you want, and MB means it was fumigated with methyl bromide, which you never cut, sand, or bring near a porch you sit on. Past that, you’re hunting for boards with tight, straight grain and end-checks you can work around, not through. Grey, weathered pallet wood is fine (that patina is half the point); punky, spongy, oil-stained wood is not, because you can’t see what soaked into it.
Good candidates
- HT-stamped pallets, ideally the heavier ones with 5 to 7 deck boards per side.
- Boards roughly 3.5 to 5.5 inches wide with a bit of surface silvering.
- Dry wood. If a pallet has been sitting in rain, let it dry a few days before you finish it.
Leave these behind
- Any MB stamp, or any pallet with no stamp at all when you can’t source it.
- Oil or chemical staining, sticky residue, or a chemical smell (a food-grade dye spill is fine; a solvent spill is not).
- Boards that are cracked full-length or crumble at the nail holes; they’ll split worse when you drive a screw.
Shopping list
Here’s the full buy for one tree in the four-foot range, split so you can see the real number. If you already own the saw, drill, and sander, your out-of-pocket is the materials column, and the pallet itself is usually free from a hardware store, garden center, or a local free pallets listing.
Materials
| Qty | Item | Spec | Price |
|---|---|---|---|
| 1–2 | Reclaimed pallet(s) | HT-stamped, 5+ deck boards per side | Free to $10 |
| 2 | Back-brace strips | ~46 in; cut from pallet stringers or a 1×2 furring strip | $0 to $5 |
| 1 | Deck Plus #10 x 2-1/2 in. coated exterior star-drive screws | Coated, coarse thread, rust-resistant | $20 to $30 |
| 1 | Loctite PL Premium exterior construction adhesive(optional) | Polyurethane, waterproof; back-up bond at the braces | $9 to $16 |
| 1 | Ready Seal 1 gal. exterior stain and sealer in one | Oil-based, semi-transparent; natural cedar or your color | $40 to $55 |
| 1 | addlon 48 ft weatherproof warm-white outdoor string lights | Shatterproof bulbs, ETL listed for outdoor | $25 to $40 |
| 1 | Galvanised metal star tree topper, or cut one from a scrap board | ~5.5 to 6 in; rustic finish | $0 to $18 |
| Materials subtotal | $95 to $165 | ||
Prices are approximate ranges as of July 2026; verify before purchase.
Tools
| Qty | Item | Spec | Price |
|---|---|---|---|
| 1 | Circular saw or miter saw | For the descending slat cuts | $50 to $150 |
| 1 | Cordless drill/driver | Pilot bit plus the star driver bit | $40 to $100 |
| 1 | Random orbital sander (or a sanding block) | 80-grit to knock down slivers | $0 to $70 |
| 1 | Pry bar and hammer | Breaking the pallet down without snapping boards | $0 to $30 |
| 1 | Tape, pencil, speed square, safety glasses, dust mask | Layout and lungs | $15 to $40 |
| Tools subtotal (all new) | $145 to $390 | ||
| From scratch, buying every tool new | $240 to $555 |
| If you already own the tools | $95 to $165 |
Step 1: Break the pallet down and let it dry
Cut the deck boards off the stringers instead of prying every board loose, because prying is where good boards crack. Run a reciprocating saw or a jigsaw down between the deck board and the stringer to shear the nails, then knock the boards free. Any board that split, set aside for the short top slats where a little damage disappears.

If the pallet lived outside, hose off the grit and stand the boards on end to dry for a couple of days before you finish them. Oil-based sealer will not bite into wet wood, so this wait isn't optional if the boards are damp. A dry, dusty pallet you can move straight to cutting.
Step 2: Cut the slats to a descending list
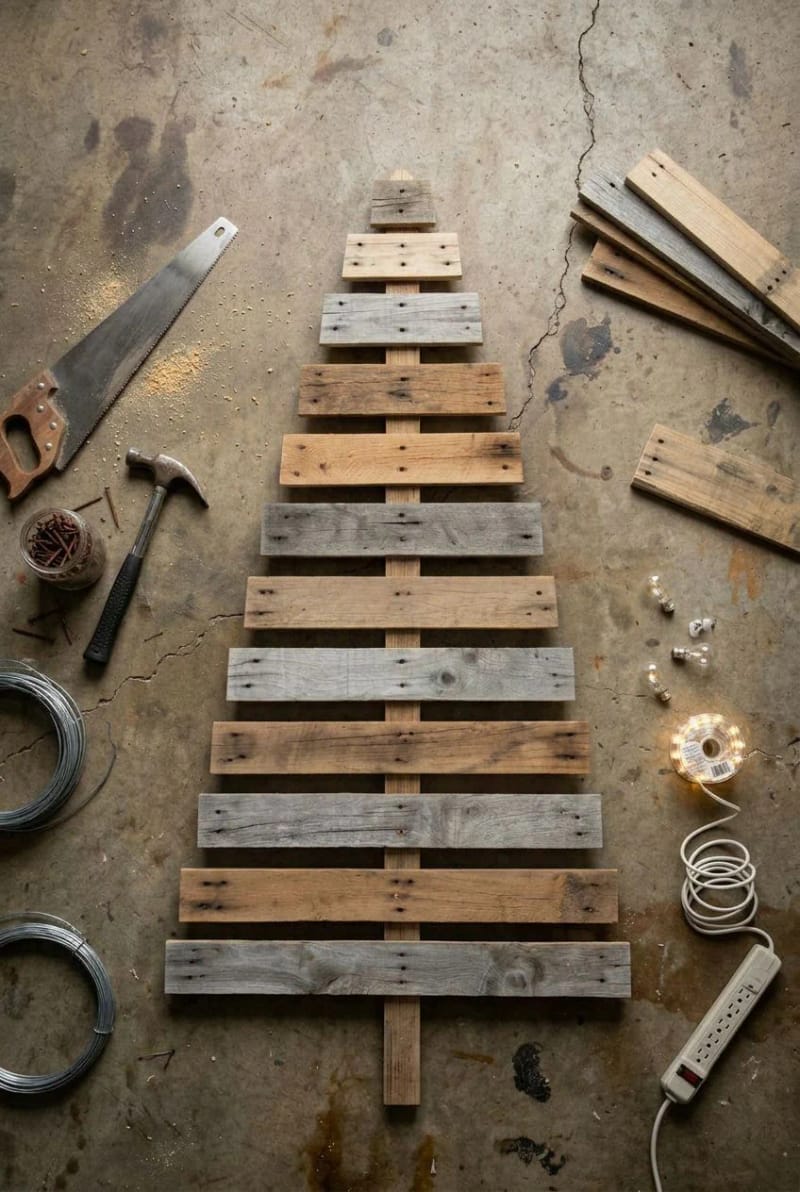
The whole look lives or dies on the taper, so work off a cut list rather than eyeballing it. The list below builds a tree about four feet tall on two vertical back braces set roughly 12 inches apart at center; the base slat is 28 inches and each row steps in toward a 5-inch tip, with the star filling the top. Scale it by multiplying every length by the same factor if you want a taller porch tree, and cut one or two spare short slats, because the top rows are where a bad end-check shows.
| Slat (bottom to top) | Length | Note |
|---|---|---|
| 1 | 28 in | Widest board; best face forward |
| 2 | 26 in | |
| 3 | 24 in | |
| 4 | 21 in | |
| 5 | 19 in | Roughly mid-tree; step-ins get bigger from here |
| 6 | 17 in | |
| 7 | 14 in | |
| 8 | 12 in | |
| 9 | 9 in | Cracked boards hide well up here |
| 10 | 7 in | |
| 11 | 5 in | Tip; the star base overlaps this |
Dry-fit the whole thing on the floor before a single screw goes in. Lay the two braces down parallel, set the slats across them with an even gap (a paint-stick spacer works), and step back. A smooth taper reads as a tree; one board that jumps in width breaks the silhouette, and now is when you swap it, not after it's fastened.
Step 3: Fasten the slats and build a base that won't tip
Screw from the front through each slat into the brace behind it, two screws per intersection, and pilot the ends first. Pallet wood near a cut end splits under a screw more often than not, so a quick pilot hole is the difference between a tight joint and a cracked slat. If you want belt-and-suspenders, run a bead of construction adhesive down each brace before you set the slats; the screws hold while it cures, and the glue keeps the boards from working loose when the wood moves with the weather.

Now the part the indoor tutorials skip. A leaning tree is fine against an interior wall; on a porch it becomes a domino the first time a door swings or the wind gusts. Build a foot instead: cut two 16-inch pieces, lap them into a cross or an X, and screw a short 8-inch upright to the center of that cross, then fasten the upright to the back braces so the tree stands like a shop sign. If your porch has a solid wall or a post, the sturdier move is to lean the tree and drive one screw through a back brace into the wall or an eye-hook and wire, so a bump can't take it down.
Step 4: Sand lightly, then stain and seal both sides
This is the step that decides whether the tree survives a wet winter, so don't rush it. Hit every face and edge with 80-grit just enough to pull the slivers; you're not trying to erase the patina, only to keep anyone from getting a splinter off the base board. Then finish it with an exterior stain-and-sealer in one, and coat the backs and the end grain, not just the pretty front. End grain drinks water like a straw, and unsealed end grain is where cupping and checking start.
Interior stain and a coat of nothing will look great in November and grey, cup, and split by January on a covered porch, faster on an open one. Raw pallet wood moves hard with humidity. An oil-based exterior sealer that penetrates (rather than a film finish that peels) is what keeps the grain flat and the color from washing out. Two thin coats beat one heavy coat every time.

Ready Seal and similar penetrating stains recoat in about an hour and reach true color over a couple of weeks, so don't panic if it looks dark and blotchy on day one. Let the second coat dry a full day before the tree goes out into the weather.
Step 5: Add the star and the lights
Top it, then light it, in that order. Either screw a galvanised metal star to the top slat from behind, or cut a five-point star from a scrap board with a jigsaw and give it the same finish as the tree so it doesn't look bought. Keep it modest; a topper that outweighs the tip looks off and stresses the joint.
For the lights, weave a warm-white outdoor-rated strand back and forth across the slats and tuck the cord behind the boards, or run it around the perimeter for a cleaner outline. Forty-eight feet is more than a four-foot tree needs, so you can share one strand with the porch rail. Route the plug to a GFCI outlet, and if your porch is open to rain, use only strands rated for outdoor use with a cord you're not extending through a puddle.
Build-day timing
The project crosses two short sessions because of dry time, so plan around the finish, not the cutting. This is also why a warm, dry weekend beats a damp December one, and why plenty of makers build these in summer and stash them.
Session one (2 to 3 hrs): break down the pallet, clean it, cut the slats, dry-fit. If you hosed the wood, stop here and let it dry 24 to 48 hrs.
Session two, morning: assemble, build the base, sand, brush on the first coat of stain-sealer. Recoat after ~1 hr.
Session two, evening: let it cure. Most penetrating sealers are dry to the touch in a few hours and safe to handle in 24.
After 24 to 48 hrs of dry time: add the star and lights, set the tree on the porch, anchor it, plug into a GFCI.
Mistakes that ruin a porch pallet tree
Almost every failure with these trees is one of a handful of things, and all of them are avoidable before you cut a board.
- Skipping the sealer or using an interior finish. The single most common reason a pallet tree looks tired by New Year’s. Seal both faces and the end grain.
- Building it to lean only. Fine indoors, a hazard on a porch. Give it a cross-foot base or anchor it to a wall or post.
- Ignoring the cup of the boards. Pallet slats crown and cup; set them bark-side consistent and dry-fit, or the assembled face ripples.
- Driving screws into dry end grain with no pilot. Splits the slat right where everyone sees it. Pilot the ends.
- Eyeballing the taper. Use the cut list and a spacer. A lopsided triangle reads as a stack of boards, not a tree.
- A heavy topper on a thin tip. It sags forward and can crack the top slat; keep the star light.


Conclusion
If you only take two things from this, make them the sealer and the base: coat the end grain both sides, and build the cross-foot instead of leaning the tree against the siding. Those are the two moves that separate a decoration you re-use for five Decembers from one you rebuild every year. Build it on a dry weekend, ideally back in warm weather when the stain flashes fast and you're not fighting damp boards, and store it flat until the season. Then the December version of you just carries it out, drops the star on, and plugs in the lights.