
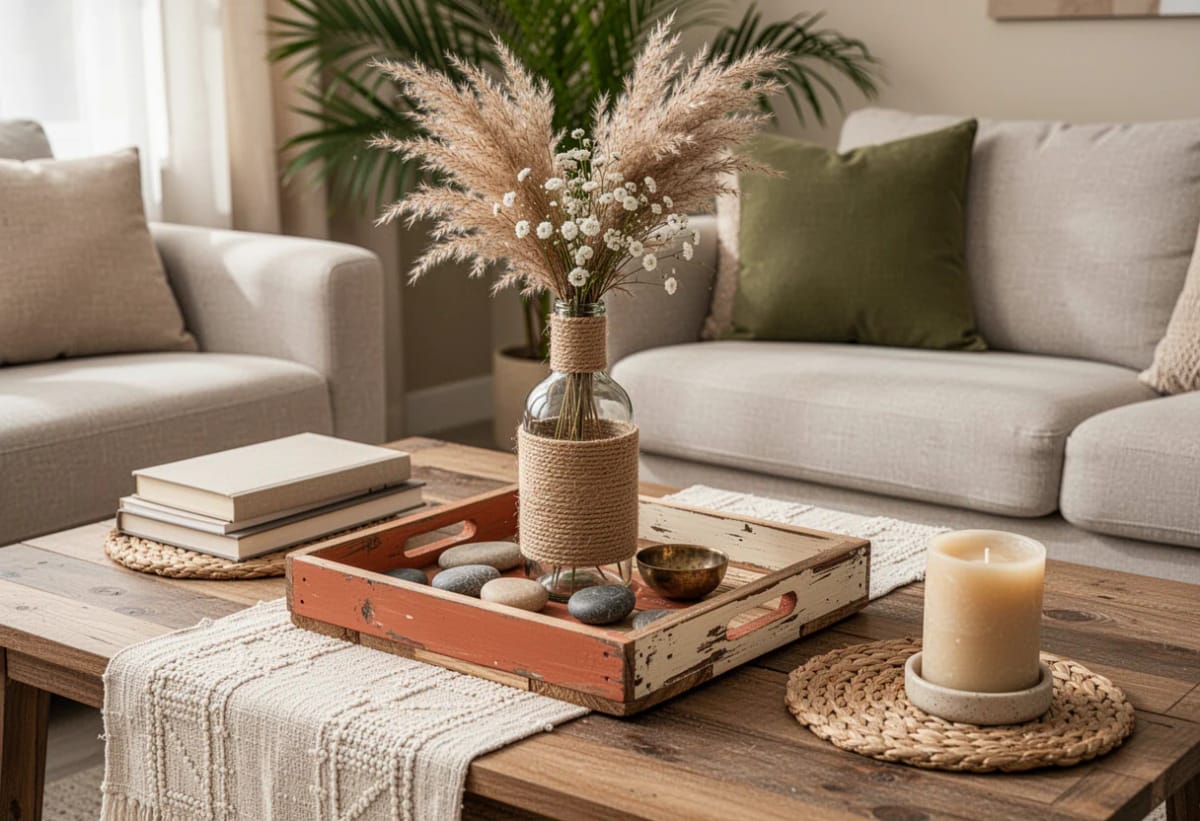
The centre table is the hardest spot in the house for anything made out of rubbish. Whatever sits there is at seated eye level, gets brushed past every time someone reaches for a mug, and is close enough to be inspected by a guest who did not know the vase started life as a tin. The 12 showpieces below are built for that specific position: low, wide-based, matte where it matters, and quiet enough that nobody asks what they used to be until you tell them. Each one is a centre table piece first and a recycling project second, which is the only order that survives a living room.
All 12 fit inside the same working envelope: nothing over about 20 inches tall, nothing on a base narrower than 3 inches, nothing that holds water, and nothing that will ring the wood. That last constraint is the one most best out of waste decor ignores, because most of it is photographed on a shelf at eye level rather than on a surface people actually put drinks down on.
Florals You Would Not Guess Came From the Bin
| Material you already have | Footprint on the table | What it is genuinely good at | Risk on a coffee table |
|---|---|---|---|
| Pistachio shells | Small, nests tight | Flower heads and scaled petals | High until sealed, sheds crumbs |
| Old book pages | Flat until you shape it | Curl-based flowers with real tooth | Low once waxed or sealed |
| Tin cans | Medium, needs the label off | Vessels, lantern bodies, sleeves | Rusts at the cut seam |
| Wine corks | Tall and narrow | Stacked pillars and obelisks | Crumbles if sanded too hard |
| Torn bedsheets | Medium, nests flat | Coiled bowls and trays | Low, but the weave holds dust |
| Broken crockery | Wide and flat | Mosaic discs and drink coasters | Sharp edges until grouted |
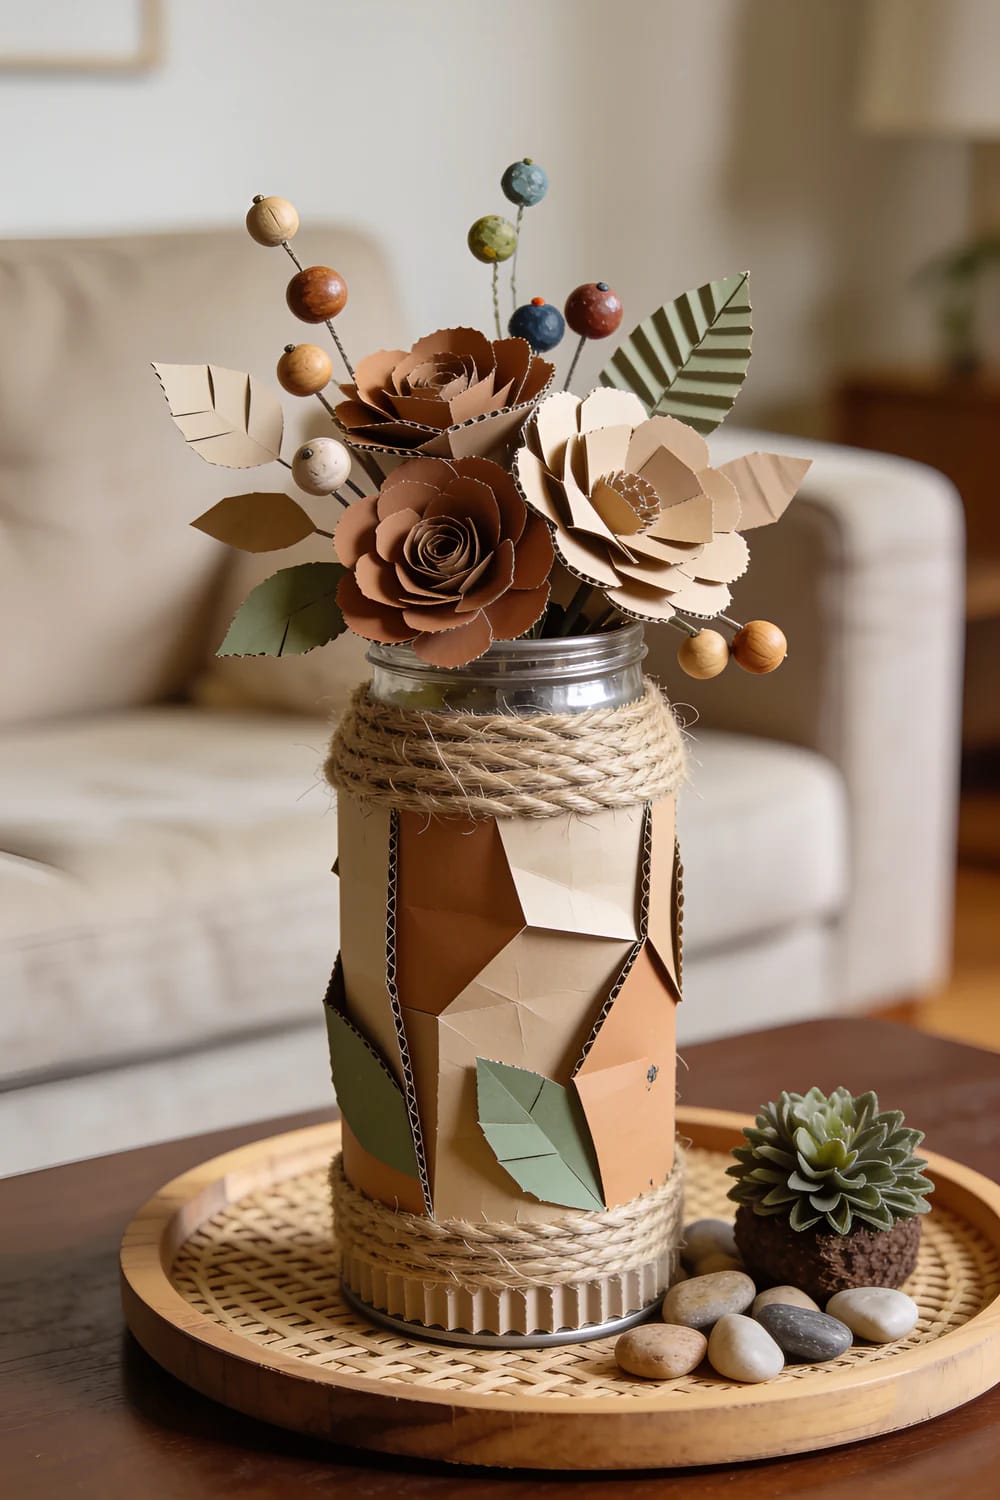
| Paper pulp and card | Whatever you sculpt | Boulders, gourds, rounded forms | Dents if left unsealed |
| Glass jars and bottles | Medium, heavier than it looks | Light pieces and votive holders | Low, but watch condensation |
1. Pistachio-Shell Sunflowers on Doubled Wire Stems
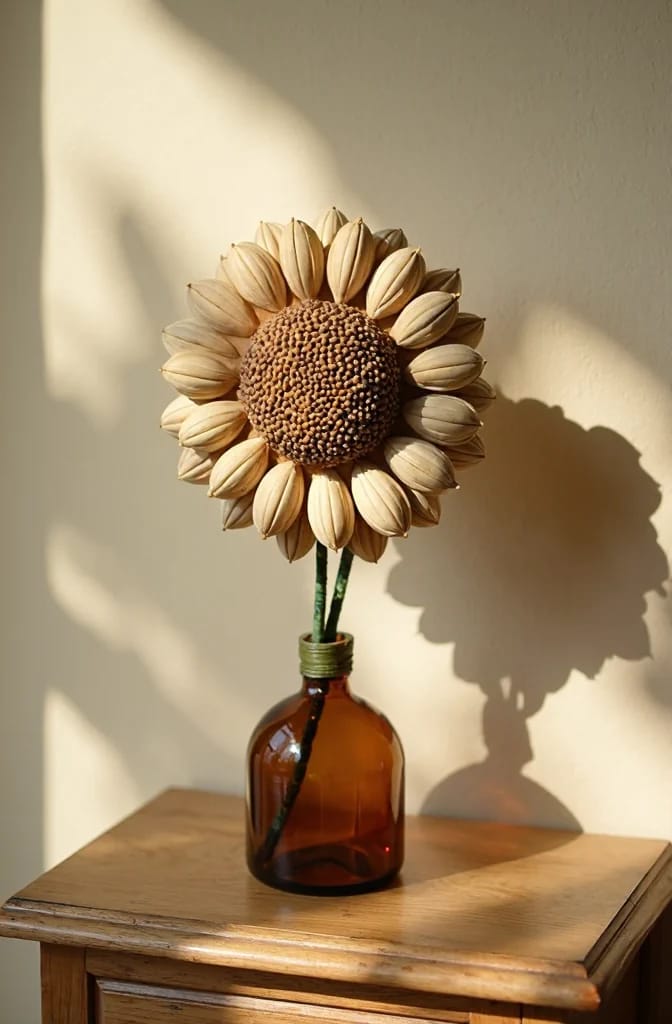
A pistachio shell is already halfway to being a petal: a curved half-cup with a ragged lip, which is why a ring of them reads as a flower head rather than as a snack someone left out. Glue them in two overlapping rings around a 1.5-inch disc of cereal-box card, a tight inner circle of eight and an outer ring of sixteen at a shallow angle, and you have a 4-inch bloom on a centre table that a 6-inch bottle will hold upright.
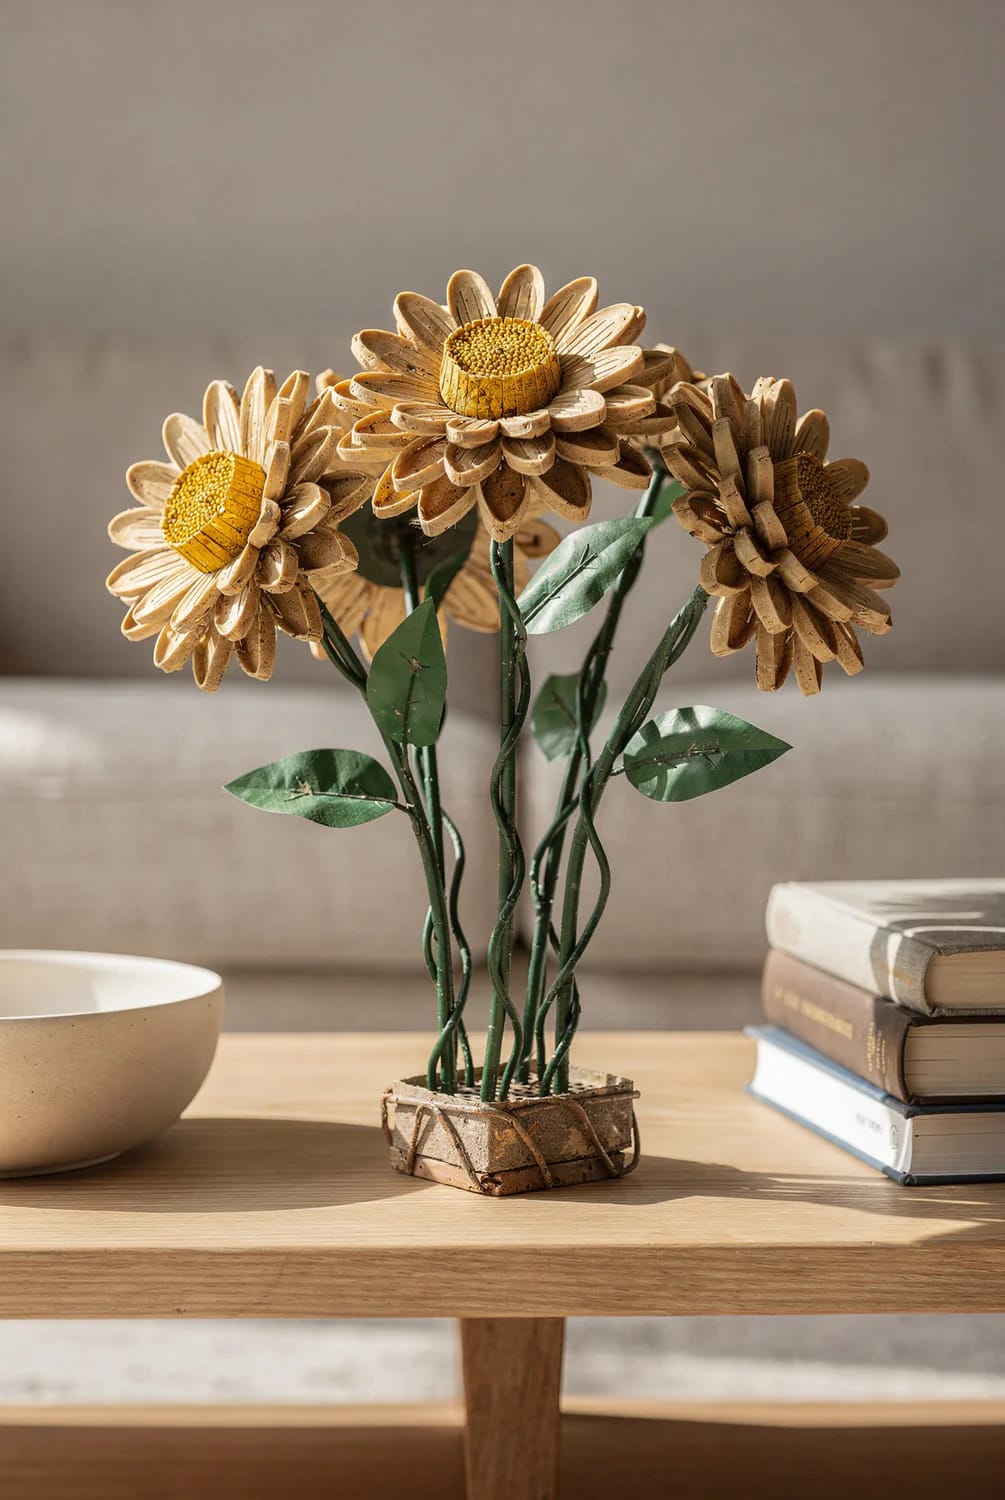
Granted, the glue is the entire piece. Hot glue sets in seconds but strings across the room and dries glossy, which is the thing that makes shell crafts look like shell crafts. A matte PVA craft glue takes four times as long to grab and leaves a join you cannot pick out from a foot away. Whatever holds the head, double the stem: two 22-gauge wires twisted together, then taped. A full head of shells weighs close to an ounce, and a single wire will bow overnight. The wire itself is the only thing you might have to buy, and 200 pre-cut 16-inch stems run about $6.
200-count pack of 16-inch 22-gauge green floral stem wireThe same free-petal logic runs through the other recycled spring crafts that start from paper, card and tin, and it is worth reading before you commit to shells, because the petal material you pick decides how much sealing you owe it afterwards.
Pistachio shells arrive salted, oiled and porous, and those three things are a slow disaster on a table where drinks land. Wash them in warm water with a drop of dish soap, spread them on a tray and leave them a full day, then seal with a matte acrylic varnish before anything gets glued. Skip that and the salt blooms white along the glue line within a season, and the whole head goes soft the first time a glass sweats next to it. Unsealed cork, bare paper pulp and unpainted cardboard behave the same way.
2. Book-Page Roses in a Bottle-Neck Vase

Book-page roses fool people at conversation distance because paper has tooth: cut quarter-circles, roll the first three turns tight around a pencil, then pull the outer five petals back over the pencil barrel so each one keeps a curl instead of collapsing flat. A paperback is too flimsy for the outer petals and a glossy magazine page will not hold a crease at all, so use a hardback that has already lost its jacket, or a book nobody wants to read.
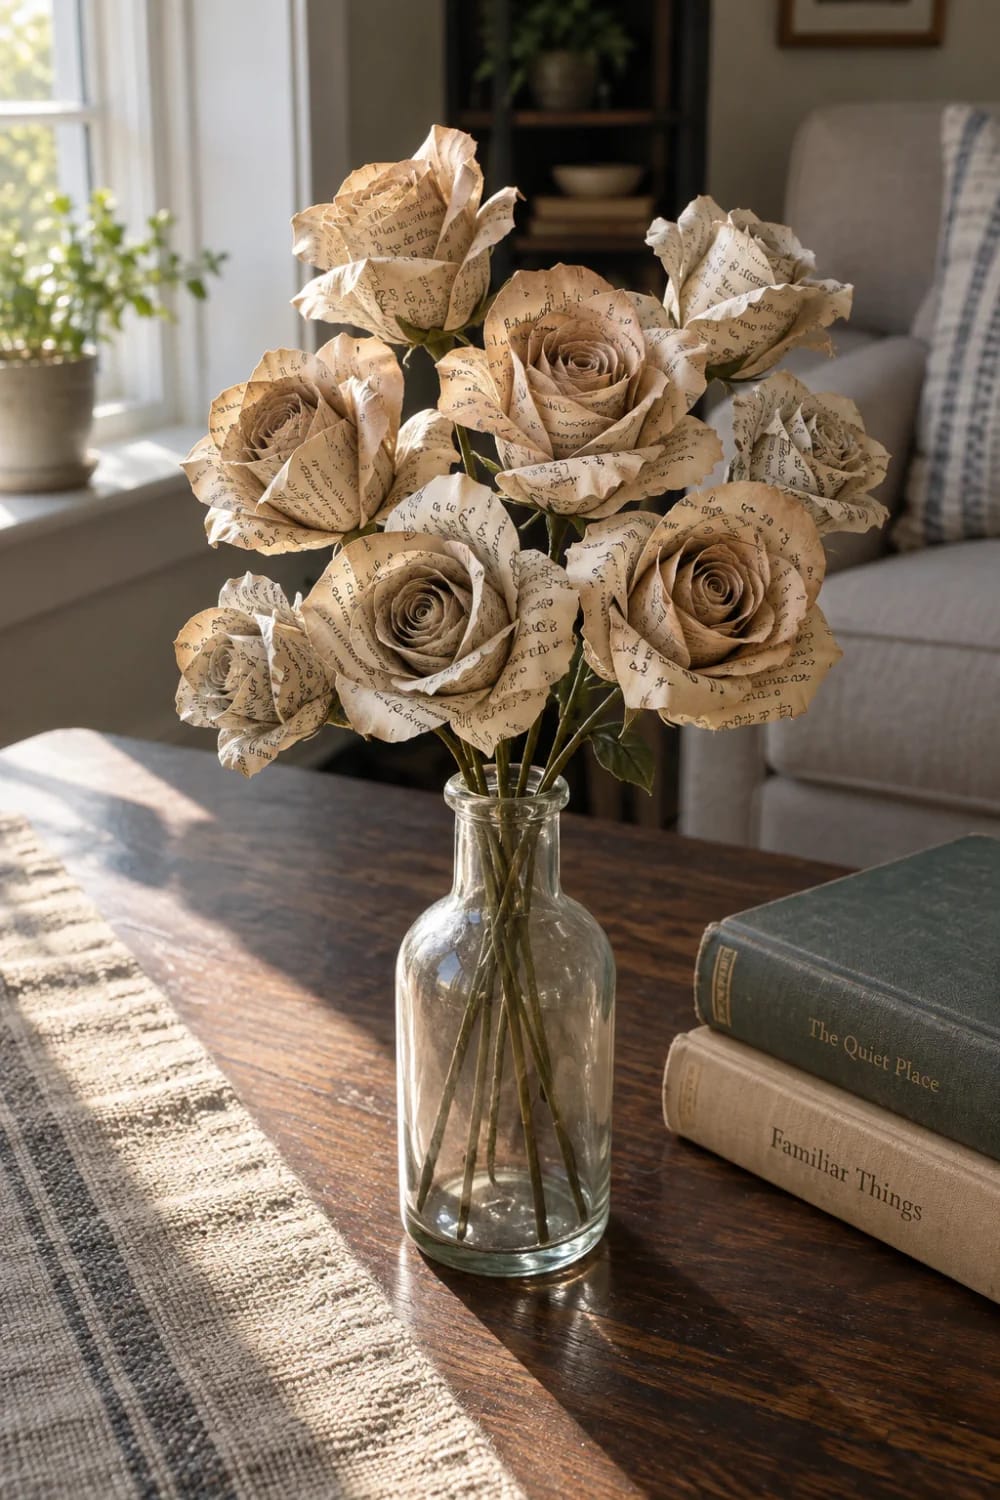
That only works if you stop staining. Tea-stained and coffee-washed pages look like a craft-fair project once twelve of them are in the same vase; leaving them the colour they already are, three or four shades of cream and foxed tan from an ordinary secondhand hardback, reads as deliberate. A bottle-neck is the right vessel for this because it forces the stems into a tight bunch, and a tight bunch is what makes paper read as flowers on a table at knee height.
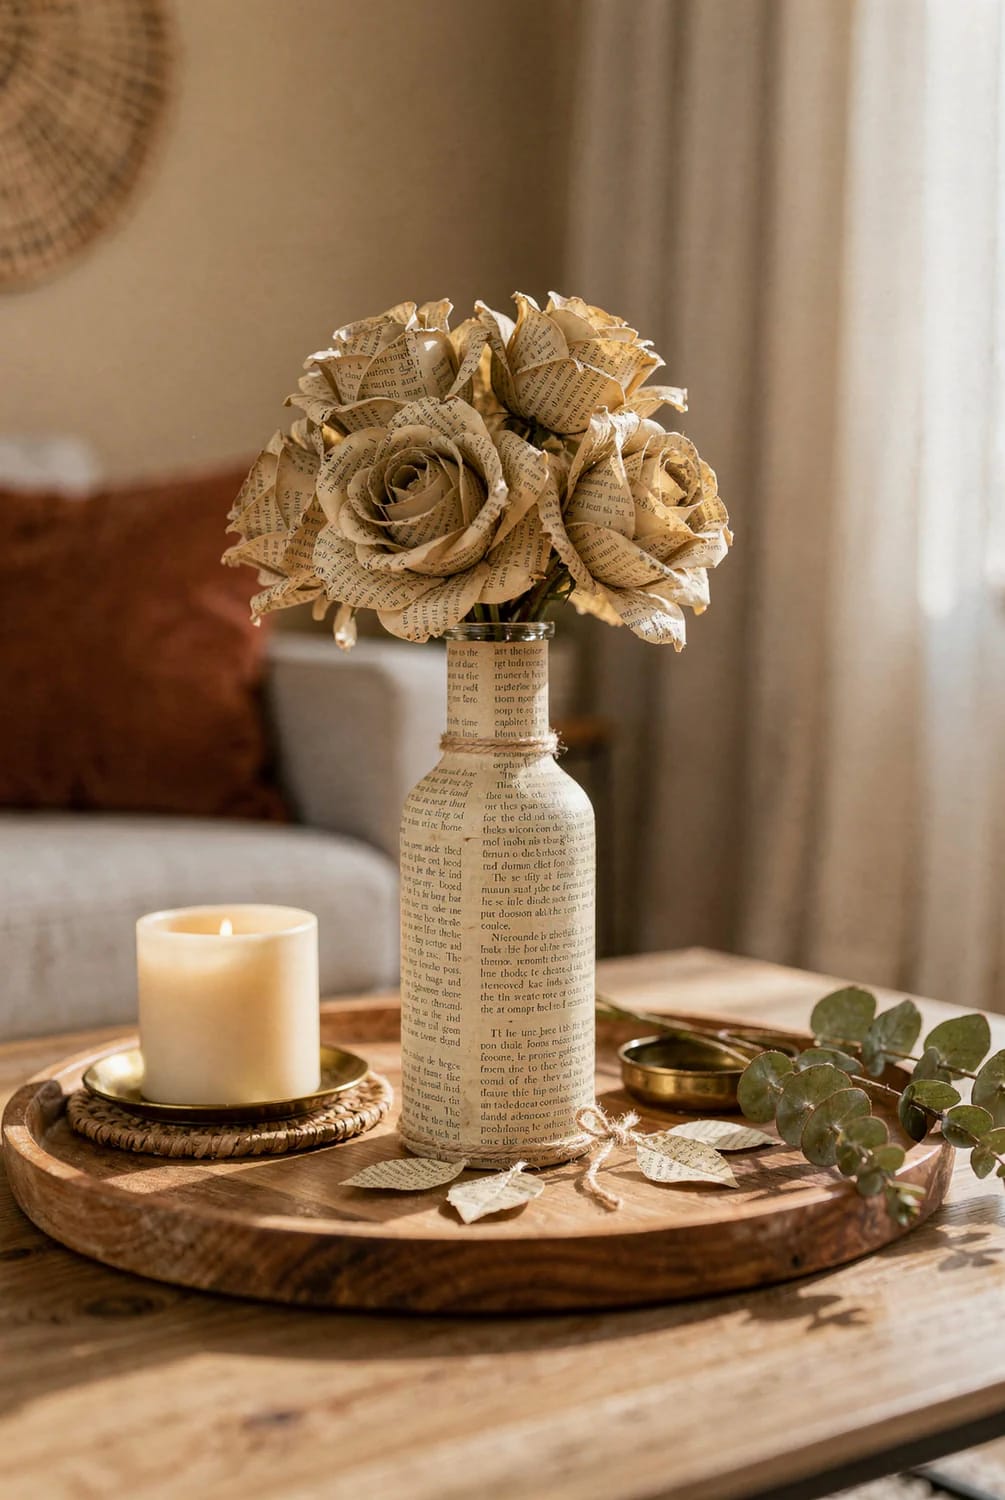
 Decorating With Old Books: 11 Ideas for Cozy Library Style Which hardbacks are worth cutting up, where to find them for a quarter, and the eleven other things people do with the ones that survive.
Vessels, Pedestals and Stacks
Do this
- Keep the total height under 20 inches, measured from the floor, not from the tabletop.
- Put the widest, heaviest part of the piece at the bottom, even if it means adding a base you did not plan.
- Leave a clear 12-inch circle of table for a mug, a phone and a coaster.
- Felt-pad anything that could slide, and pad the pad itself with a scrap of shelf liner if the table is glass.
Avoid
- A base narrower than 3 inches across, however stable it feels when you test it with one hand.
- Open tops that hold water. A vessel on a coffee table will eventually hold water.
- Gloss sealer over paper or shell. It is the single fastest way to make free materials look like a kit.
Those four numbers are the whole reason a centrepiece survives a living room instead of getting moved to a shelf by the second week. Run your own dimensions through the check below before you start cutting anything.
Centre-table scale check
All measurements in inches. Rules of thumb, not millwork.
3. Painted Tin-Can Vase: the Cheapest Showpiece on the Table
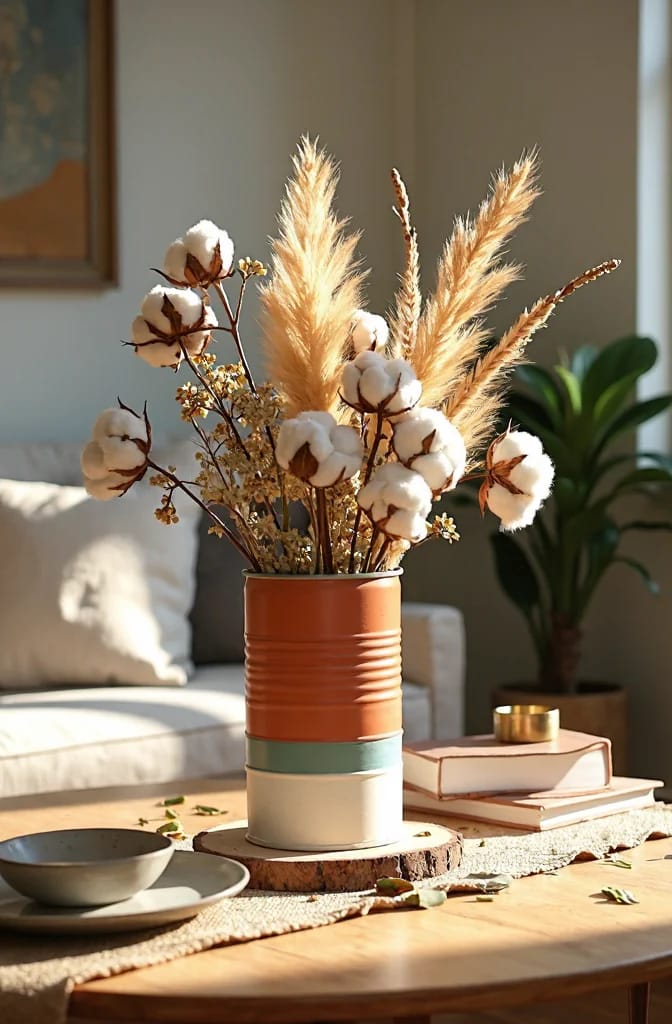
A tin can is the cheapest showpiece on this list and the one least likely to be mistaken for a craft: cut it to shoulder height, take the label off with white spirit, scuff the shiny surface with 120-grit and paint it in two thin coats of flat chalk paint rather than one thick one. Two thin coats stay put; one thick coat chips at the rim the first time a stem is pushed in.
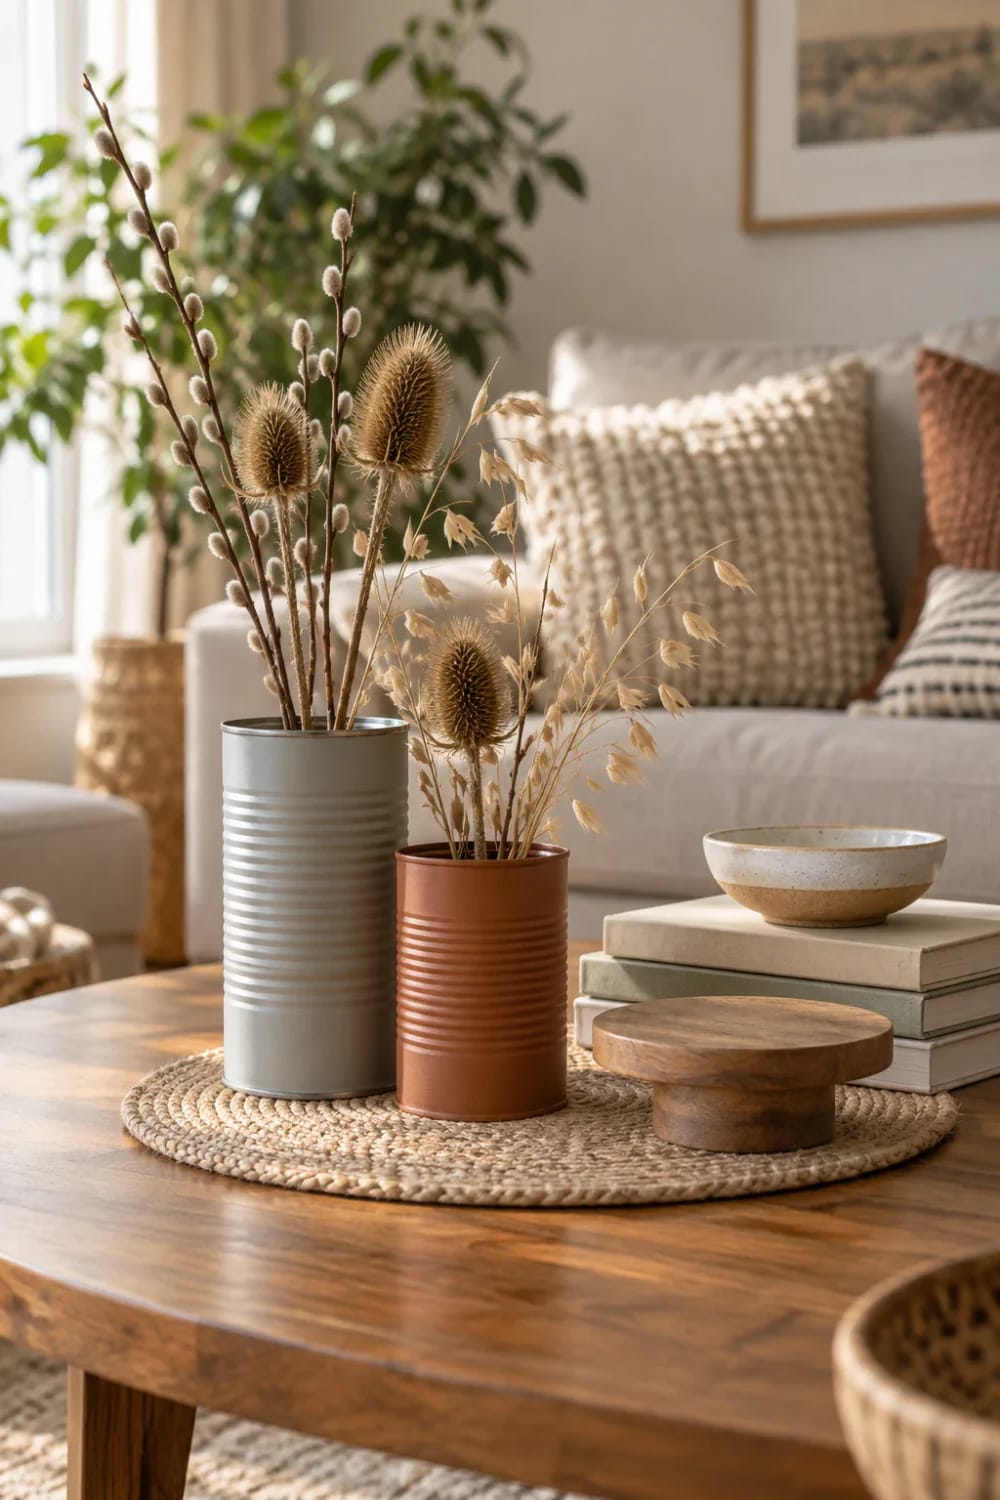
The ridges already in the can are the reason this works. They give the paint a shadow line, which is what a smooth glass vase does not have, and they read as spun metal from across the room. Leave a half-inch of bare tinned steel at the top instead of painting to the lip, and the piece stops looking like a painted can and starts looking like an object. Fill it with dried material only. A can is rolled steel with a seam, and that seam will rust from the inside out if it stays wet, marking the table on the way.
If you would rather buy nothing at all, the fifteen ways to upcycle tin cans on this site cover the versions that need no paint, including the ones that lean on the bare metal.
4. Thread-Spool and Dowel Pedestal
A pedestal is not the showpiece; it is what makes a small thing you already own look like it was collected rather than dumped. Three empty wooden thread spools stacked on a 3-inch plywood foot, with a ¾-inch dowel cut to 12 inches running through the middle and a 4-inch disc on top, lifts a stone, a shell or a small bowl off the centre table by a foot, which is exactly the amount that stops it reading as clutter.
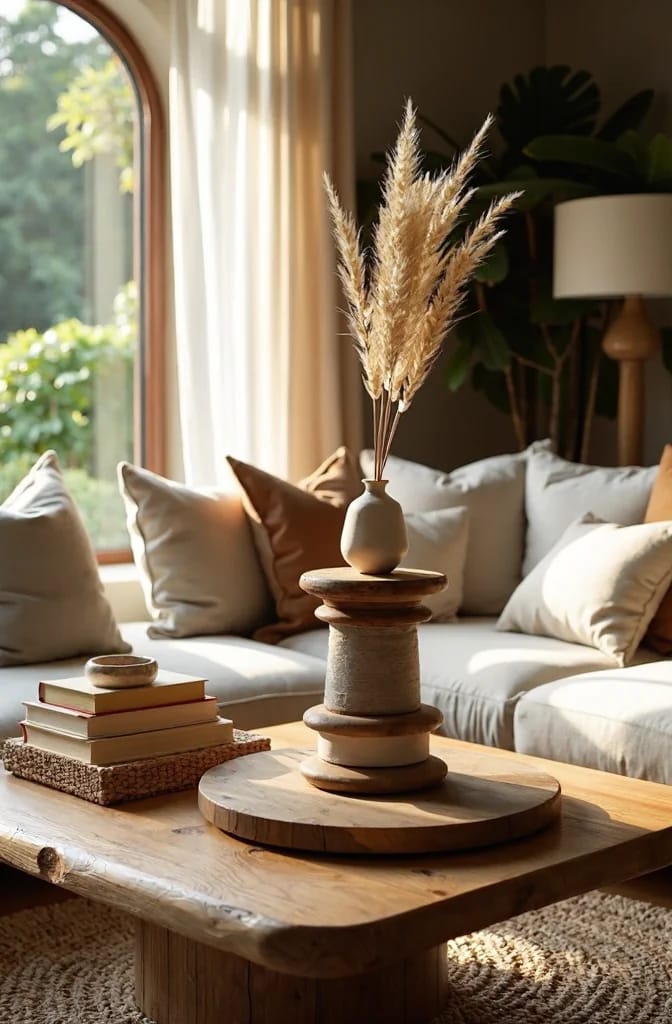
Dry-fit before you glue, because spools are not all the same bore, and sand the dowel down rather than forcing it, since a split spool is unrecoverable. Paint the whole thing one colour, feet and disc included. Grain showing through three different species of wood is what makes reclaimed pedestals look like a stack of offcuts.
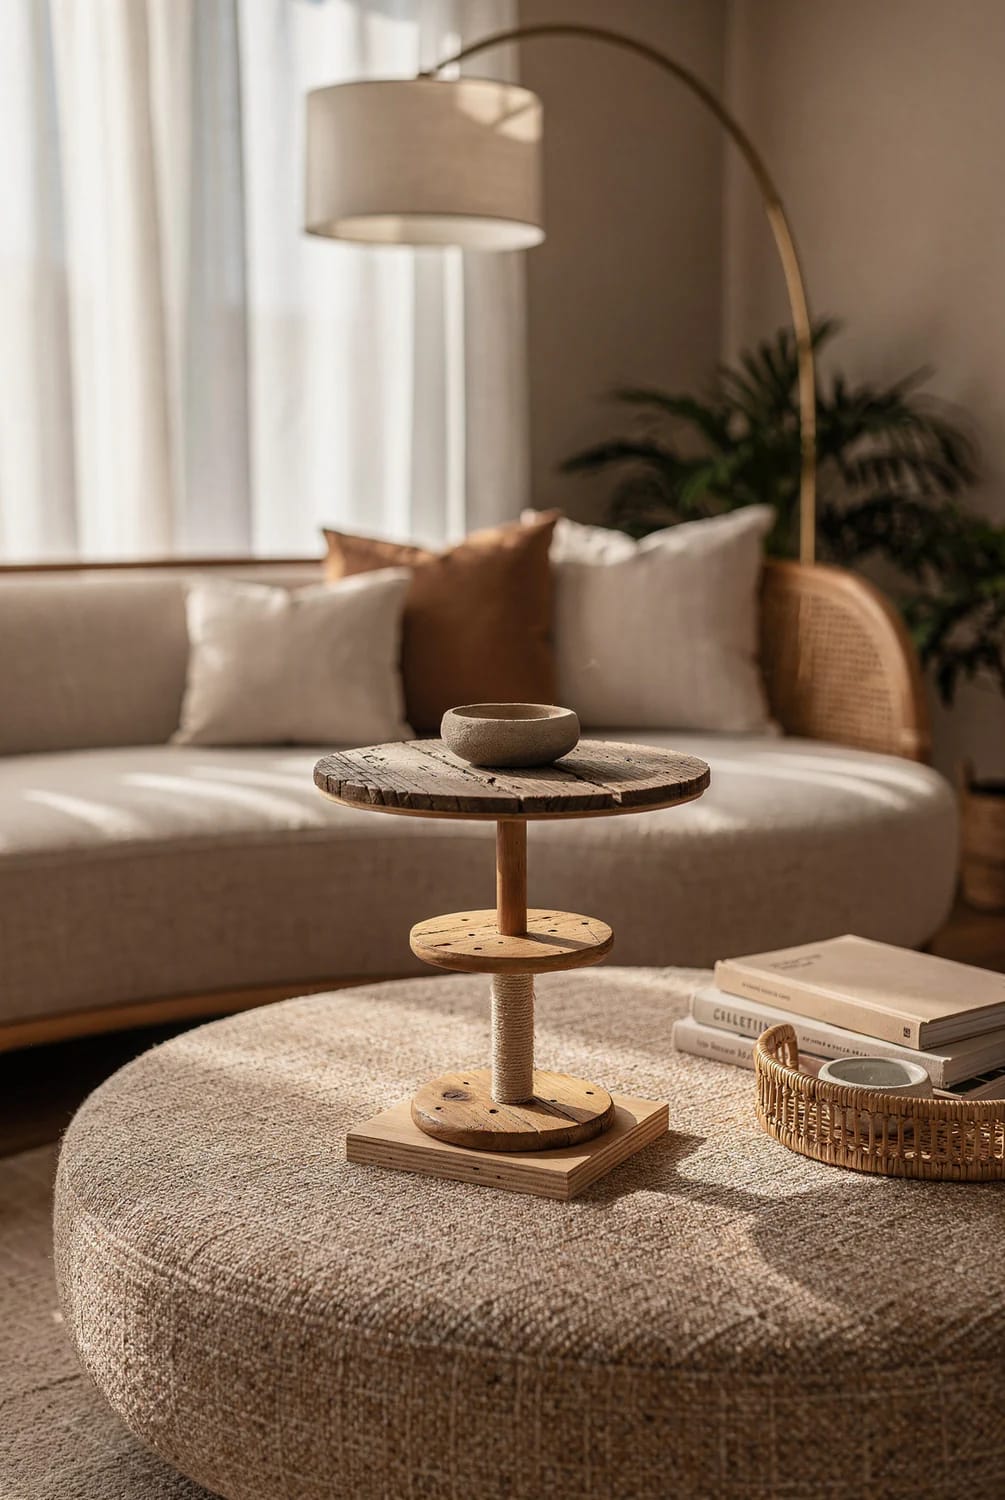
Almost every piece on this list that reads as bought rather than made has one thing in common: it is a single material in a single colour. Introduce a second material and a second colour and the eye starts sorting the table instead of resting on it. When you do mix, let one of the two be the neutral you already have, bare cork, pale paper pulp, unpainted tin, and give the other one all of the colour.
5. Stacked Hardbacks with a Dish on Top
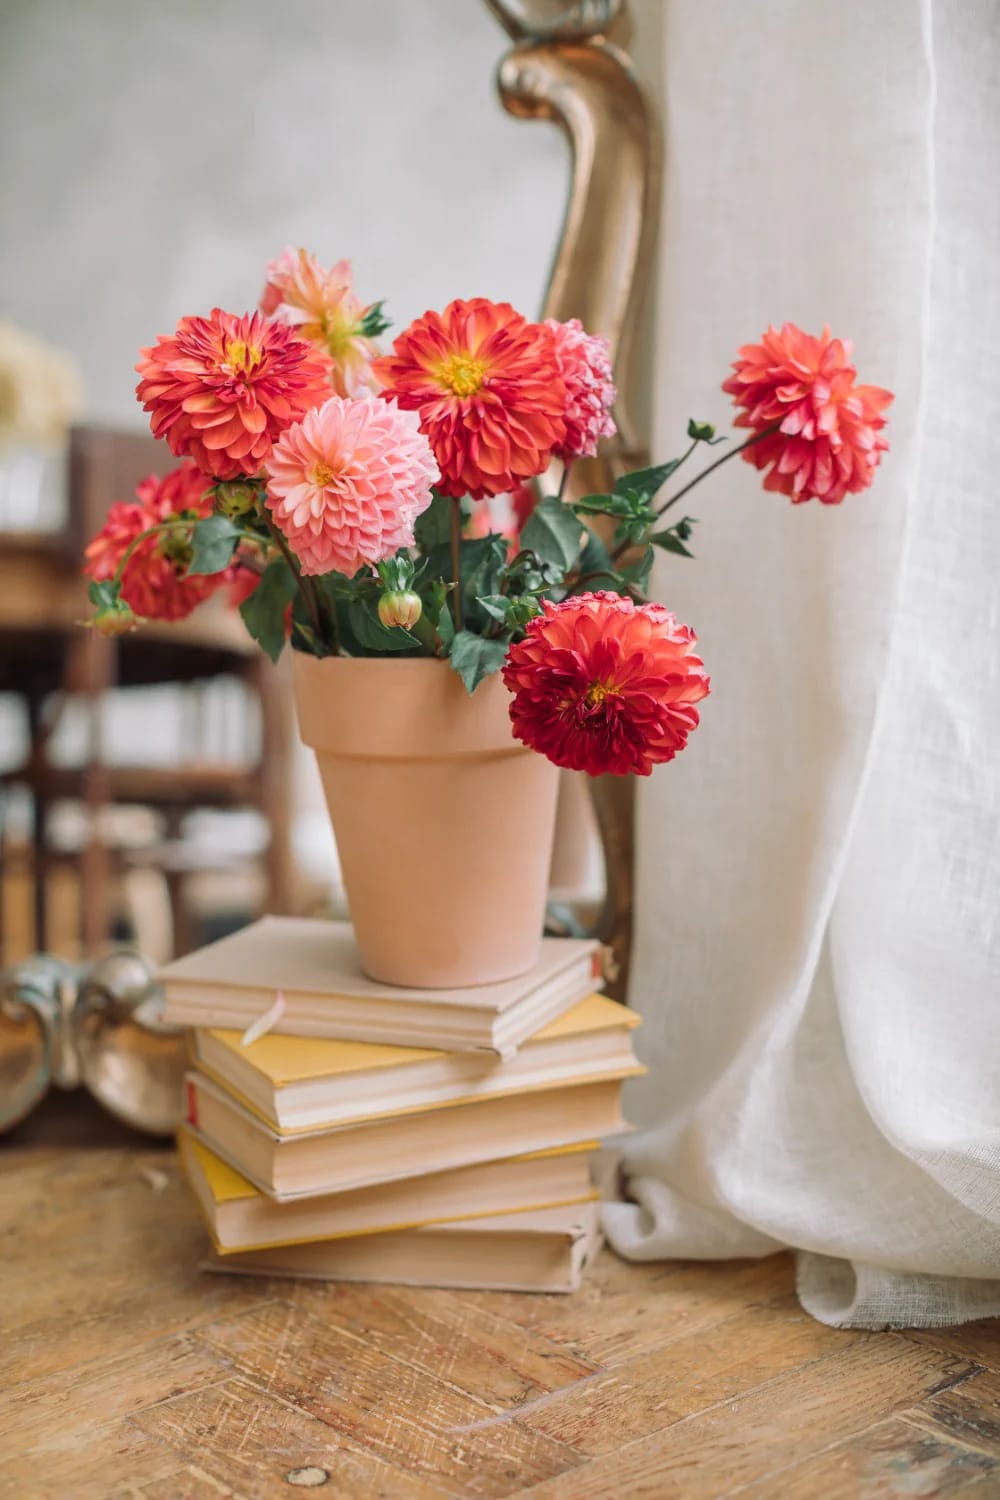
Three or four hardbacks on their sides, largest at the bottom, each one turned slightly so the spines step back into a shallow spiral, with a dish on top, is the fastest way to make a centre table look arranged. Two things keep it from looking dumped: the books have to be the dull ones, faded cloth, no jackets, spine lettering worn past reading, and the stack has to be shorter than the dish is wide. A tall stack with a small dish on top reads as a pile. Three books under a 9-inch dish reads as a plinth.
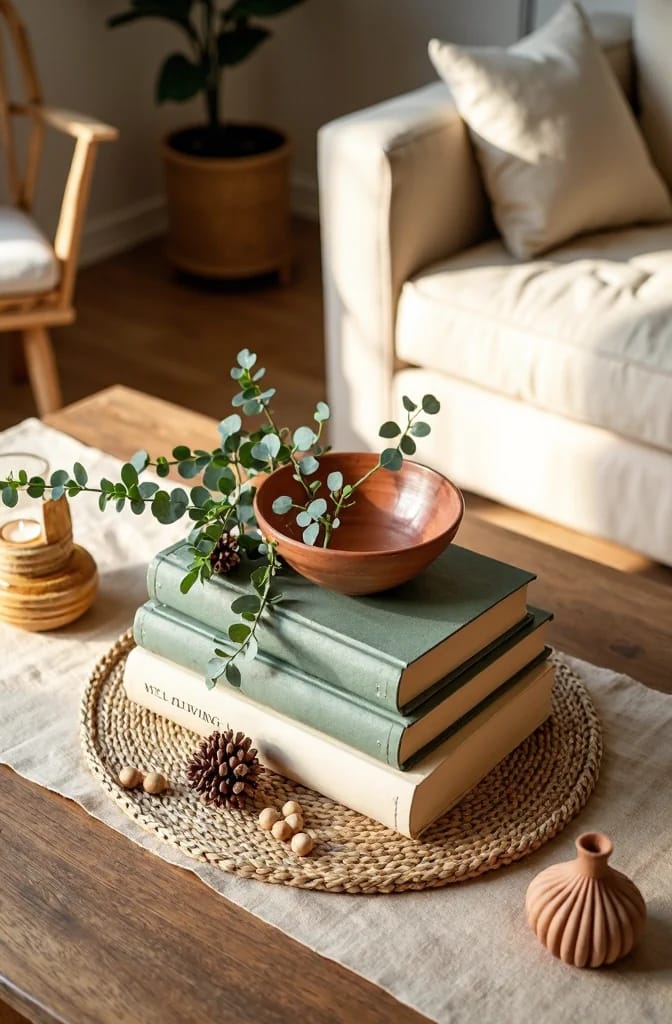
Buy nothing for this except the putty, and buy that. A stack of smooth cloth spines on a slick tabletop slides as a single unit the first time a knee catches the table, and a run of museum putty under the bottom book, four pea-sized balls pressed flat, stops it dead and peels off without marking. It is also what keeps the dish from walking off the top.
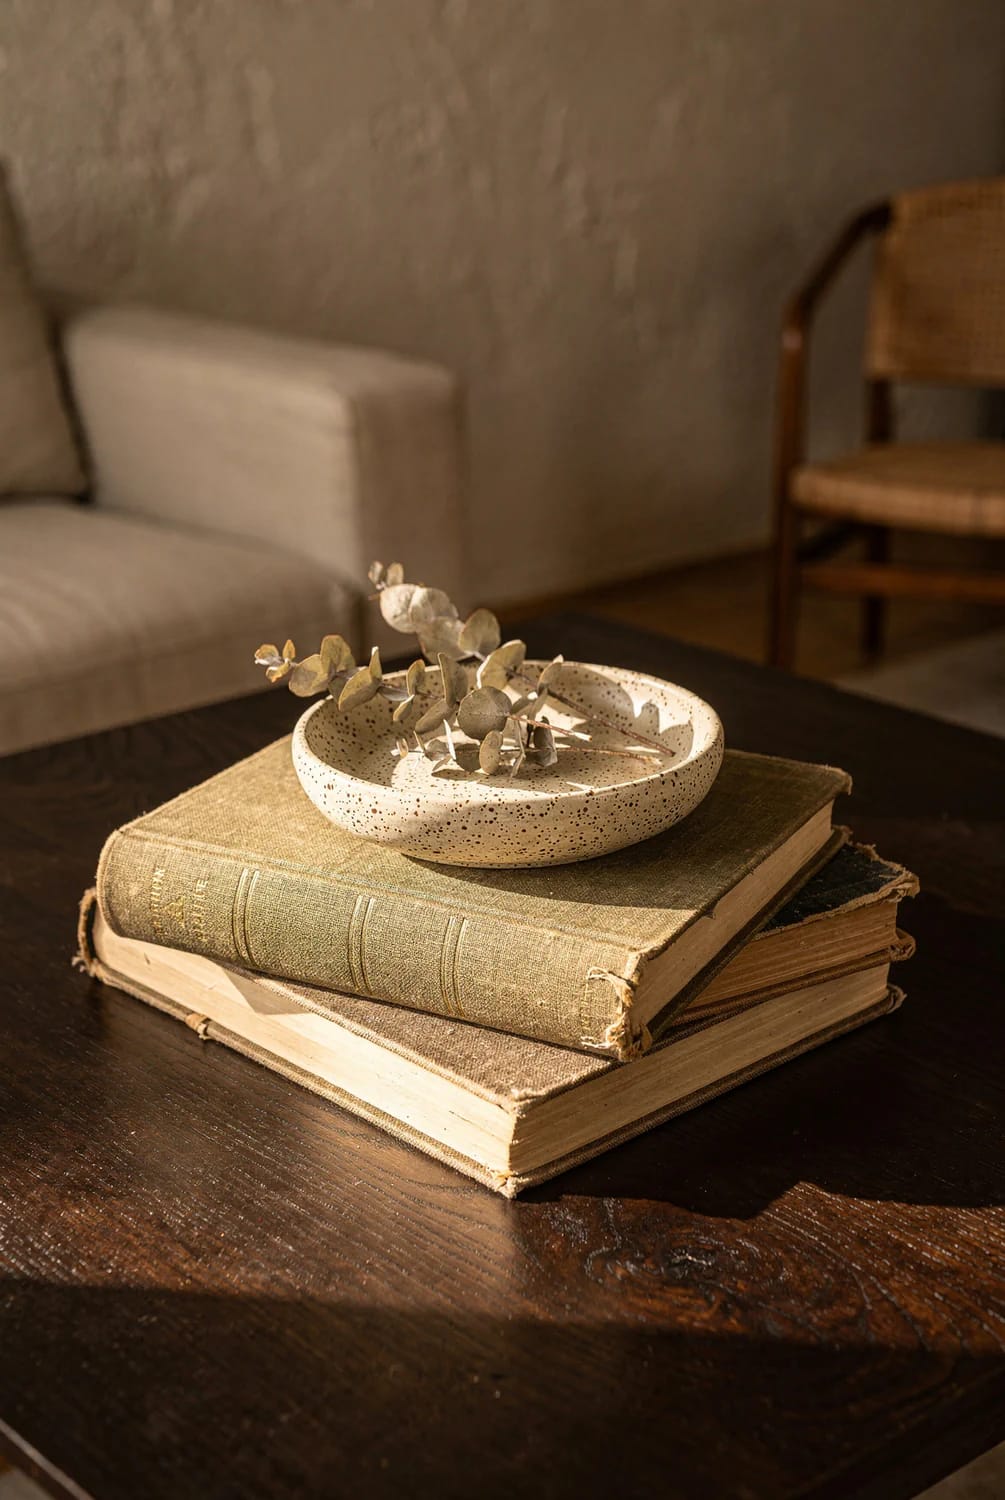
If the books are the part you like rather than the stacking, there are more upcycled home decor ideas that leave the table surface alone, which is where most of a living room’s upcycling should end up anyway.
6. Wine-Cork Obelisk
Corks stack into the one silhouette a coffee table can carry without argument: tall, narrow at the top, heavy at the bottom. Cut each cork to a flat face on a belt sander or a sheet of 80-grit on the bench, glue them into a column nine corks high, and alternate the direction of every second cork so the shrink lines do not all run the same way.
Do not chase a uniform look. A column of identical corks looks like a cork column; one built from a mix of champagne, standard and the odd synthetic stopper, in warm grey-brown, looks like a collection. And do not put it on a walnut or teak table, where warm brown cork on warm brown wood disappears into one smudge. It wants a pale surface, a white tray or a grey stone top, or no table under it at all.
Coiled, Mosaic and Cast
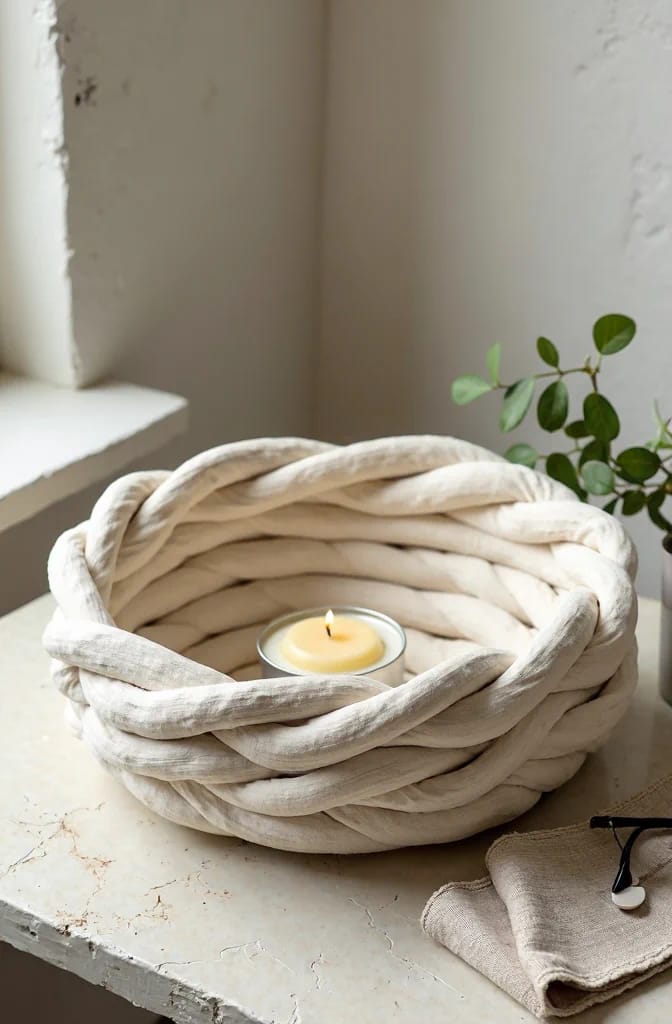
7. Coiled Bedsheet Rope Bowl
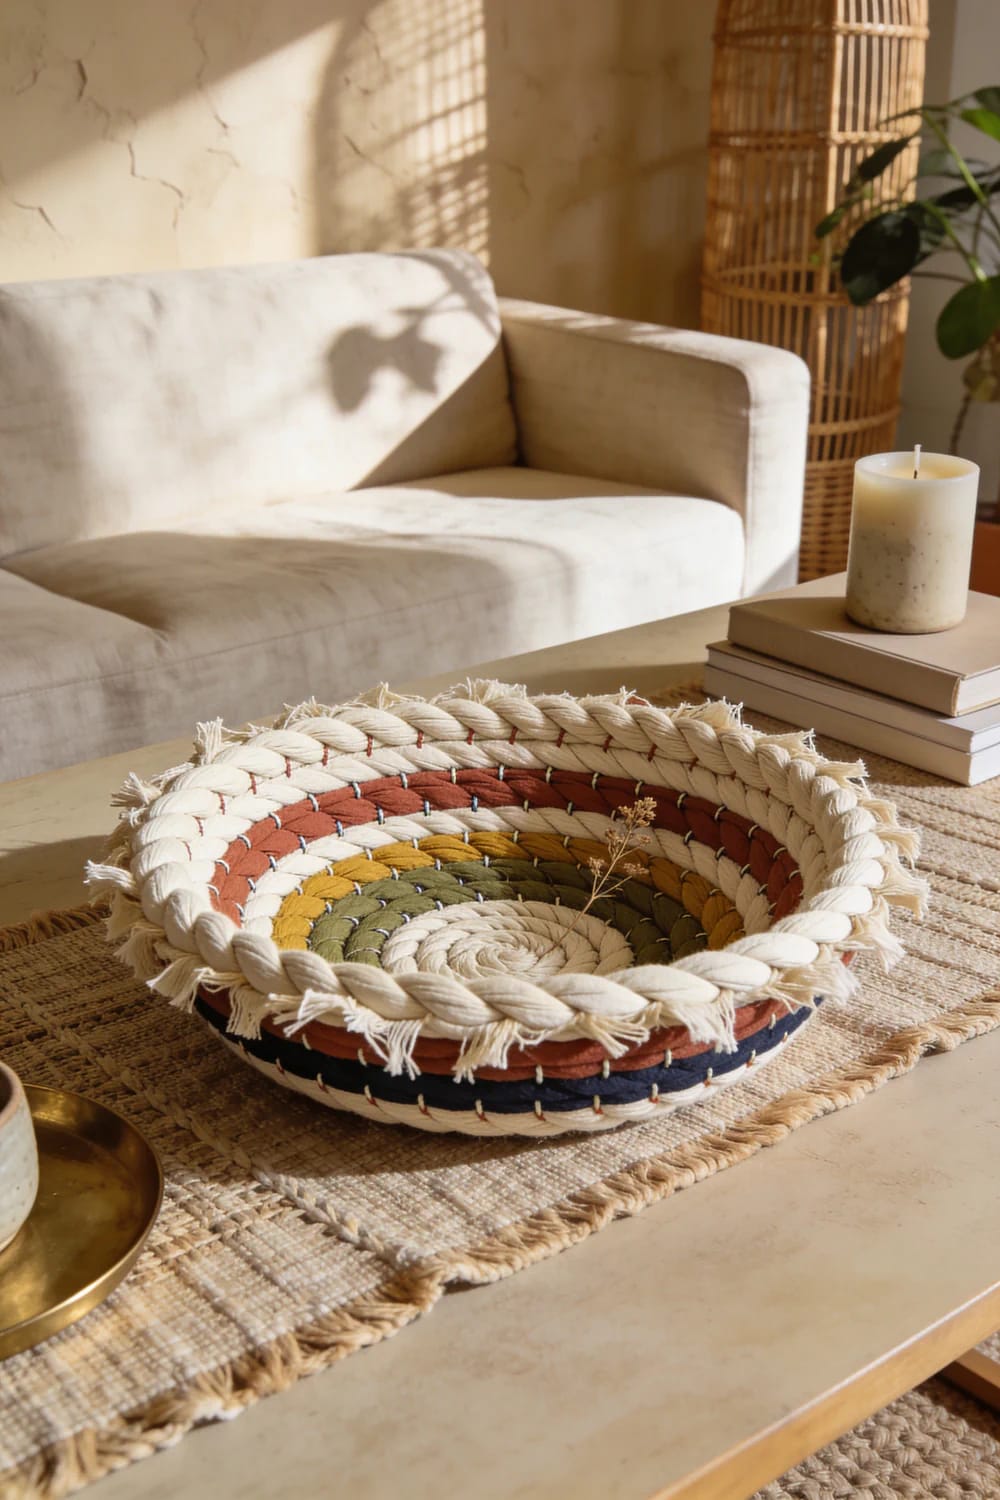
Ripped cotton from a dead bedsheet, braided into a rope and coiled into a shallow bowl, is the piece guests ask about most, and it is the one you can make entirely on the sofa. Tear the sheet into 2-inch strips rather than cutting them, because a torn edge feathers and the feathers are what makes the braid grip itself, then braid three strips into a rope and coil it flat, stitching every full turn to the turn below with a zigzag machine stitch or a hand whip stitch in matching thread.
The bowl should finish about 9 inches across and 2½ inches deep, which is the right size to hold a candle, a set of keys or nothing at all on a centre table. Stop coiling when the sides start pulling in, not when you have run out of rope; a bowl that closes into a basket will not hold anything you actually put on a table.
Torn bedsheets are only the start of it. What to do with a pile of dead denim follows the same logic, using the seams and the fading rather than treating the fabric as generic yardage.
8. Broken-Crockery Mosaic Disc
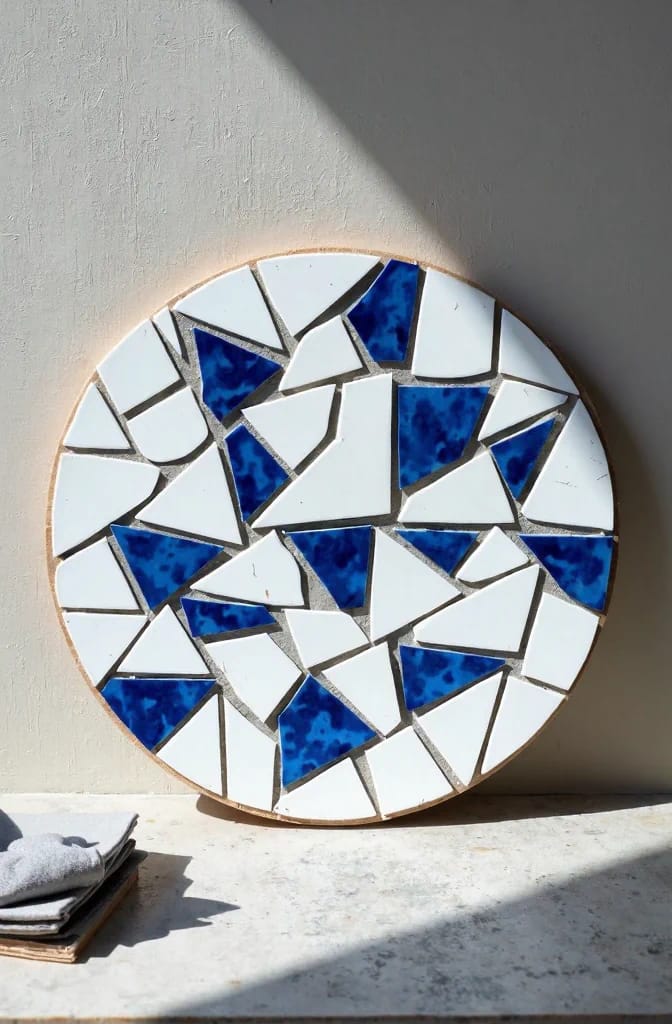
A dinner plate that lost a fight with the dishwasher becomes a round mosaic panel in an afternoon, and it is the flattest thing on the list, which makes it the safest choice for a narrow centre table. Trace a 10-inch circle onto 6mm plywood, glue the shards with the crackle side up, leaving a consistent 3mm gap, then grout with a fine unsanded grout in a tone that matches the plate's ground colour rather than a contrasting dark.
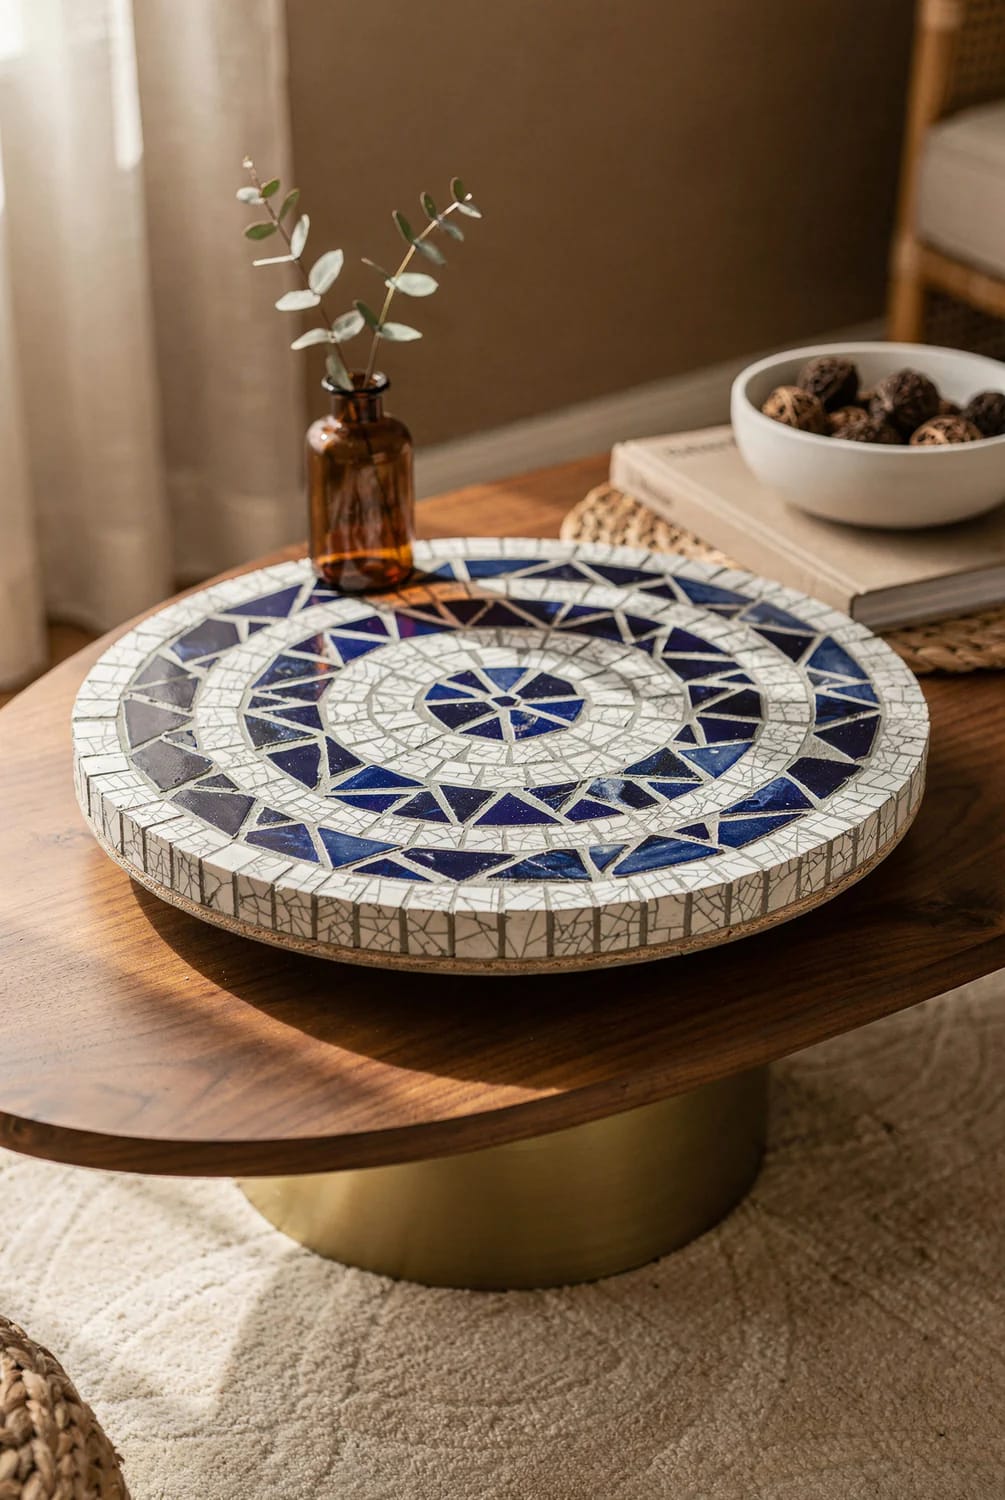
Contrasting grout turns a mosaic into a diagram of its own pieces. Matching grout lets the pattern do the work. Two coats of matte stone sealer over the finished grout are not optional on a coffee table: unsealed grout takes a ring from a cold glass in about a minute, and it never comes out.
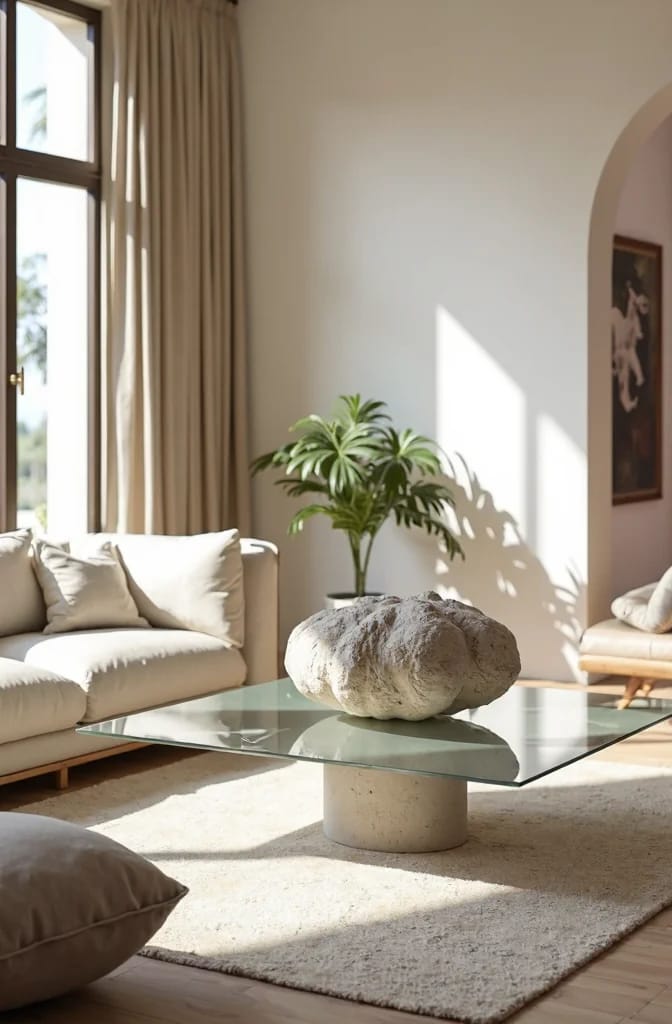
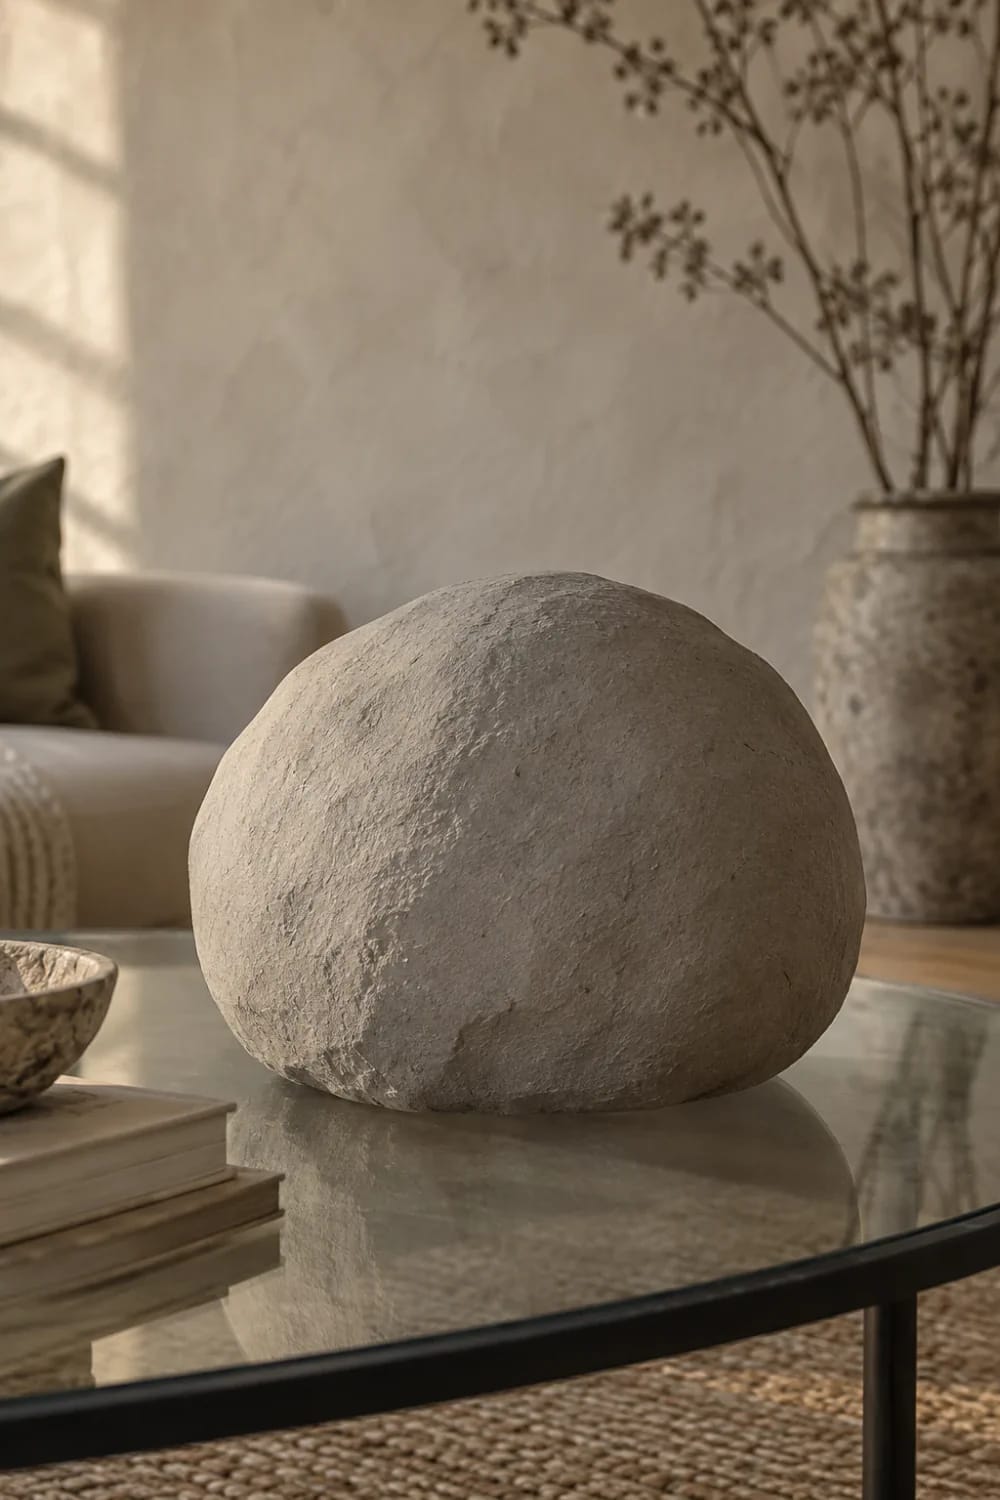
9. Paper-Mache Boulder Showpiece with a Dead-Matte Seal
Cardboard, newspaper and a flour-and-water paste will make a boulder: build up a hollow form over a balloon or a crumpled core, let it dry for three days somewhere with air on all sides, then sand it round and paint it in one flat colour. It weighs almost nothing, and that is what makes it the best showpiece here for a low glass table, because a piece that weighs nothing can be 16 inches wide without ever being a risk.
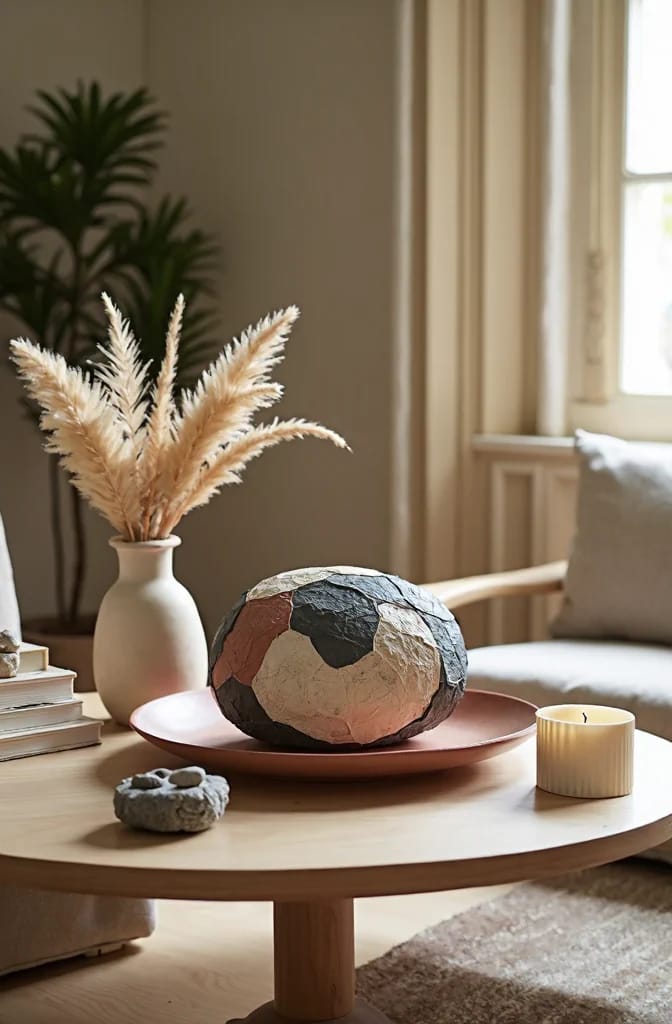
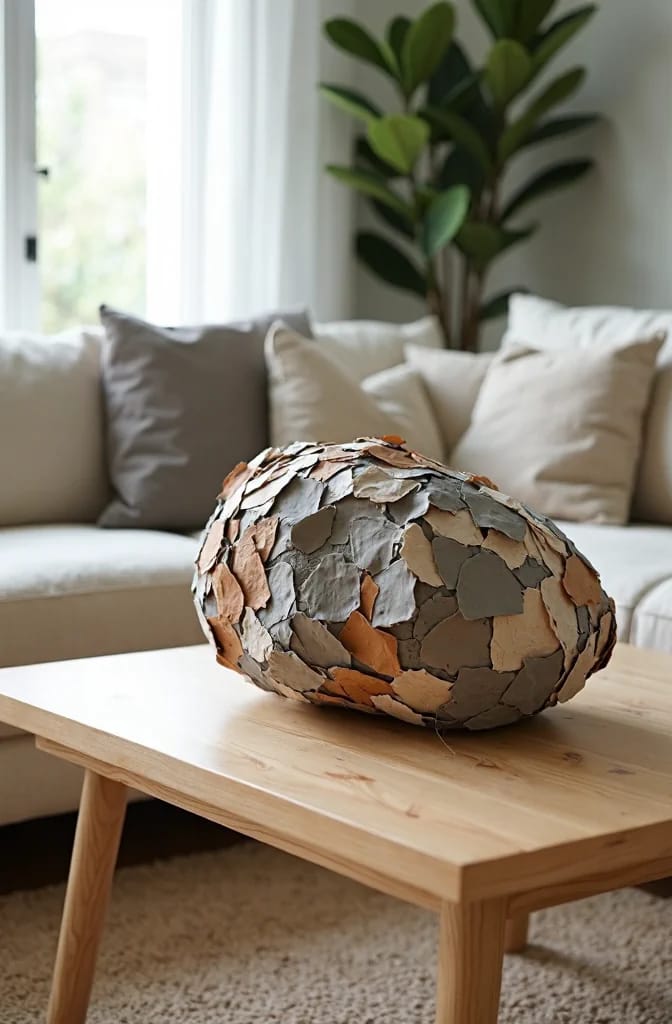
Here is the call most people get wrong: do not seal it with gloss varnish. Gloss is what makes paper pulp look like laminated cardboard, and it is why so many paper-mache pieces read as a school project long after the shaping has been done properly. A dead-matte sealer, three thin coats, keeps the surface reading as stone. Mod Podge Matte does the job and a small bottle covers a 12-inch boulder with a coat to spare.
Matte, not satin. It dries clear on pulp and keeps the surface absorbing light instead of bouncing it.
Mod Podge Matte sealer, glue and finish, 8 ozShaping is the other half of it, and if the boulder is your first sculpted piece, it is worth seeing how far art projects built from recycled materials push the same materials, because pulp will hold a much sharper edge than most people expect.
Pieces That Throw Light
10. Rope-Wrapped Jar with a Warm Light Inside
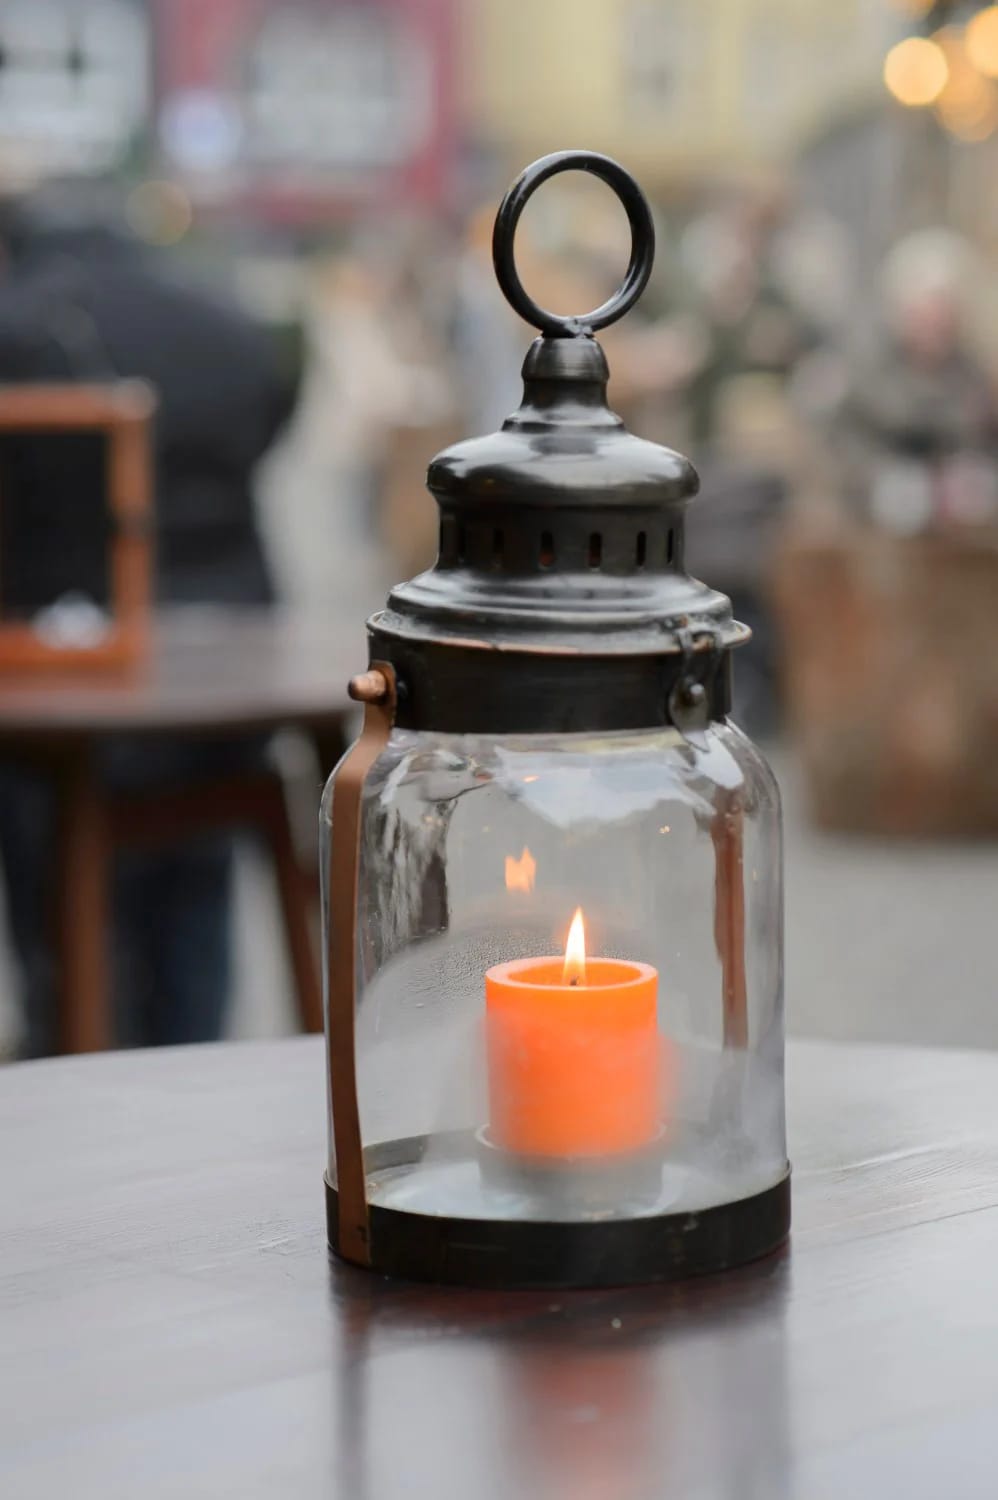
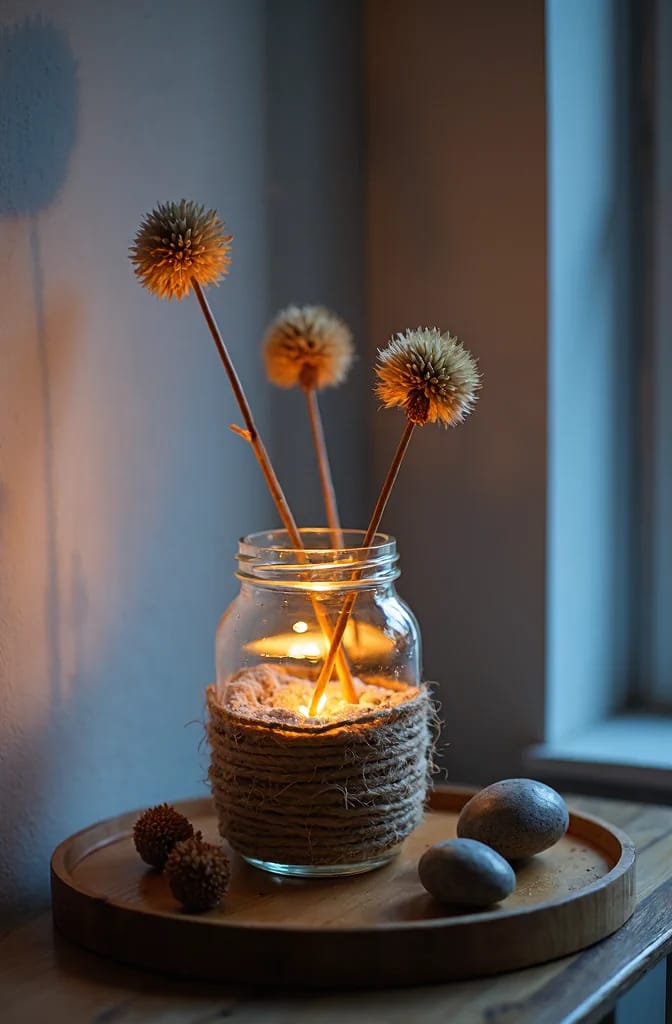
Wrap the bottom half of a wide-mouthed jar in jute twine with the turns touching, set a battery tea light on a half-inch bed of sand inside, and you have the one showpiece on this list that changes the room at night. The sand is doing two jobs: it hides the light's plastic base and it stops the jar ringing when the light is switched on.
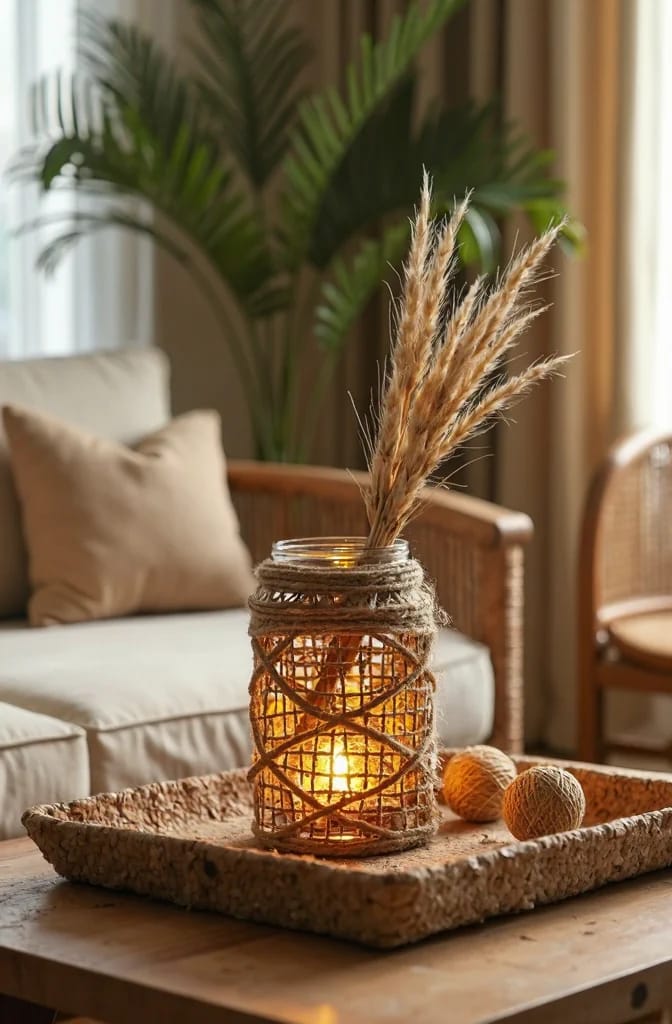
Battery, not a real flame, and not because of the wax. A candle inside glass on a coffee table is a heat source sitting at the height of a leaning forearm, and the jar gets hot enough above the flame line to make anyone who touches it flinch. A sealed jar with a real candle in it is worse, because the heat builds until the glass either cracks or the lid pops.
 Creative Old Glass Jar Upcycles: Lanterns, Terrariums & Decor Why the squat pasta-sauce jar usually throws better light than a mason jar, plus the terrarium and lantern versions of the same trick.
11. Popsicle-Stick Lantern Cage
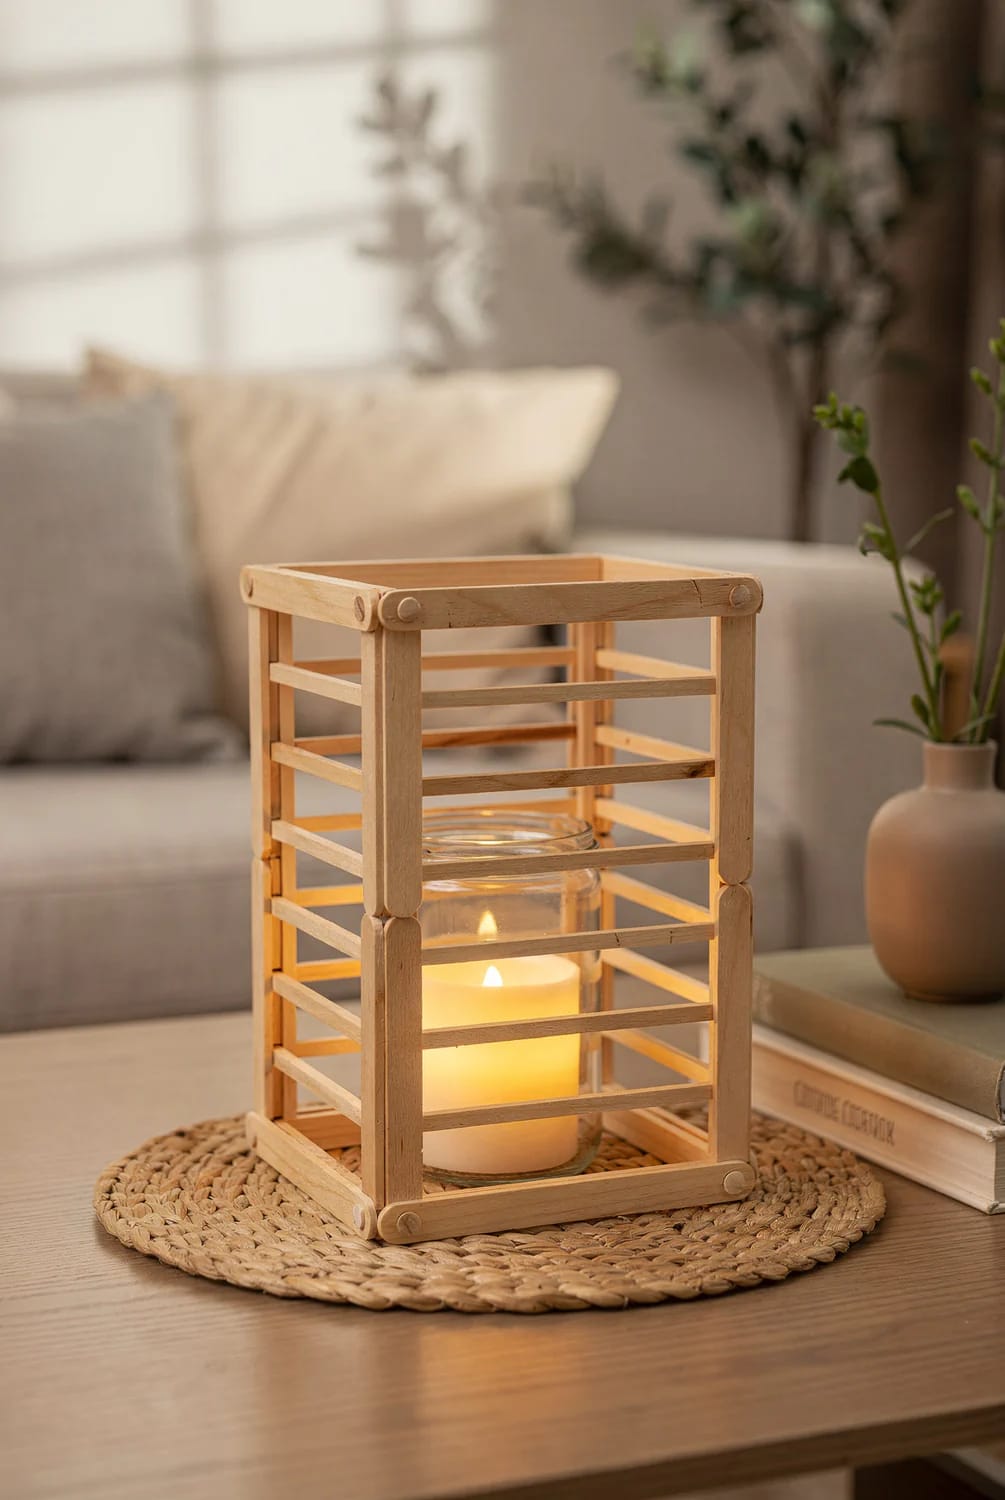
Sixty sticks and a glue gun will build a lantern cage: four corner posts, square rungs every inch and a half up the sides, and an open top so the light escapes. Build it over a cardboard jig so the four walls come out square, and paint it one colour once it is standing rather than painting the sticks first, because the cut ends are what show and they will not have been painted.
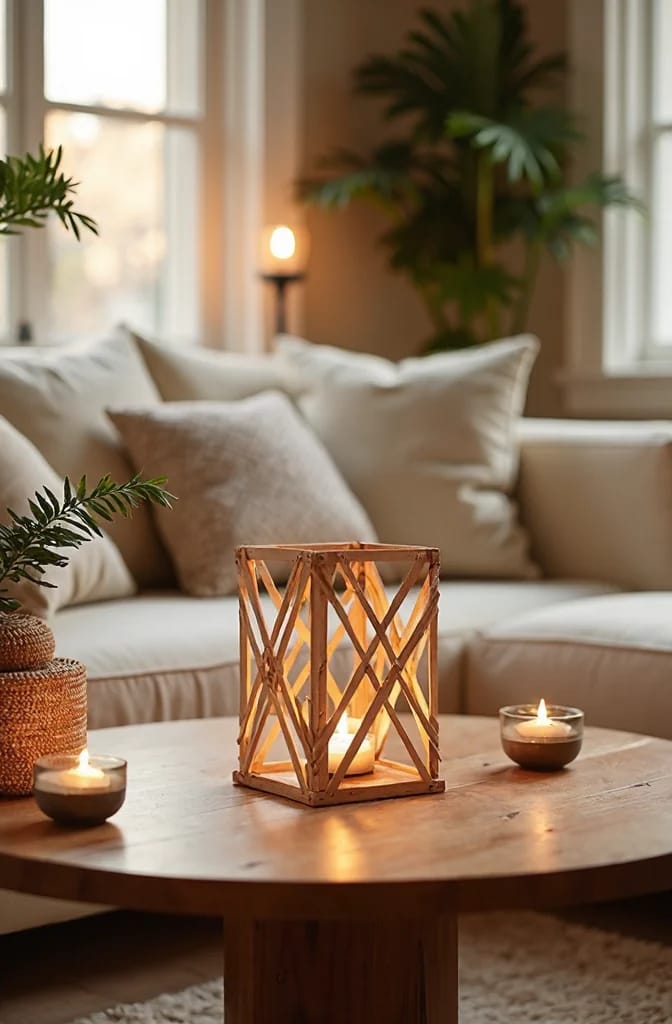
It works best as a sleeve for a jar rather than a free-standing object. A stick cage on its own is a nice shape and a fragile one; a stick cage with a plain jar inside it has something to hold it square and something for the light to bounce off.
12. Nail-Pierced Tin-Can Lantern
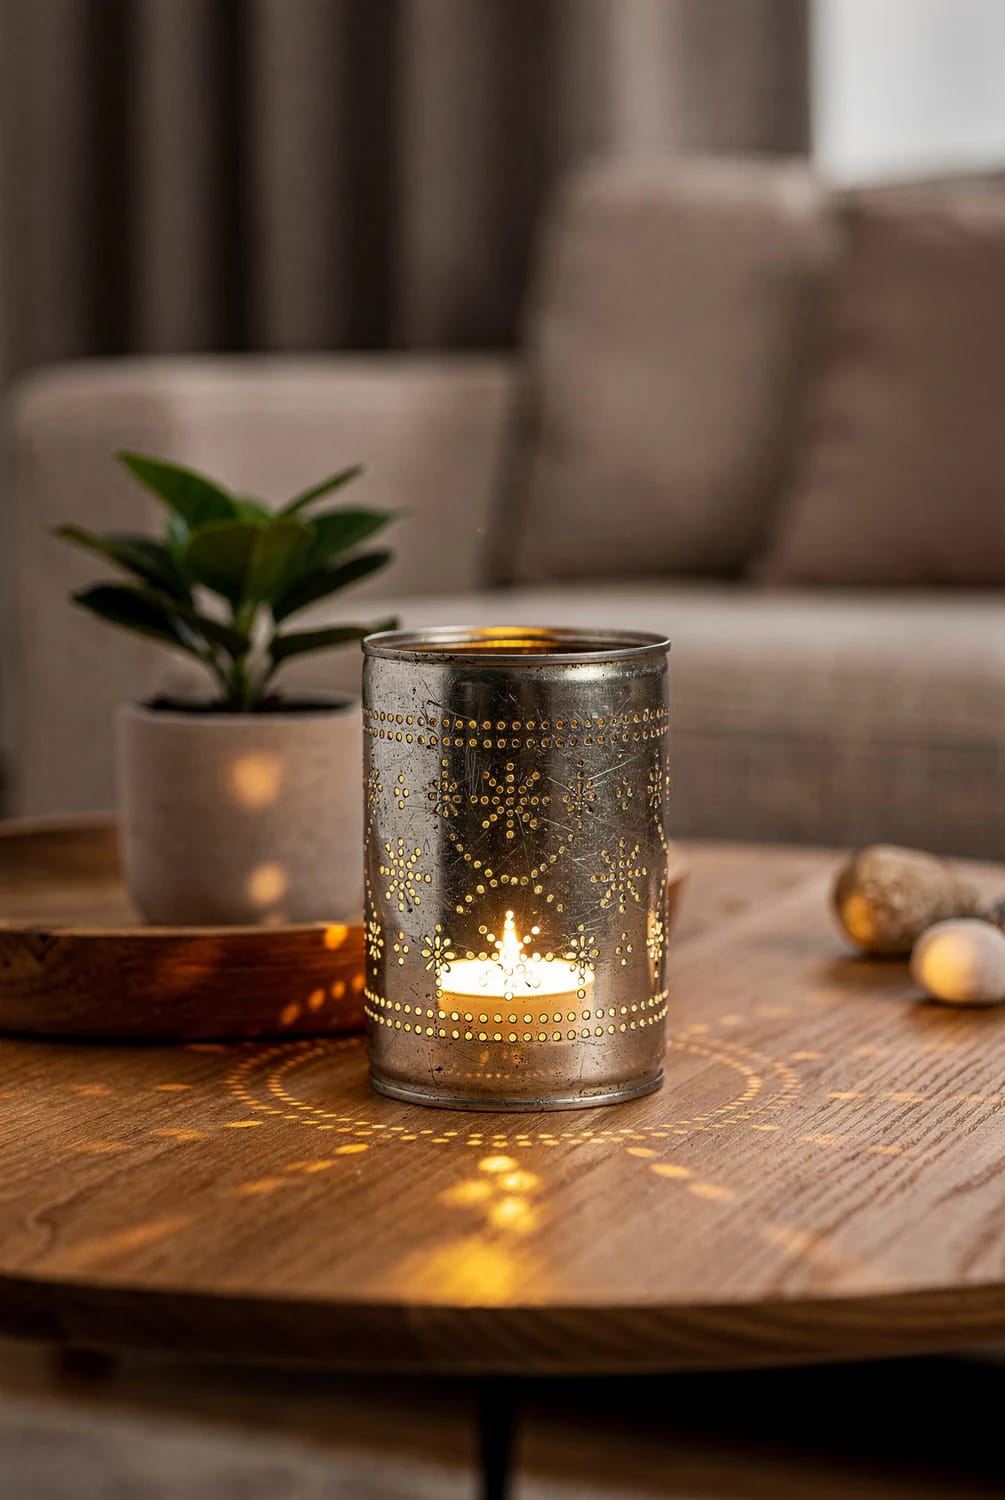
Fill a clean tin can with water and freeze it, then punch a pattern through the wall with a hammer and a 2mm nail while the ice holds the metal rigid. The ice is the whole trick: an empty can dents and buckles under the nail, and a frozen one takes a clean hole with a neat raised edge that catches light. Let it thaw, dry it thoroughly, and you have a showpiece that throws a field of small bright dots across the centre table when a tea light goes inside.
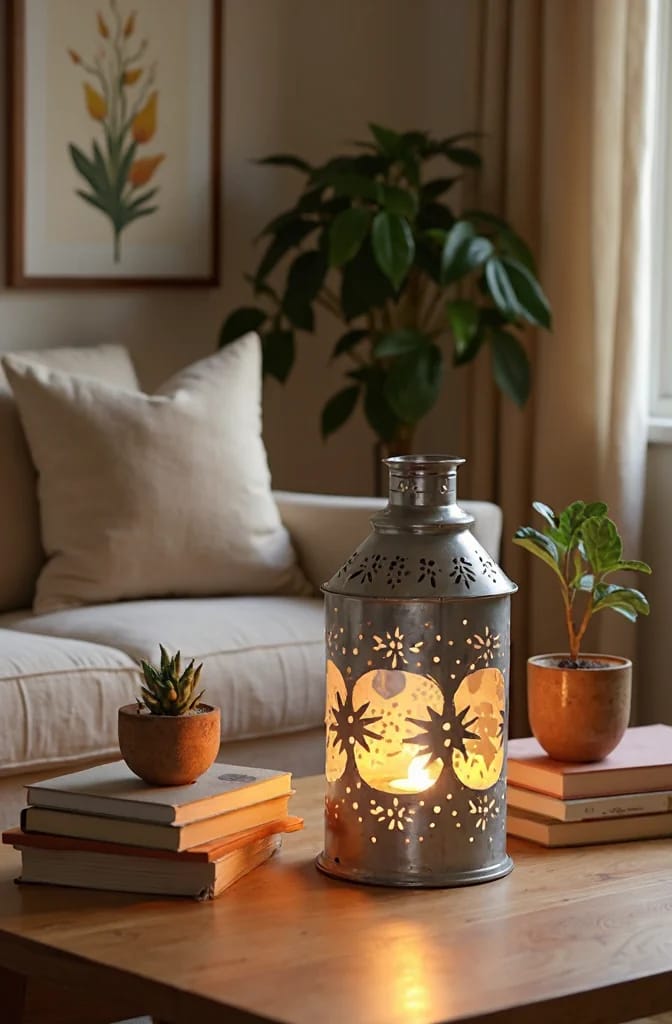
Plan the pattern before the ice goes in, and plan it sparse. Thirty holes in a loose band around the middle of the can throw more usable light than two hundred holes evenly spread, because the eye reads a pattern and ignores a fog. This is also the one piece on the list that needs a tool rather than glue: aviation snips to take the top off cleanly and trim the cut edge flat, so nothing on the table is sharp.
Straight-cut 8-inch snips are enough for a can wall, and they leave a rim you can run a thumb along.
TOOLMAK 8-inch straight-cut aviation tin snipsThe 12 showpieces above are more than any one centre table needs, and the honest answer to which you should build first is the cheapest one you can finish in a single evening, because a table with one finished thing on it and a clear circle for a mug beats a table covered in three half-made ones.
Related Posts
- 12 Decoupage Projects That Transform Tired Furniture and Decor
- 19 Creative Upcycled Home Decor Ideas to Refresh Your Space
- 57 Sustainable Living Room Decor Ideas
- 15 Natural Centerpieces for Your Winter Table
- 15 Natural Christmas Centerpiece Ideas for a Festive Table
- 15 Sustainable Easter Home Decor To Celebrate in Style With Less Waste