
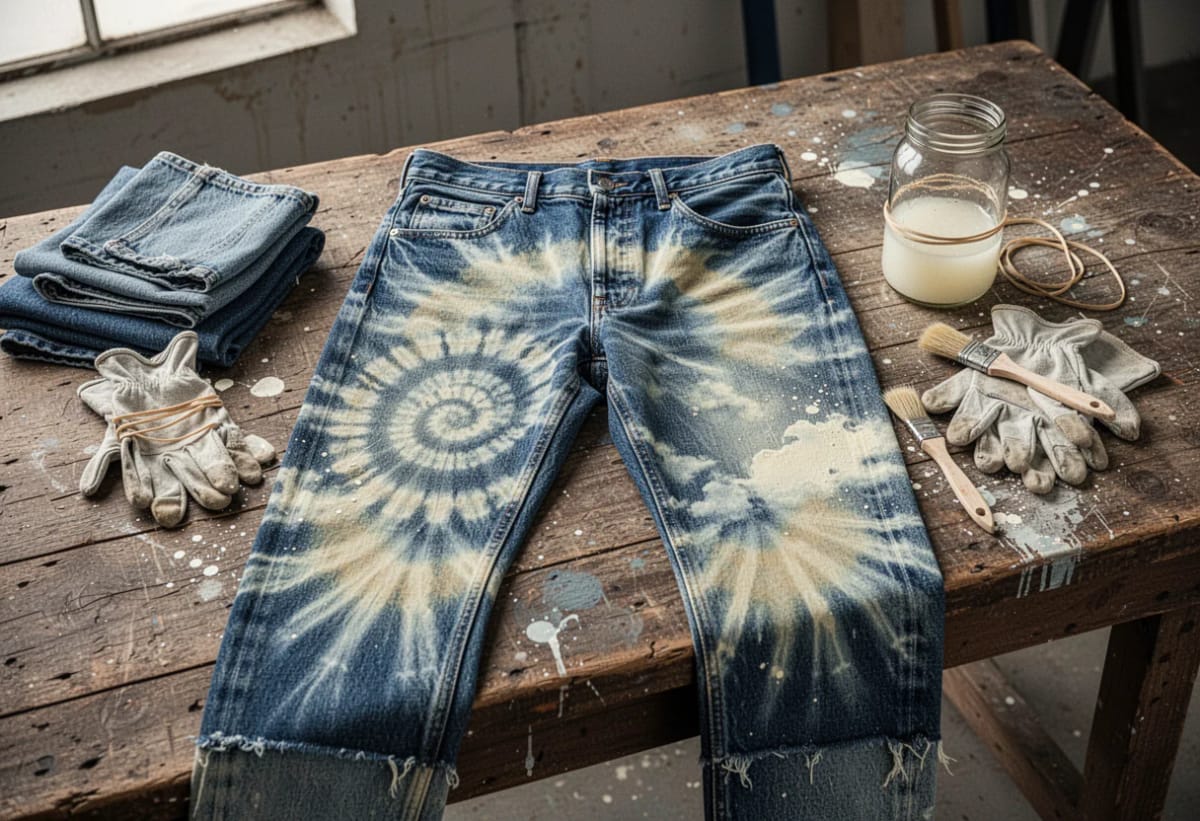
Reverse tie dye is the one denim project where the color is already in the garment and the whole job is pulling it back out in a shape you chose. What follows is ten ways to do that on jeans specifically, each with the dilution it needs, the window where you pull it out, and the peroxide step that decides whether the pair is still wearable in two months. Stained knees and a grease ring on the thigh are the right starting material here, which is the other reason to try it.
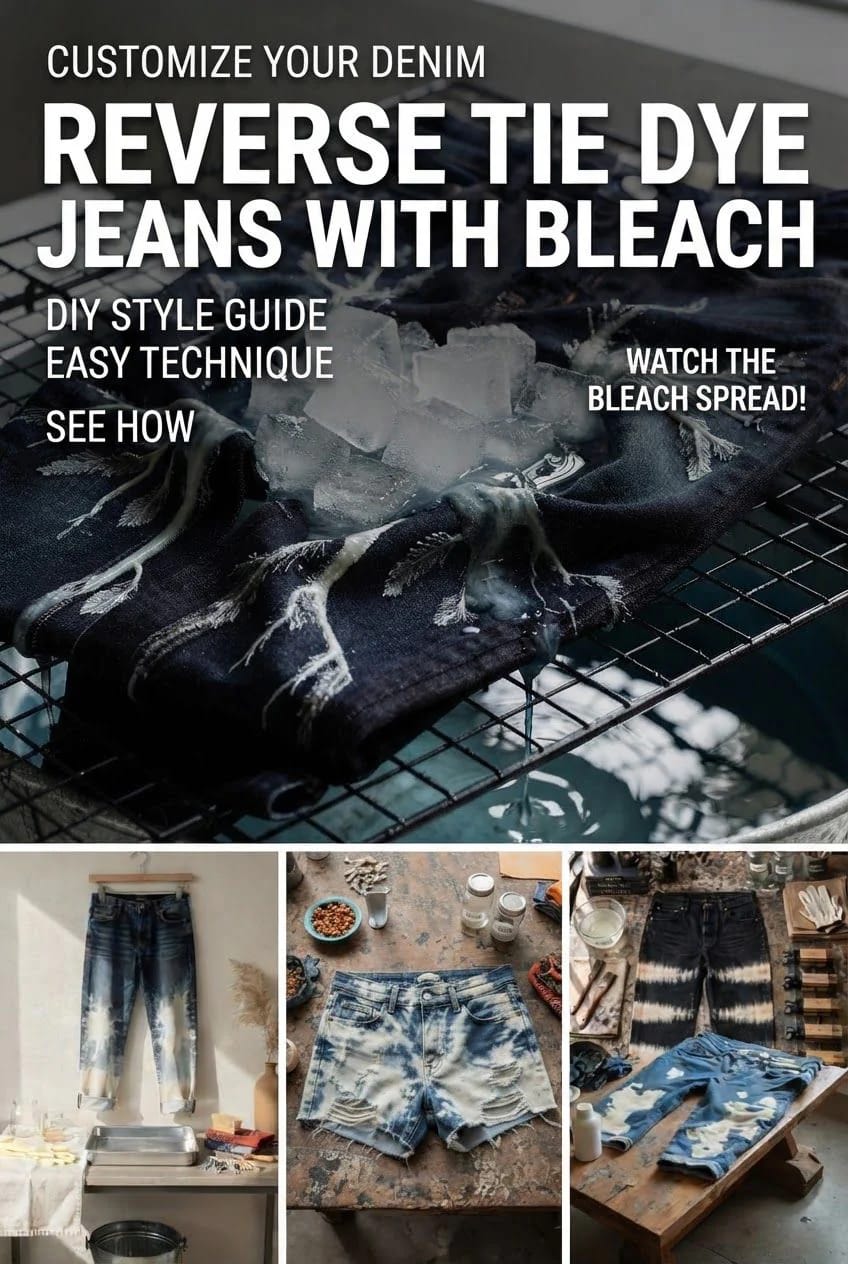
Spritz a Damp, Scrunched Pair for the All-Over Marble
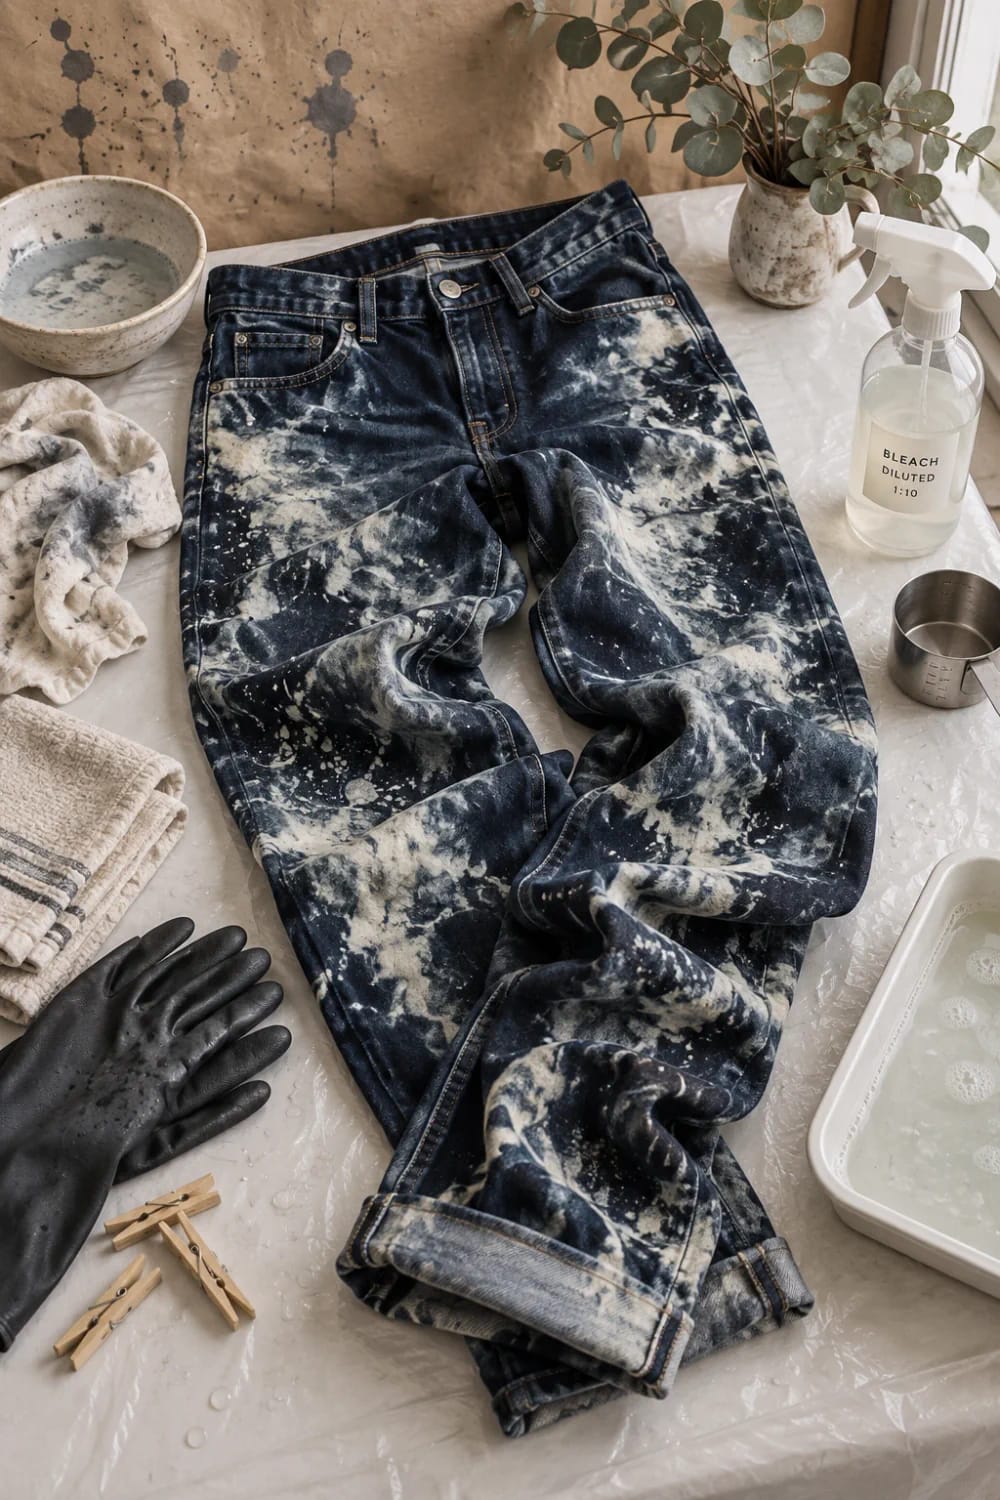
Wet the jeans before any bleach goes near them. Dry denim pulls bleach along the warp in hard streaks, while damp denim lets it bloom sideways into the blur this pattern depends on. Scrunch the flat-laid pair into ridges with your hands, bind the biggest folds with two or three rubber bands, and spray only the high points so the valleys stay dark and supply the contrast.
- 1:1 bleach to water in a spray bottle. Aggressive, for near-white highlights on heavy raw denim, and it needs five-minute checks rather than ten.
- 1:2 is the default for this. Pale apricot in roughly ten to twenty minutes on dark indigo.
- 1:4 or weaker if you want a vintage haze instead of a pattern.
Flip and repeat on the back, but spray less there. A back panel bleached to match the front looks like a manufacturing fault, and the seat catches light differently anyway. Dark indigo goes orange before it goes pale, which is not a mistake; indigo sits on the outside of the yarn as a vat dye and orange is the intermediate stage of it coming apart. On thin denim the fabric will hole before the orange clears, so stop at orange and take the warm cast.
Water takes the bleach off the surface and leaves the rest in the cotton, where it keeps working. Soak the finished pair for fifteen minutes in one part 3 percent hydrogen peroxide to ten parts water (about a cup of peroxide to a gallon), then wash it on its own. Bleach-dyeing guides put the window at roughly two months before leftover chlorine starts burning pores through the weave. And never pour vinegar in to neutralize anything: acid plus household bleach gives off chlorine gas, which is the one mistake here that can put you in an emergency room.
Center the Spiral on the Thigh, Never on the Knee
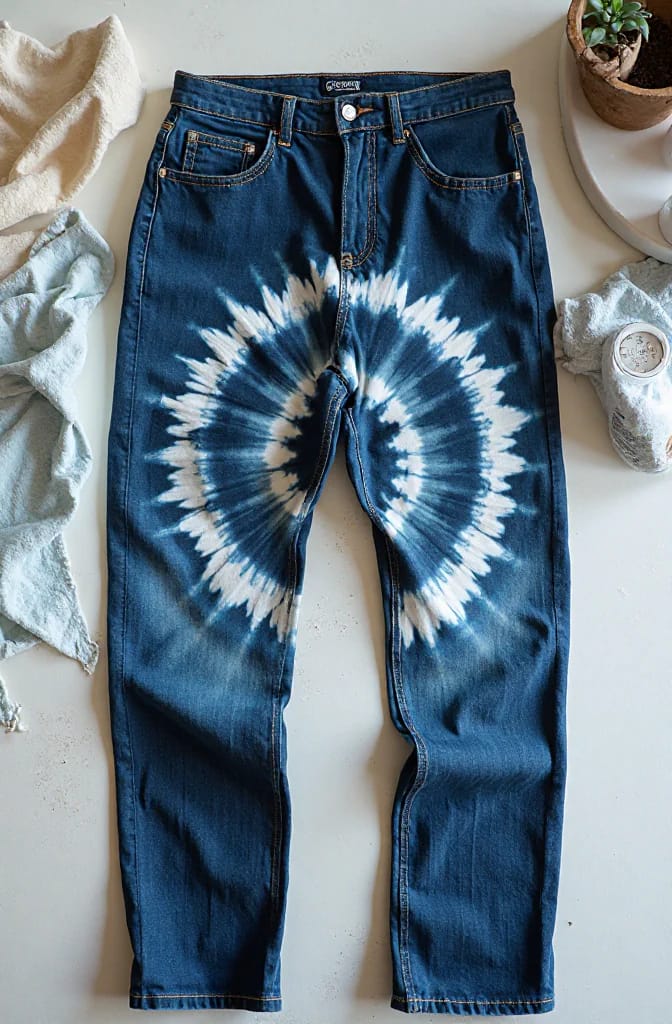
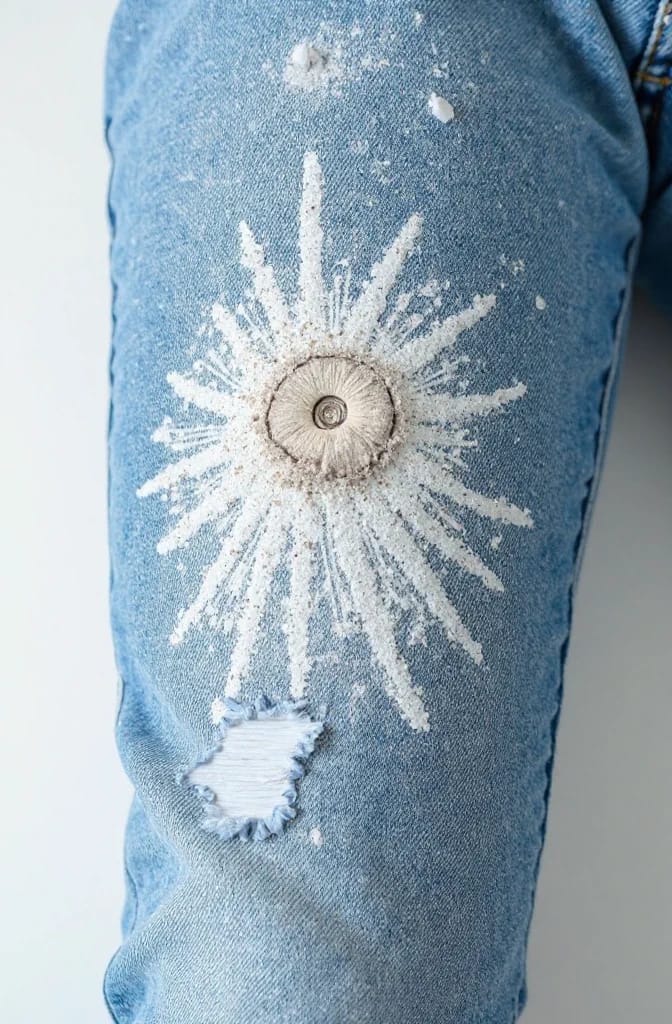
A spiral needs a flat panel, and the knee is the one spot on a pair of jeans that is never flat. It is also the thinnest area on most worn pairs, so it is where bleach damage turns into a hole first. Pinch a point about four inches below the hip crease on the front thigh, twist the fabric flat against the table until it forms a disc, then band it into wedges like a pie.
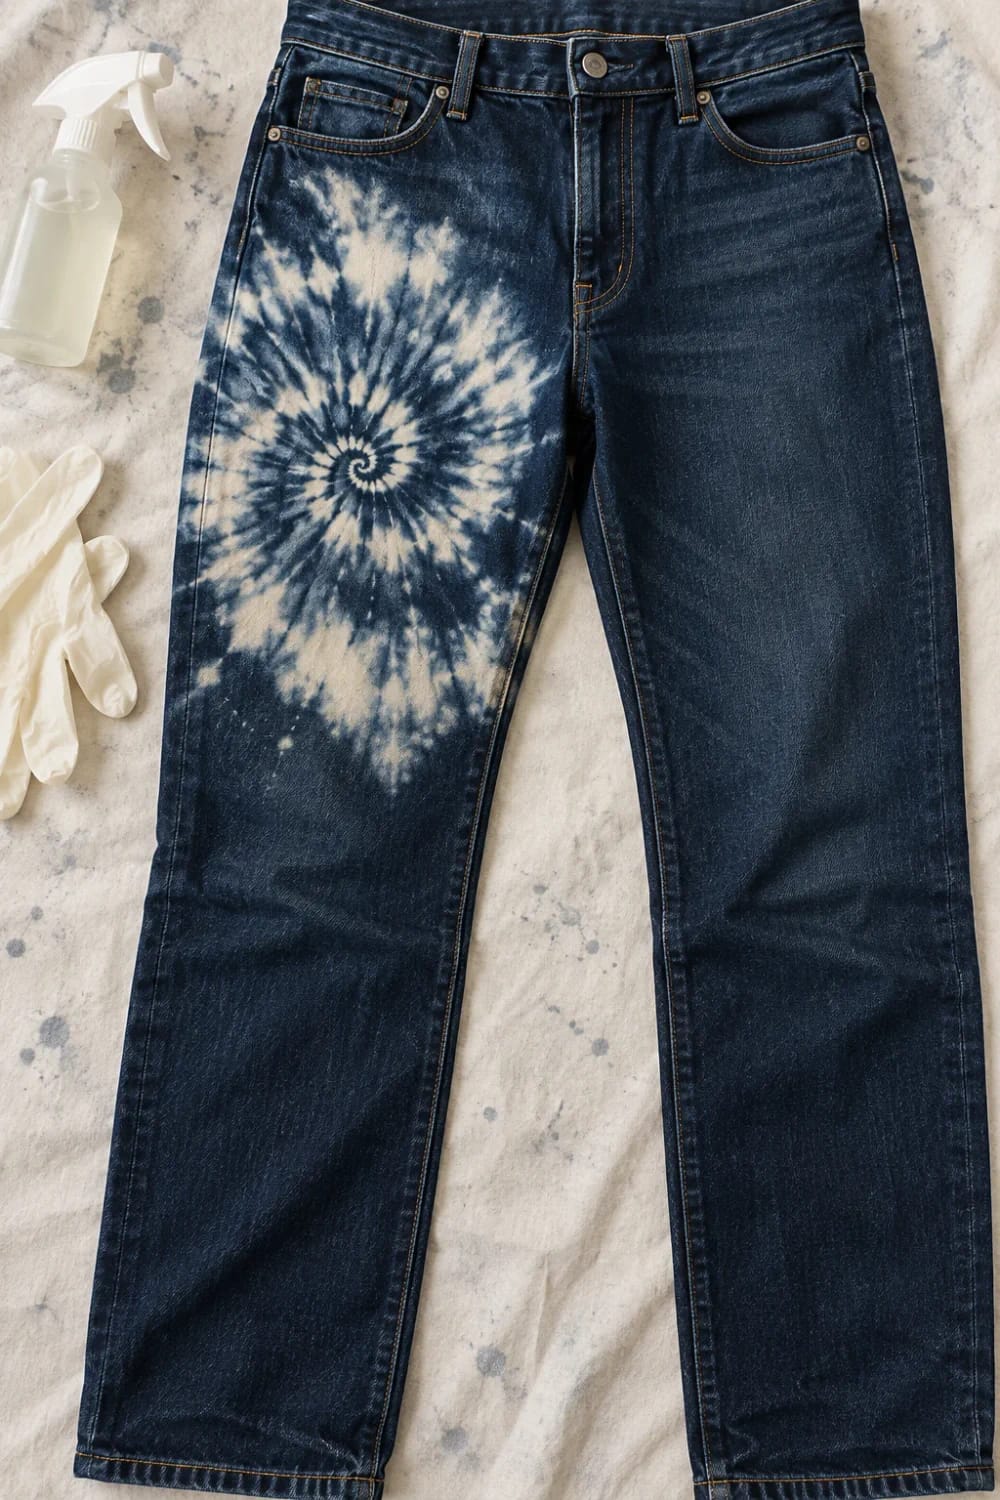
Squirt bleach into alternating wedges rather than all of them; the untouched wedges are what make the eye read a pinwheel instead of a pale blotch. Rubber bands resist where they compress, so the tighter they are, the crisper the spokes. Ten to fifteen minutes at 1:2 is usually enough, and open the disc up over the sink before the peroxide bath, because the core of a twisted bundle holds far more bleach than the surface suggests.
Freezer Paper Stencils Give Bleach the Only Hard Edge It Can Hold
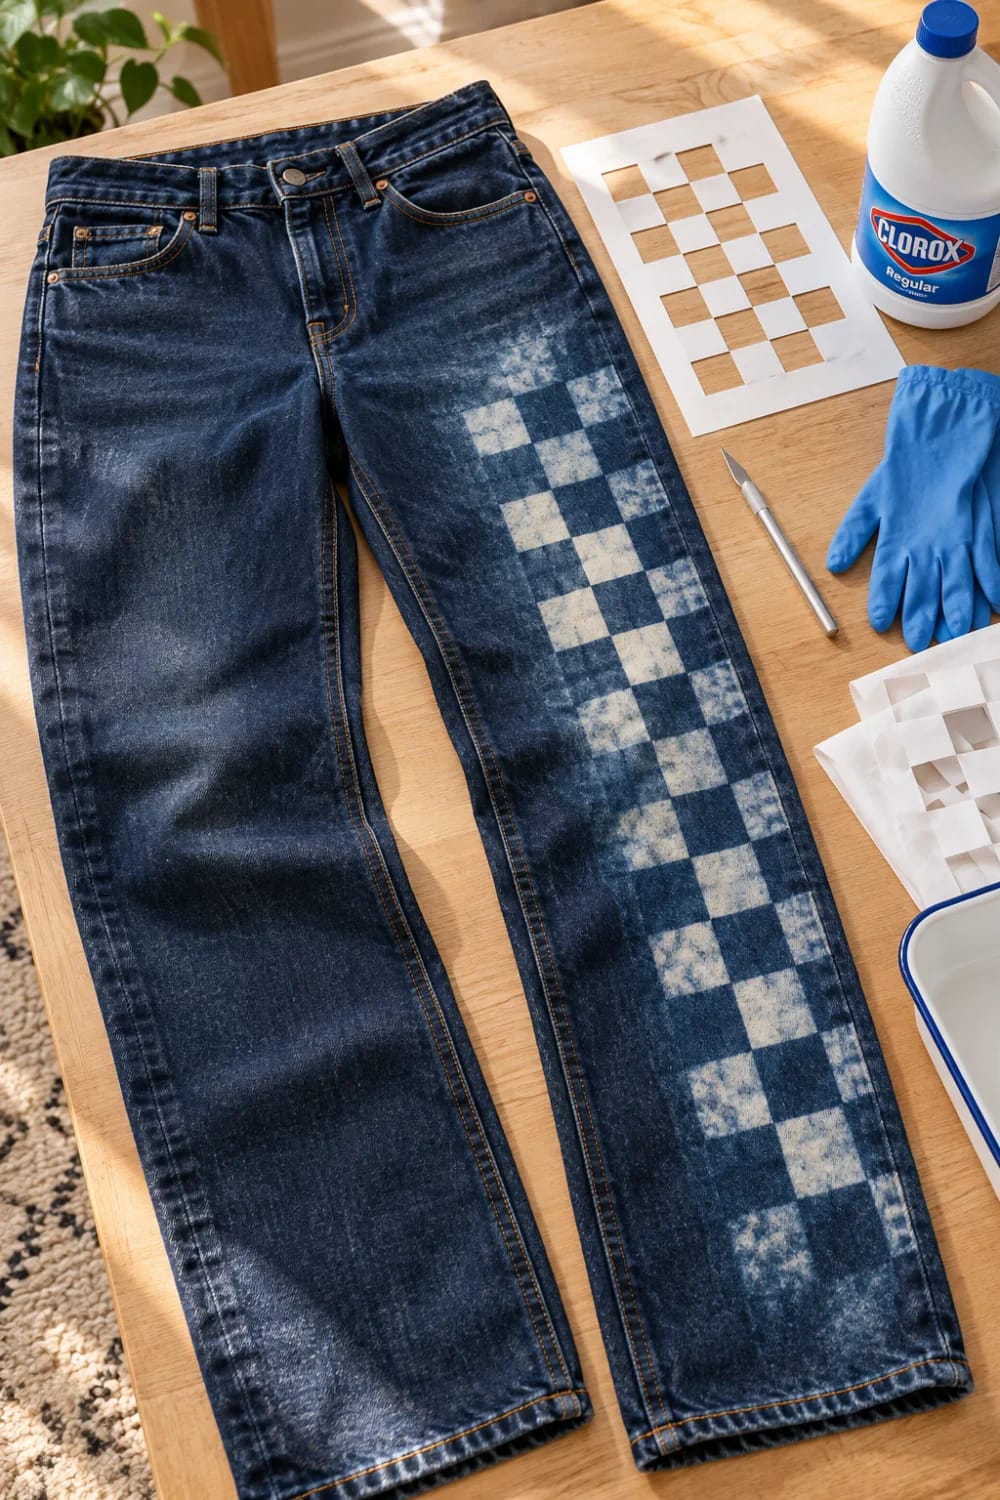
Bleach will not hold a straight line on its own, and a freezer paper mask will. Cut your shape out of the paper, lay it shiny side down on the denim, and press it with a dry iron on low for five to ten seconds, which melts the plastic coating just enough to seal the edges against creep. Checkerboards on the outer thigh are the version turning up on thrifted pairs right now, though one repeated motif (a star, a crescent, a flame) ages better once that passes. Reynolds plastic-coated freezer paper, 50 square foot roll is the same material quilters use for applique and costs a few dollars.
Use gel inside the window, not liquid. Liquid bleach wicks under the paper and takes the edge you spent twenty minutes cutting; a gel or a pen stays where you put it. Dab it in with a stiff brush, give it eight to twelve minutes, peel the paper while the denim is still damp, and rinse before the edges spread. A running stitch just inside the bleached outline afterward sharpens it further, the same logic as putting embroidery on a line the jeans already have.
The dual tip is the reason to buy it: the fine point reaches stencil corners a brush cannot, and the gel holds its place on vertical denim instead of running down the leg.
Clorox Bleach Pen Gel, dual-tip, 2-pen packDip the Hem and Let the Gradient Do the Work

Hanging dip-dye is the most forgiving pattern here, because a gradient has no edge to get wrong. Mix one part bleach to four or five parts water in a bucket, hang the jeans from the waistband so both legs go in together, and lift them an inch or two every couple of minutes. The hem sits in solution longest and comes out palest, which is the direction real wear runs anyway.
Keep the waistband and pocket bags out of the bath, since those thicker layers hold solution and go patchy. And do not wander off: a 1:4 bucket moves faster than a 1:4 spray because the cloth is saturated from both sides. Fifteen to twenty-five minutes of total immersion at the hem is plenty on mid-weight indigo, and put a plastic sheet under the bucket if you like your floor.
 How to Make a Braided Denim Rag Rug From Old Jeans The one denim project that eats a whole pile of failed pairs instead of one good one.
Drizzle Bleach Over Ice for Feathered Veins
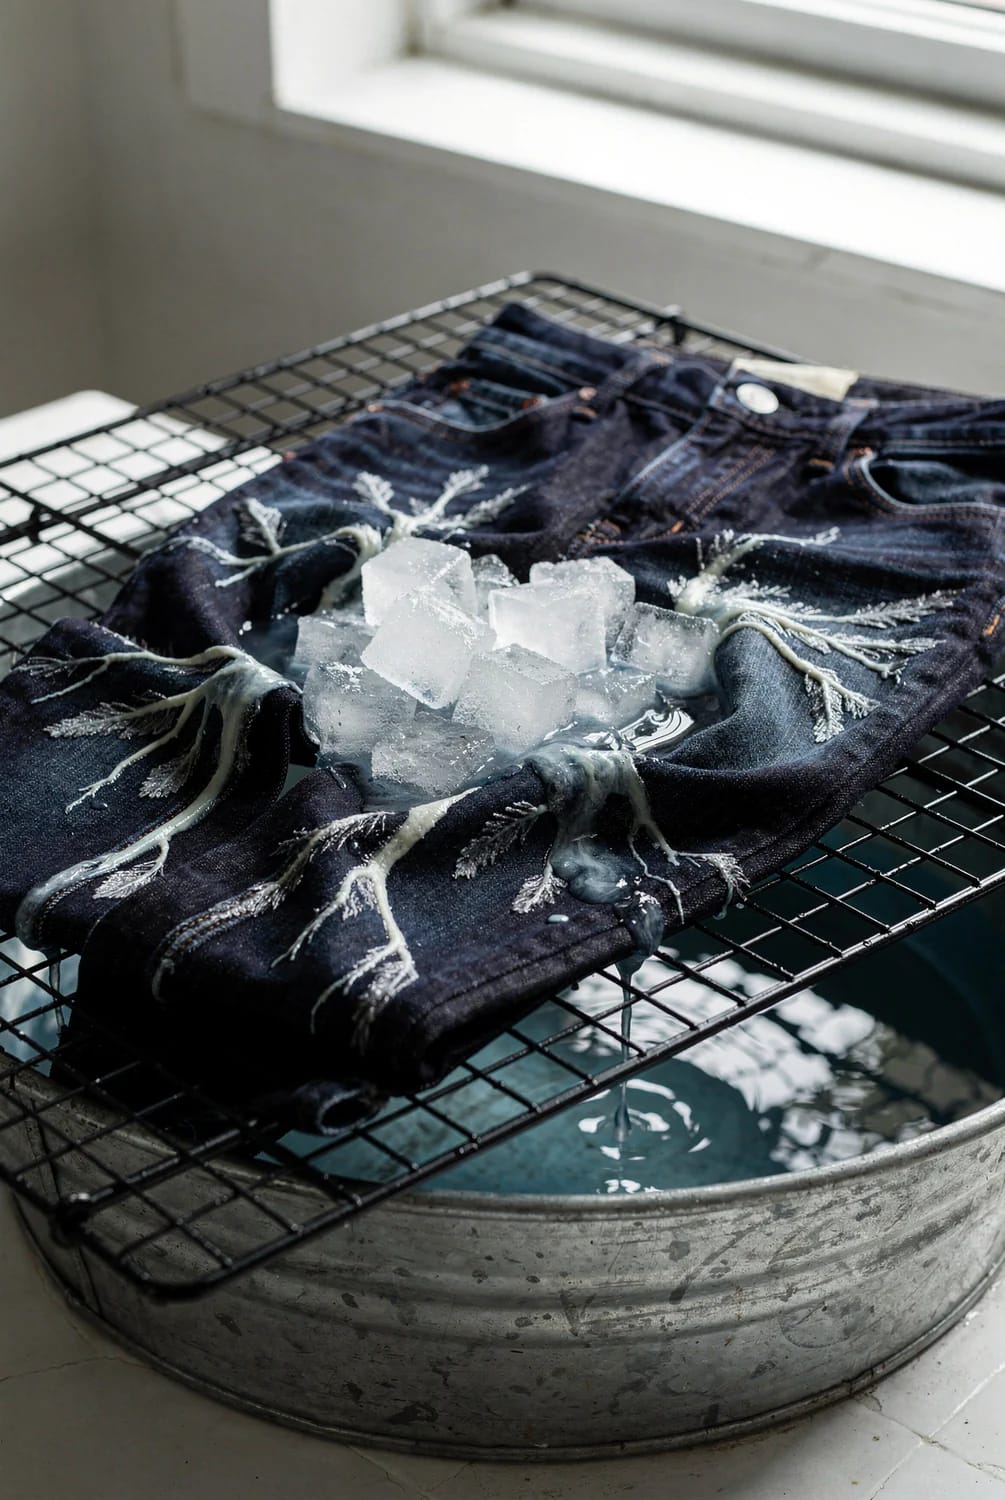
Ice meters the bleach so you do not have to. Scrunch the pair onto a wire rack over a tub, heap ice on top, then spoon bleach gel or drizzle a 1:2 solution onto the ice rather than onto the denim. As it melts it carries bleach down through the folds in thin veins whose ends feather out, nothing like the hard stop a spray leaves. Cold slows the reaction down, so give it thirty to forty-five minutes and expect a smokier, paler result than the same dilution applied at room temperature.
Clamped Folds Beat Rubber Bands for Hard Stripes
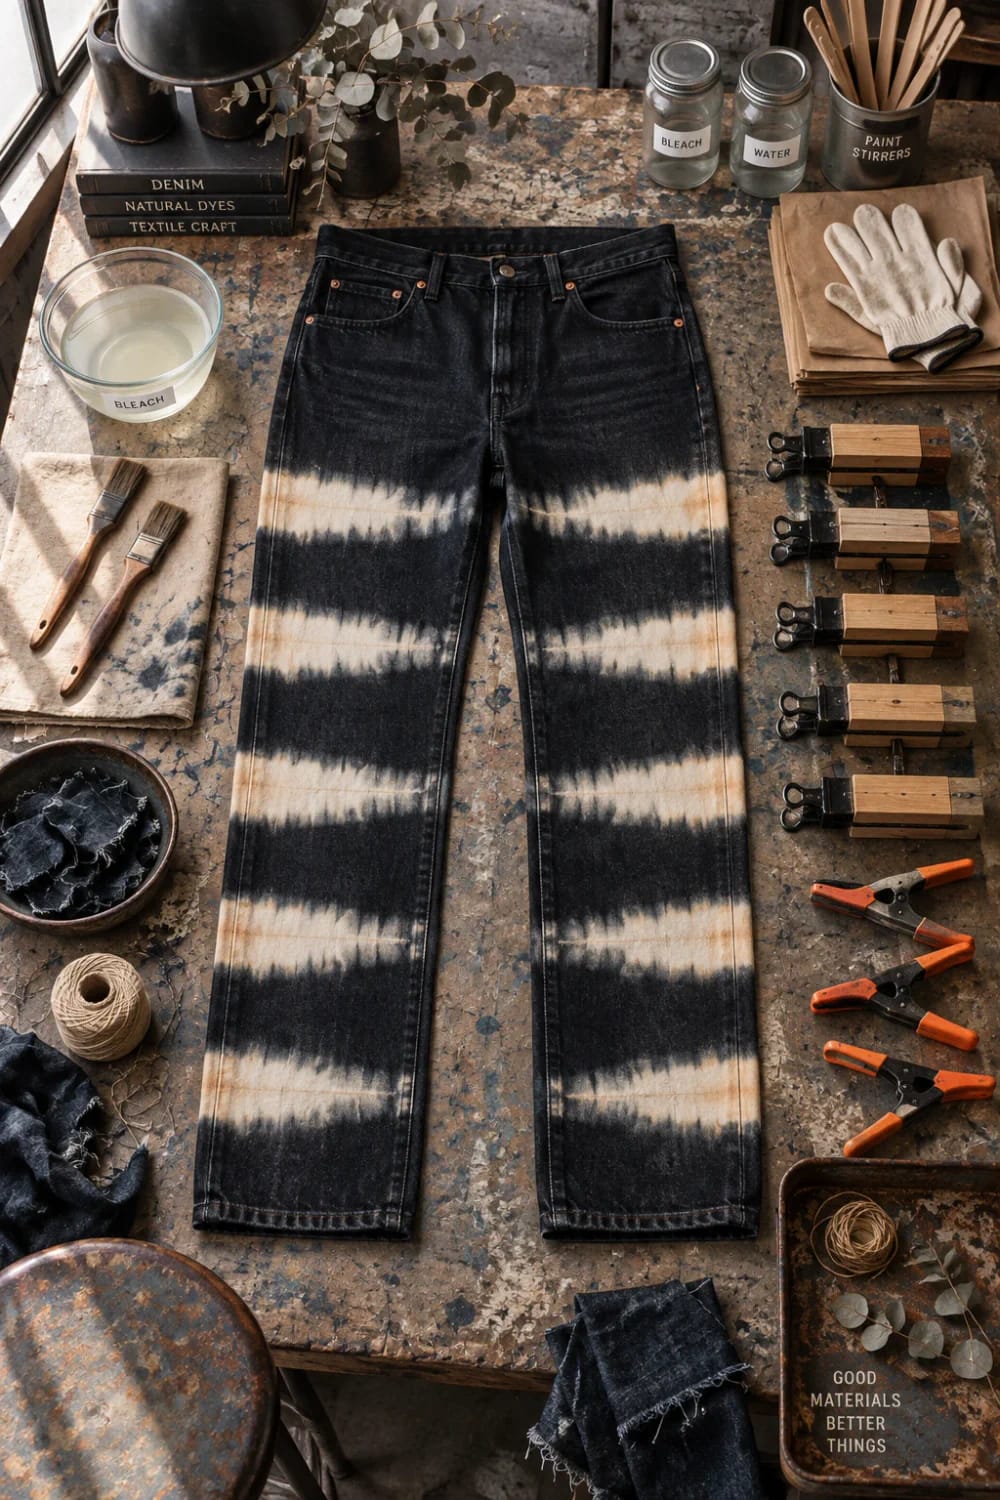
Pressure is what resists, so clamps outperform bands anywhere you want a straight band. Accordion-fold one leg flat in two to three inch pleats, sandwich the stack between two paint stirrers or offcuts of scrap wood, and squeeze it with spring clamps or a row of bulldog clips. Then dunk only the folded edge, an inch deep, for eight to ten minutes.
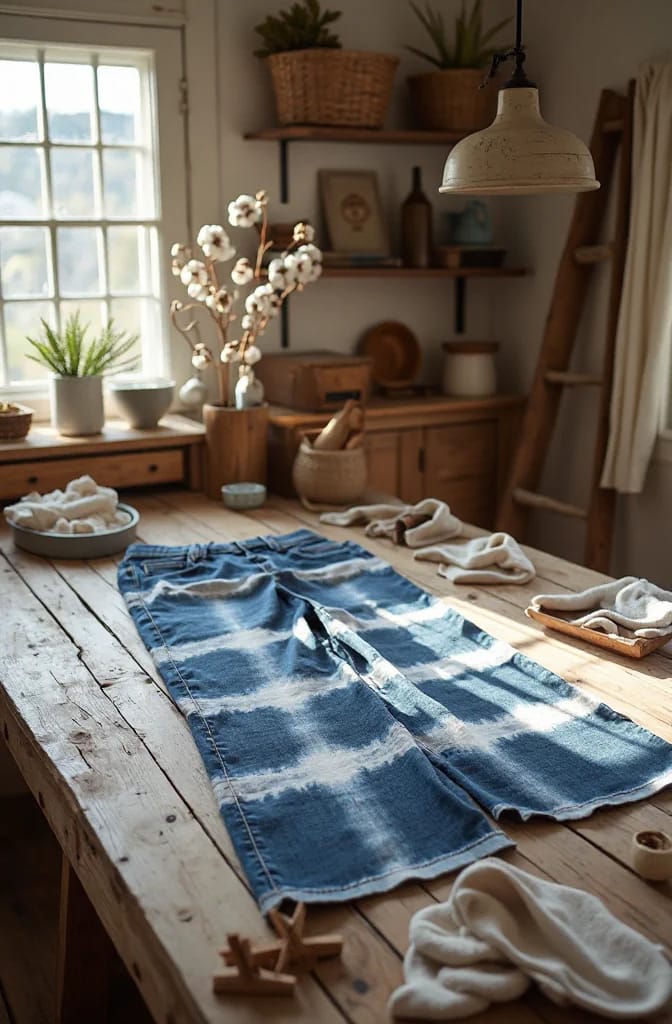
Because the leg is folded, every stripe mirrors itself, and the two legs will match if you fold both on the same crease. Clamp harder than feels necessary. Under-clamped stacks bleed at the fold and give you a watery band nobody will read as intentional, so use two clamps per stack on adult jeans and four if the denim runs over 12 ounces.
Put the Densest Part of the Pattern Over the Stain

Lay the pattern out around the damage, not around the leg. Most people come to bleach dyeing because of one specific problem: a splash of actual bleach on laundry day, a paint drip, a grease ring that four washes did not shift. A spiral centered on that mark, or a stencil motif sized to swallow it, turns the reason you were going to bin the jeans into the focal point of the pair.
Work with the fades that already exist, too. The knees and the whisker fans at the front hip are paler than everything else before you start, and so is the seat, which is why an even all-over pattern fights the garment it is printed on. That uneven base is the same raw material a multi-wash patchwork pair is built from, and it hands you a free map: pale where the denim is already going pale, dark where it is still dark.
 11 Upcycled Jeans Decor Ideas for the Pile You Can’t Toss Eleven uses for the seams, pockets and topstitching once a pair is past wearing.
Black Jeans Go Bronze, So Plan the Pattern Around Rust
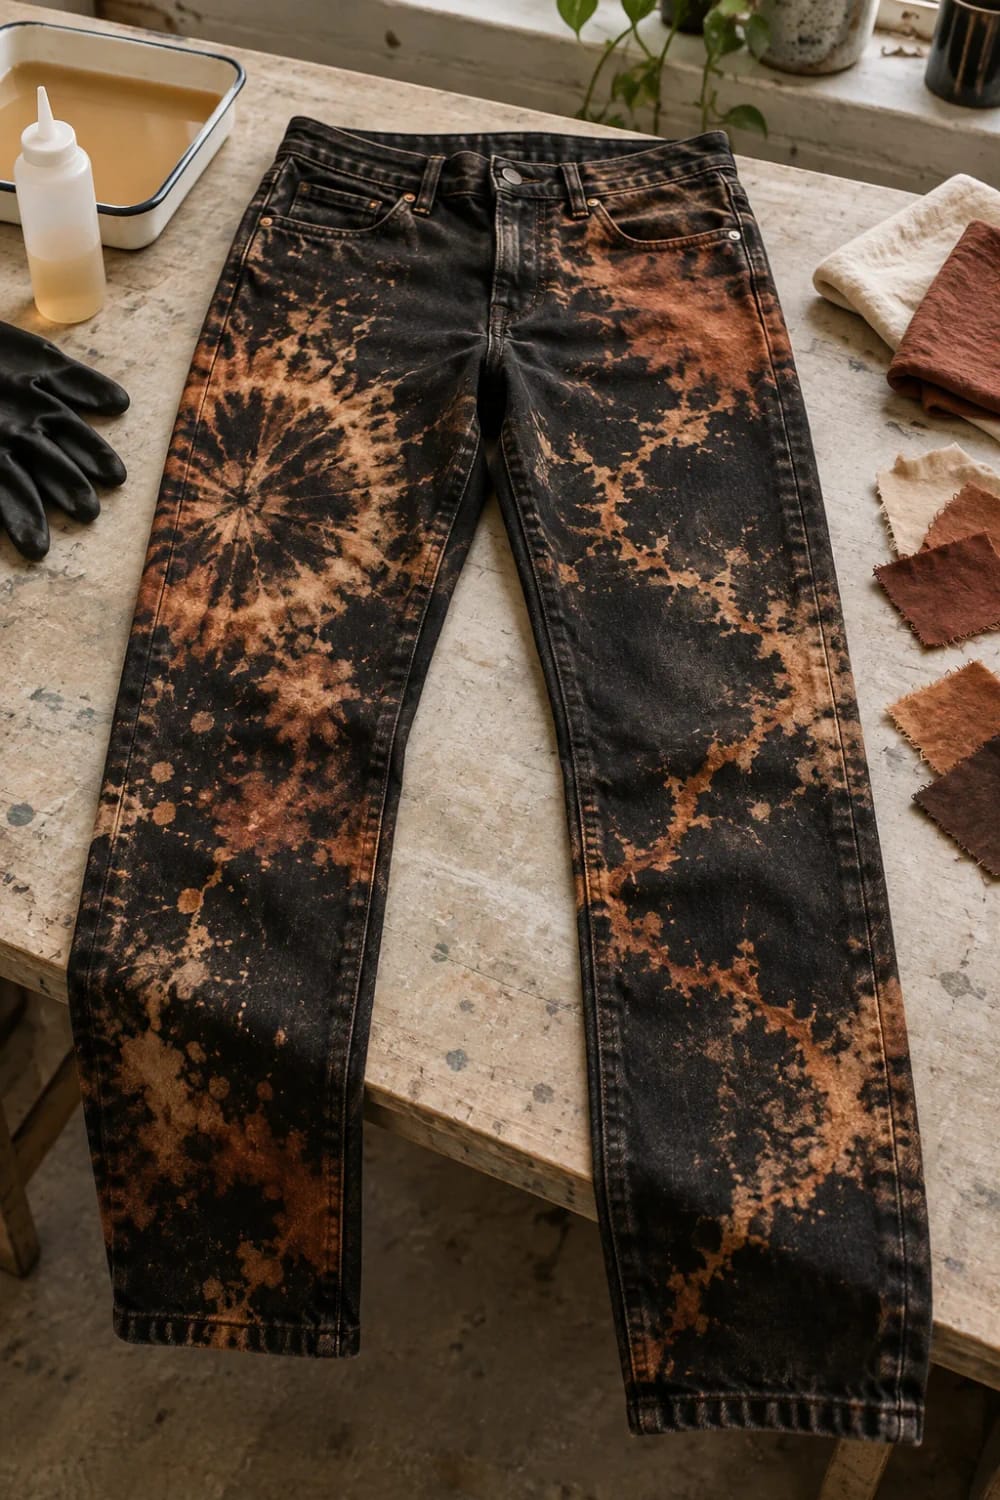
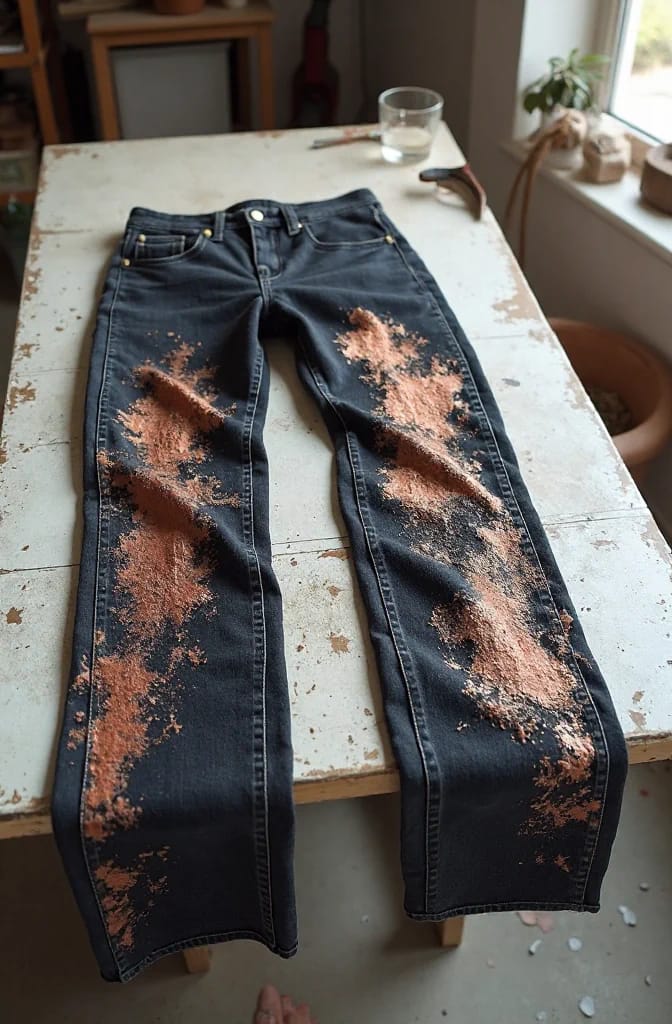
Bleach does not take black denim to white, it takes it to rust. Most black jeans are sulfur dyed, and sulfur blacks break down through brown and orange, so a stencil on black comes out bronze with a warm halo around it. That can look deliberate, close to the warm acid washes of the late eighties, but only if you chose it instead of discovering it.
| What you are bleaching | What comes out | Checking window |
|---|---|---|
| Dark raw indigo, all cotton | Orange, then apricot, then pale tan | Every 5 minutes, 10 to 25 total |
| Washed mid-blue cotton | Cream to yellow fast, little orange stage | Every 3 minutes, under 10 total |
| Sulfur-dyed black | Rust and bronze, never white | Every 5 minutes, 5 to 15 total |
| Stretch denim with elastane | Dye lifts, elastane turns brittle and stops recovering | Do not; use a reductive color remover |
| Colored or overdyed denim | Unpredictable, often pink or khaki | Swatch first, then decide |
Cut that test swatch from inside the hem allowance, where the hole will never show, and keep the trimmings, because small fabric offcuts have their own uses. If the label reads more than about two percent elastane, put the bleach away entirely: chlorine attacks the polyurethane chains in elastane directly, and the fiber goes brittle long before the indigo gives up, which is why swimwear guidance treats chlorine as a spandex killer rather than a laundry option. A reductive discharge is the route there instead.
The non-chlorine option for stretch denim and black jeans: sodium hydrosulfite pulls dye out without rotting the cotton, and a 2 oz box is sized for one pair in a hot bath. On indigo it rarely goes past a dusty mid-blue, which is worth knowing before you expect white.
Rit Color Remover, 2 oz powder (sodium hydrosulfite)Print Lace, Leaves, or a Foam Stamp in Reverse
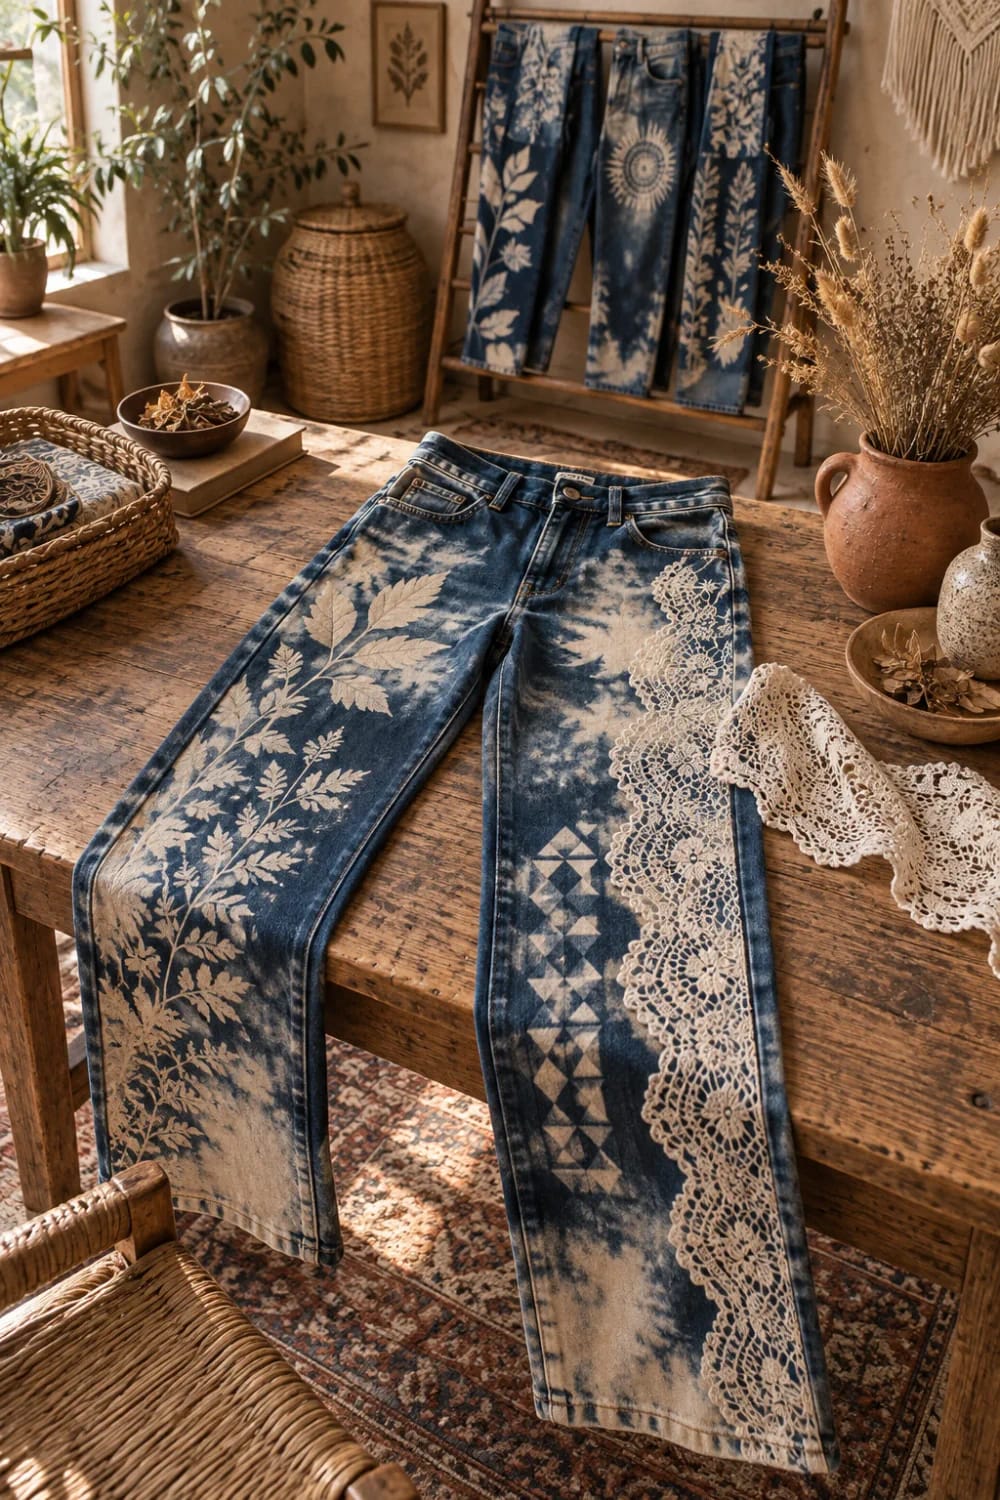
Thickened bleach is what makes a print, because liquid spreads and loses the motif within seconds. Brush bleach gel onto the back of a lace remnant or the veined underside of a flat leaf, press it onto the denim, weight it with a book through a sheet of plastic, and lift after about ten minutes. What comes out is the motif in pale blue-cream with slightly soft edges, which suits lace and botanical shapes far better than the hard-edged stencil look.
Do this
- Press the stamp down and leave it alone. Lifting to peek smears the print.
- Stir a spoonful of cornstarch into diluted bleach until it is the consistency of thin yogurt, if you do not have a gel.
- Print on the flattest panels: outer thigh, back yoke, the patch below a back pocket.
Avoid
- Heavy backed lace, which holds so much gel it bleeds through its own pattern.
- Printing across a seam, since the ridge lifts the stamp and breaks the motif in half.
Bleach First, Overdye Second, When the Orange Will Not Quit
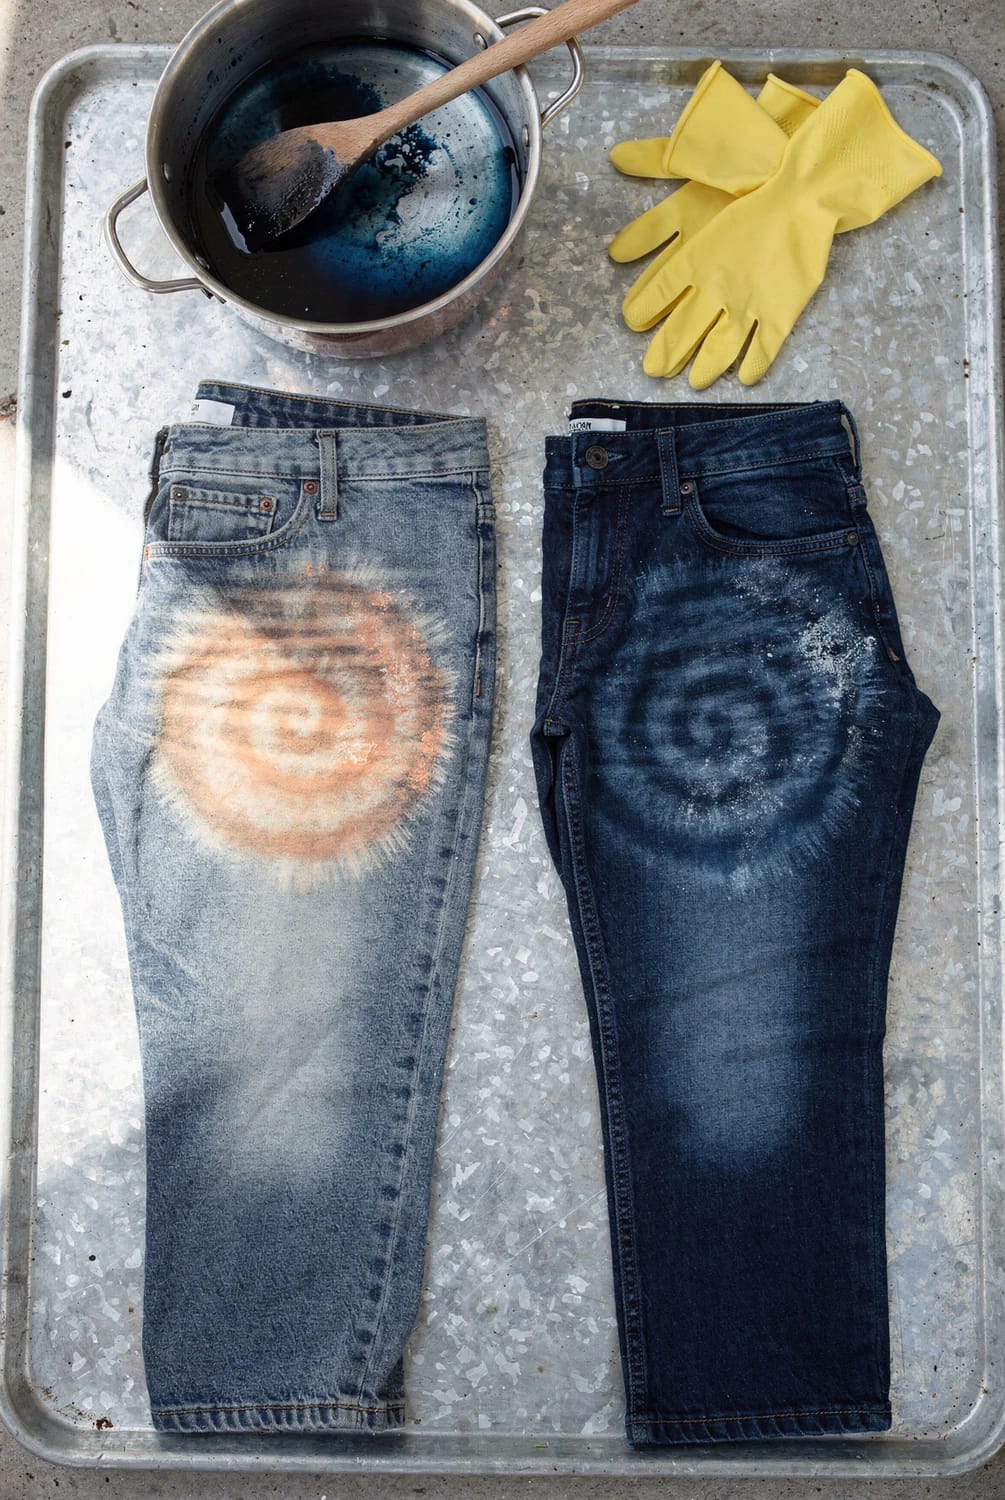
If the pair comes out brassy and you hate it, the fix is a dye bath, not more bleach. Pushing past the orange stage costs you fabric strength and buys very little extra lightness. A cool blue laid over the bleached pattern knocks the orange back while keeping the shape you made, and the discharged areas take dye differently from the indigo around them, so the pattern survives in two tones instead of vanishing.
Discharge: bleach at your chosen dilution until the pattern reads, with five-minute checks.
Neutralize: fifteen minutes in one part 3 percent hydrogen peroxide to ten parts water, then rinse until the water runs clear.
Dye: a hot bath with salt per the dye instructions, half an hour to an hour, then a cold rinse and a wash on its own.
Skipping the middle bath wastes the third one, because leftover chlorine goes after the new dye as readily as it went after the old.
Rit all-purpose liquid dye in Denim Blue is the cheap and widely stocked choice, and an 8 oz bottle covers roughly two pounds of dry fabric, which is one adult pair. Plant dyes are the patient route: onion skins, avocado pits and strong black tea all take on cotton, though cotton needs a mordant to hold them and the results land warm and pale rather than deep, which suits a bleached pattern better than it sounds. Either way, dye the whole pair rather than only the bleached zones, or the overlap gives you a third color you did not plan.
The Order That Keeps a Pair Wearable
Swatch from the hem allowance, work damp, check every five minutes, peroxide for fifteen, wash alone. The sequence matters more than which of the ten you pick, because a clamped stripe and a thigh spiral fail in exactly the same way: sitting in the bucket while you go looking for your phone.
Worth saying plainly, since this site is not usually in the business of recommending chlorine: bleach is the harshest tool in this whole corner of mending. It earns its place on jeans already headed for the bin with a stain nothing shifted, not on a pair that is fine, and the spent solution belongs down a drain on a municipal system rather than on the garden. Nobody publishes a figure for how much chlorine a home rinse actually leaves behind in cotton, so treat the peroxide soak as insurance rather than a measured dose and err long on it.
Related Posts
- Multi Wash Patchwork Jeans From Old Denim Scraps: The Decisions That Make the Pair
- How to Make a Braided Denim Rag Rug From Old Jeans
- Butterfly Embroidery Jeans: Ideas Worth Stitching Onto Denim You Already Own
- 57 Innovative Upcycled Jeans Ideas: Transform Your Old Denim into Chic Fashion and Home Decor
- Old Jeans Christmas Decorations for Beginners: Start With the Makes That Forgive Mistakes
- 11 Upcycled Jeans Decor Ideas for the Pile You Can’t Toss