
The fastest way to make one of these ornaments look like a school craft project is to press a real leaf into the clay and leave it there. It rots, it curls, and within a week you have a grey disc with a brown smear on it. The technique that actually works is the opposite of intuitive: you press the leaf in to record its veins, then you peel it straight back off and throw it away. What stays behind is a botanical impression, a fossil-like negative of the frond, and finished well it reads a lot closer to studio pottery than to a rainy-afternoon activity.
What follows is seven distinct directions to take that impression, not one recipe repeated in seven colors. A single block of clay and a handful of foraged fronds is the whole material cost, which is the other reason the craft is worth your time — it's about as plastic-free and low-waste as decorating gets, and a bag of leaves from the yard replaces a shelf of imported ornaments. A few of these are beginner-simple. A couple are opinions you can argue with.
Round Fern Discs Are Where the Whole Craft Clicks
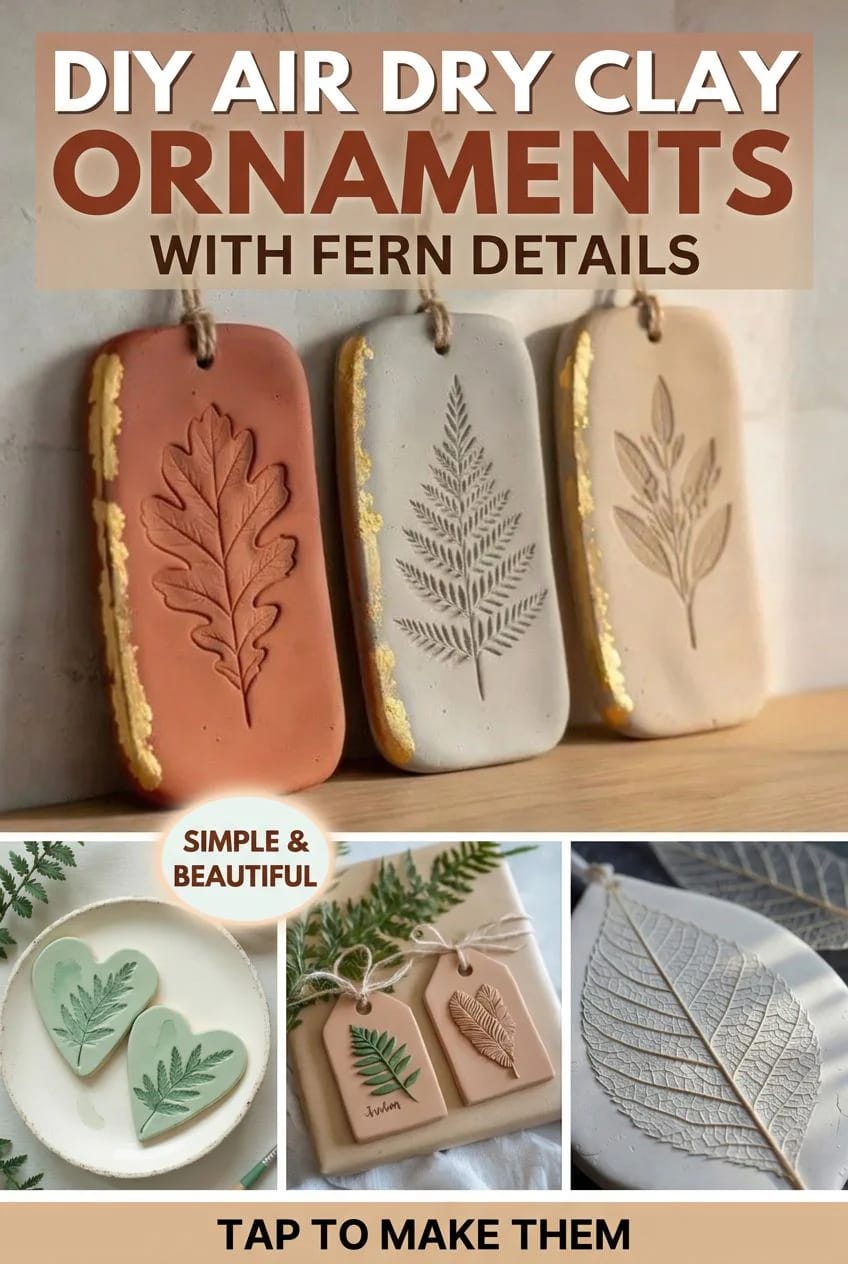
Start here even if you plan to make something more ambitious, because the round single-frond disc teaches you everything the other ideas assume you already know. Roll the clay to an even quarter-inch, press one fern frond firmly into the surface, peel it away, cut a circle around the impression with a cookie cutter or a jar lid, punch a hanging hole near the top, and let it dry flat. That's the entire build, and the result is the ornament that made this whole search term exist.
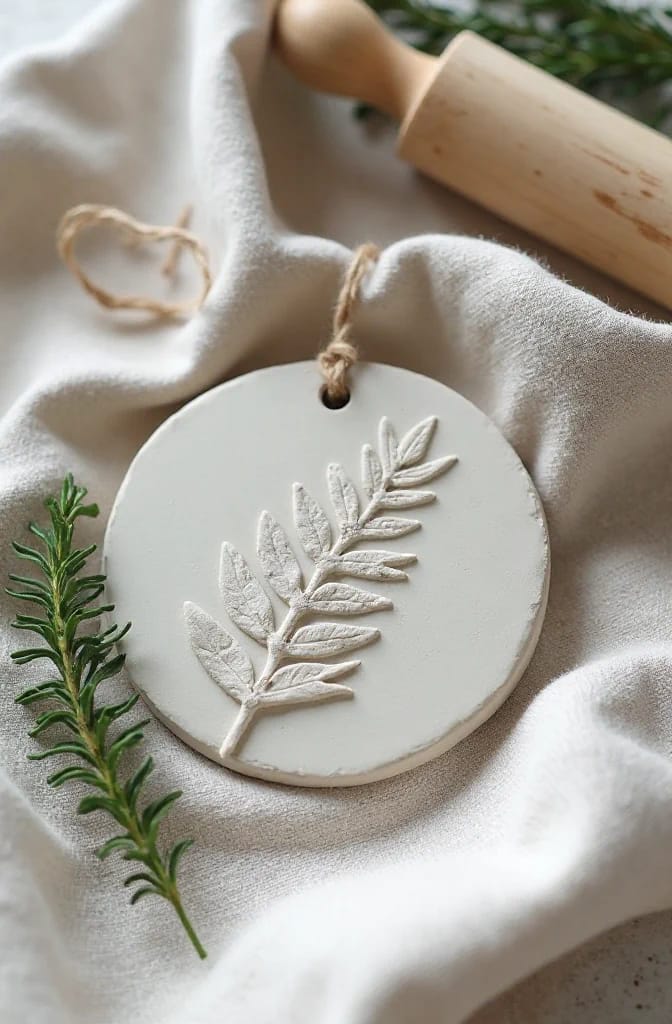
The clay itself matters more than beginners expect. A stone or terracotta air-dry clay holds a crisper edge and dries to a more convincing ceramic look than the bright-white kids' stuff, and it hides the odd fingerprint instead of showing every one. If you're stocking up for a batch, the naturally grey tone of a stone clay saves you painting later.
Stone-toned Italian air-dry clay that dries to a matte, pottery-like finish with no kiln and no baking, so thin ornaments harden overnight.
DAS Stone Air-Hardening Modeling Clay, 2.2 lb blockWhich ferns actually take an imprint
Not every leaf you like the look of will print. The ones that work have pronounced veins standing proud of the underside, and you press that underside down into the clay. Ferns are the reliable champion because the whole frond is structure, but sage, oak, hydrangea leaves, and most woody herbs record beautifully too. This is also where the broader world of simple air dry clay projects and this one converge: the leaf is doing the design work, so your job is mostly choosing a good one and pressing evenly.
Do this
- Pick leaves with raised veins on the back — ferns, sage, oak, hydrangea — and press that side into the clay.
- Peel the leaf off cleanly while the clay is still soft, before a skin forms.
- Roll to an even thickness; uneven discs crack as they dry.
Avoid
- Fleshy or succulent leaves. They blur into a vague dent instead of a vein pattern.
- Leaving the real leaf embedded to “preserve” it. It will rot under the sealer.
- Mashing so hard the clay splits at the edges.
The sealing coat is not optional
Unsealed air-dry clay is porous and thirsty; it will drink up humidity, dust, and the oils off your hands, and a white ornament goes grey-fingerprinted within a season. A thin coat of matte sealer over the dried, painted (or unpainted) piece fixes that. Two light coats beat one thick gluey one, and matte keeps the pottery look that gloss destroys.
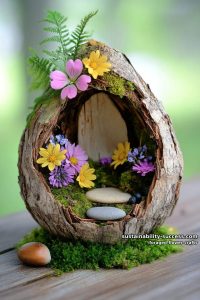 15 Foraged Flower Crafts for Elegant Spring Home Decor More ways to turn a walk’s worth of blossoms and fronds into things you keep.
Skeleton Leaves Print Sharper Than the Real Thing
Here is the counterintuitive one: a fresh, whole leaf often gives you a mushier impression than a half-decayed one. A skeleton leaf — a leaf whose soft tissue has broken down, leaving only the vein lattice — presses into clay as a fine raised lace, every branching vein distinct, because there's no fleshy body to flatten and blur the detail. You can buy packs of them, or make your own by soaking sturdy leaves in a weak washing-soda solution and gently brushing the pulp away.
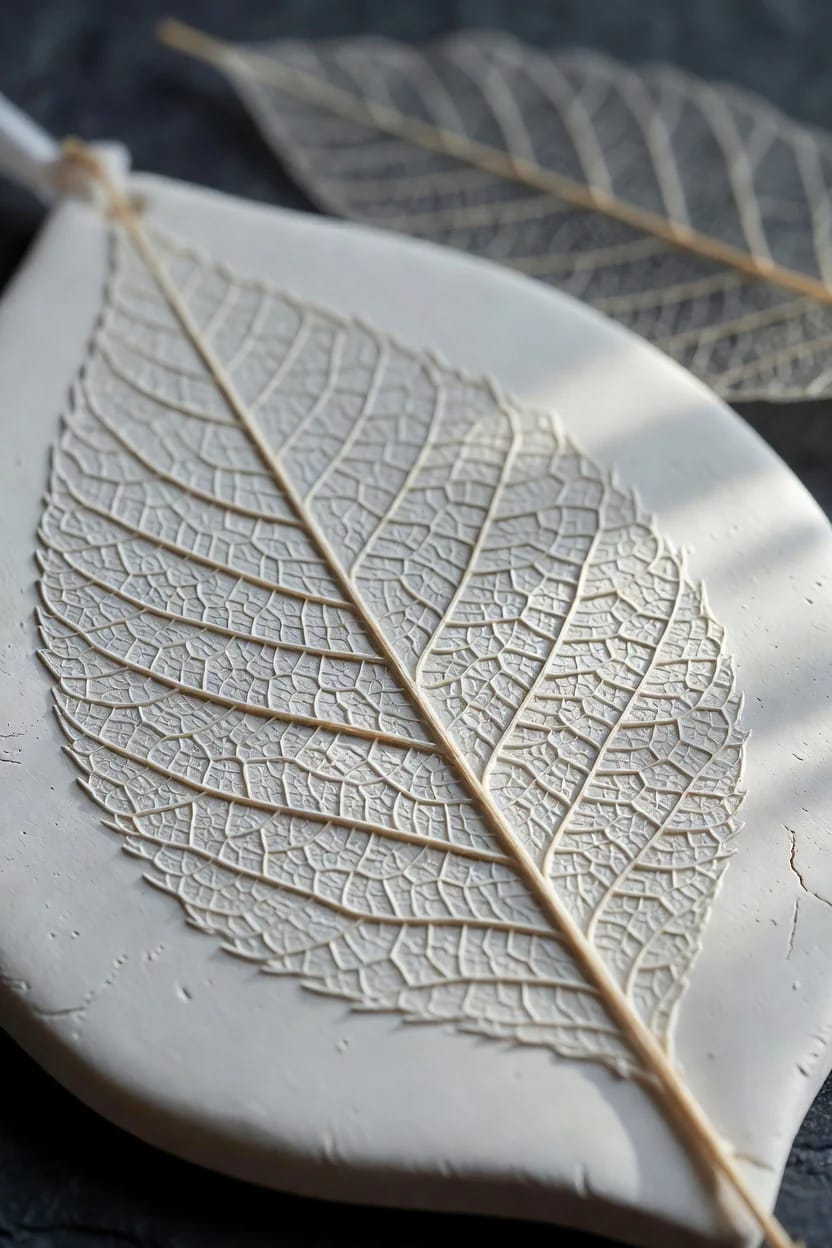
Granted, this takes a delicate hand — a skeleton leaf tears if you drag it, so you press straight down and lift straight up. But when it works, the lace effect is the thing people assume took a mold and a lot of money.
Leave the Clay Its Natural Stone Color, Add One Gold Edge
Painting the whole ornament is where most of these projects go wrong. A leaf impression is a subtle, tonal thing, and burying it under a solid coat of color flattens all of it. The stronger move is to leave the clay its raw stone, terracotta, or sand tone and add a single restrained accent: a thin band of matte gold leaf along one edge, applied unevenly so the bare clay shows through. Stone clay plus a broken gold edge is the palette doing the work that a full paint job undoes.
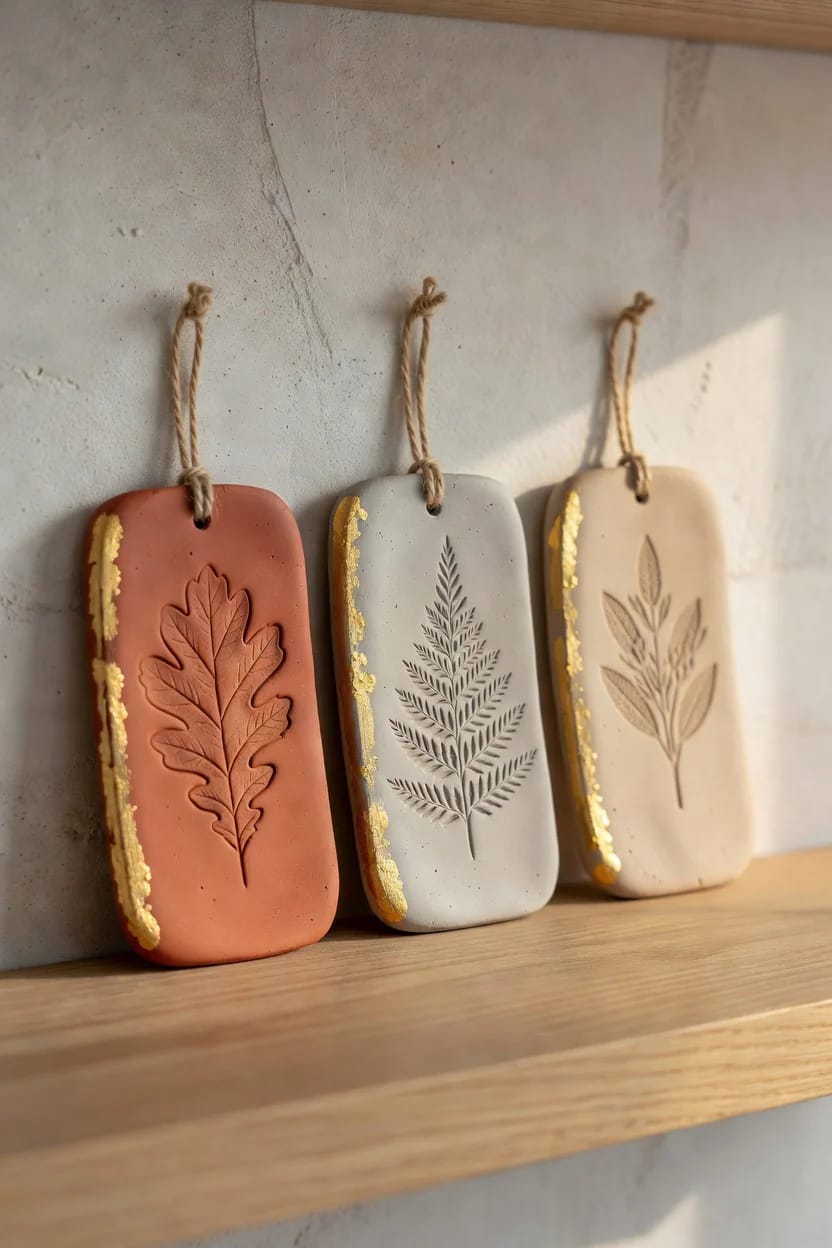
Imitation gold leaf costs a few dollars a book and goes much further than you'd think, since you're only edging. Real metal leaf tarnishes; the imitation stays bright under a sealer, which for an indoor ornament is exactly what you want.
A Muted Color Wash Beats Solid Paint on a Botanical Heart
If you do want color, thin it down until it's almost water and let it settle. A translucent celadon-green or dusty-blue wash brushed over a dried imprint sinks into the recessed veins and pools at the edges, leaving the raised clay pale, so the leaf pattern reads as a soft two-tone rather than a painted-on picture. Heart shapes take this especially well, because the rounded form and the fern running across it is a combination that has been quietly selling on handmade sites for years.
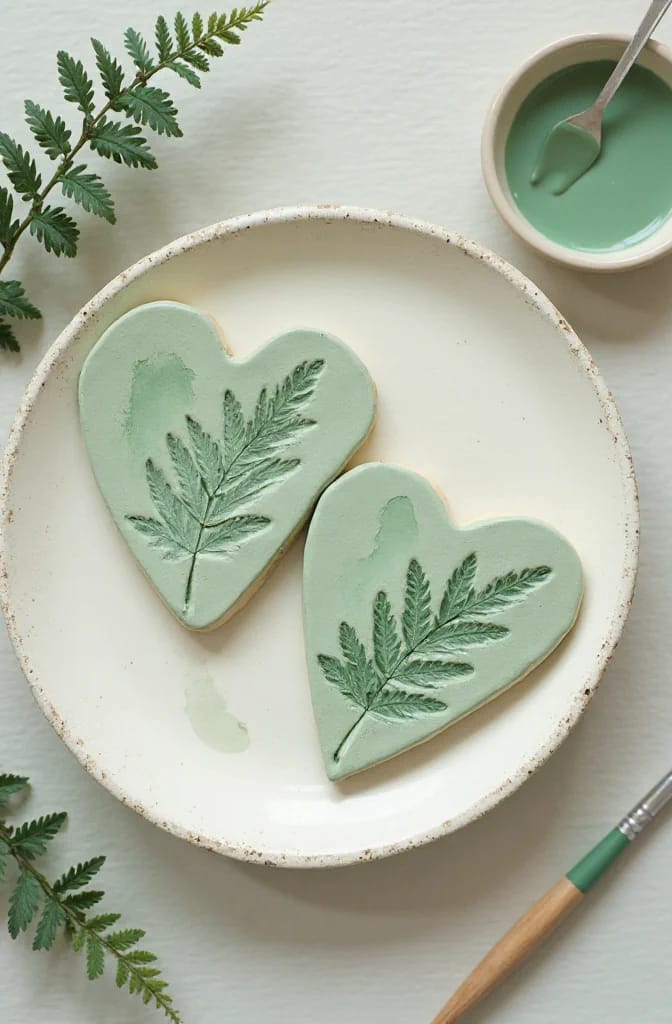
Admittedly the wash is less forgiving than it looks, because too much water lifts the paint back off and too little goes patchy, so test on a scrap first. Once the wash has dried, seal it — and this is where I’d give one honest warning about the most-recommended sealer on the internet. Water-based matte finishes like Mod Podge Matte, 16 oz are perfect indoors, but they go tacky in real humidity, so anything destined for a porch or a damp mantel wants a spray acrylic sealer instead. The same restraint pays off in dried-botanical decor generally, where muted always outlasts bright.
Scented Ornaments That Work as Passive Diffusers
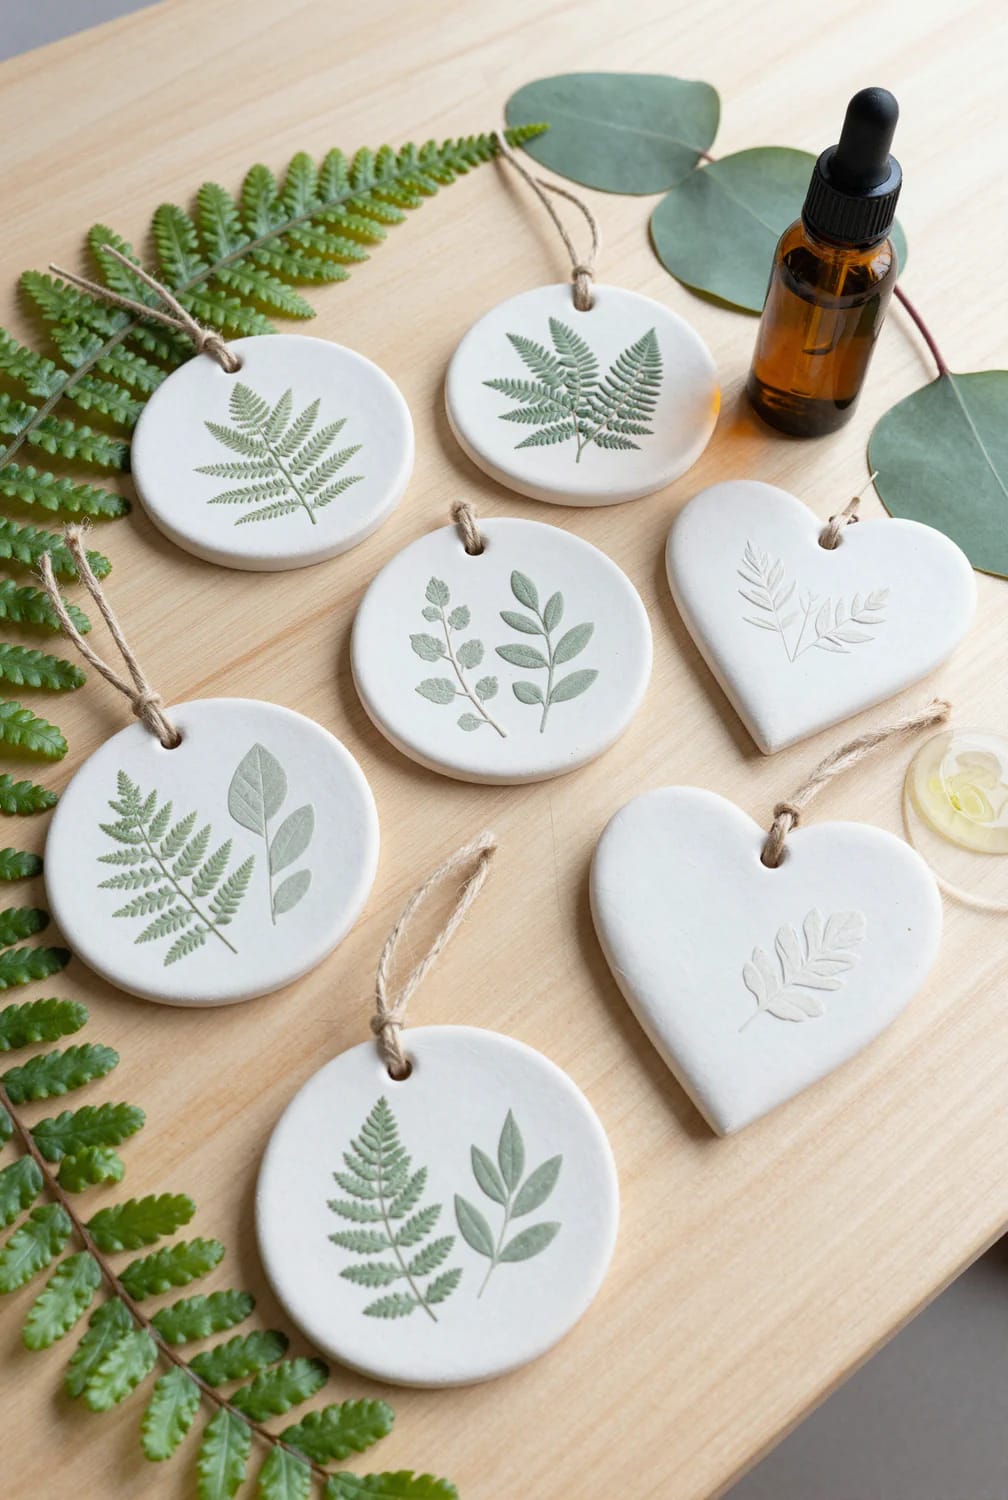
This is the idea with the most upside and the least coverage. Because unsealed air-dry clay is porous, a plain leaf-imprinted disc doubles as a passive essential-oil diffuser: put a few drops of oil on the back, and the clay holds and slowly releases the scent for days. Hang one near a doorway or tuck one in a drawer and it earns its place instead of just occupying a hook. Refresh it with a couple of drops whenever the smell fades.
Why sealing kills the scent
The catch is that everything the earlier sections told you about sealing is now working against you. Seal the whole ornament and you've waterproofed it against the exact oils you want it to absorb, and it stops smelling like anything. So you break your own rule on purpose: seal the display face if you painted it, and leave the back bare clay as the scent well. It's a small design decision that changes what the object is for.
Foraged-Leaf Gift Tags Outlast the Paper Kind
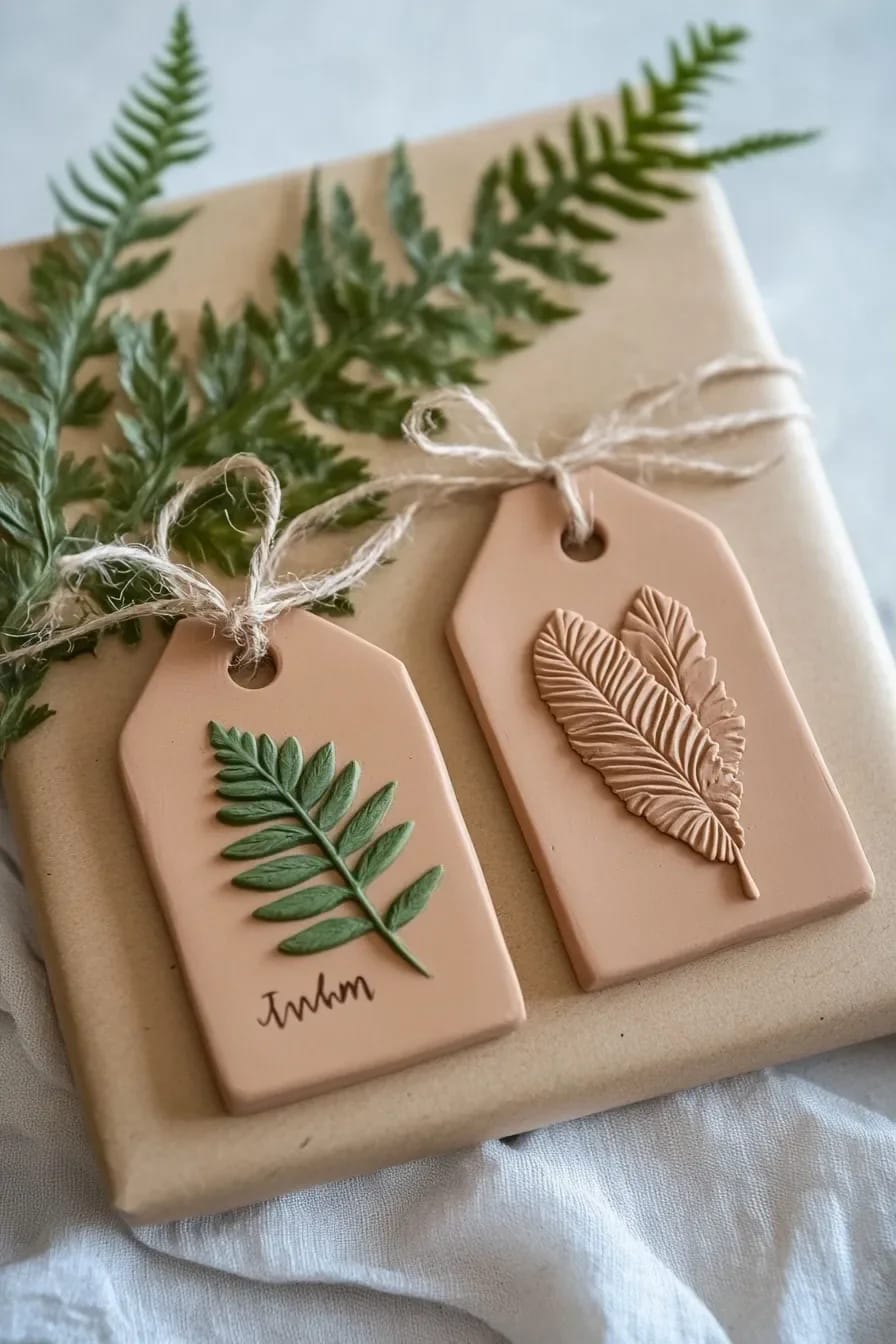
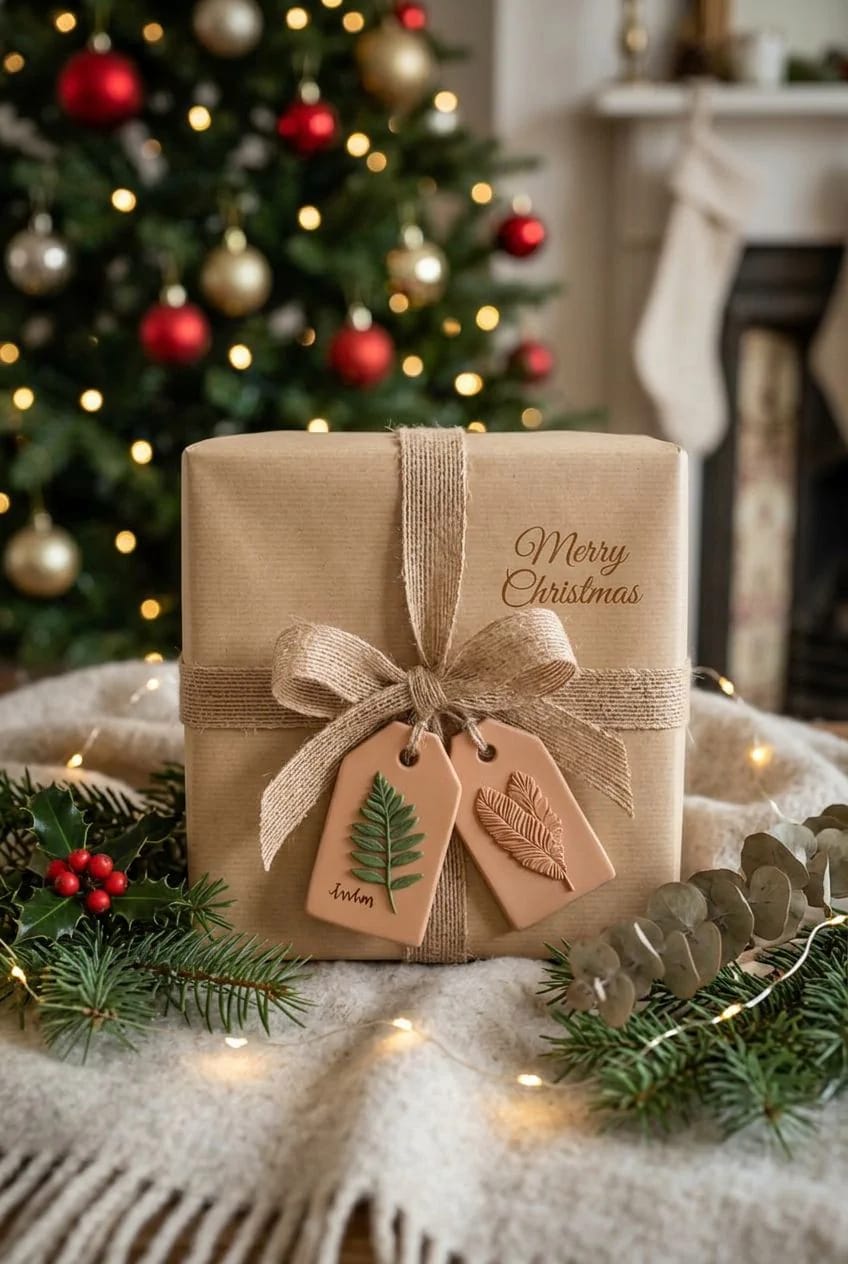
Roll the same clay thinner, cut small rectangles or ovals, press a leaf, punch a hole, and you have gift tags that survive the gift. A paper tag goes in the recycling with the wrapping; a clay one becomes a keepsake, an ornament, or next year’s tag. Write the name in ink across the bare lower portion, thread it on jute, and tie it to a kraft-paper parcel for a present that looks considered before it’s even opened. It’s a low-effort swap that quietly fits the wider case for plastic-free making.
Build a Matched Set Before You Make a Single One
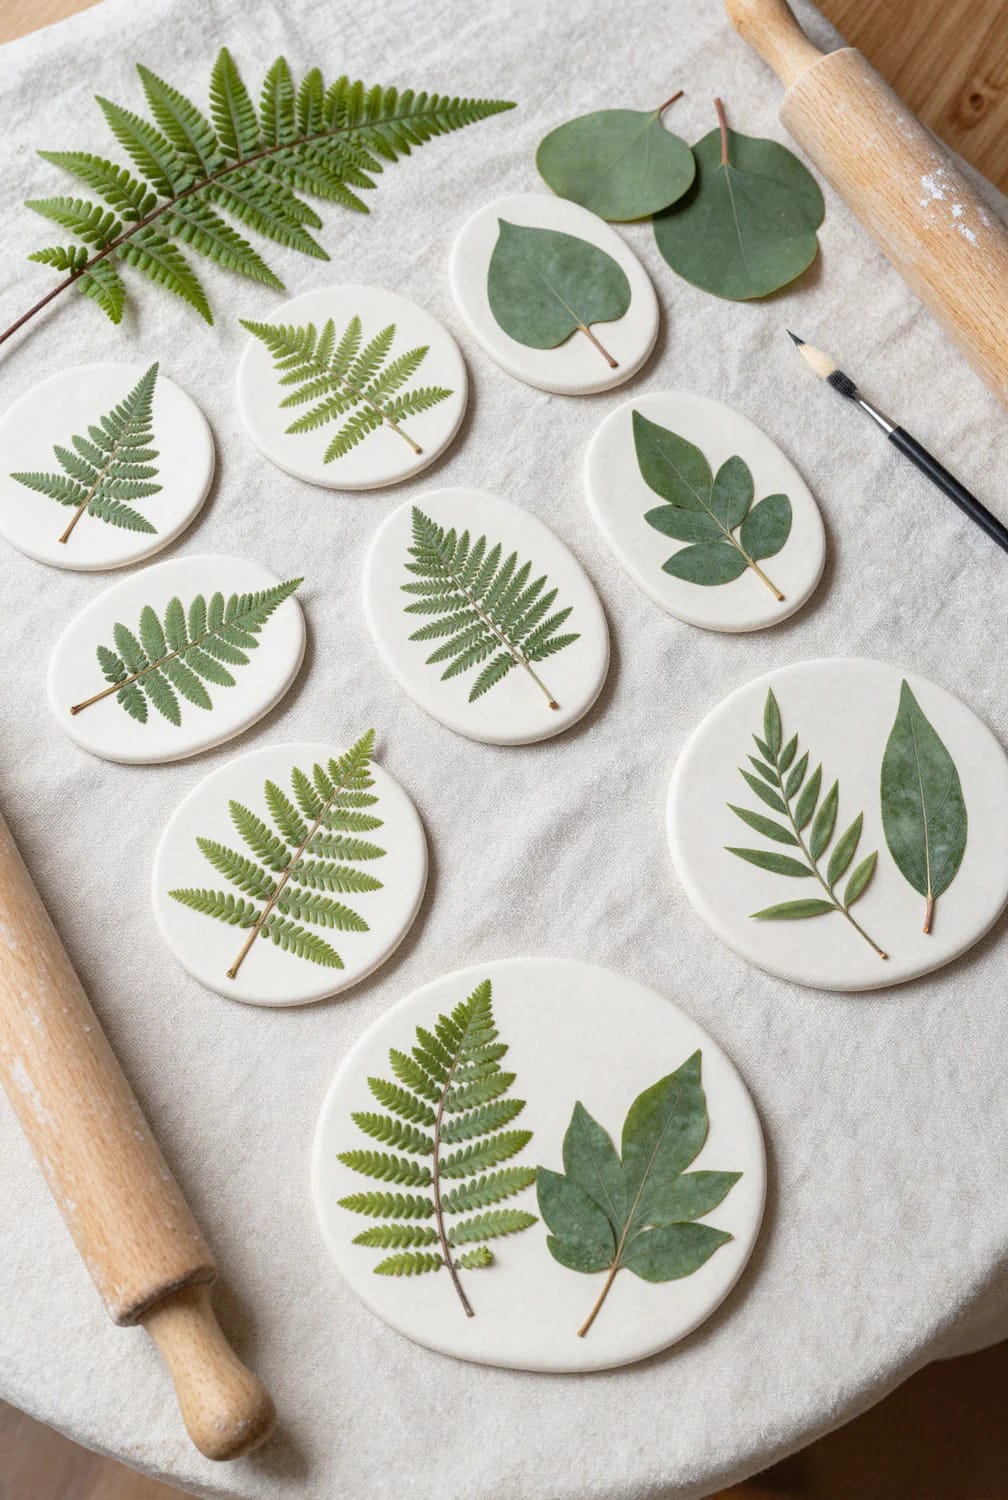
The mistake at scale is improvising each ornament and ending up with a bag of unrelated discs that never look like they belong together. Decide the set first. A run of matched pieces reads as intentional in a way a random pile never does, whether it's a five-piece garland, a set of package toppers, or a small tabletop tree hung with nothing but leaf impressions.
Pick one leaf and repeat it
Coherence comes from restraint, not variety. Choose a single frond type and one shape, vary only the size across the set, and keep the finish identical, and the pieces hang together even at a glance. Then break the run once, deliberately — a single larger center piece, or one in the accent tone from the gold-edge idea — so the set has a focal point instead of reading as production line. If you’re leaning fully into foraged, the same discipline carries over to twig and branch decorations from the garden, which pair with clay imprints better than anything store-bought.
 25 Stunning Wooden Christmas Ornaments to Inspire Your Holiday Decor If clay hooks you, wood slices and offcuts scratch the same handmade itch.
Where I'd start, and where I'd stop
Make three round fern discs before anything else. They cost almost nothing in clay, they teach you how hard to press and how cleanly to peel, and by the third one you'll know whether you want the whole matched set. From there the gold edge and the color wash are variations you can decide on with a real object in your hand rather than in your head, and the scented back is a five-second addition to a piece you were making anyway.
Where I'd hold back: outdoors. Air-dry clay is not weatherproof no matter what you seal it with, and a leaf-imprinted disc left on an exterior wreath will soften and eventually crumble in the first hard rain. Keep these indoors, hang them on a bare branch or a drawer knob, and refresh the scented ones when the eucalyptus fades.
Related Posts
- Create Unique Alcohol Ink Christmas Ornaments Step By Step
- How to Make Beautiful Angel Ornaments from Old Book Pages
- 11 DIY Cork Reindeer Christmas Ornaments for a Rustic Tree
- 15 Super Cute Clay Craft Ideas to Decorate Your Modern Home
- Foraged Twig Christmas Decorations From the Garden
- How to Make a Fresh Greenery Christmas Wreath from Yard Clippings