
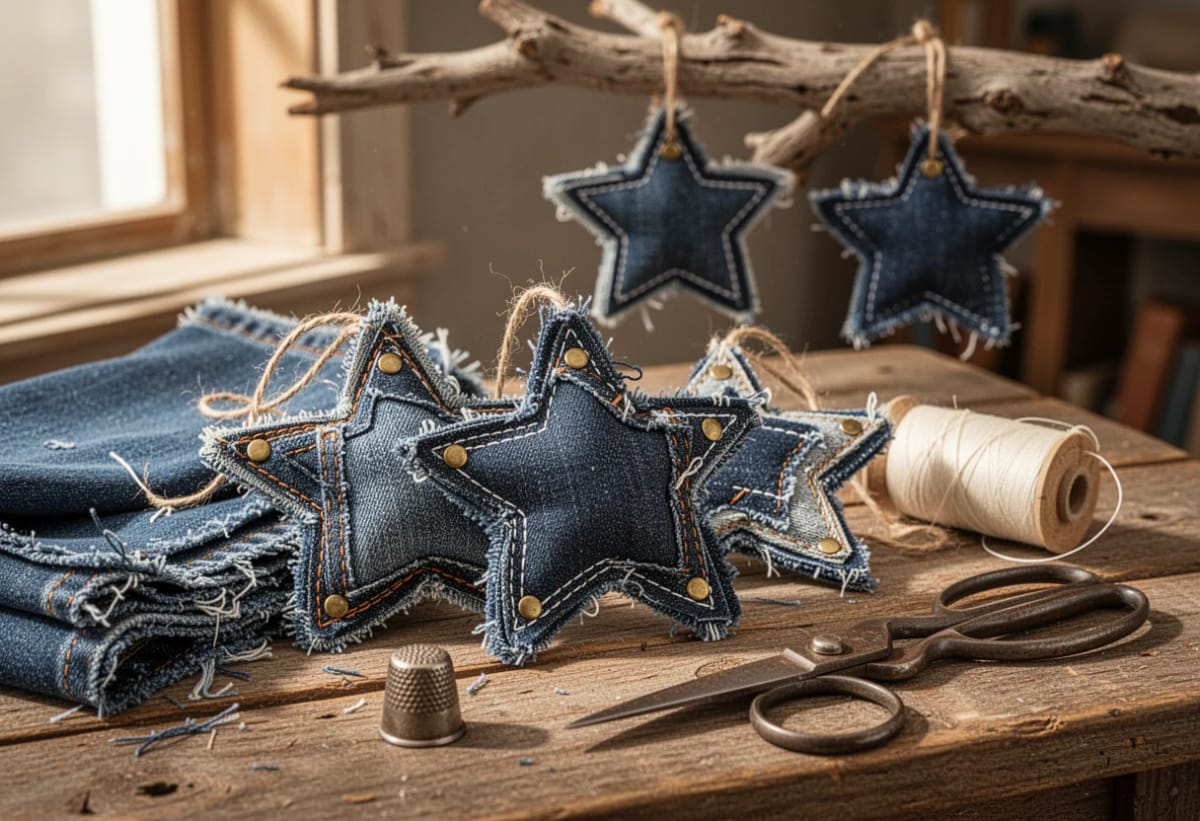
Five points is the wrong star for denim. The standard template gives you 36-degree spikes, and a 36-degree point in 12-ounce twill will not turn right side out however sharp your chopstick is: you get a stub, a wad of trapped seam allowance, and a shape that reads as a blob from six feet away. Everything below is sorted by what the fabric can actually do, nine stars out of one dead pair of jeans, including the several that come out better with no needle involved at all.

The stuffed denim star, six points not five
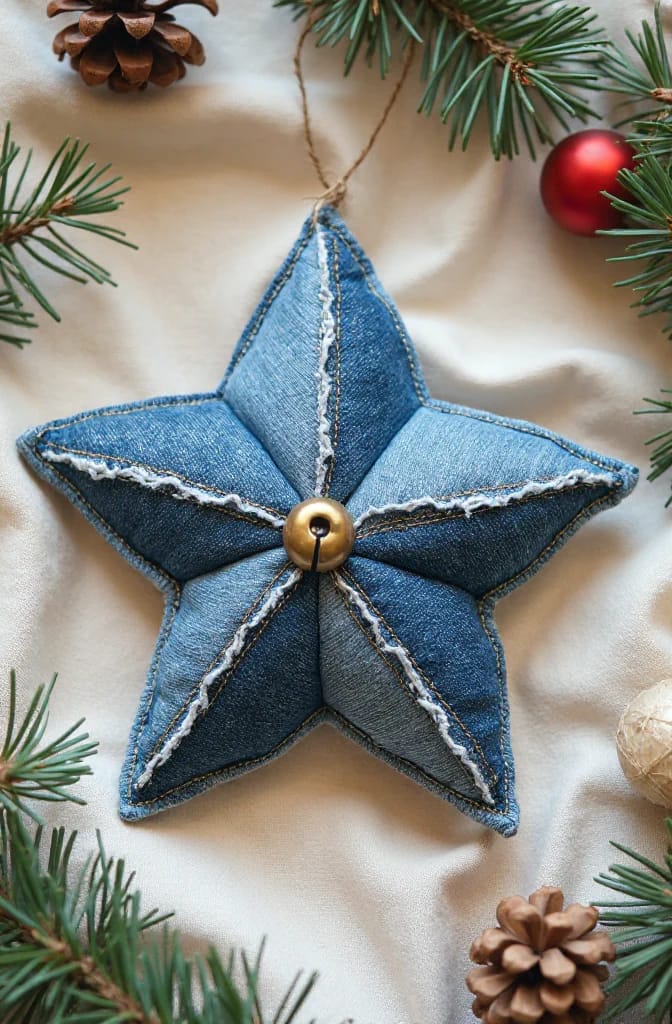
Draw a six-point star instead, two overlapping equilateral triangles, and the whole problem goes away: the points open to about 60 degrees, which turns cleanly even in heavyweight twill. Cut two stars, stitch them face to face with a quarter-inch seam and a two-inch gap along one flat edge, then clip straight across each tip before turning. That clip is the step people skip, and it is the entire difference between a sharp point and a puckered nub.
Stuff it lightly. Denim has almost no give across the weave, so an over-filled star bulges in the middle and drags the points inward until the silhouette goes round; a thin layer of Fairfield Poly-Fil polyester fiberfill pushed into each tip with the blunt end of a chopstick is enough. Use a pale panel for the back, one of the chalky knee sections rather than the dark yardage from inside the hem, and hang the star so it can spin. On a dark tree the pale face is the one that carries.
One adult pair goes further than people expect:
- Four leg panels, each yielding roughly eight 4-inch stars once you cut around the felled seams.
- The back pockets, saved whole for the gift-card version below.
- The waistband, which is already two layers of stiff interfaced cotton and makes a rigid star with no stiffener at all.
- Whatever survives from the seat. Thin, pale, and the best fabric in the pile for backing.
A frayed-edge denim star that needs no stitching
Cut it single-layer, on the straight grain, and let the wash do the finishing. Denim frays hard and evenly along both grain lines, which is why a raw-cut star softens into a fuzzy white outline instead of unravelling into threads: the indigo sits on the warp only, so every exposed weft thread comes up pale.
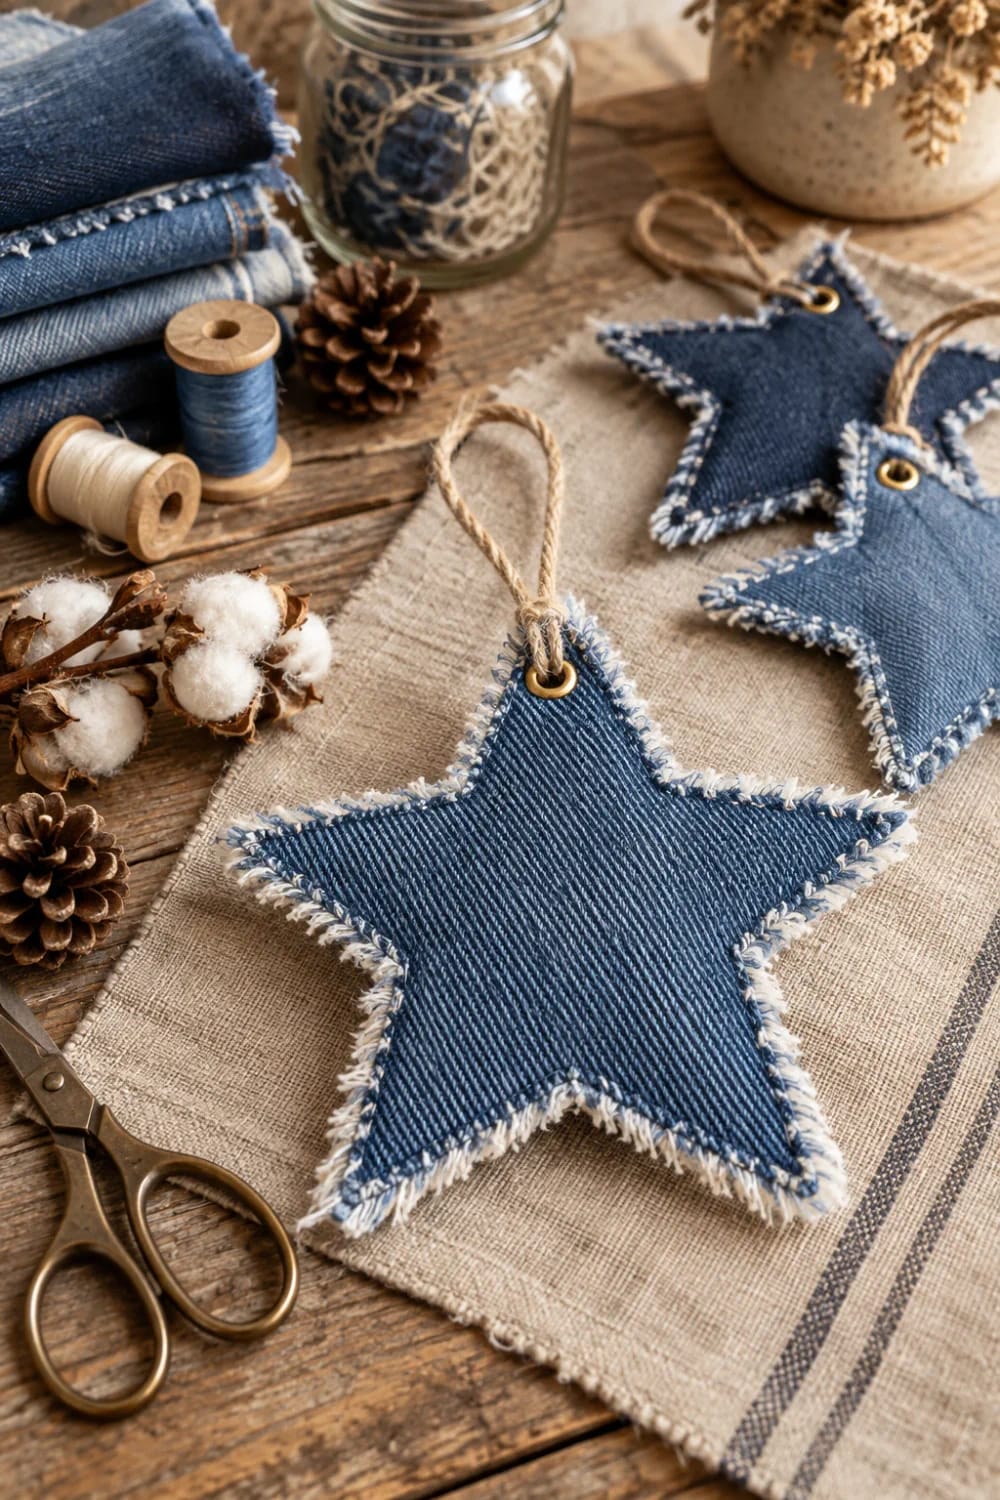
Granted, a fray that happens by accident looks like a fray that happened by accident. Control it: snip a shallow fringe every quarter inch around the edge before washing, then run the stars through a warm cycle inside a zipped mesh laundry bag and tumble them dry with a towel. They come out with a consistent pale border rather than three long threads dangling off one point. For a stiffer version, glue two stars back to back with the twill running in opposite directions.
Do this
- Cut on the straight grain, so the fray forms an even border.
- Snip a fringe first, then wash. The fringe controls how deep the fray goes.
- Put a single line of topstitching a quarter inch in from the edge if you want the fray to stop there.
Avoid
- Pinking shears. They leave a zigzag edge that fights the fray instead of feeding it.
- Stretch denim with elastane. It curls at the cut edge and never lies flat.
 Upcycled Denim Christmas Ornaments From Old Jeans Shapes beyond stars from the same pair, and the fray-or-lock-down decision that settles how all of them read.
A folded Somerset star, in chambray rather than jeans
This one is worth making and worth warning you about in the same breath. The folded star (British quilters call it Somerset patchwork) is built from small squares folded into triangles and layered in rounds on a fabric base, which means the center of the finished piece stacks six or eight layers deep. In 12-ounce denim that is a brick. Use chambray, a worn-through shirt, or the thinnest pair in the pile, and it works.
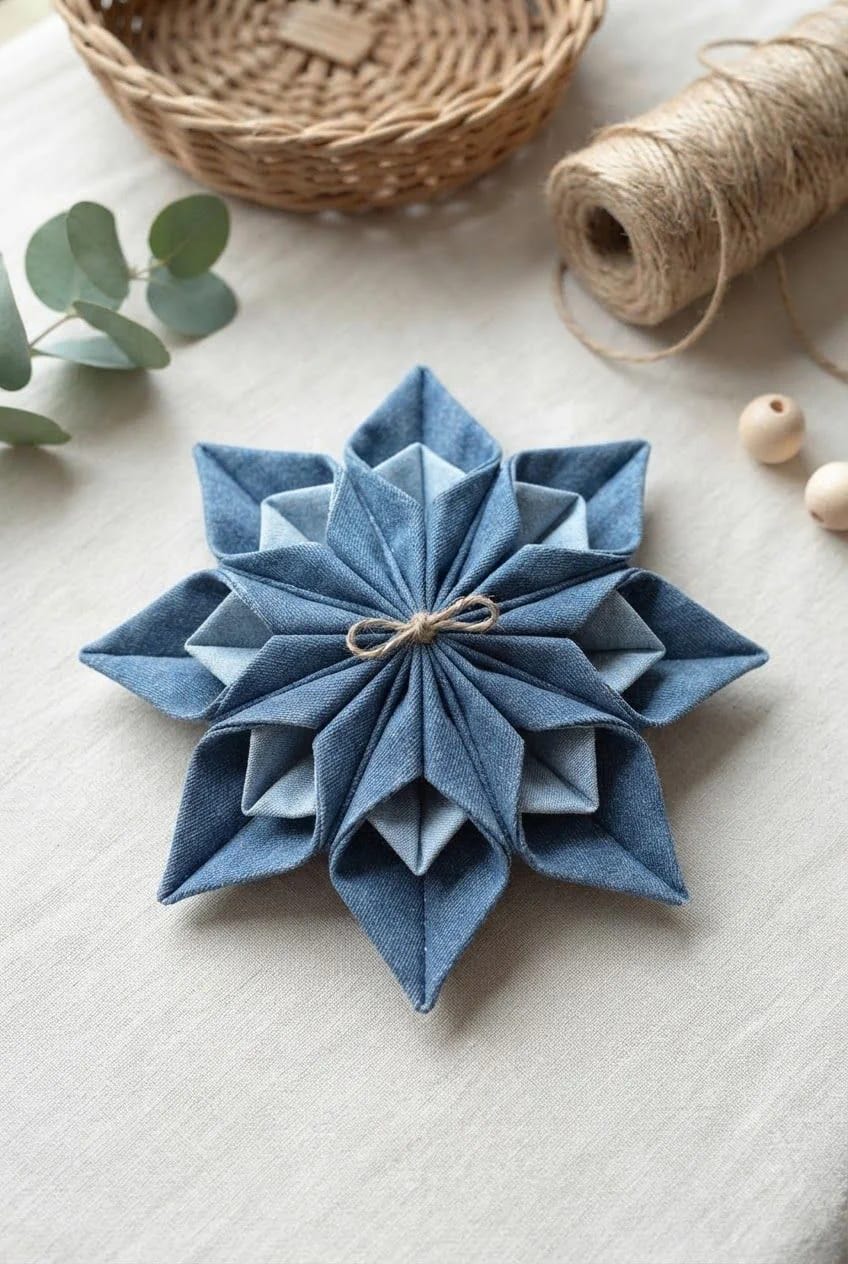
Two rounds is the ceiling. Three rounds of denim triangles will not lie flat and the outer circle starts to cup, so bind the edge after the second round and call it finished. One more thing the tutorials skip: these do not go in a washing machine, ever. The layers are held by their folds and a few anchoring stitches, and a wash cycle opens them all at once.
A denim star outlined in white sashiko stitch
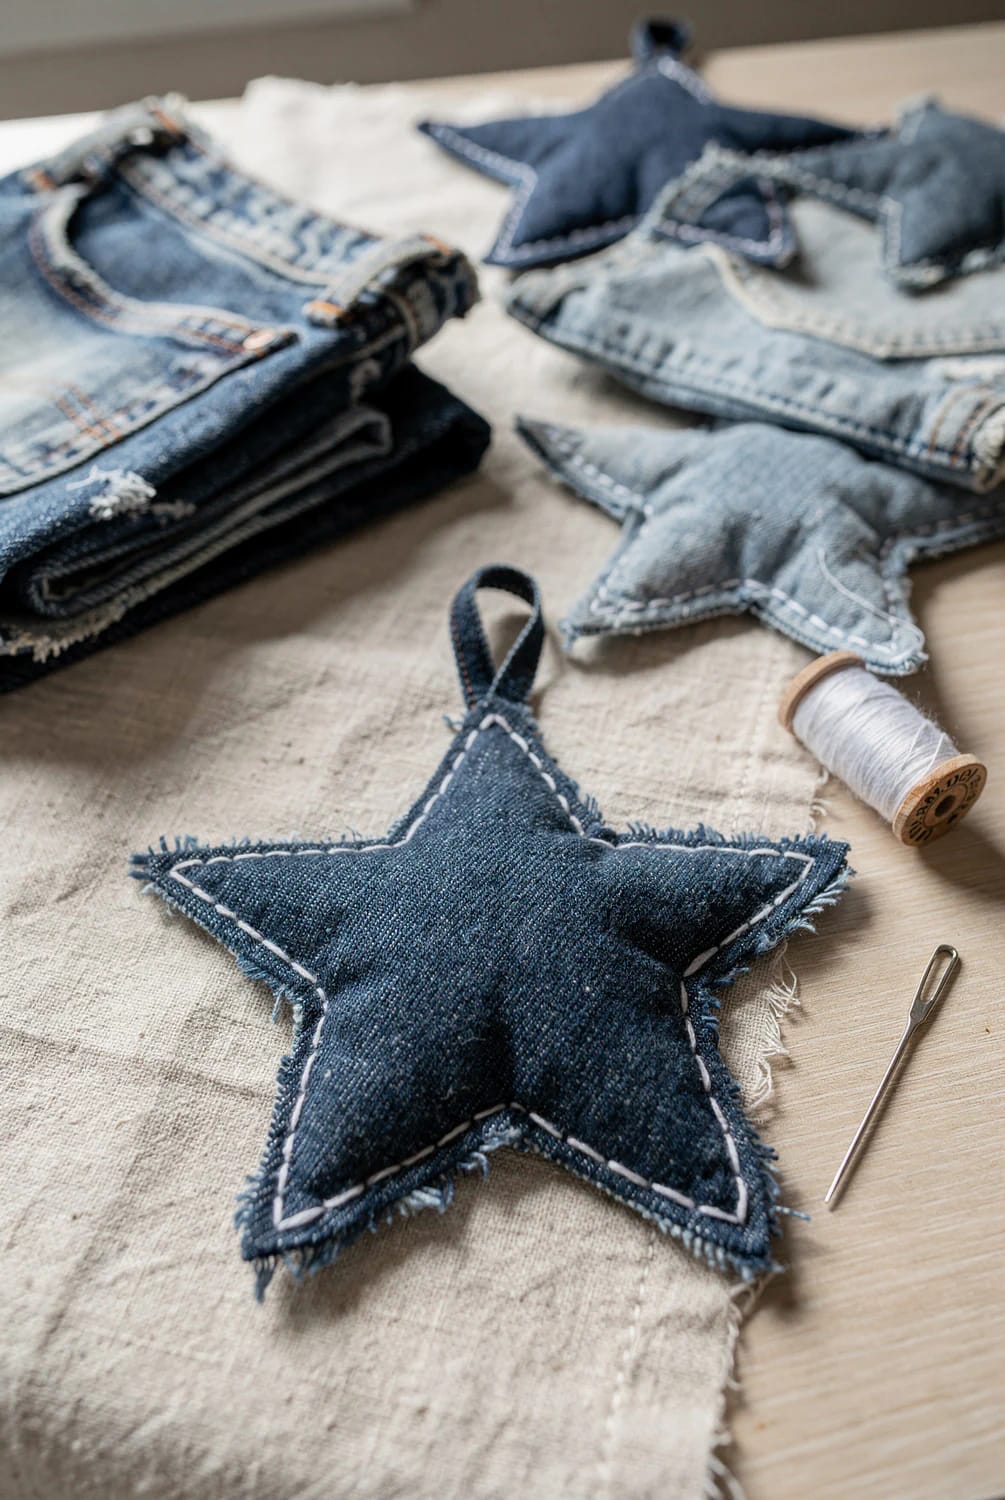
The stitch is the ornament here, so make it big enough to read across a room. Sashiko running stitch traditionally shows a longer stitch on the front than the gap behind it, roughly three to two, which is what gives that dashed, deliberate line rather than the timid dotted line a quilting needle produces. You want thick matte cotton, not embroidery floss, and a long needle you can load with several stitches at once: a Olympus sashiko thread and needle starter bundle covers both, and the white skein alone outlines a dozen stars.
Place the line where the jeans already have one if you can. The same logic that makes embroidery on denim read as part of the garment rather than a sticker applies to an ornament: a stitched line that runs alongside a felled seam or a hem looks intentional, while a line floating in the middle of a blank panel looks like a first attempt.
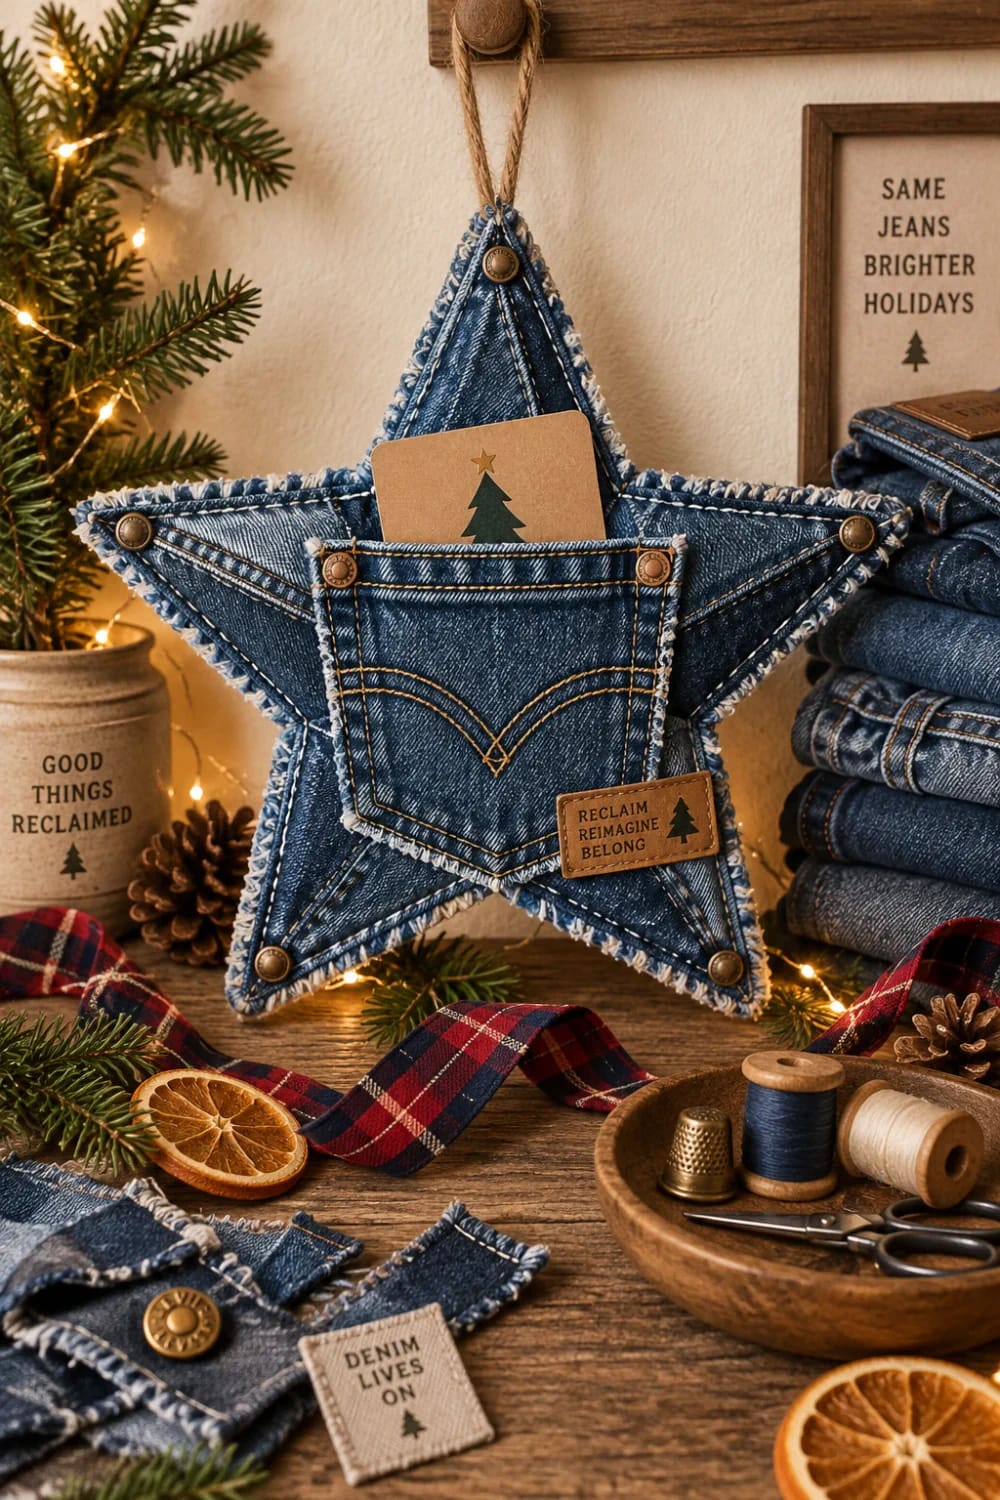
A back-pocket denim star that holds a gift card
Cut the star so the pocket lands dead center on the front face, then leave the pocket mouth unstitched. You get a working envelope: gift card, folded cash, a note, a spare key for whoever is house-sitting. Cut through the pocket and the panel behind it together so the star stays one piece.
Position the template with the pocket’s top edge about a half inch below the two upper points, otherwise the pocket mouth cuts right across the widest part of the star and the whole thing sags open. Keep the rivets if the pocket has them. For the smaller cousin of this idea, the jean pocket angel ornaments use the same pocket geometry with the mouth left as the neckline.
A bleach-drawn star on the darkest jeans in the pile
Draw the star instead of cutting it. On dark indigo, a Clorox dual-tip bleach pen pulled slowly along a chalk-marked outline gives you a pale star on a rectangular denim tile, which looks nothing like the cut-and-stitch stars everyone else hangs. Work on a scrap first, because the timing is the whole technique.
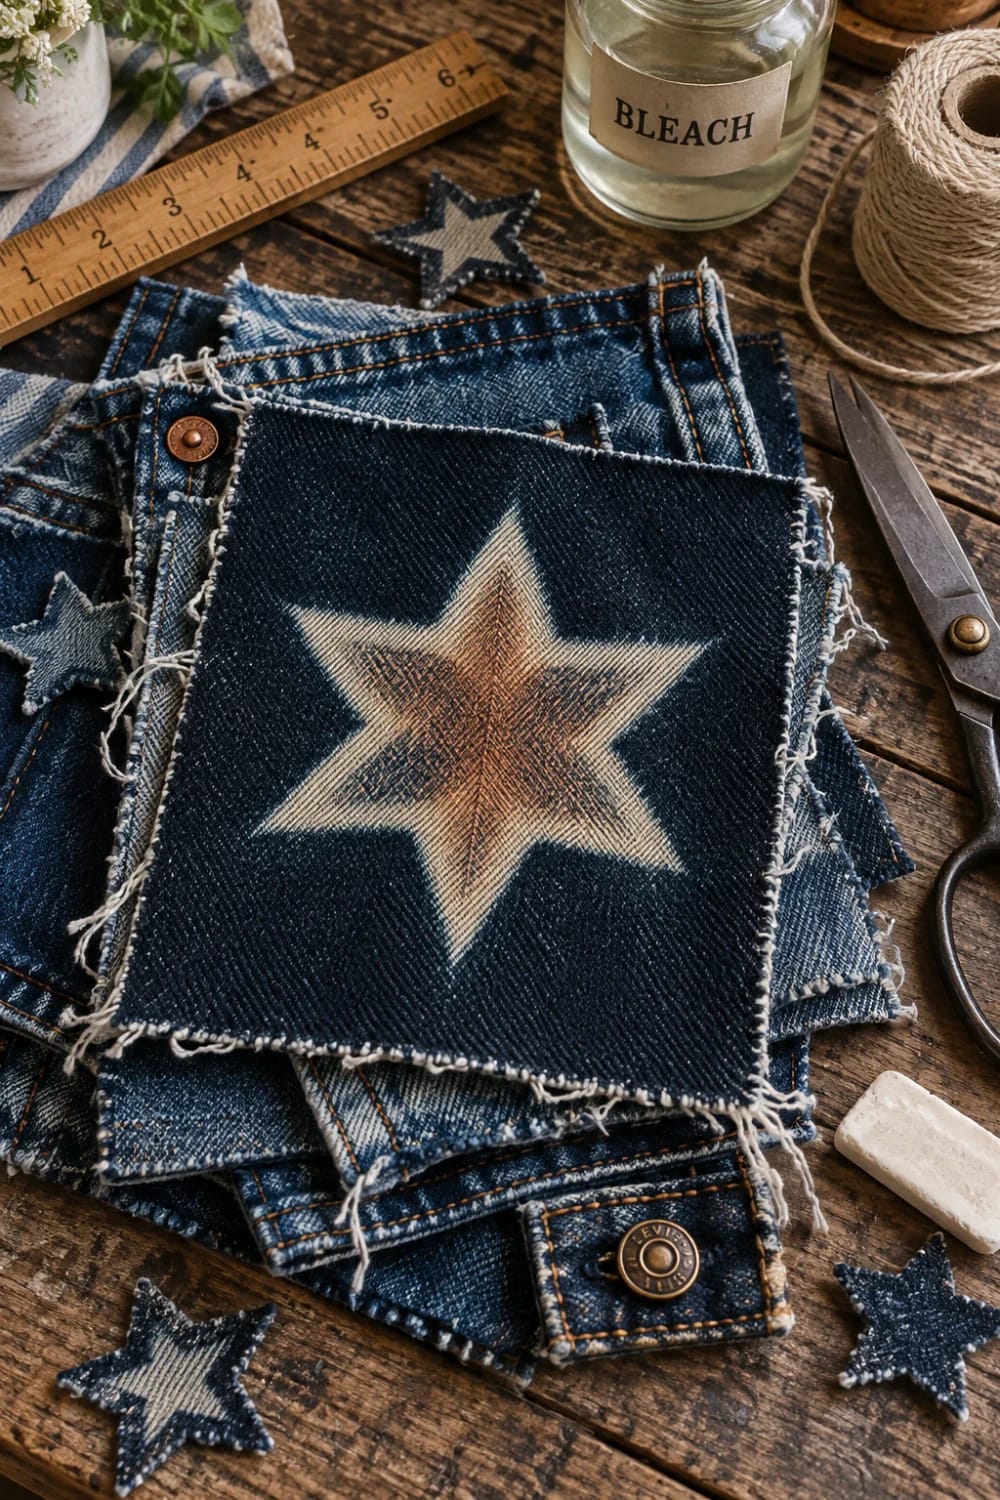
Here is the part nobody mentions: bleach does not take indigo to white. It oxidizes the dye through an orange or rust stage, then a chalky peach, and only reaches pale grey-white after the cotton itself has started to suffer. That orange stage is the one to stop at. Three to five minutes is usually enough on dark denim, at which point you rinse hard in cold water and neutralize, because bleach left in the fiber keeps working long after the color has stopped changing.
A cold rinse dilutes household bleach but does not deactivate it, and residual hypochlorite goes on eating cellulose until the denim thins and tears along the drawn line months later. Follow the rinse with a soak in dilute hydrogen peroxide (the 3% bottle from the drugstore, a capful in a basin) or a proper anti-chlor product, then wash normally. Do it near an open window, keep it off wool and off your hands, and never combine it with ammonia-based cleaners.
One more reason this idea earns its slot: it uses the jeans nobody wants to cut up, the stiff black-blue pair that is still structurally fine. Most denim crafts fail by looking like denim crafts, and the fix is usually to use what makes denim denim rather than treating it as generic blue cloth. A bleach line is about as denim-specific as a mark can get.
A rag-wrapped denim star at tree-topper scale
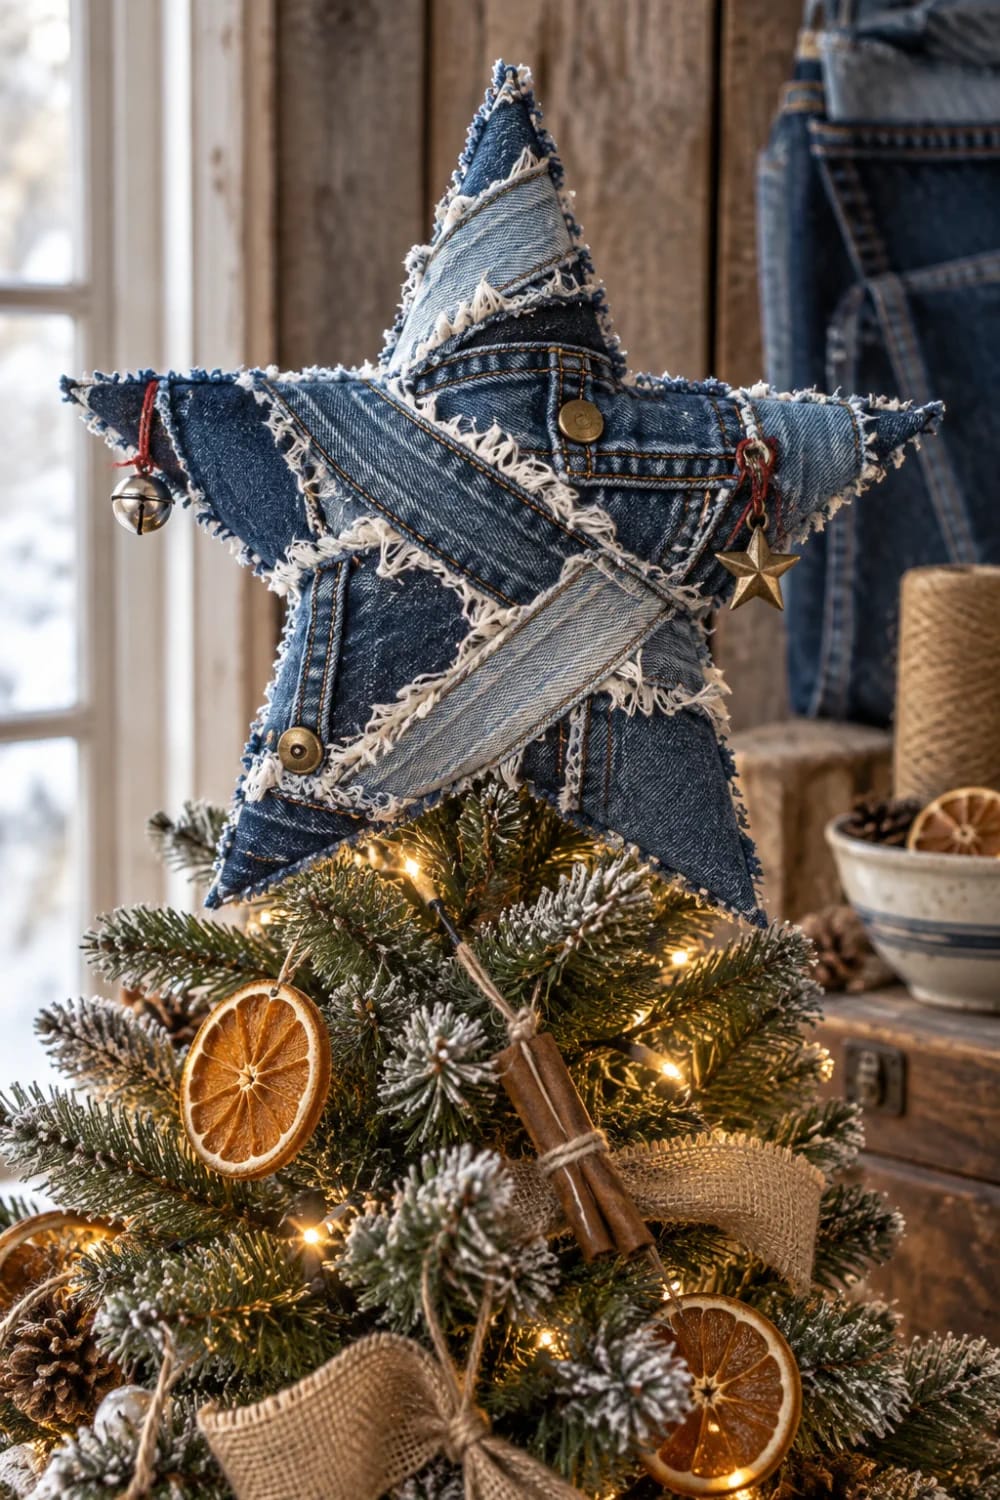
Tear the strips, do not cut them. A torn half-inch strip of denim rips along a single weft thread and comes away with a soft, even white fringe on both sides, while a rotary-cut strip has a hard clean edge that then frays unevenly. Wrap them around a doubled cardboard star or a bent wire frame, overlapping about halfway each pass, and anchor the ends on the back with Aleene’s Fabric Fusion permanent fabric glue, which stays flexible instead of drying to a plate.
This is where the ugly denim goes. Stained seat panels, bleached-out crotch sections, the pair with the broken zip: at half an inch wide, nothing shows except color, and the pale ruined fabric is exactly what you want at the tips. It is the same appetite for the whole pile that makes a braided denim rag rug such a good disposal route, scaled down to something you can finish in an evening.
 12 Denim Christmas Tree Skirt Ideas to Make From Upcycled Jeans A topper and a skirt in the same washes is the easiest way to make a mixed tree look deliberate.
A pieced sawtooth star in four washes of denim
Cut the four washes out of one pair, not four. A single worn pair already holds three or four distinct shades, and a sawtooth star block (a center square, four half-square triangle points, four corner squares) is the classic quilt block for showing exactly that kind of graded contrast.
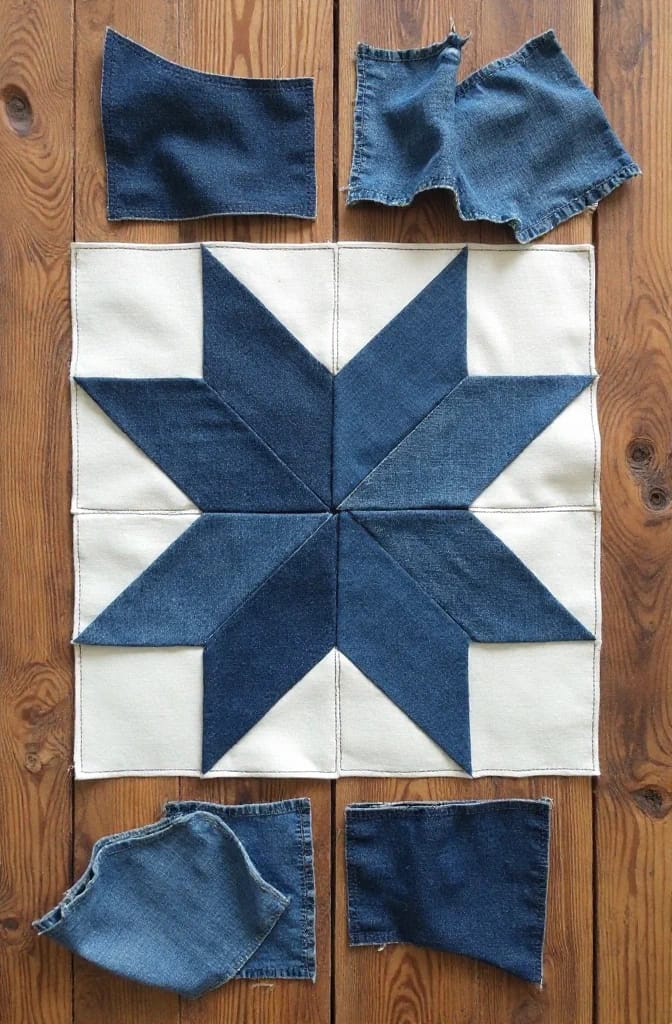
Press the seams open rather than to one side. Quilters press to one side in cotton for strength, but four layers of 12-ounce twill meeting at the star's center will not lie flat that way, and the block domes into a shallow bowl. Trim the seam allowances down to an eighth of an inch where they converge. Then back the block with a plain panel, bind or topstitch the edge, and hang it from a corner rather than an edge so it reads as a diamond.
The color grading matters more than the piecing accuracy here: aim for one very dark, two mid, one near-white, and let the points be slightly imperfect. The same logic drives multi-wash patchwork built from one pair of jeans, where the knees and seat supply the pale shades and the inside hem supplies the darkest.
A garland of small denim stars from the scrap bag
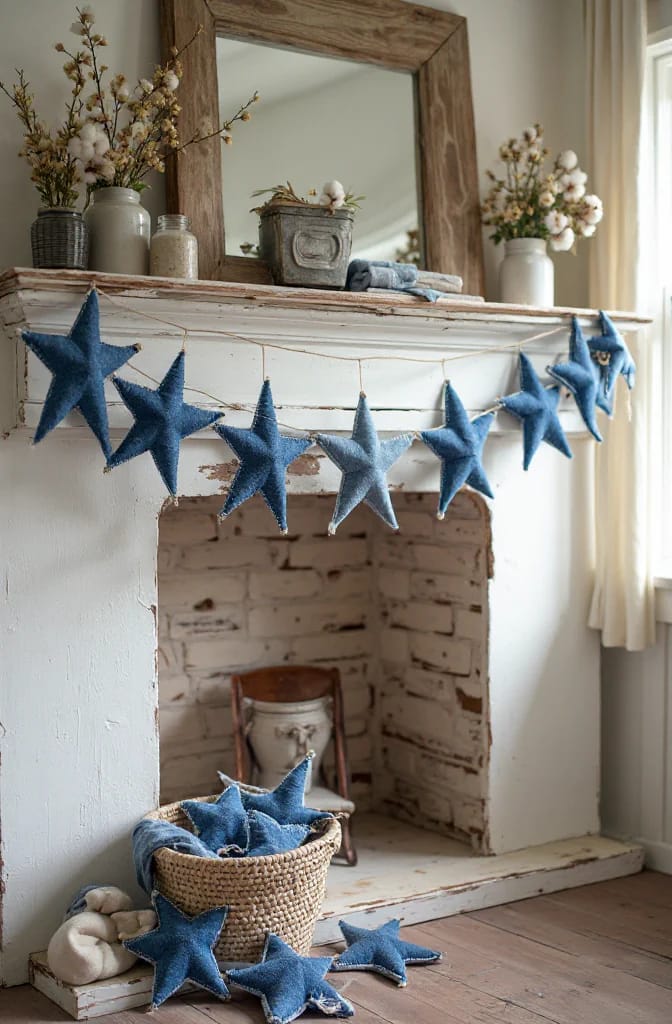
Chain-stitch them. Feed two-inch stars through the machine one after another without cutting the thread, straight through the middle of each, leaving an inch of bare stitching between them, and twenty stars become a garland in about four minutes. Because each star is caught at a single line through its center, they turn and catch the light unevenly instead of hanging flat like a row of tags. If you want a longer version with more texture, the denim Christmas garland ideas cover the pieced and pennant approaches this one deliberately skips.
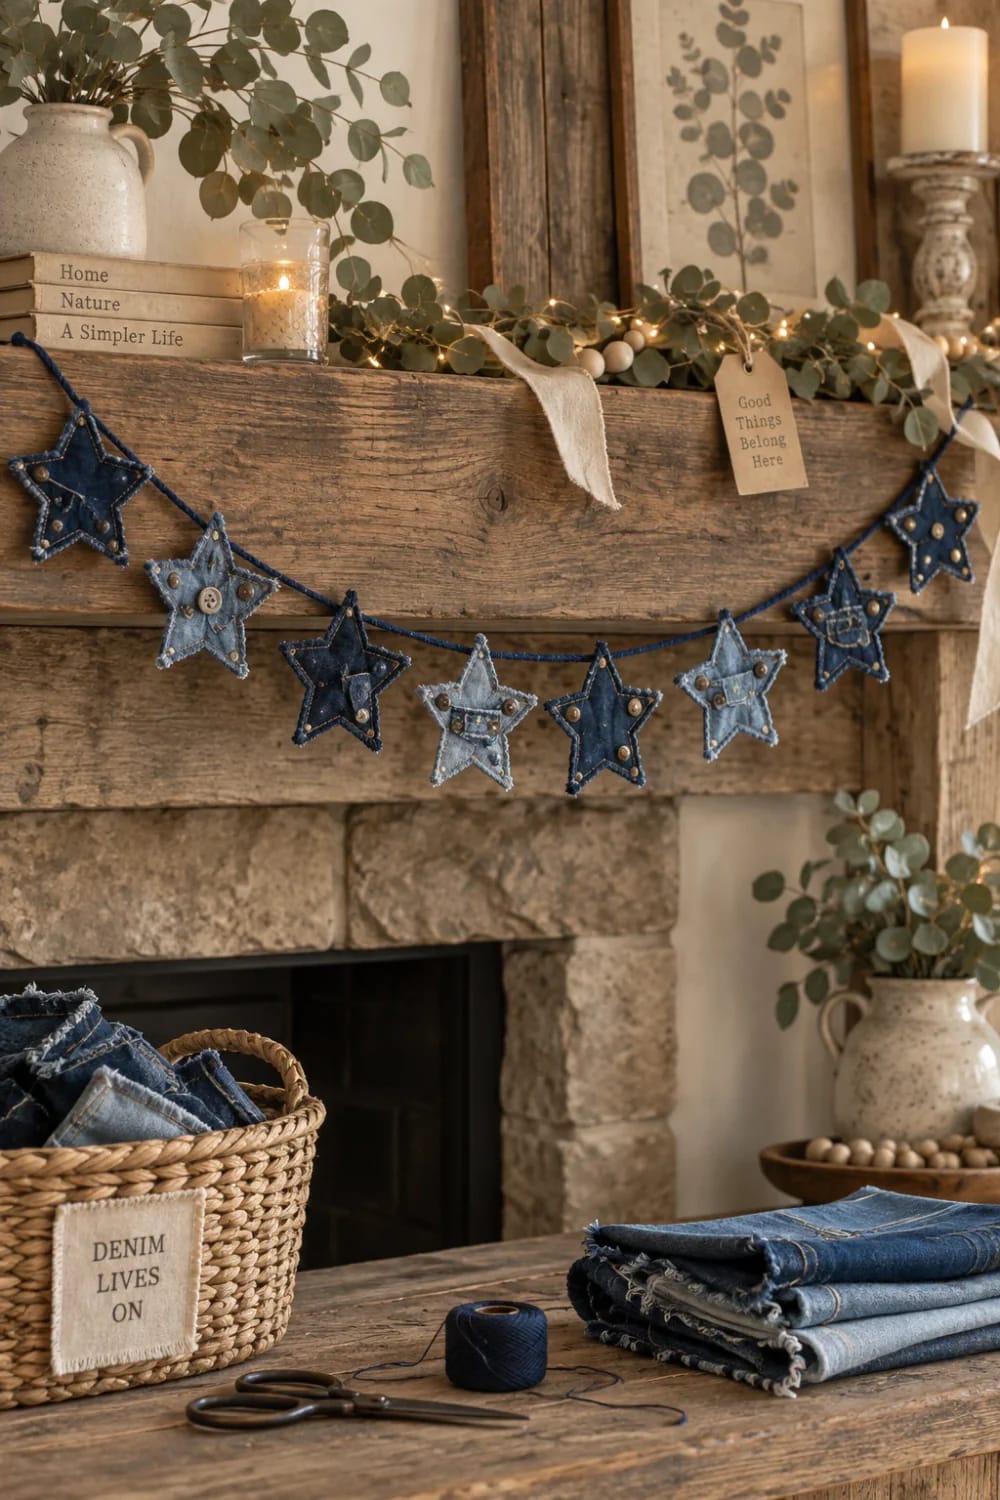
Scraps only. Any offcut with a corner big enough for a two-inch square qualifies, which means the waste from every other project on this page feeds this one.
If you are making several of these in one go, do the bleach tiles first and leave them to dry while you cut, because everything else on the list is assembly and the bleach star is the one step with a wait built into it. Cut every star from one pair before you start stitching, too. The washes within a single pair are consistent in a way that two pairs from different years never are.
The one I would skip is the Somerset star, unless you happen to own a dying chambray shirt. Everything about it is charming at three inches and miserable at six layers of denim, and there are eight other stars above it that take the fabric on its own terms.
Related Posts
- Upcycled Denim Christmas Ornaments From Old Jeans
- 13 DIY Denim Christmas Stockings From Old Jeans
- 10 DIY Denim Christmas Garland Ideas to Make From Old Jeans
- 12 Denim Christmas Tree Skirt Ideas to Make From Upcycled Jeans
- How to Make Stunning Angel Wings from Old Jeans for Your Home
- How to Make a Braided Denim Rag Rug From Old Jeans