
The internet's default wood slice ornament is a snowflake or the words "Merry Christmas" in wobbly script, and both are the reason so many of these end up looking like a craft-fair reject. Wood burning rewards restraint, not detail — a slice is three or four inches of soft, grainy wood, and the designs that survive at that scale are the plainest ones. What follows is ten wood-burned designs that use the grain instead of fighting it, from a single-line pine tree a beginner finishes in ten minutes to a stippled cabin scene worth a whole afternoon.
A quick scope note before the ideas. Almost all of these work on a plain kiln-dried craft slice, the kind that comes twenty to a bag for a few dollars, and almost none of them need a wire-nib machine — a basic solid-tip burner and a pencil get you eight of the ten. I've sorted them roughly easy to ambitious, so if this is your first burn, start at the top and leave the cabin alone until next December.
1. Start with a one-line pine tree that hides a shaky hand
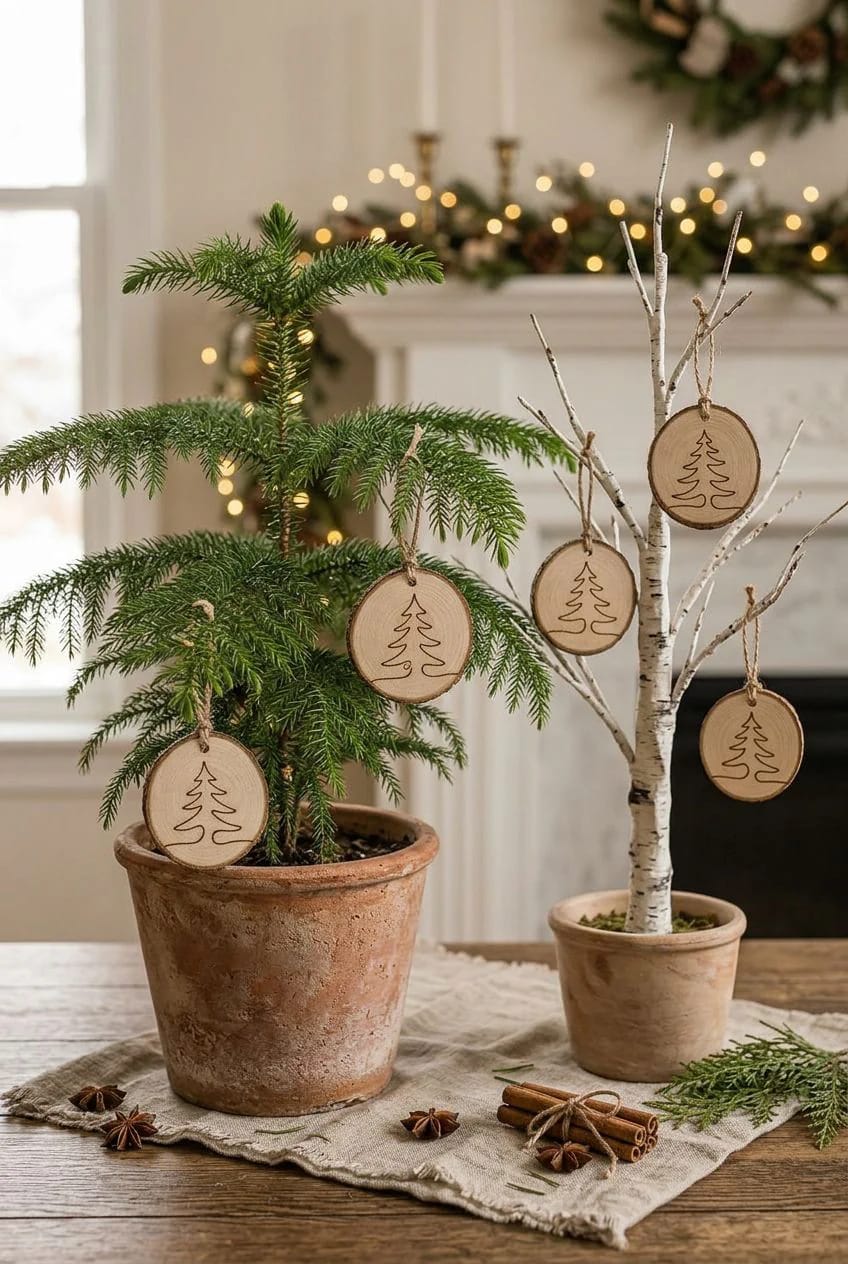
Start here because the single-line pine tree is the most forgiving design on the list. It's one unbroken stroke, a zigzag narrowing to a point, and because there's no second line to match, nobody can tell your hand wobbled. The trick that makes it read as deliberate rather than sparse is negative space: keep the tree small and centered and let two-thirds of the slice stay bare wood.
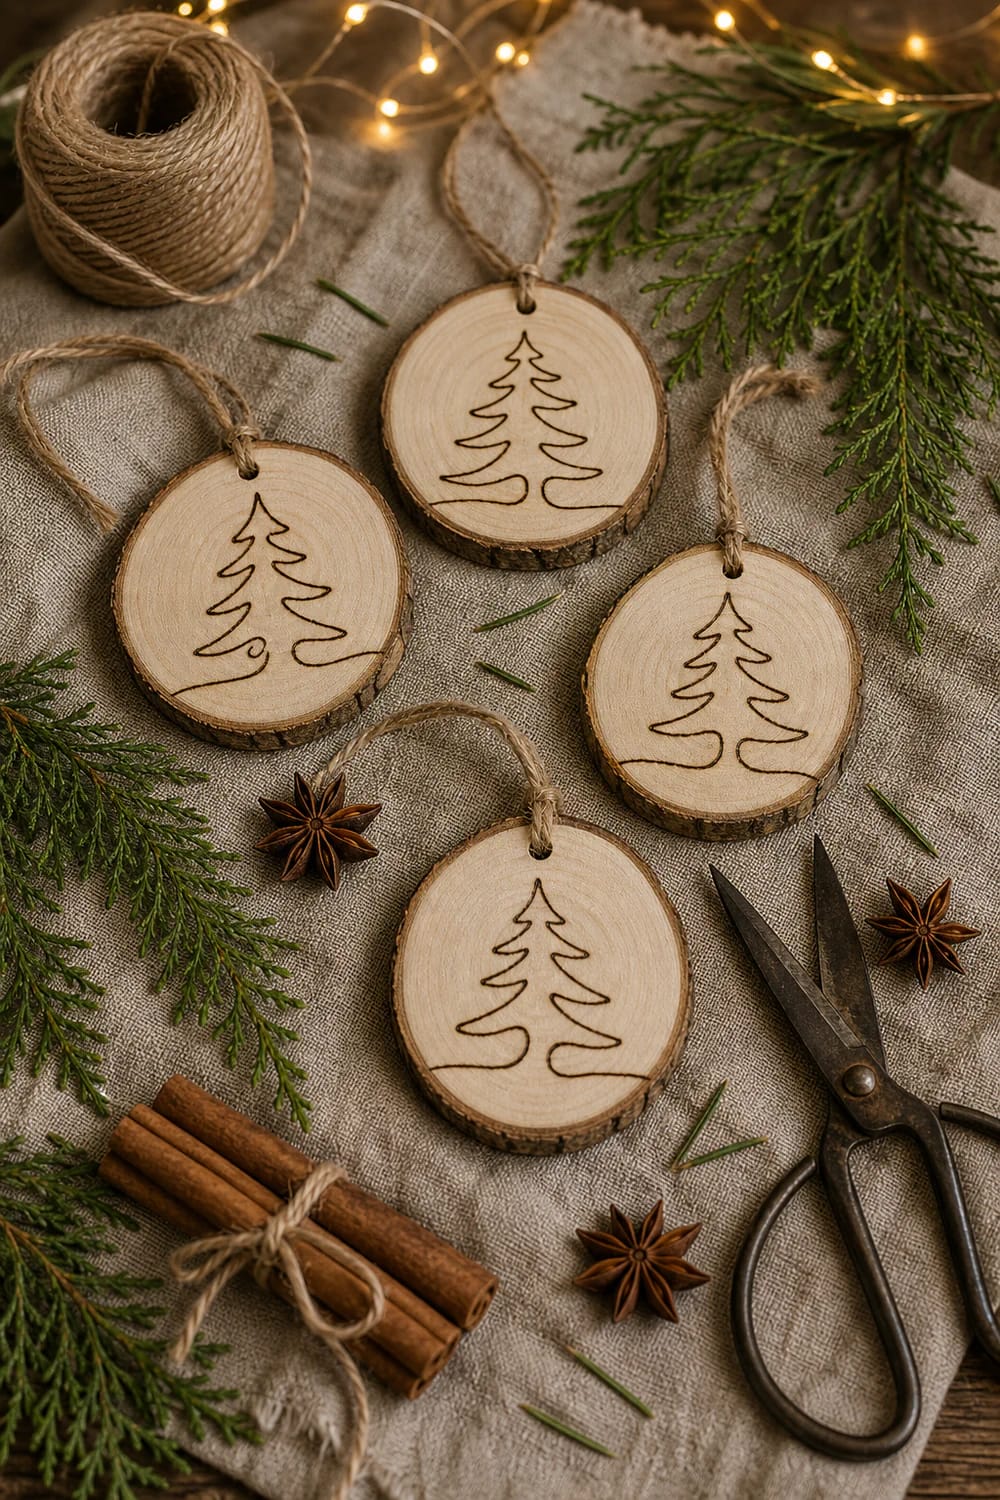
Draw it in pencil first and burn slowly at a low-to-medium heat. If flat board suits you better than rounds, the same low-stakes approach carries the pallet-wood Christmas projects that don’t read as scrap lumber, though slices are cheaper to fail on.
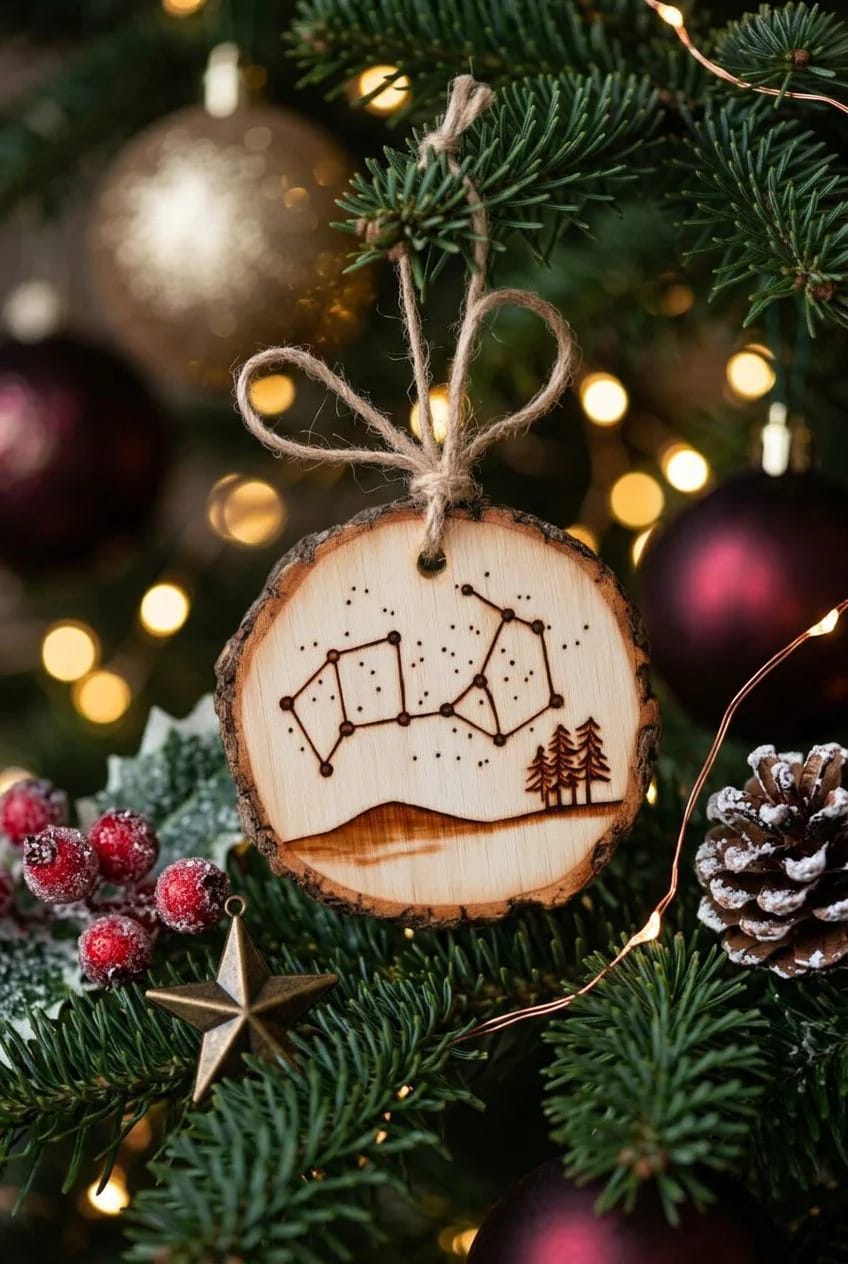
2. Burn a constellation onto a bark-edge wood slice
A burned constellation turns the slice's bark edge into a frame instead of a problem. Most beginners sand the bark off; leave it, and the ragged natural ring reads like the dark border of a night sky. The design itself is almost embarrassingly simple — a scatter of dots at different sizes for stars, a few joined by hairline burned lines into a recognizable shape (Orion and the Big Dipper are the easy ones), and a low solid tree line along the bottom edge.
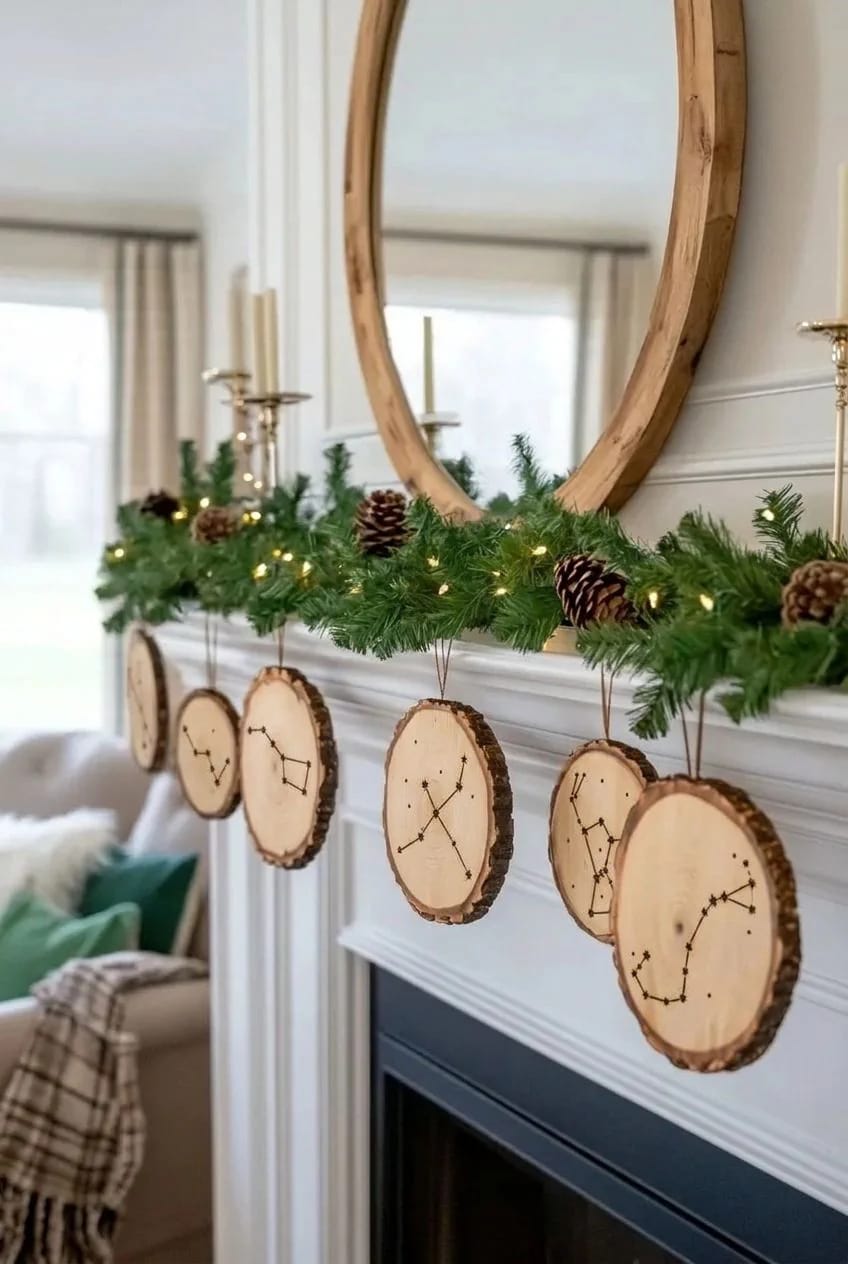
The dots are the whole skill: press straight down with the tip, hold for a beat, lift. Vary how long you hold to get stars of different weight. That intact bark ring is doing design work here, which is why it pairs so naturally with other foraged winter materials from the garden on the same tree. It’s also the one design on this list where a slightly speckled, imperfect slice is better than a clean one.
3. The geometric snowflake, not the clip-art one
Skip the six-fold clip-art snowflake and rule a geometric one instead. The problem with the standard snowflake isn't the motif, it's that everyone freehands the same soft curvy version and it comes out lopsided. Draw three light pencil lines crossing at the center for your six axes, then build the flake from straight ruled segments and small repeated chip-style triangles branching off each arm. Symmetry you can measure beats symmetry you eyeball.
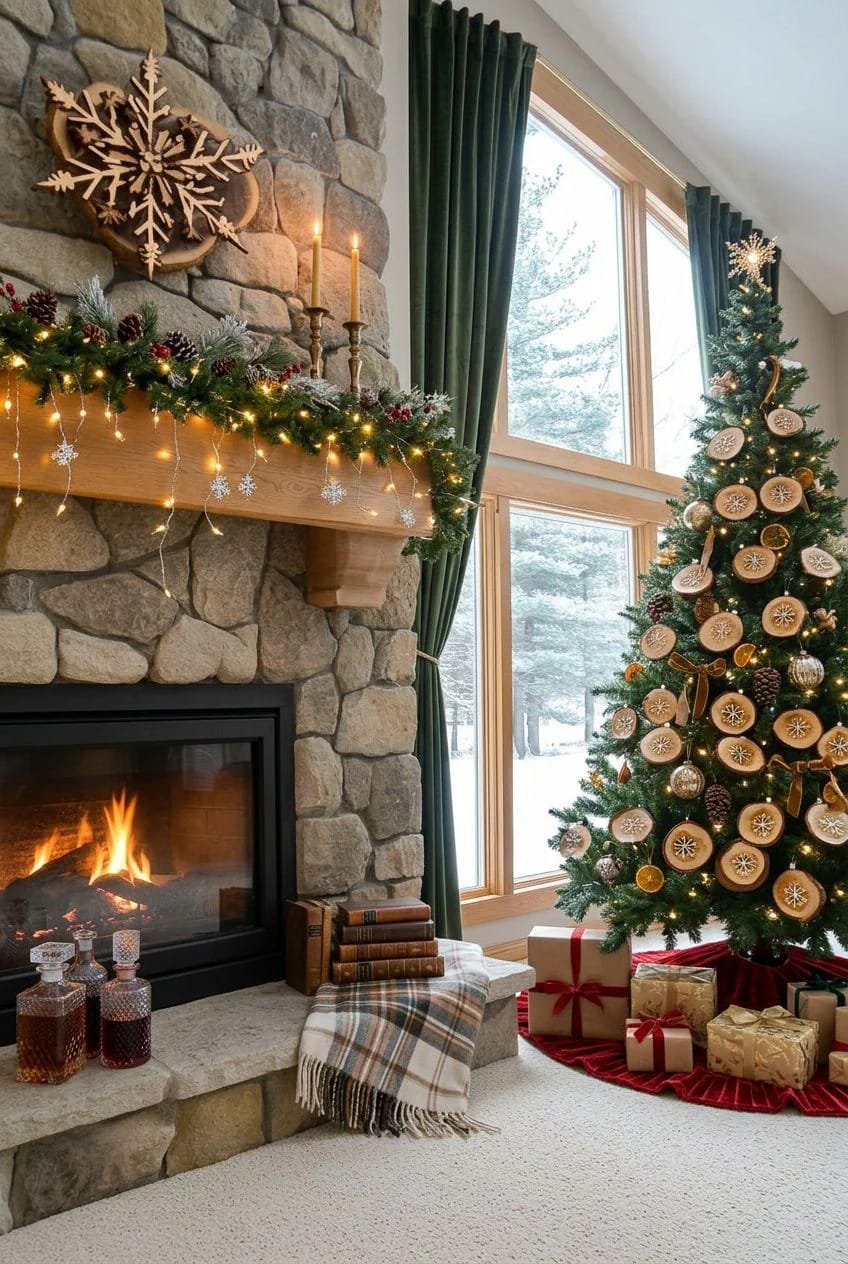
Use a ruler for every straight run. It feels like cheating and it is exactly the point.


4. One burned word beats "Merry Christmas" on a 3-inch slice
One burned word reads cleaner on a three-inch slice than a whole phrase ever will. A full "Merry Christmas" forces you to shrink the letters until the script turns to mush, and the second word always ends up cramped against the bark. Pick one word instead — a name, "Joy," "Noel," a year — and let it fill the space with room to breathe. This is also the design that quietly becomes a personalized gift, which is half of why the wood-slice ornament keeps ranking every year.
Keeping the baseline straight
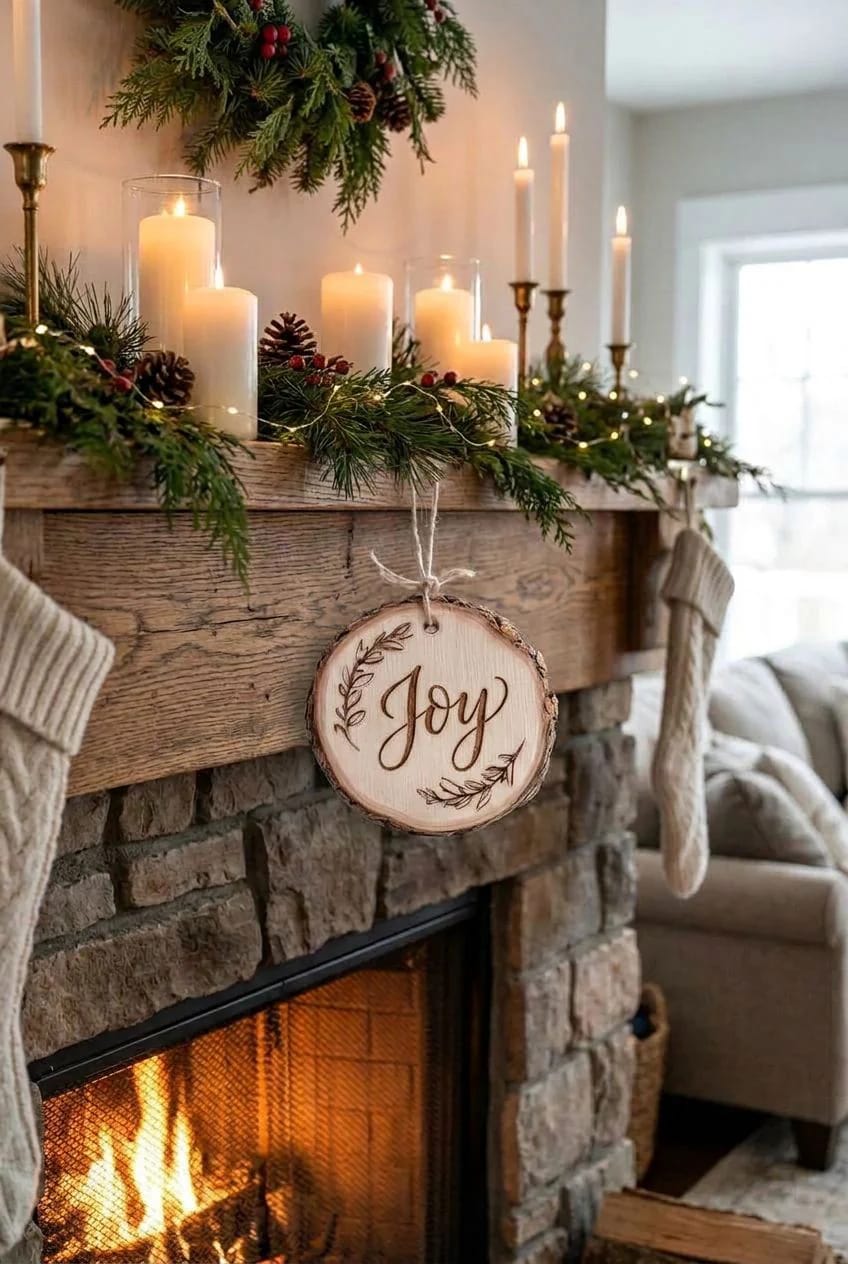
Rule a faint pencil baseline before you write anything. Hand-lettering drifts uphill without one, and a word that climbs toward the top-right corner is the single most common tell of a rushed slice.
Faking calligraphy weight without a calligraphy nib
You don't need a special tip to get that thick-and-thin calligraphy look. Burn the whole word once at an even line, then go back over the downstrokes only — the strokes where your hand would naturally pull down — a second time to darken and widen them. That contrast is what separates it from marker.
5. A Nordic chip-carved border with an empty middle
Leave the middle empty and burn only the rim. It's the inverse of every other idea here, and it's the fastest way to something that looks designed rather than doodled. Run a band of small triangles, notches, and short parallel dashes around the edge just inside the bark, evenly spaced, and stop. The bare center with its natural grain and the odd knot does the rest.
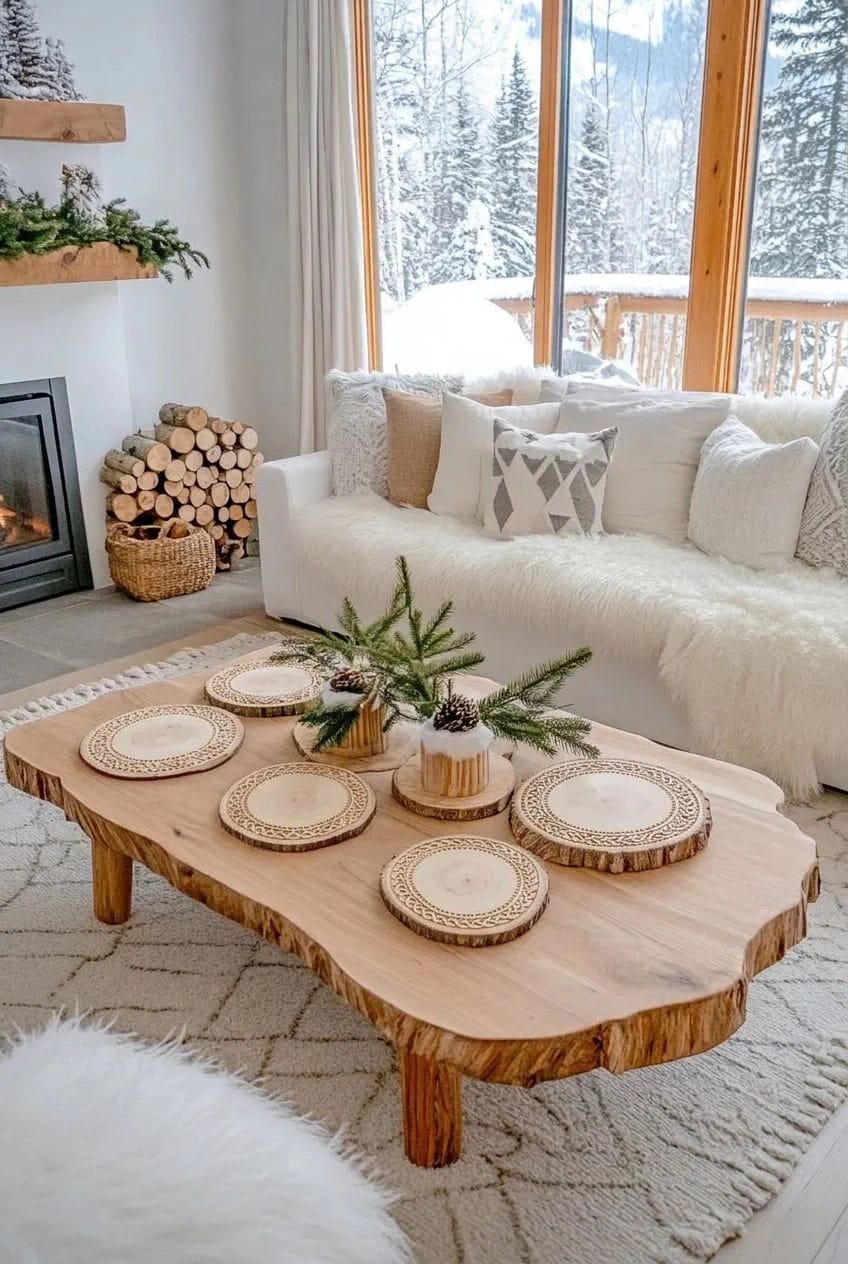
Repetition is the only hard part — keep the units the same size the whole way round, and mark the spacing in pencil first so the pattern meets itself cleanly where it closes.
6. A solid-filled deer silhouette (the outline reads unfinished)
Fill the animal solid; the outline-only version looks like you quit halfway. A deer, fox, or hare rendered as a flat dark shape against bare wood has weight and reads instantly from across a room, which an outline never does. Burn the edges crisp first, then fill the interior by working the tip back and forth in overlapping passes until it's an even dark brown with no bald streaks.
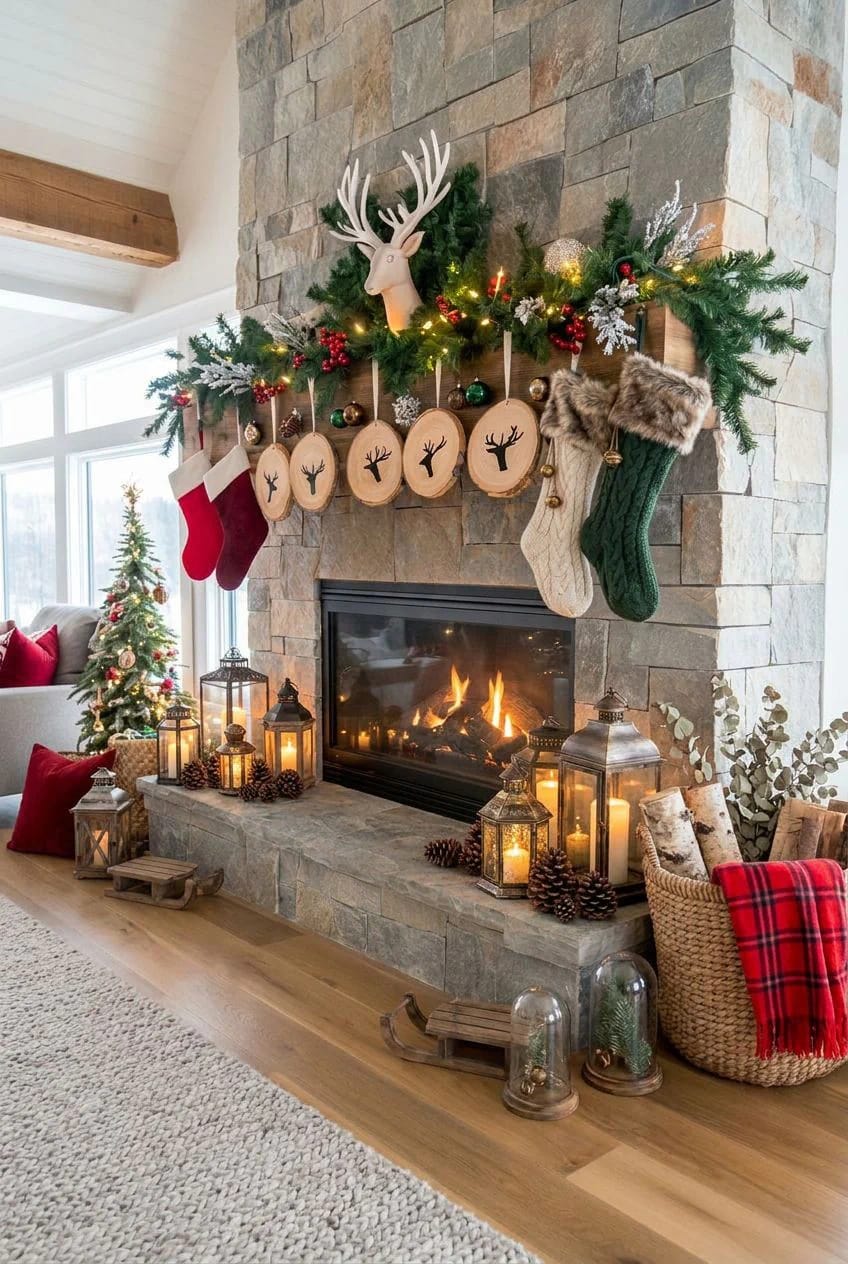
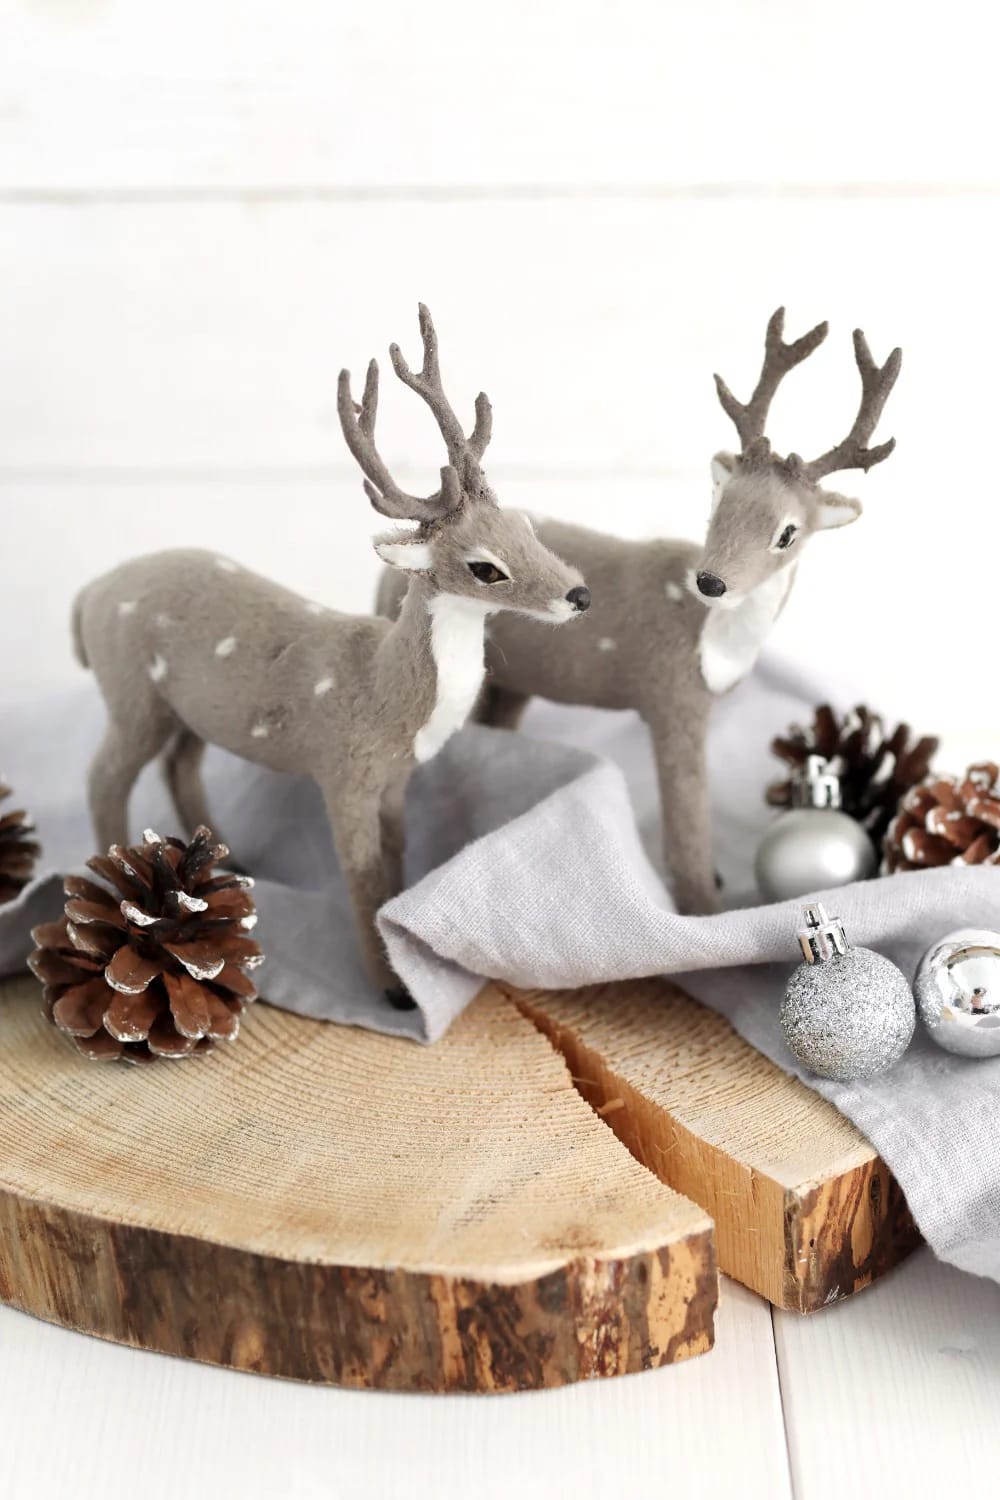
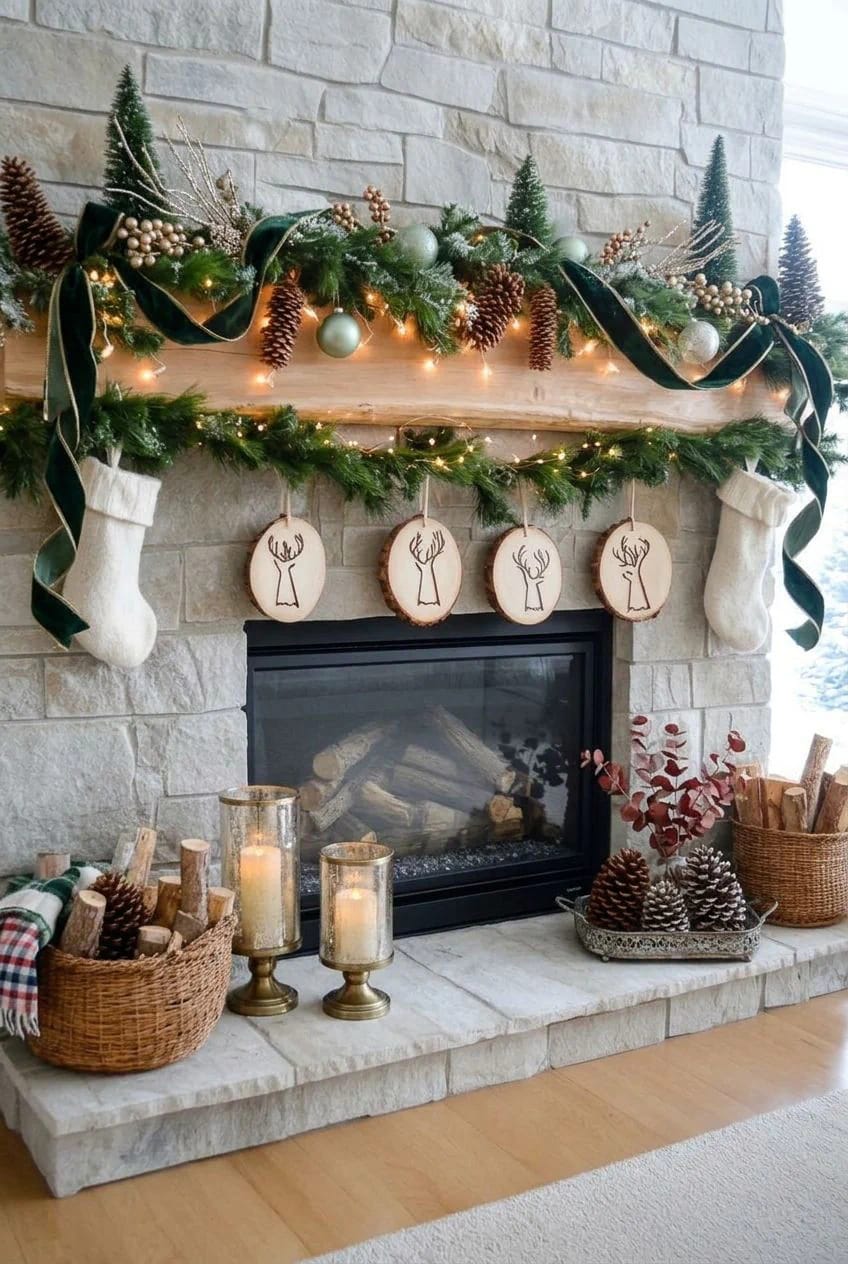
Antlers are where filled silhouettes go wrong, because the tines are too thin to fill evenly. Keep them chunky and slightly stylized rather than realistic. If the reindeer is really what you’re after, a burned silhouette is only the flat version; the standing wine-cork reindeer give you the same animal with actual depth.
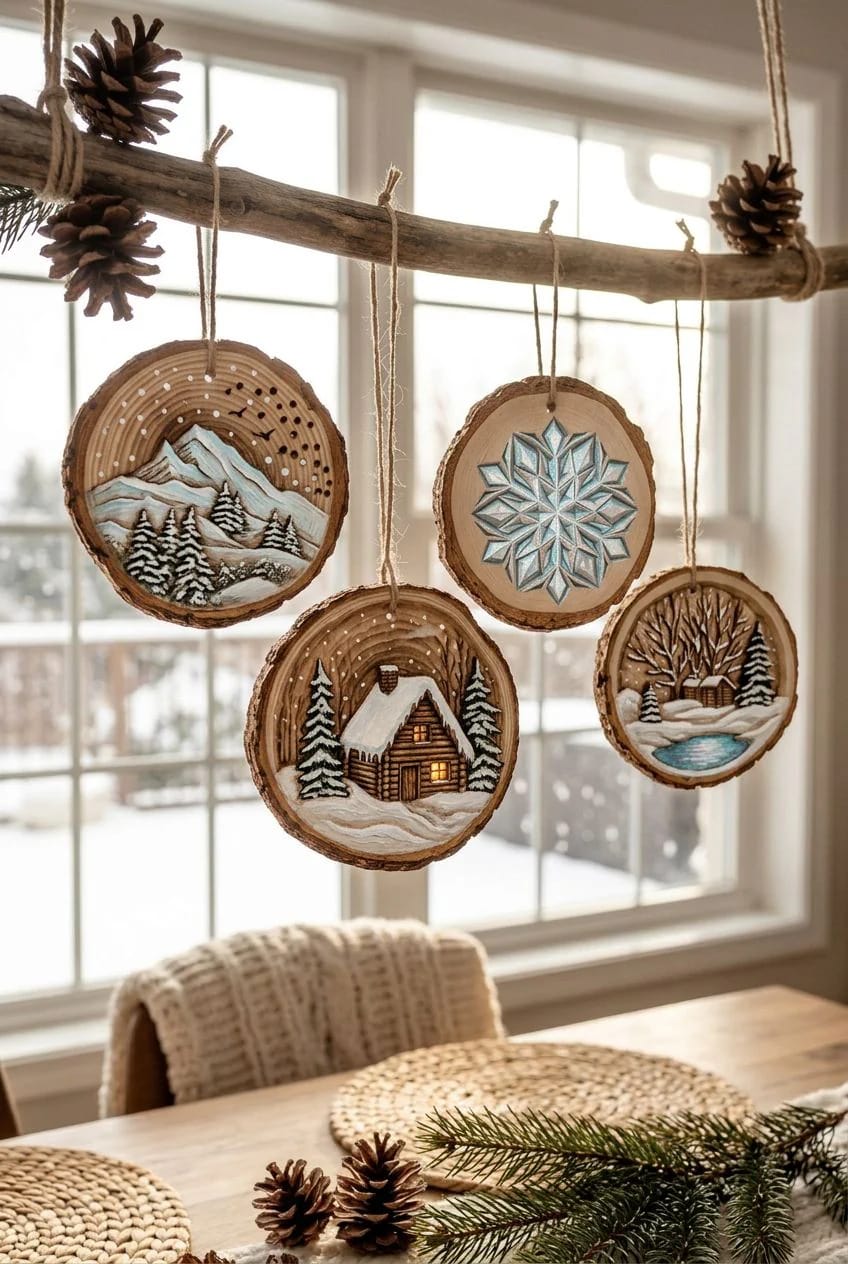
7. Burn the winter scene, then wash it with color
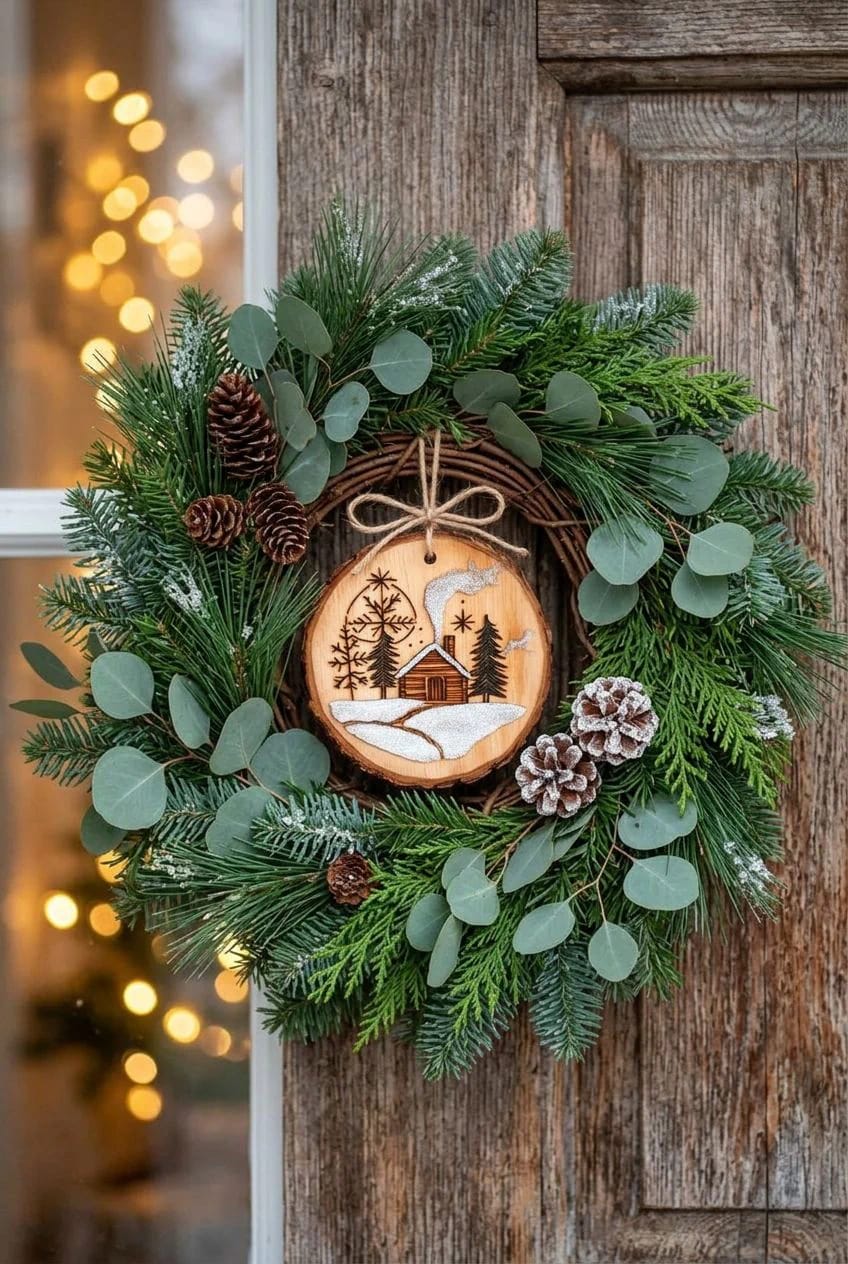
Burn the whole scene first, then drop thin color inside the lines — never the reverse. This is the design that's been climbing lately, and it's genuinely worth the extra step: a burned cabin-and-trees outline stays sharp, and a translucent wash of sage, blue-grey, and a warm window glow turns it from a sketch into a picture without hiding the grain. The burn does the drawing; the paint only tints.
Which paint stays put, and which bleeds
Watercolor and heavily thinned acrylic both work; craft-store “washable” markers do not, because they wick along the grain and blur every edge you just burned. Keep the wash almost dry on the brush. For color that behaves in the opposite way — flooding the surface in unpredictable blooms instead of staying inside your lines — alcohol ink ornaments are the technique to steal from, on a different surface.
8. A gnome whose whole face is beard texture
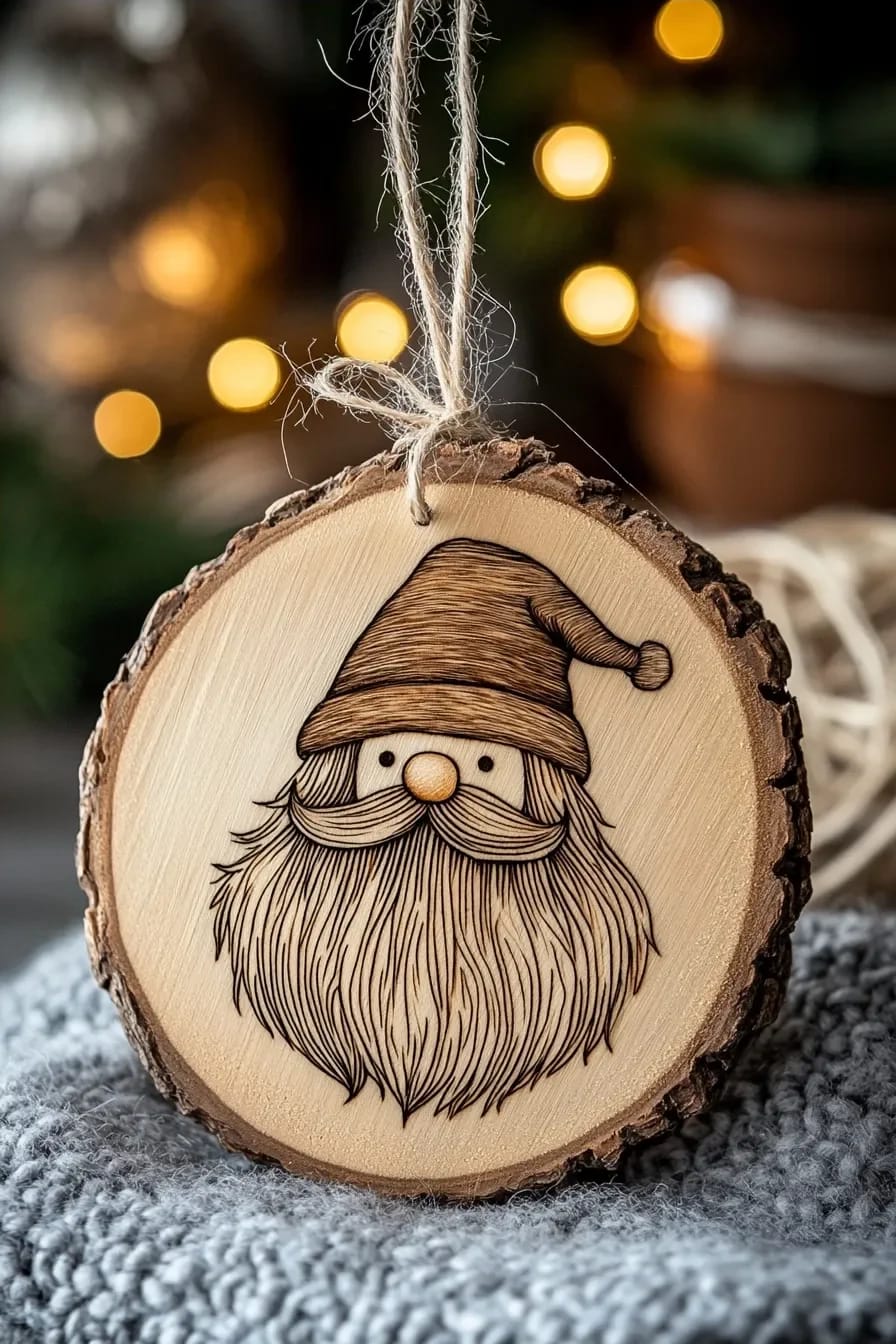
The gnome is overdone, but the burned version beats the painted one because the beard becomes a texture study instead of a flat white blob. Reduce him to three shapes — a triangular hat, a round nose, and a huge beard — and burn the beard entirely in fine curved hatching, dense near the face and loosening toward the tip. Solid-fill the hat, leave the nose as a bare wood circle, skip the eyes entirely.
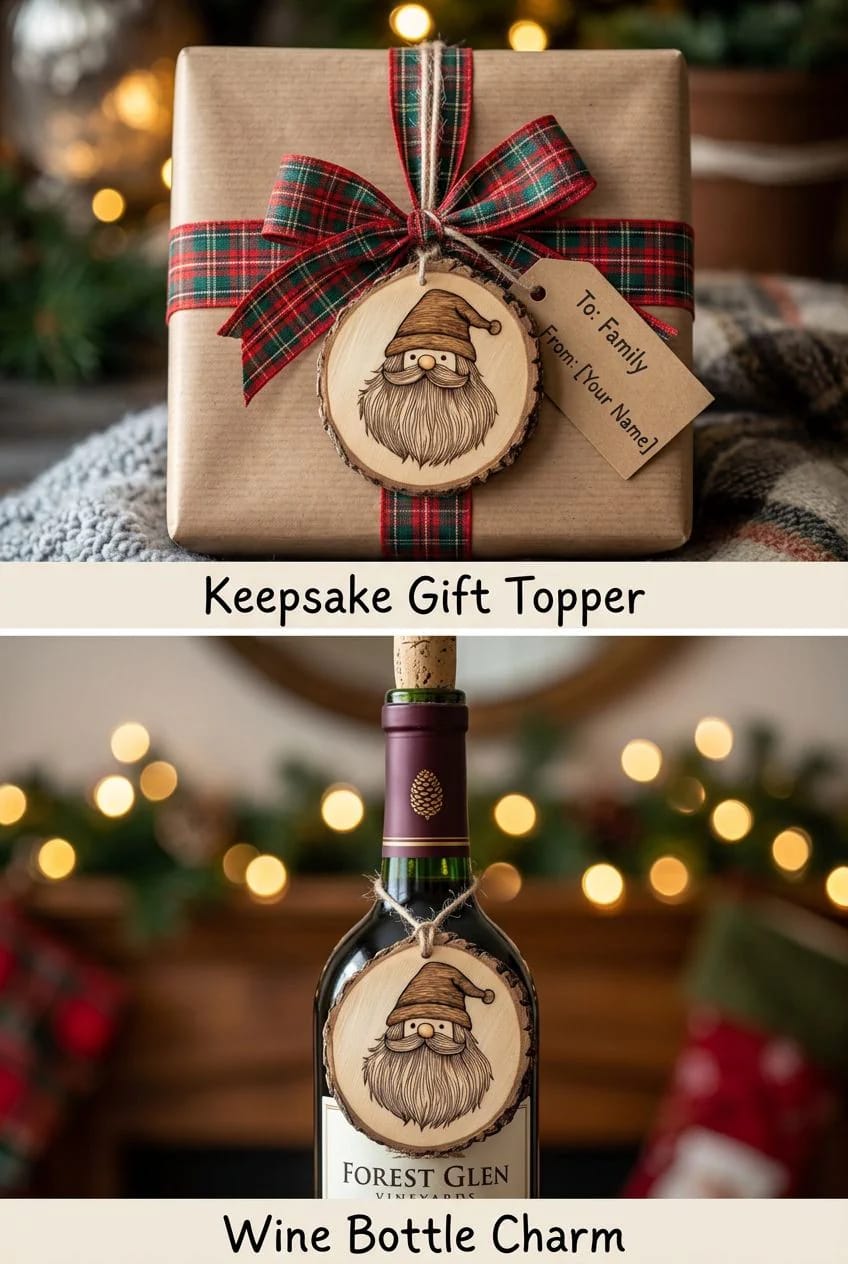
The beard hatching is the entire point of doing it in pyrography, so give it time and vary the stroke length; a beard of identical parallel lines flattens right back into a kit look.
Never burn treated, painted, stained, or plywood and MDF slices. The adhesives and preservatives release genuinely toxic fumes when heated — older pressure-treated lumber was made with arsenic and chromium compounds, and engineered boards are held together with formaldehyde glue. Go easy on resinous pine too: sap pockets flare, smoke, and scorch unevenly, which is why basswood, birch, and poplar are the standard craft-slice woods. If your pen is visibly smoking, it’s running too hot and about to leave a crater; dial it down. And fresh-cut green rounds off a branch will check and crack as they dry, so a kiln-dried craft slice is the stable choice. Burn in a ventilated room with a small fan pulling smoke away from your face.
9. A single monogram inside a burned wreath
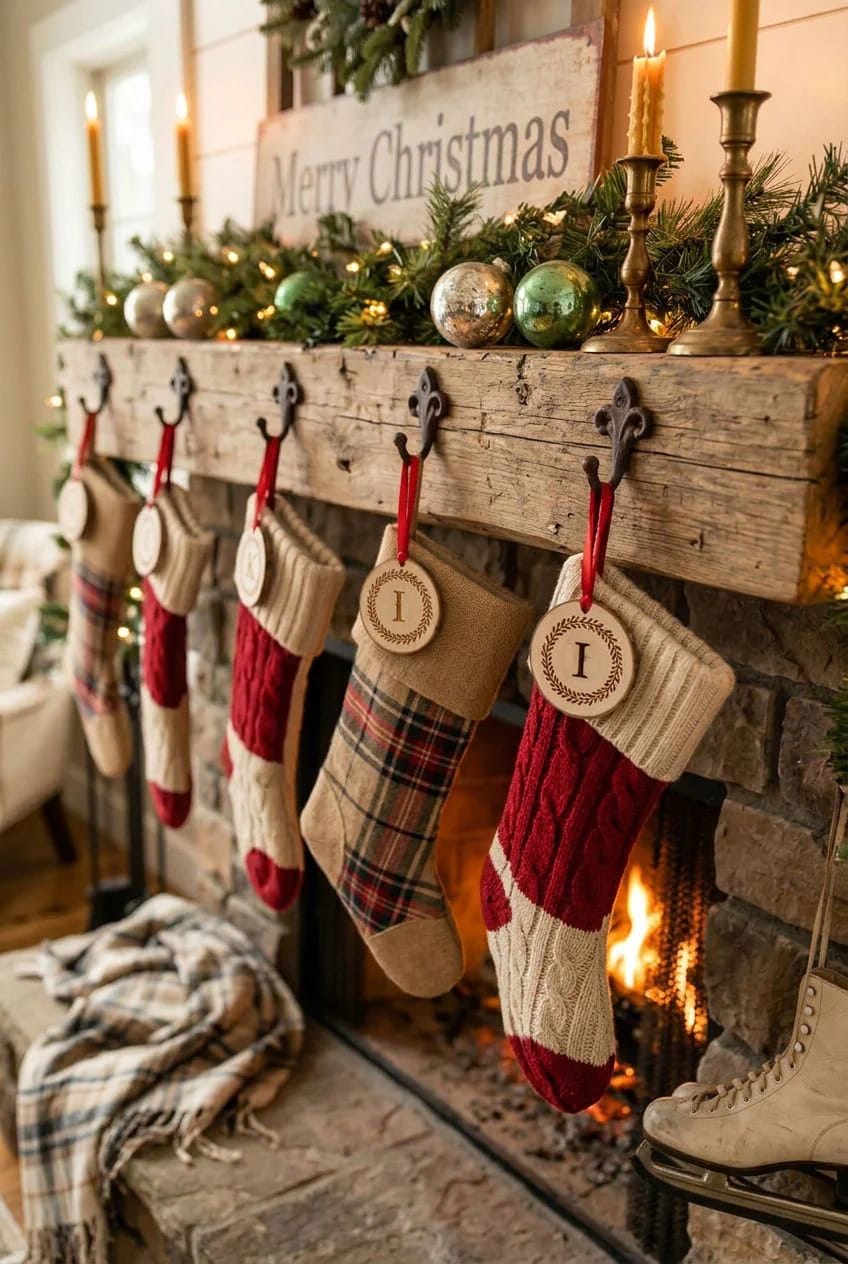
A single initial inside a small burned wreath does two jobs at once: ornament and gift tag. Burn a clean serif capital in the center, ring it with a wreath of small leaves and berries, and add a second hole so it can tie onto a wrapped parcel and then move to the tree. It's the most giftable design here and one of the quickest once you've drawn the letter in pencil.
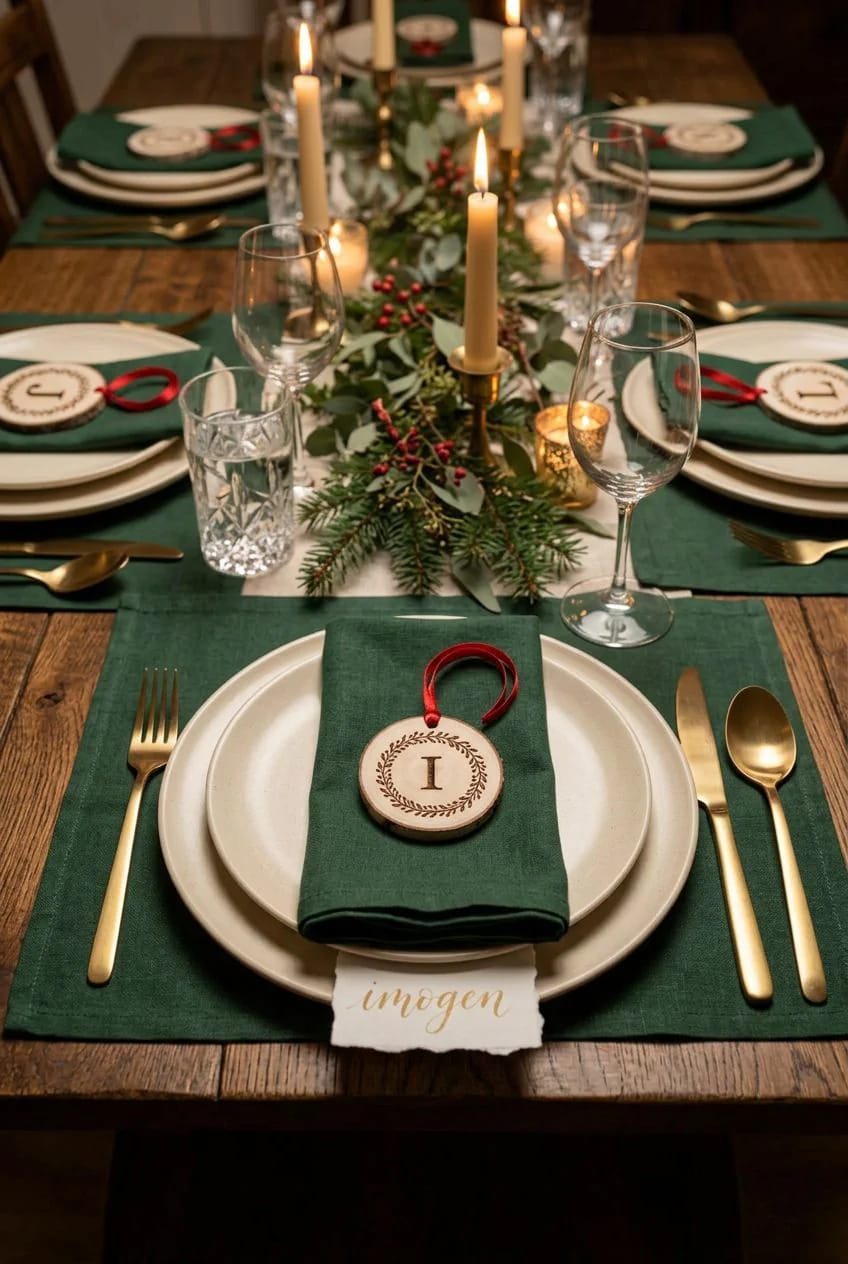
The wreath is forgiving because leaves don’t need to match — burn them slightly different sizes and it looks more natural, not less. These earth-toned burns vanish on a bright artificial tree and land on a bare, woody one; a driftwood Christmas tree built for a cabin is the backdrop they were made for.
Do this to the wood
- Sand the face to 220 then 400 grit before you burn; a scratchy surface drags the tip and skips.
- Erase every pencil guideline you don’t intend to burn before you fire up the pen. Heat sets graphite into the grain and it stops erasing.
- Seal any ornament that gets handled with one thin coat of matte Polycrylic on a foam brush.
Avoid
- Glossy sealers. They plasticize the char and kill the matte, sooty look that makes a burn read as a burn.
- Skipping the seal on gifts. Bare burned lines smudge grey with handling over a season.
- Burning at full heat to go faster. It’s how flat designs turn into gouges.
10. A stippled cabin scene for when you want to show off
When you want to prove you can actually do this, stipple a whole cabin scene. This is the afternoon project — a cabin, a couple of pines, snow drifts, a curl of chimney smoke, all built from thousands of individual dots rather than lines. Stippling gives you a full tonal range from pale tan to near-black just by changing how densely you place the dots, and it produces the soft, photographic depth that flat line work can't touch.
Building tone with dots, not lines
Work light to dark and let bare wood be your brightest white — the snow is nothing but the absence of dots. Where you want a shadow, crowd the dots together; where you want a glow, spread them out and stop early.
The shortcut that flattens it
The temptation, three hundred dots in, is to switch to short lines to "fill faster." Don't. The second you mix hatching into a stippled scene the eye catches the inconsistency, and the whole thing reads as two techniques that lost an argument. If your wrist gives out, put it down and finish tomorrow.
Related Posts
- Pallet Wood Christmas Crafts for Beginners That Don’t Look Like Scrap Lumber
- Create Unique Alcohol Ink Christmas Ornaments Step By Step
- 25 Stunning Wooden Christmas Ornaments to Inspire Your Holiday Decor
- 13 Reclaimed Pallet Christmas Signs for a Farmhouse (That Don’t Look Store-Bought)
- Rustic Driftwood Christmas Tree Ideas for Cabins
- Foraged Twig Christmas Decorations From the Garden