
The seed paper ornament that fails does so quietly. It hangs on the tree, it gets admired, someone takes it home, and in April they push it into a pot of compost and nothing comes up — because the seeds went through the blender with the pulp, or the sheet dried on a radiator, or the mix was a generic "wildflower" blend with no business being planted in that person's state. The craft is genuinely easy. The germination is the part almost nobody handles properly, and it is the only part the recipient will remember.
What follows is thirteen distinct objects, not thirteen versions of a disc with a hole in it: cast cookie-cutter shapes, hollow balls, a 24-day advent garland, a remembrance ornament carrying a conifer seed, and one that is meant to hang outdoors all winter and go into the ground in February rather than May. Where a specific matters — pulp thickness, dye temperature, which seeds survive the process — it's stated rather than glossed.
1. Cookie-cutter cast stars and trees
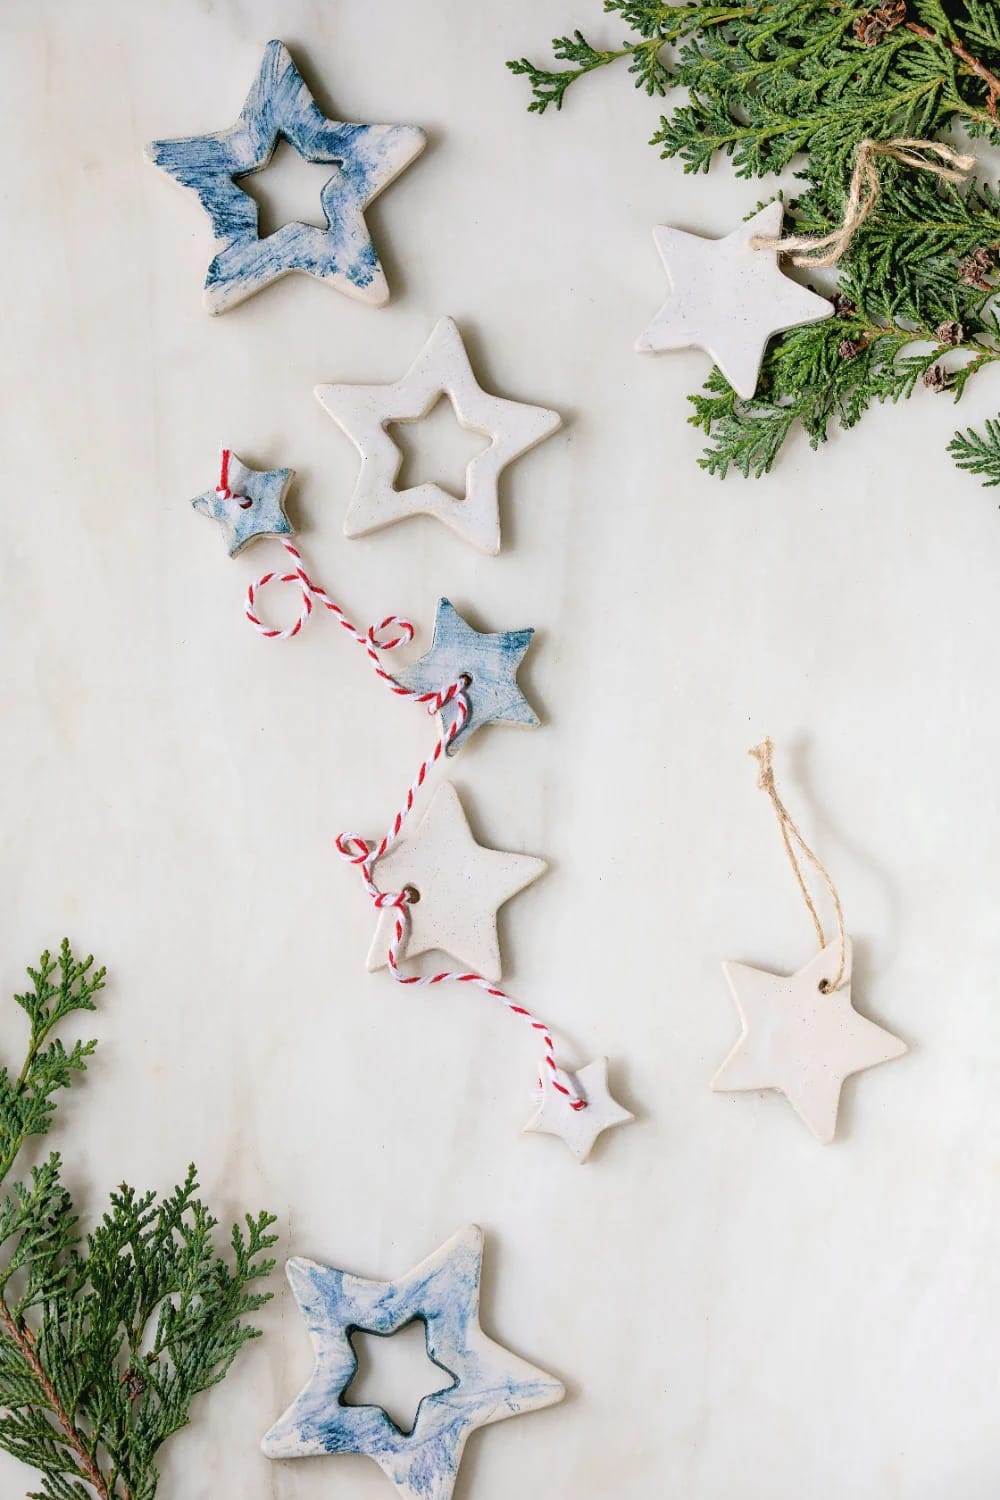
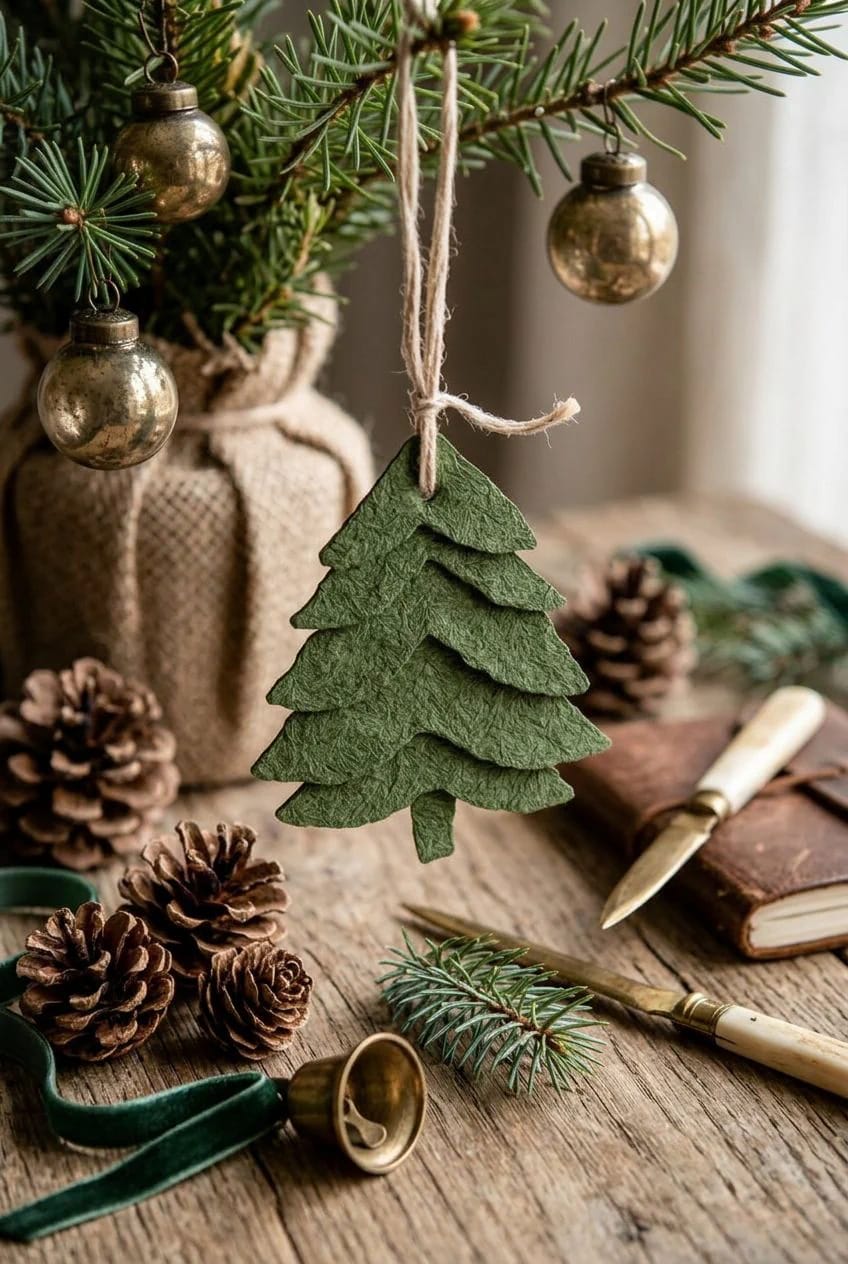
A metal cookie cutter is the mold, which means you can skip the papermaking frame entirely. Set the cutter on a screen over a towel, pack damp pulp into it with your fingers, press the surface with a sponge to pull the water out, then lift the cutter straight up. A 3-inch star or tree is the useful size — small enough to dry overnight, large enough that the shape still reads once the edges soften.
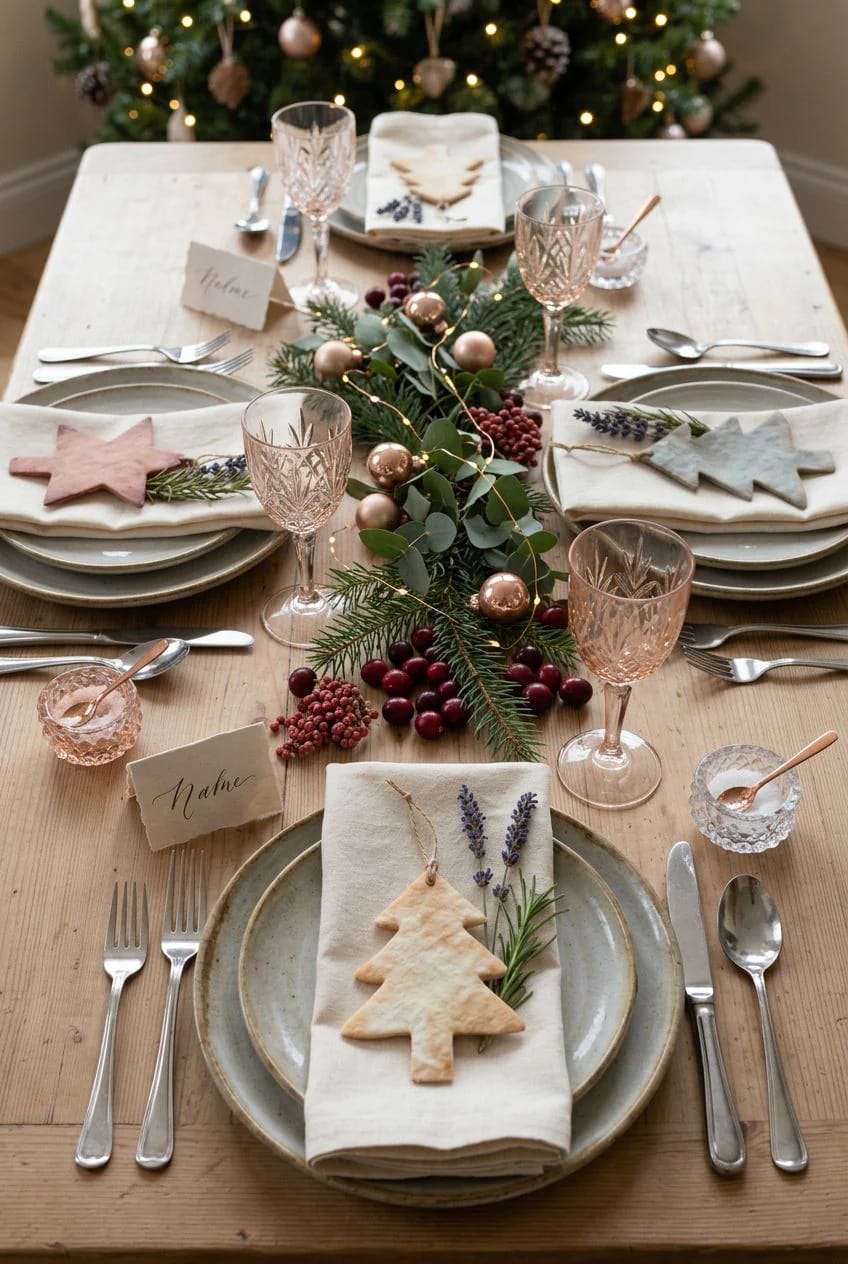
Two numbers do most of the work here. Pack the pulp to roughly an eighth of an inch: thinner and the points tear when you lift the cutter, thicker and the center is still damp three days later, which is where mold starts. And punch the hanging hole while the shape is wet, with a drinking straw, about a quarter inch in from the edge. Punching a dry sheet cracks it.
The seeds go in after the blender, never during. Blend your paper to a slurry first, pour it into a basin, then stir a teaspoon of seed through by hand. Dry the finished shapes flat on a rack at room temperature for a day or two, and keep them off the radiator and out of the oven, however tempting the shortcut looks in December.
 How to Make Plantable Seed Paper Christmas Cards That Actually Grow The full pulp-to-drying-rack method, including the mistakes that kill germination before the sheet is even dry.
2. Seed paper ball ornaments
The sphere is the version that stops looking homemade. Flat shapes always read as paper; a hollow ball of pulp about two inches across reads as an object, which is exactly why the Etsy sellers who supply corporate holiday giveaways build them that way. Bright geometric printing on the surface is a common commercial treatment, and it works because the form is already three-dimensional.
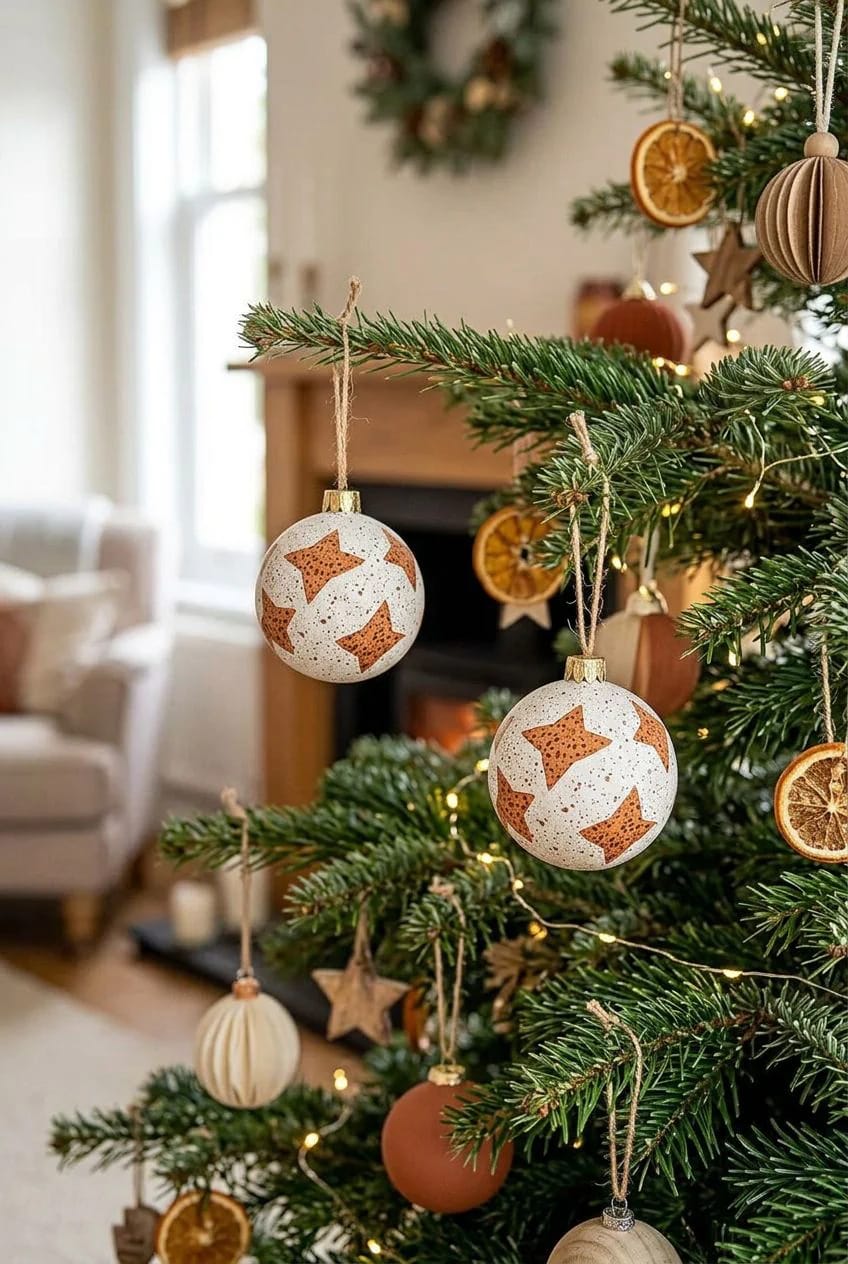
Build them in halves over a small ball or a part-inflated balloon, dry each half fully, then join the two with a narrow strip of wet pulp smoothed over the seam. Attempting a single closed sphere over a balloon collapses when the balloon comes out — the wall has nothing to hold its curve while it dries. The seam is visible either way, and I'd stop trying to hide it; a clean join line looks deliberate, a smeared one does not.
3. Pressed-petal discs that hang in a window
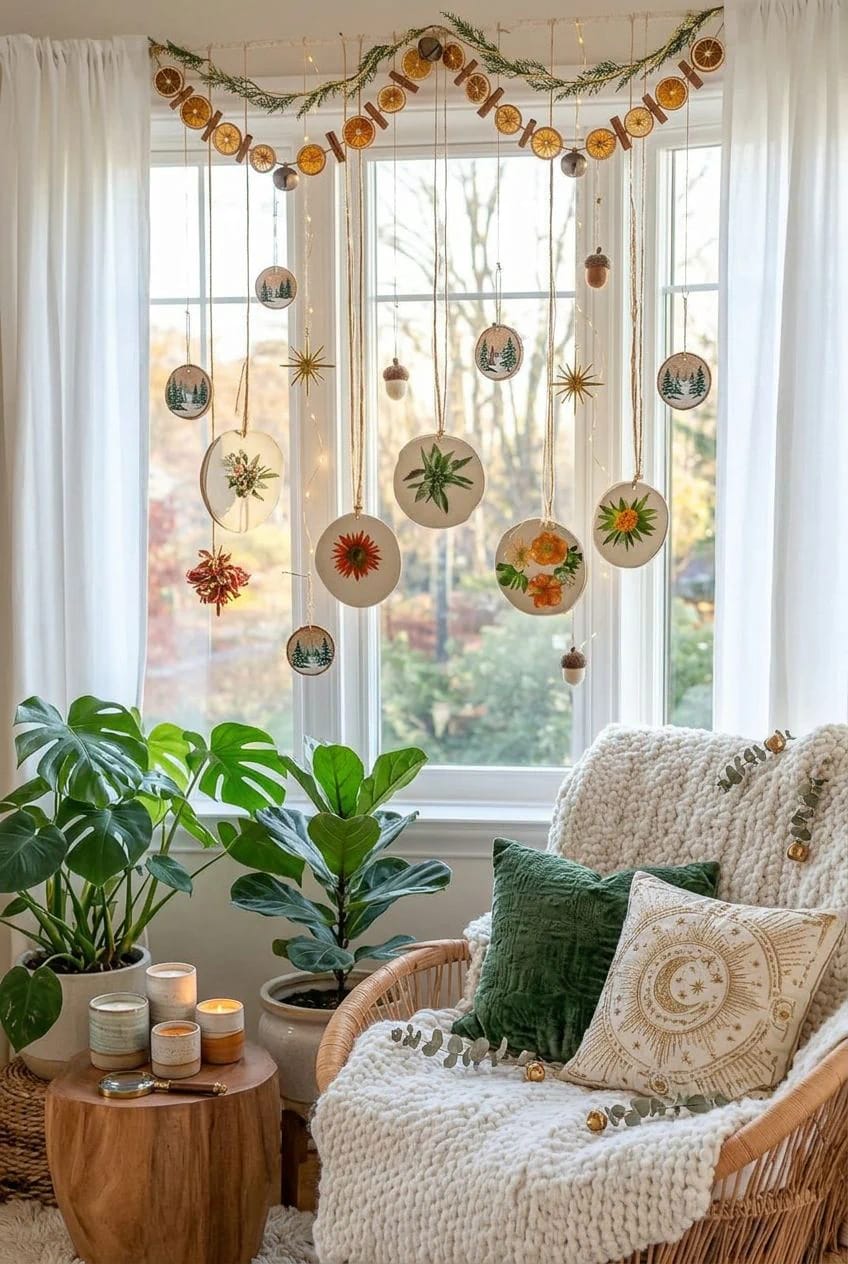
Halve the pulp thickness and the disc stops being opaque, which changes where the ornament wants to live: on the window, not the tree. Lay a pressed petal onto the wet sheet, press once through a cloth, and the fiber closes over the edges of the petal and holds it without glue. Larkspur, cosmos and single hydrangea florets all press flat enough. Rose petals do not, and they brown.
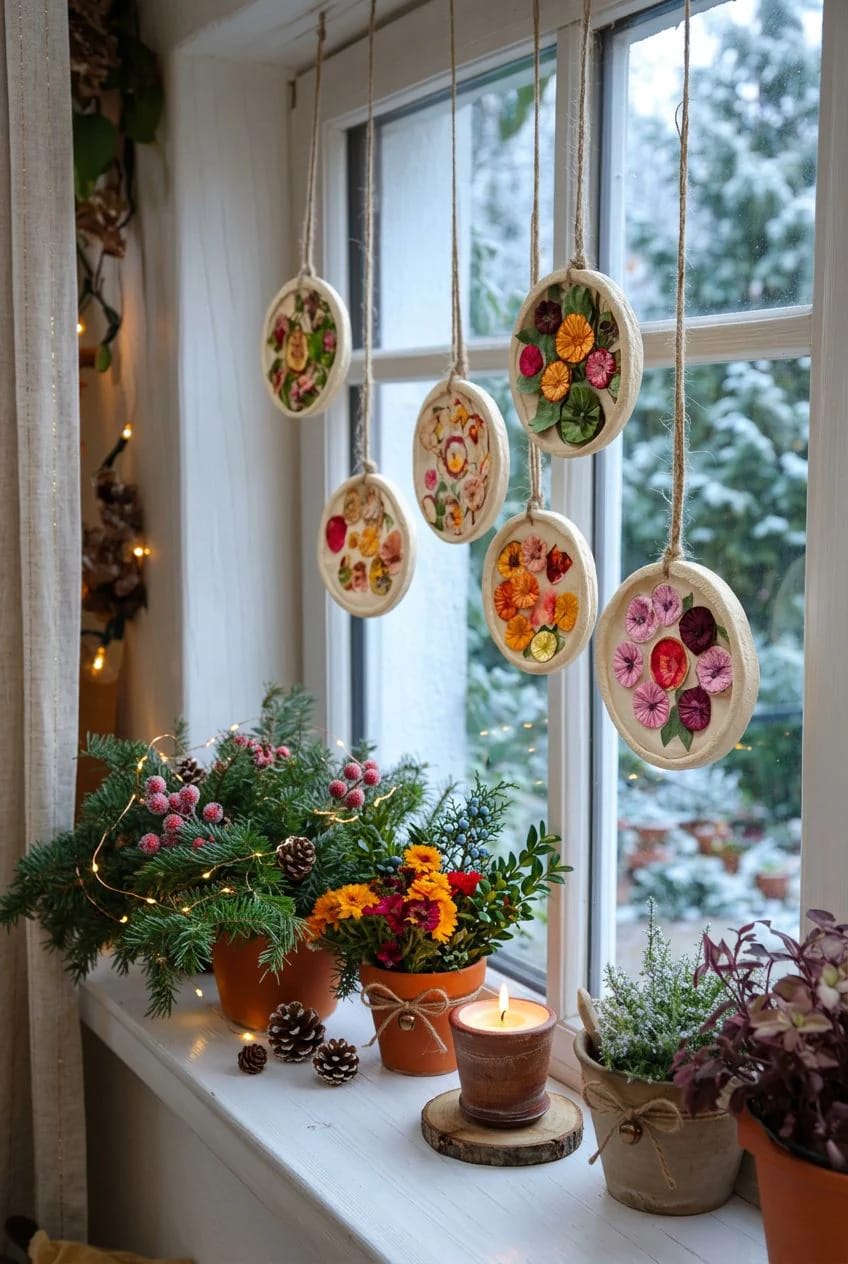
One placement rule earns its keep. Keep the pressed flower off-center, in the outer third of the disc, so the seeded area stays clear — a petal sitting directly over embedded seed makes a barrier the shoot has to push sideways around. The same instinct that makes pressed fern imprints work in air-dry clay rather than pressed ferns themselves applies here in reverse: the paper wants the real botanical, the clay wants only its ghost.
4. The gift tag that becomes the ornament
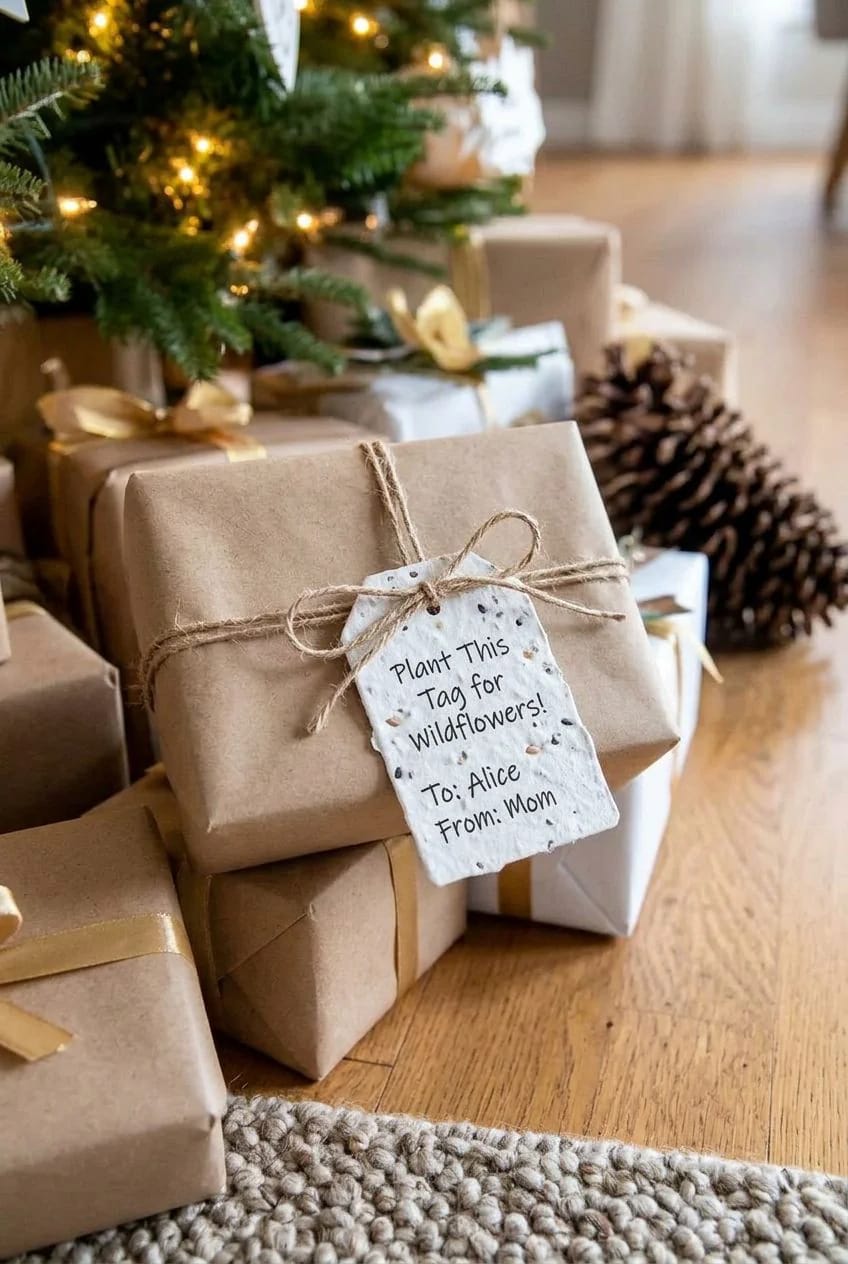
One object doing three jobs is the strongest version of this whole category. It rides on the parcel with the recipient's name on it, moves to their tree for a few weeks, and goes into a pot in spring. Hemp twine rather than ribbon, because the twine can go into the ground with it.

Write on it in pencil or with a soy-based stamp ink. Gel pens and felt tips wick along the fibers and turn a name into a smear, and anything that seals the surface — varnish, laminate, a coat of acrylic — ends the ornament's second life. Stamp the planting instructions on the back before you tie it on, because the person receiving it has no reason to know the tag is anything other than a tag.
5. One species per ornament, named on the back
Give a single named species rather than a mix, and write its botanical name on the reverse. The generic "wildflower blend" is where this project's reputation gets damaged, and the evidence on that is not new: a 2002 study at the University of Washington's Center for Urban Horticulture grew out nineteen commercial wildflower packets and found every one of them contained between three and thirteen species considered invasive somewhere in North America. The tidiest packet in the set still produced 28% invasive plants.
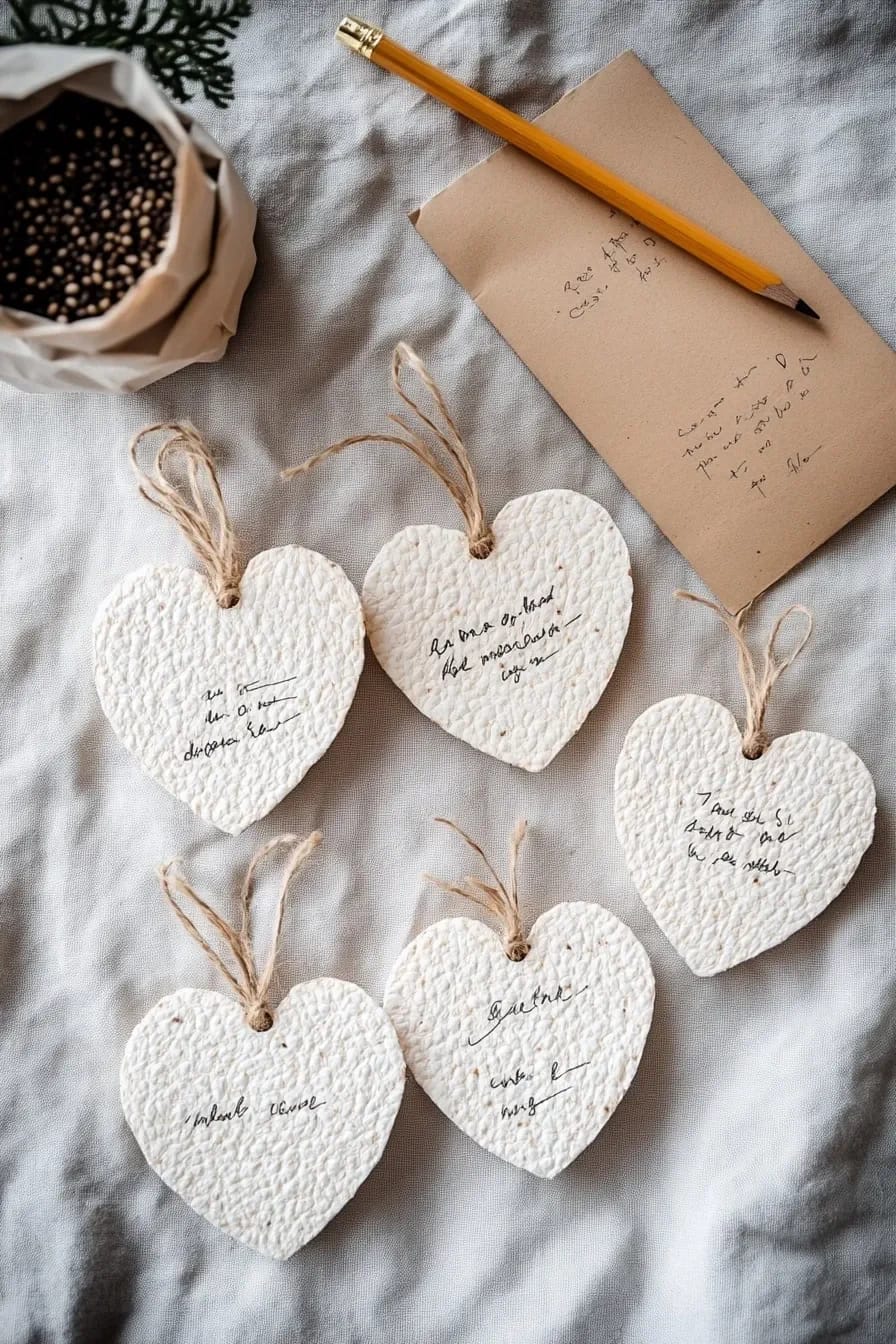
Buy a single-species packet of something native to the region the ornament is going to. Then the recipient knows what they have, can look up whether it needs a cold spell before it will germinate, and can decide where to put it — which is the whole difference between a plant and a liability. If they don’t have a garden bed for it yet, a front-yard native planting is a reasonable place for it to end up.

Bachelor’s button, oxeye daisy, dame’s rocket, yellow toadflax and common tansy all turn up regularly in retail wildflower blends, and all of them are listed as noxious or invasive somewhere in North America. When CBC asked the Manitoba Museum’s curator of botany, Diana Bizecki Robson, to identify the contents of one mix in 2026, only two of its seventeen species were native to the province. Buy packets that print scientific names, not just common ones, and skip anything sold as a nationwide blend.
6. Herb ornaments for people with no garden
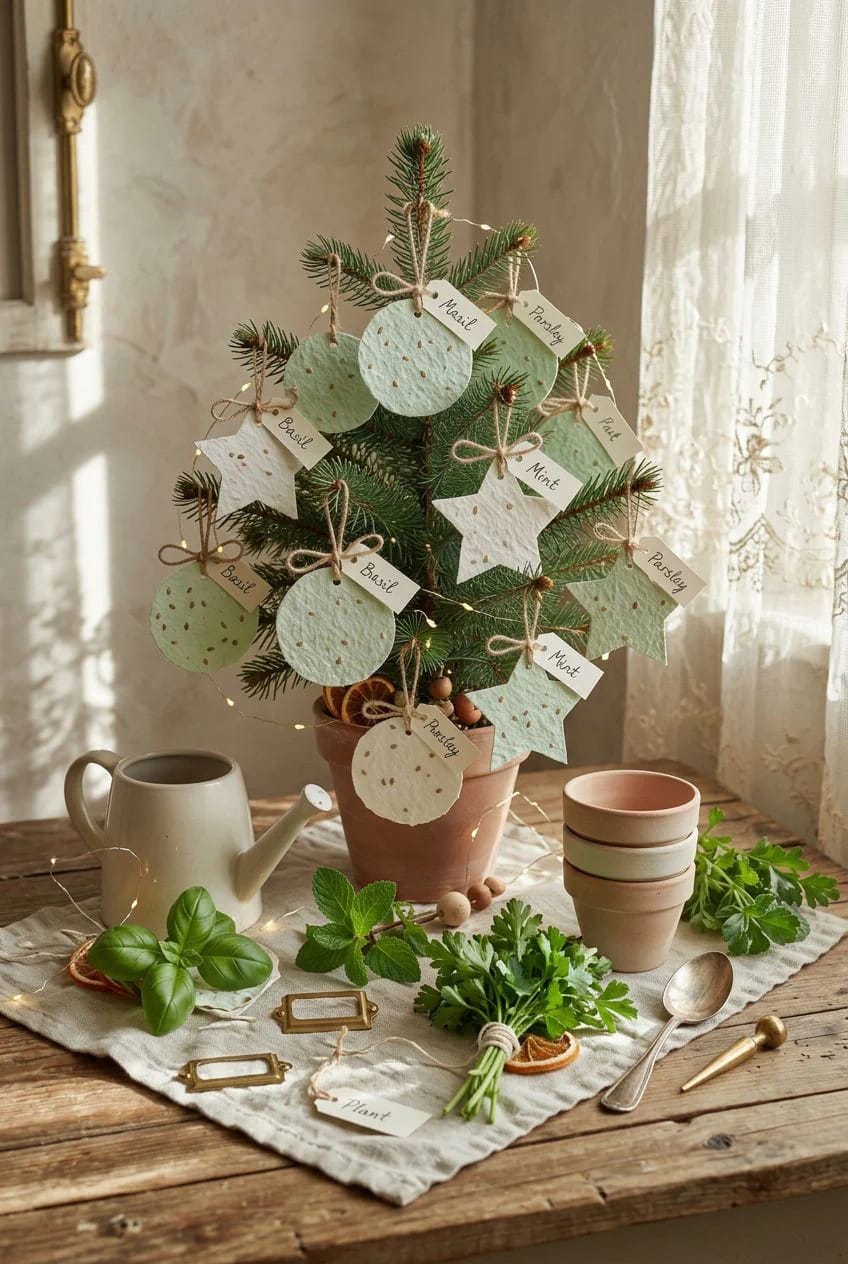
For a recipient in an apartment, embed culinary herb seed instead of flowers and the ornament ends up in a six-inch pot on a windowsill rather than in a bed they don't have. Basil and thyme both germinate at ordinary room temperature with no cold treatment, which matters more than it sounds: it means the ornament can be planted the week it comes off the tree, in January, with no waiting for a season to arrive.
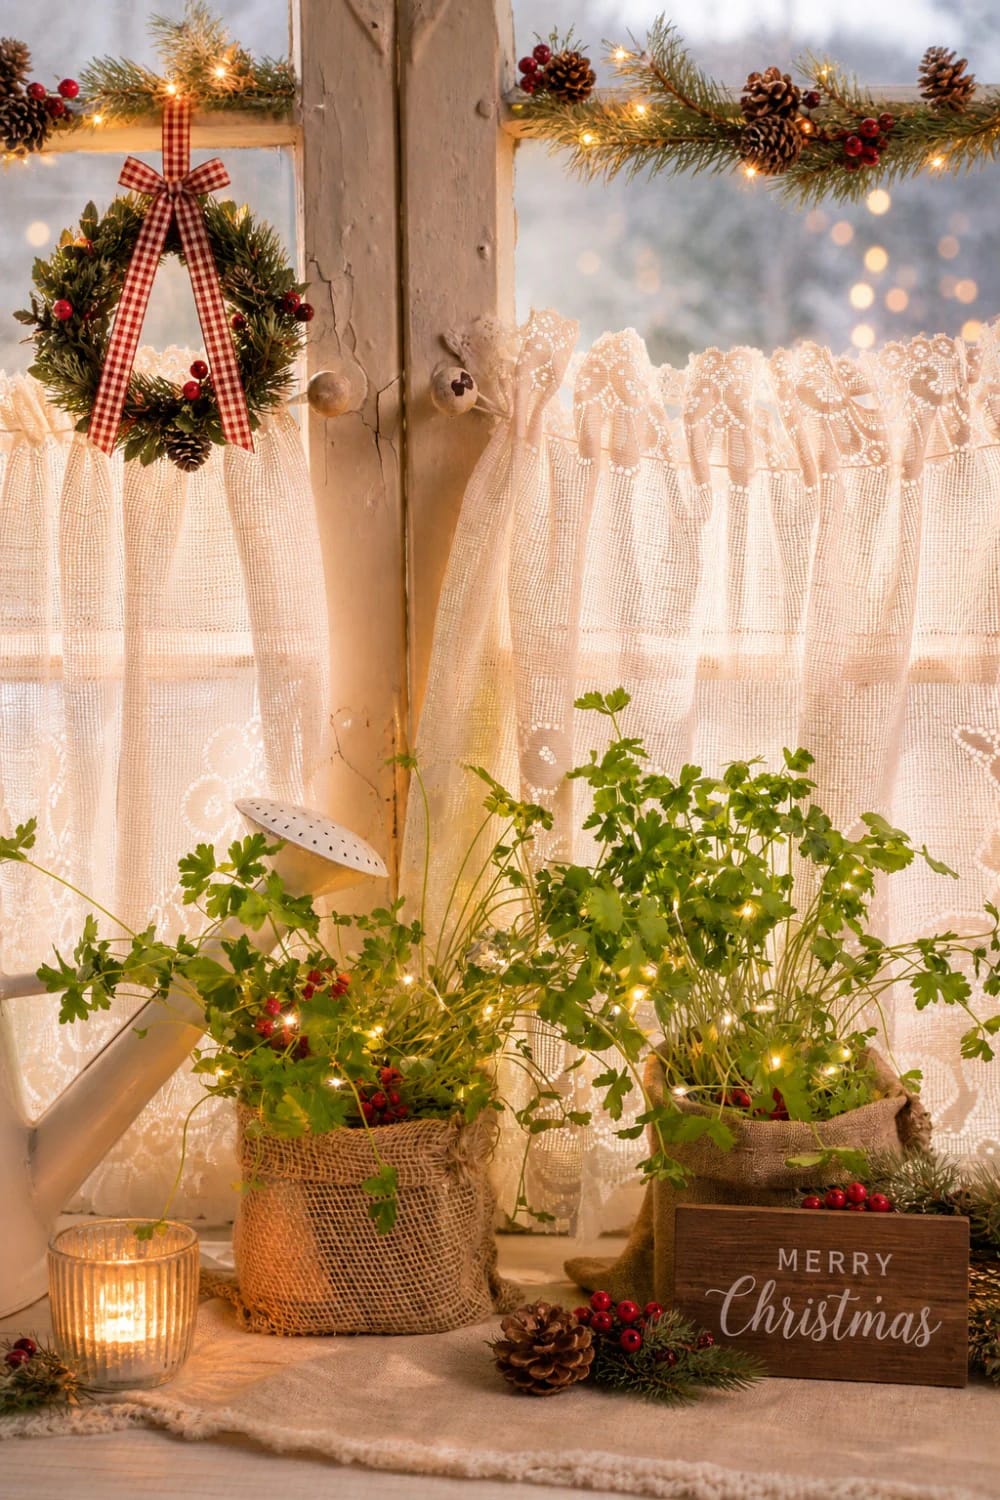
Chamomile is the one to handle differently. It needs light to germinate, so the sheet goes on the surface with barely a dusting over it, where basil is fine under an eighth of an inch. Say so on the tag, or the ornament goes in an inch deep with the best of intentions and never surfaces.
7. Snowflakes punched from bought seed paper sheets
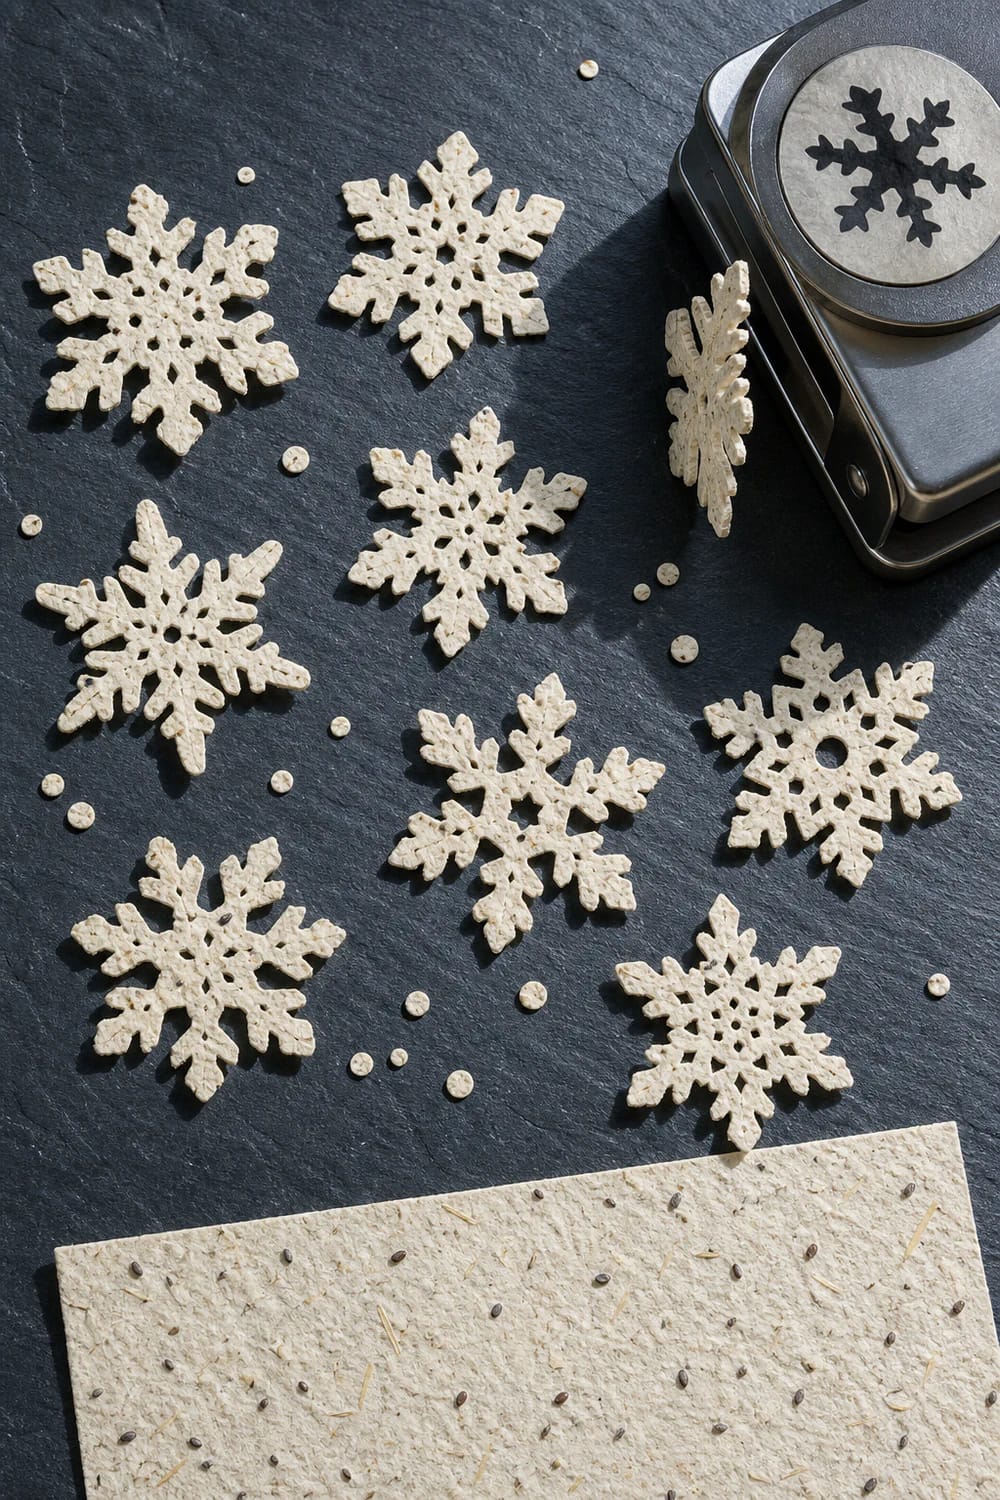
Skip the blender entirely and buy the sheets. A craft punch turns a bought sheet into six to nine identical snowflakes in about a minute, and bought paper is the more reliable choice on germination for an unglamorous reason: the manufacturers test it, which nobody does with a kitchen batch. Botanical PaperWorks, one of the larger suppliers, states that its paper is germination-tested and asks for an eighth of an inch of soil over the top and consistent moisture, no pooling.
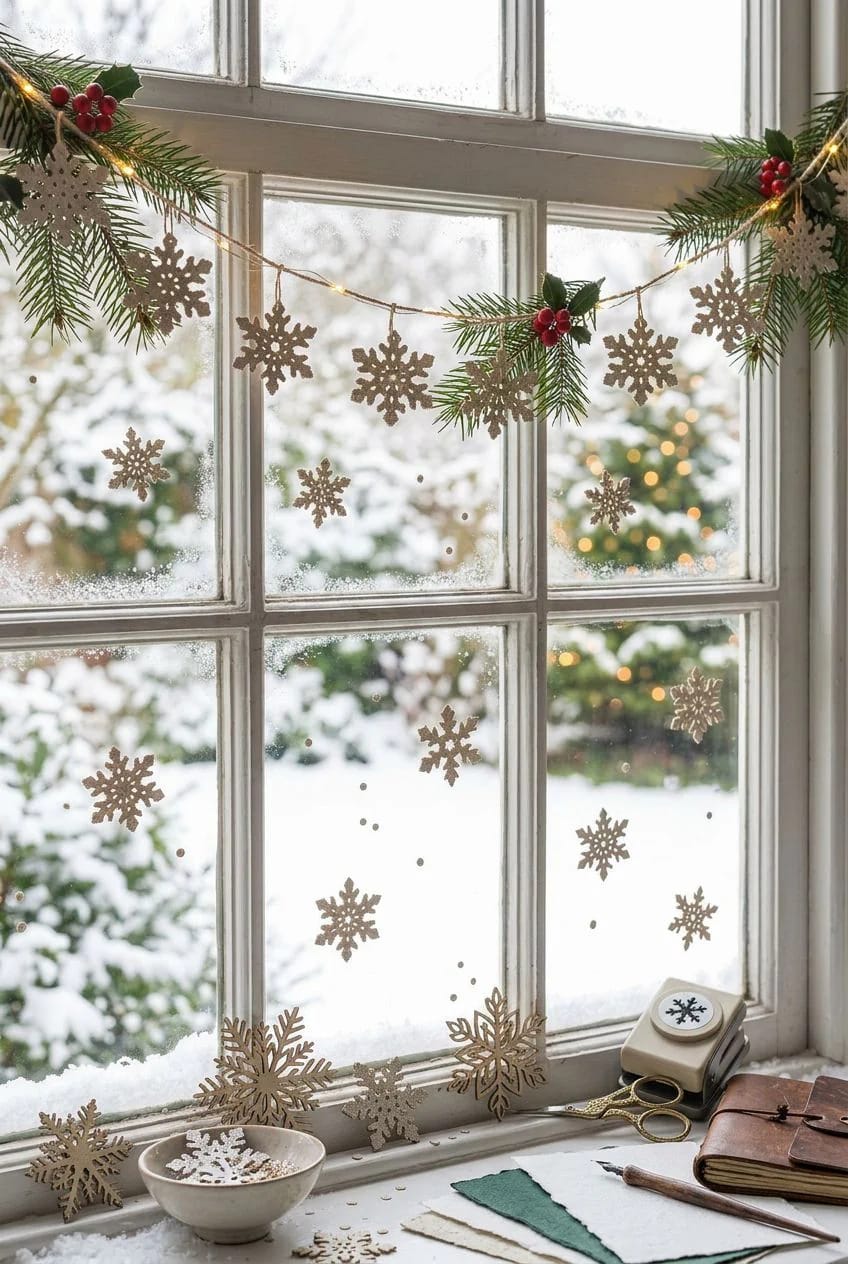
Sheets run roughly $2 to $5 each depending on the seed blend and quantity. Punches struggle with anything much over an eighth of an inch, which is another argument for the commercial stock — it is milled to a consistent thickness, and a handmade sheet never is.
8. A 24-disc advent garland
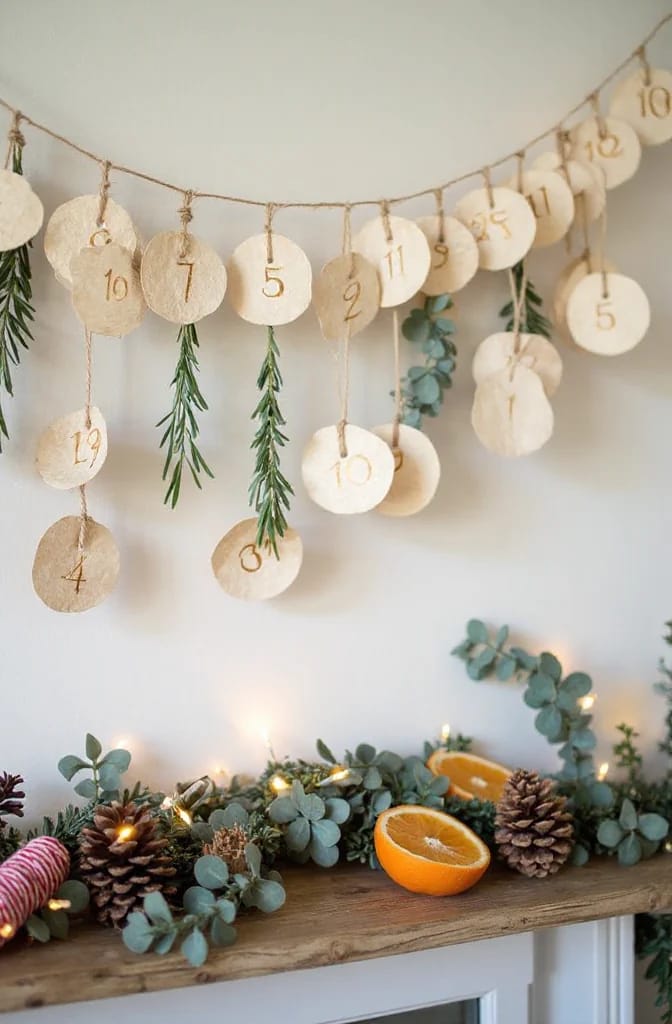
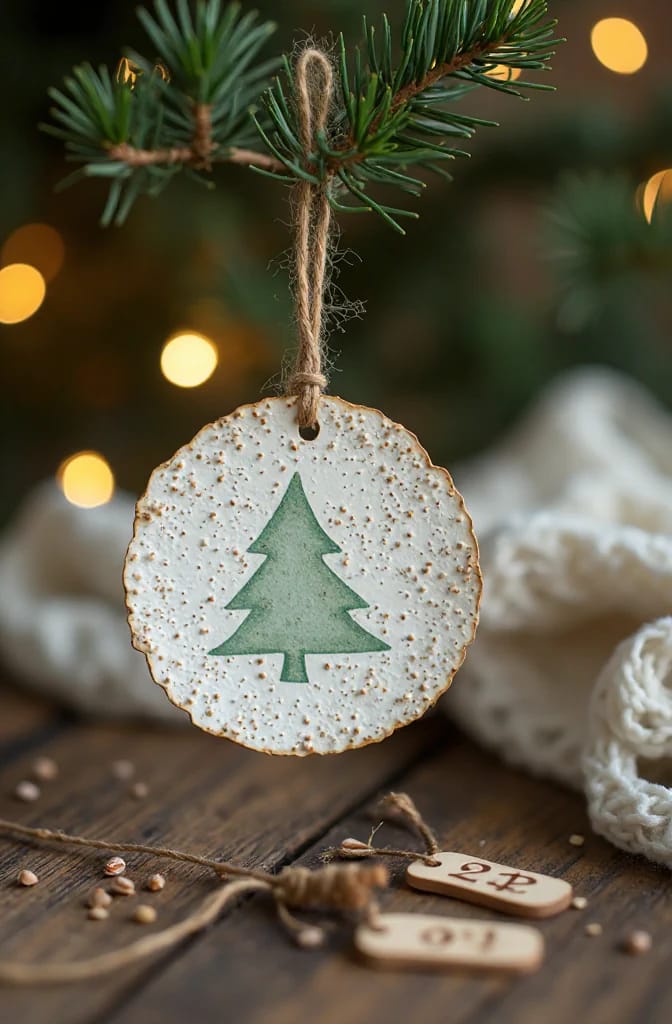
Twenty-four numbered discs on a length of jute, one pulled off each day, and the whole string planted after Christmas. It solves the disposal problem that every paper advent calendar has, and it's the one idea here with a built-in reason to look at the object every single day rather than once in December.
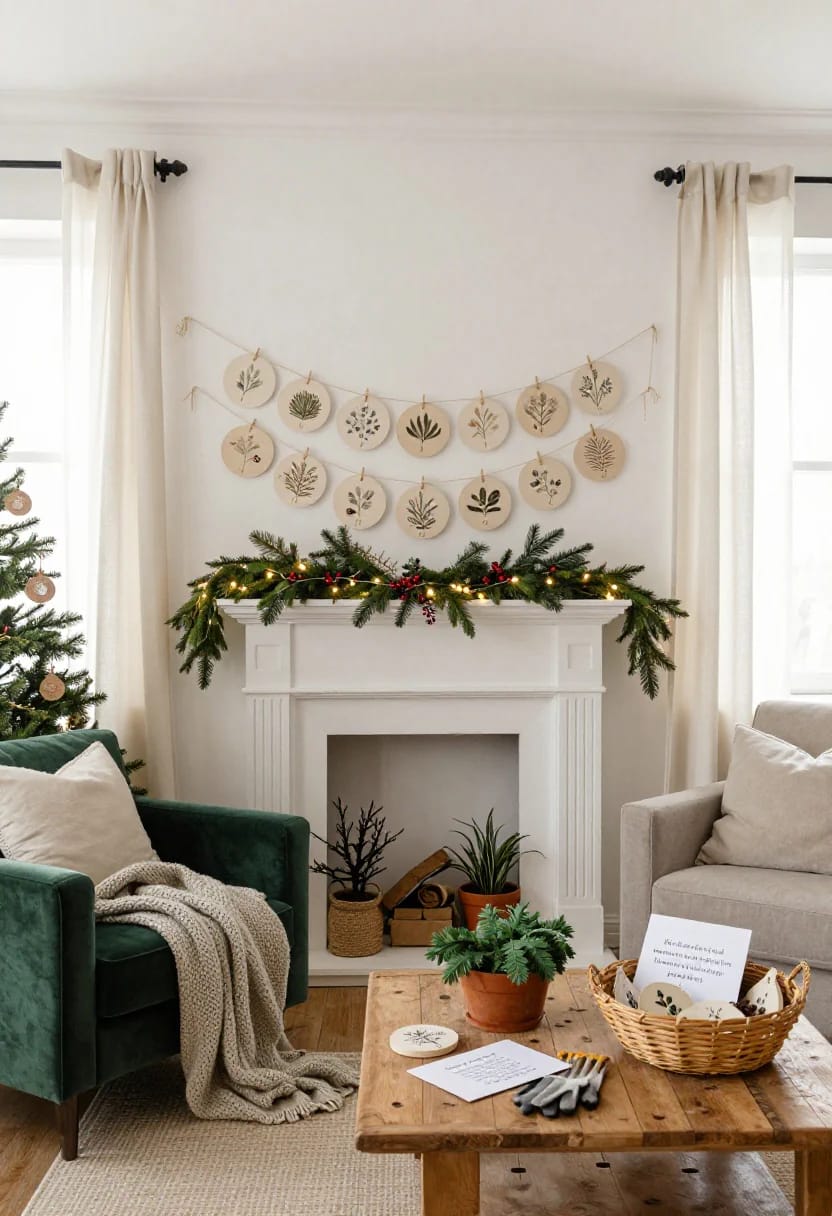
Cut the discs at about an inch and a half and space them four inches apart. Anything larger and twenty-four of them is a heavy rope; anything closer and the numbers stop being readable from across the room. When it comes down, coil the whole thing loosely into a shallow tray of compost rather than cutting the discs apart — it germinates as a rough drift, which is closer to how these flowers grow anyway, and it fits neatly with the rest of the spring decorating that follows it.
9. Pulp dyed with onion skin, cranberry, and spinach
Color the pulp, not the finished ornament. Painting a dry seed sheet coats the fibers in a film the shoot has to break through, and most craft paints seal well enough to matter; dyeing the slurry leaves the paper as porous as it started. Onion skins give a soft gold-brown, cranberries a dusty pink that fades within a year, spinach a grey-green that never gets as green as you expect.
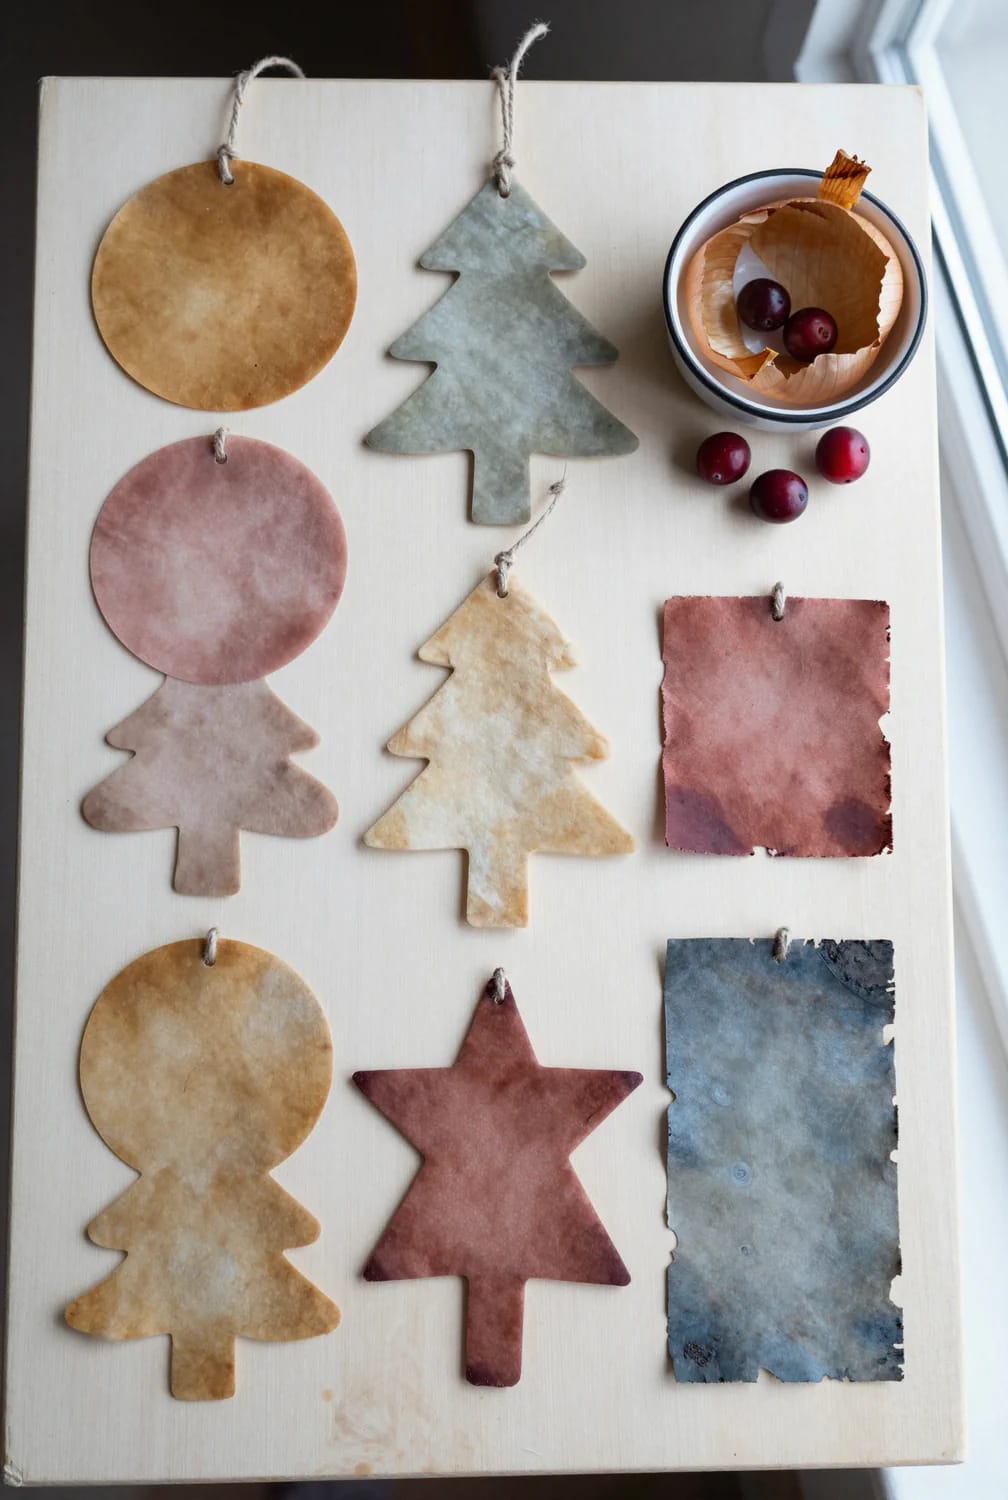
The temperature is the part people get wrong. Steep the dye hot, strain it, then let it come back to room temperature before the pulp goes in and well before the seeds do. There’s no need to fear a warm room; there is every reason to keep boiling water away from the seed. Onion skin in particular is worth saving through November for this, and the same dye bath will handle a few other wildflower-adjacent projects in the same afternoon.
The blade: seeds added before blending get shredded with the paper. Blend first, pour into the basin, stir the seed in by hand.
Heat: hot dye baths, radiators, ovens and hairdryers all raise the sheet well past what the seed will tolerate. Air-dry flat for a day or two instead.
Coatings: varnish, acrylic paint, laminate, hairspray as a “fixative”, and glitter glue all seal the fiber. If it makes the sheet shiny, it makes it a barrier.
10. Thumbprint ornaments kids can make
Wet pulp takes a thumbprint the way clay does, and the print survives drying — so a child's actual hand ends up recorded in something that is eventually going to be planted, which is either lovely or slightly melancholy depending on your mood. Set expectations at roughly twenty minutes of genuine attention before it stops being interesting.
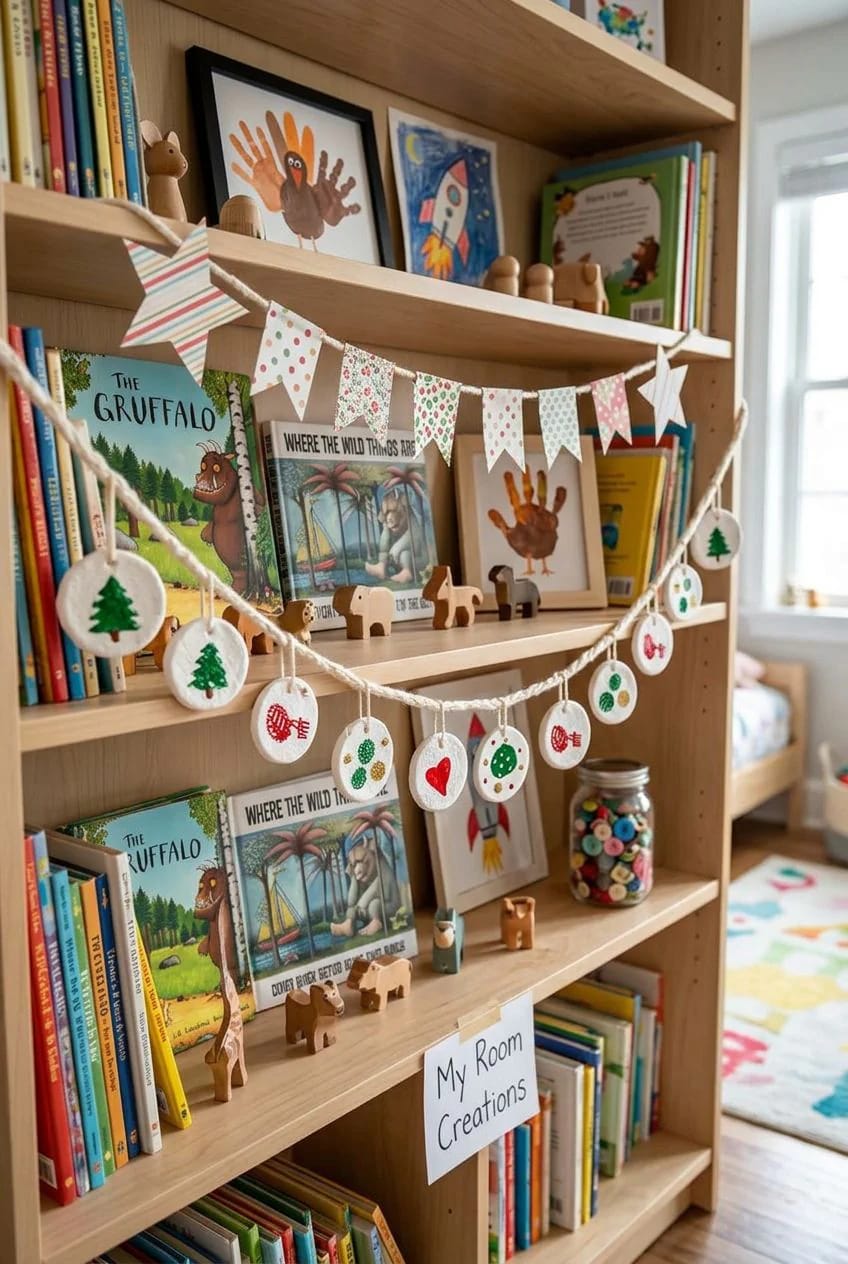
Drain the pulp in a plastic colander rather than a sieve, keep the whole operation on a tray, and lose the glitter — including the biodegradable kind, which is still a coating sitting on top of the seed. If the finished thing needs to feel more like a present, write the year and the child’s name on the back in pencil. Families who want a second no-mess ornament for the same afternoon can get one out of an old flannel shirt with no sewing at all.
11. A remembrance ornament carrying a tree seed
Conifer seed instead of flower seed turns the ornament into a sympathy gift, and there are commercial versions already doing this — die-cut recycled paper ornaments inlaid with Austrian pine seed, sold to funeral homes to attach to memorial folders. The homemade equivalent is straightforward: pine or spruce seed is small and flat enough to embed cleanly.
Be honest on the tag about what happens next, though. Conifer seed germinates at lower rates than annual flower seed, most species want a long cold moist period first, and what emerges is a seedling that will take years to look like anything. Send several seeds rather than one, and say plainly that not all of them will take. A gift that overpromises on this particular occasion is worse than one that doesn't promise at all.
12. A batch of thirty for teachers, neighbors, and the office
At volume, stop casting shapes one at a time and make a slab. Pour the seeded pulp into a rimmed sheet pan lined with cloth, press it out to an even eighth of an inch, dry it flat, then cut it into squares or rectangles with a craft knife and a steel rule. One large paper grocery bag plus four sheets of office paper makes roughly a 9×13 slab, which cuts into about thirty two-inch squares.
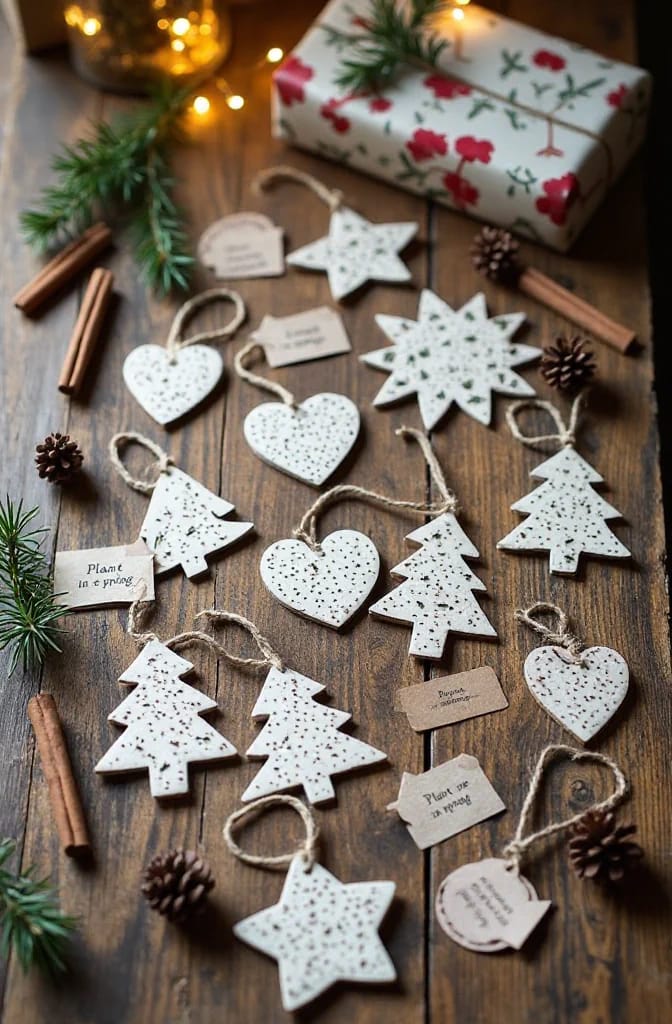
Stamp the planting instructions across the whole slab before you cut, so every square carries them. Corporate seed paper giveaways do exactly this, and the reason is not aesthetics: an ornament that arrives without instructions gets planted too deep, or in July, or not at all. Two lines is enough — cover lightly, keep damp for two weeks. It fits alongside the other things worth making from what’s already in the house when you need thirty small gifts and no budget.
 11 Zero Waste Christmas Gifts to Make at Home Eleven more gifts built from what’s already in the kitchen, with no bamboo starter kits anywhere in sight.
13. The ornament you hang outdoors and plant in February
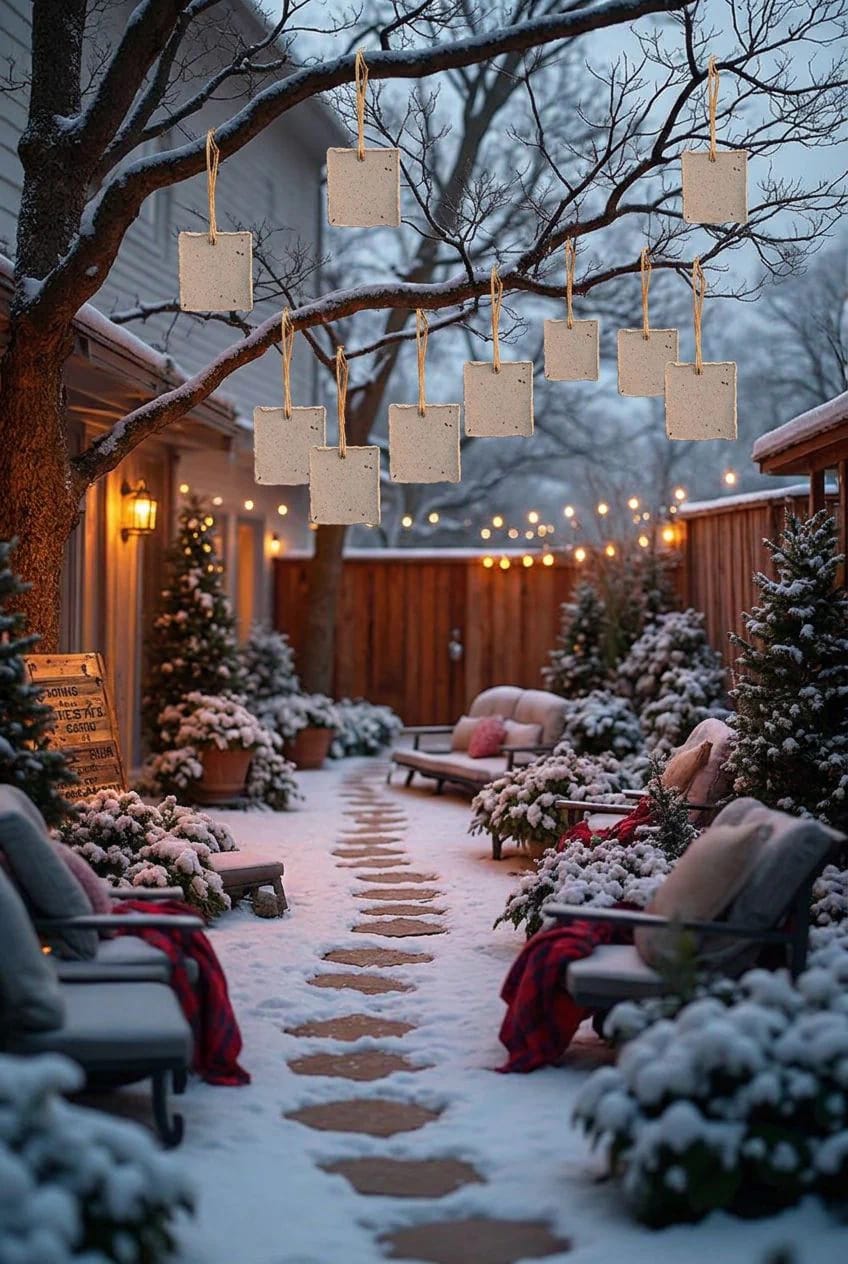
If the seed is a perennial native, "plant it in spring" is the wrong instruction — and it's the instruction almost every seed paper ornament ships with. Perennials from cold regions need thirty to sixty days of cold, moist conditions before they will break dormancy, and some northern species want ninety to a hundred and twenty. An ornament kept in a heated living room from December to April gets none of that, so nothing comes up and the paper takes the blame.
So hang this one outside, on a shrub by the door or an outdoor tree that’s already carrying feeders, and let winter do the work. Make it thicker than an indoor ornament, a quarter inch rather than an eighth, and expect it to cockle and grey in the damp. Then press it into the ground in late January or February and let the freeze-and-thaw cycle pull it into contact with the soil.
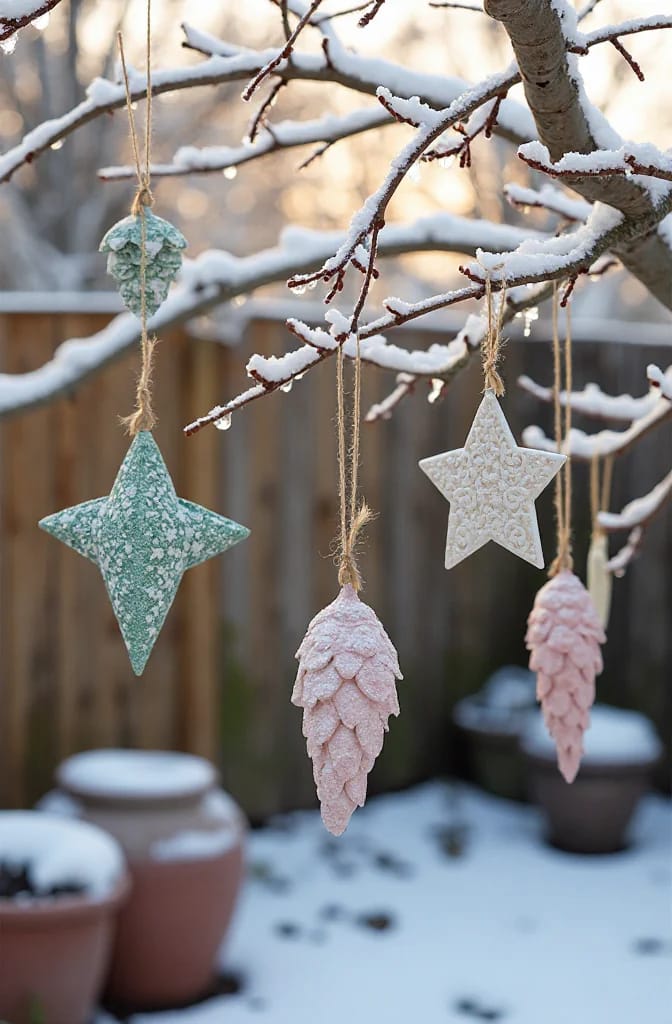
Annuals are the exception, which is precisely why commercial seed paper leans on them: cosmos, zinnia, marigold, snapdragon and basil all germinate without any cold treatment at all. If your ornament is a mix, or you have no idea what's in it, treat it as a perennial and put it out early. The annuals will not mind waiting.
Related Posts
- How to Make Plantable Seed Paper Christmas Cards That Actually Grow
- 23 Easy and Sustainable Spring Decorations
- 13 Birdseed Ornaments for an Outdoor Christmas Tree the Birds Will Actually Eat
- 13 Winter Decor Ideas That Stay Up After Christmas
- 15 Unique Nature Inspired Spring Crafts
- 7 Free Christmas Decorations You Can Make From Evergreen Branches